

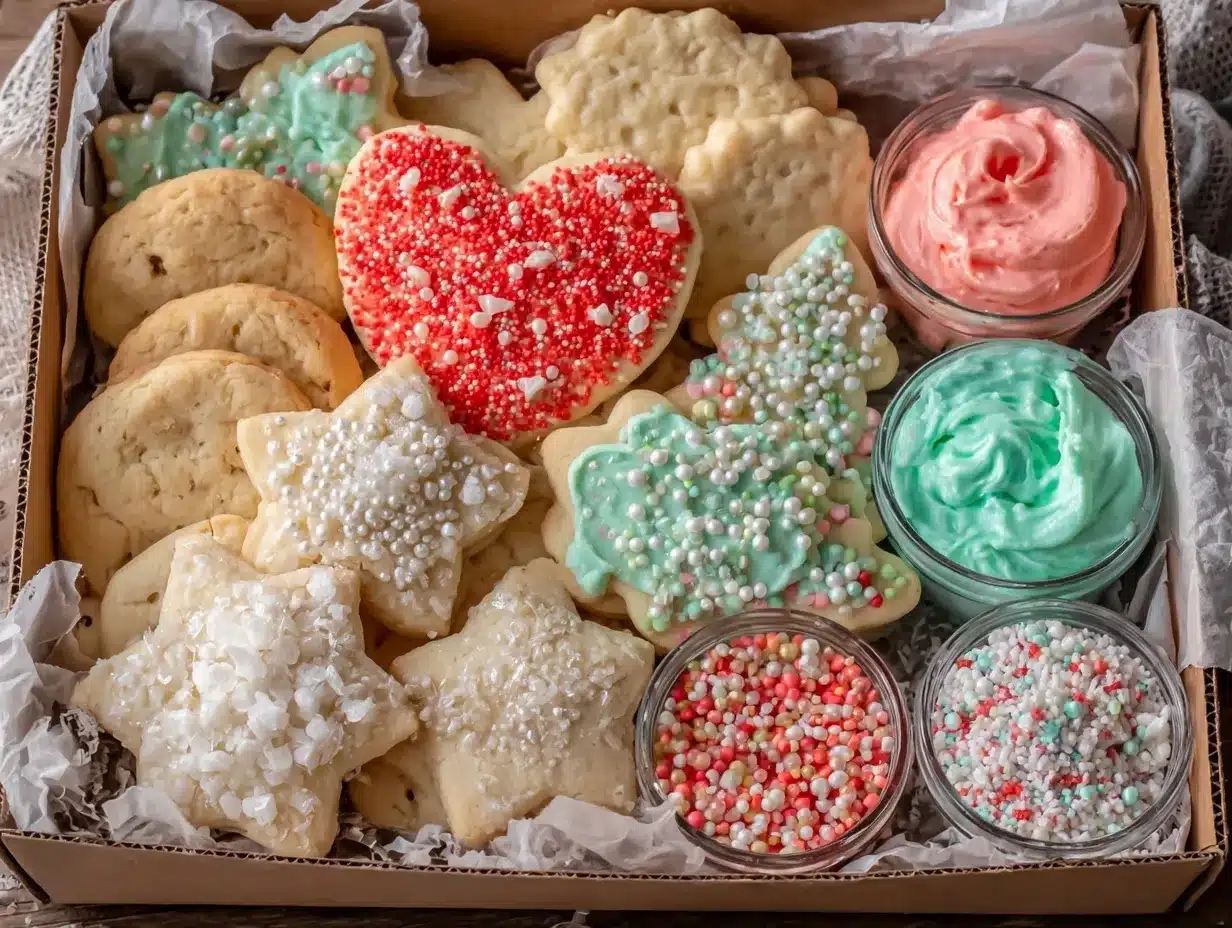
Let me tell you, the scent of freshly baked sugar cookies wafting through my kitchen is the kind of thing that makes you stop mid-step and just smile. There’s something magical about that buttery sweetness mingling with a hint of vanilla—it feels like pure happiness. The first time I put together my own sugar cookie decorating kit in a box, it was a rainy Saturday, and I was craving some cozy, creative fun. I pulled out my mixing bowls, a handful of cookie cutters, and a rainbow of sprinkles, and before I knew it, I had a table full of edible art supplies.
Honestly, I wish I’d thought of this years ago. It’s the sort of project that turns an ordinary afternoon into something special, perfect for birthdays, holidays, or even a girls’ night in. My family couldn’t stop sneaking cookies off the cooling rack (and I can’t really blame them). The best part? Everyone gets to decorate their own masterpiece, and no two cookies ever look the same.
When I first shared this sugar cookie decorating kit idea with friends, they immediately asked for their own. It’s become my go-to gift for neighbors, teachers, and even coworkers—because who doesn’t love a box full of cookies and colorful icing? Each time I test and tweak the recipe, I find new little tricks that make it even better (in the name of research, of course). Now, it’s a staple in my home—fun, tasty, and nostalgic all at once. If you’re looking for something that feels like a warm hug in cookie form, you’re going to want to bookmark this one.
Why You’ll Love This Recipe
Creating a sugar cookie decorating kit in a box isn’t just about baking—it’s about giving creativity a home. I’ve tested countless sugar cookie recipes over the years, and this version holds its shape beautifully while staying soft and buttery. It’s been kid-approved, friend-tested, and holiday-party proven.
- Quick & Easy: The dough comes together in under 15 minutes, and decorating is as simple or elaborate as you want.
- Simple Ingredients: Pantry staples like flour, sugar, and butter—nothing fancy or hard to find.
- Perfect for Any Occasion: Great for birthday parties, holidays, or cozy weekend baking sessions.
- Crowd-Pleaser: Everyone loves decorating cookies, from toddlers to grandparents.
- Unbelievably Delicious: Soft centers, crisp edges, and that classic vanilla flavor everyone craves.
What makes this sugar cookie decorating kit in a box different? It’s designed for beginners—you don’t need professional piping skills or fancy tools. I use a simple royal icing that dries glossy, plus easy storage tips that keep everything fresh for days. Whether you’re gifting it or making it for your own family, it’s a mix of creativity and comfort food. This is the kind of treat that makes you pause after the first bite and think, “Wow, this tastes like home.”
Ingredients You Will Need
This recipe uses simple, wholesome ingredients to deliver buttery flavor and perfect texture without any fuss. You’ll likely have most of these items already waiting in your pantry. Here’s what you’ll need for your sugar cookie decorating kit in a box:
For the Cookies
- 2 ½ cups (315 g) all-purpose flour (plus extra for rolling)
- ¾ teaspoon baking powder (helps cookies keep their shape)
- ¼ teaspoon salt
- ¾ cup (170 g) unsalted butter, softened
- ¾ cup (150 g) granulated sugar
- 1 large egg (room temperature)
- 1 teaspoon pure vanilla extract (or almond extract for a twist)
- Optional: ½ teaspoon lemon zest (adds a light, fresh flavor)
For the Royal Icing
- 2 cups (240 g) powdered sugar
- 1 ½ tablespoons meringue powder
- 3 tablespoons warm water
- Gel food coloring (assorted colors)
- Sprinkles, edible glitter, and decorations of choice
For Packaging the Kit
- Decorative box or tin
- Parchment paper sheets or cookie bags
- Small piping bags or squeeze bottles for icing
- Assorted decorating tools (mini spatulas, toothpicks, mini spoons)
- Printed instruction card (optional but cute!)
If you’re making this as a gift, I recommend using sturdy boxes and sealing each ingredient separately. You can even add a ribbon for that extra special touch. For gluten-free friends, swap the flour for a 1:1 gluten-free baking mix. Dairy-free butter works perfectly too—just pick one that’s good for baking, like a plant-based stick variety.
Equipment Needed
- Mixing bowls (medium and large)
- Hand mixer or stand mixer
- Rolling pin
- Cookie cutters (stars, hearts, or holiday shapes)
- Baking sheets
- Parchment paper
- Wire cooling rack
- Measuring cups and spoons
- Small piping bags or plastic squeeze bottles
- Decorative gift box for packaging
No fancy gadgets required here—just the basics. If you don’t have a rolling pin, a clean wine bottle works surprisingly well (I’ve done it more than once!). And if you’re packaging this for gifting, dollar-store tins or craft boxes make perfect containers. Just line them with parchment for a polished look.
Preparation Method
- Make the Dough: In a large bowl, whisk together flour, baking powder, and salt. In another bowl, beat the butter and sugar until light and fluffy—about 2 minutes. Add the egg and vanilla, mixing until smooth. Gradually add the dry ingredients until a soft dough forms. If it’s sticky, chill for 15 minutes.
- Roll and Cut: Lightly flour your surface and roll the dough to about ¼ inch (6 mm) thickness. Cut out shapes using your favorite cookie cutters. Place cookies on parchment-lined baking sheets, spacing them about 1 inch apart.
- Bake: Preheat oven to 350°F (175°C). Bake for 8–10 minutes, or until edges are just lightly golden. Don’t overbake—soft centers are key! Cool completely on wire racks.
- Prepare Icing: Whisk together powdered sugar, meringue powder, and warm water until smooth and glossy. Divide into bowls and add food coloring as desired. Adjust consistency with a few drops of water if needed.
- Decorate: Spoon icing into piping bags or squeeze bottles. Outline cookies and fill in designs as you like. Add sprinkles while icing is wet so they stick perfectly.
- Package the Kit: Once cookies are dry, layer them in parchment paper. Include icing tubes, sprinkles, and an instruction card in your decorative box. Seal it up and get ready to gift or enjoy!
Tip: If your dough cracks while rolling, it’s probably too cold—let it rest for a few minutes. And if your icing seems dull, mix in a touch more water for a glossy finish.
Cooking Tips & Techniques
After making these sugar cookie decorating kits dozens of times, I’ve learned a few tricks worth sharing:
- Chill the dough: Cold dough helps cookies keep their shape—especially when using intricate cutters.
- Don’t overmix: Once you add flour, mix just until combined. Overmixing can make cookies tough.
- Test icing consistency: Drag a knife through the icing—if the line disappears in 10 seconds, it’s perfect for flooding.
- Color smart: Gel food coloring gives vibrant hues without thinning the icing.
- Dry time matters: Let cookies dry at least 4 hours before packaging to avoid smudges.
I once rushed the drying process and ended up with icing fingerprints everywhere—not my proudest moment! Now, I decorate in batches and let them rest overnight. If you’re planning a family decorating day, bake the cookies ahead so everyone can dive straight into the fun part.
Variations & Adaptations
- Seasonal Twist: Add cinnamon and nutmeg for fall, peppermint extract for winter, or citrus zest for spring.
- Dietary Swap: Use gluten-free flour and dairy-free butter for an allergy-friendly version.
- Flavor Play: Try brown sugar instead of white for a deeper caramel note or add cocoa powder for chocolate sugar cookies.
One of my favorite tweaks is making mini-cookie kits for kids—tiny stars, hearts, and animals. They’re easy to handle and perfect for little hands. You can even create themed kits (think “Holiday Cheer” or “Birthday Bash”) with matching icing colors and sprinkles. It’s endlessly customizable.
Serving & Storage Suggestions
Serve your sugar cookies at room temperature for the best texture. They look beautiful displayed on a tray or wrapped individually in clear bags with colorful ribbons. Pair them with hot cocoa, tea, or a tall glass of milk for that classic comfort combo.
To store, keep cookies in an airtight container for up to 5 days. If you’re making kits ahead, freeze undecorated cookies for up to 2 months—just thaw before packing. Leftover icing can be stored in the fridge for a week. Re-whisk before using to revive the texture.
Honestly, I love how the flavors deepen after a day—the vanilla becomes more pronounced, and the texture stays perfectly soft. It’s the kind of treat that gets better with time.
Nutritional Information & Benefits
Each sugar cookie (decorated) has roughly 140 calories, with about 6g fat, 19g carbohydrates, and 2g protein. They’re not exactly health food—but they bring joy, and that counts for something!
Butter provides that rich flavor and smooth texture, while eggs add structure. If you opt for gluten-free flour or plant-based butter, you’ll still keep the balance of taste and texture. They’re vegetarian-friendly and can easily be made dairy-free.
In moderation, these cookies fit nicely into a balanced lifestyle—especially when shared with loved ones. After all, happiness is part of good nutrition too.
Conclusion
This sugar cookie decorating kit in a box is more than a recipe—it’s an experience. It’s about gathering around the table, laughing at uneven icing lines, and making something beautiful together. Whether you gift it or enjoy it yourself, it brings a touch of sweetness and creativity to any day.
I love this recipe because it’s simple yet endlessly versatile. You can customize it for any season, any occasion, and any skill level. So grab your mixing bowl, put on some music, and start baking—then share your cookie creations in the comments! I’d love to see your versions and hear what colors or themes you tried. You’ll quickly find this becomes a tradition worth keeping.
FAQs
Can I make the cookies ahead of time?
Yes! You can bake the cookies up to two days in advance and store them in an airtight container until decorating.
How long does the icing take to dry?
Royal icing typically dries in 4–6 hours at room temperature. Overnight drying gives the best results for packaging.
Can I use store-bought cookie dough?
Absolutely. While homemade tastes best, store-bought dough works fine if you’re short on time.
What’s the best way to package the kit?
Use a sturdy decorative box lined with parchment. Separate cookies, icing, and sprinkles into smaller containers to keep everything neat.
Can kids help with this recipe?
Definitely! Kids love decorating their own cookies—it’s messy, creative, and pure fun. Just supervise the icing part if they’re very young.
Pin This Recipe!
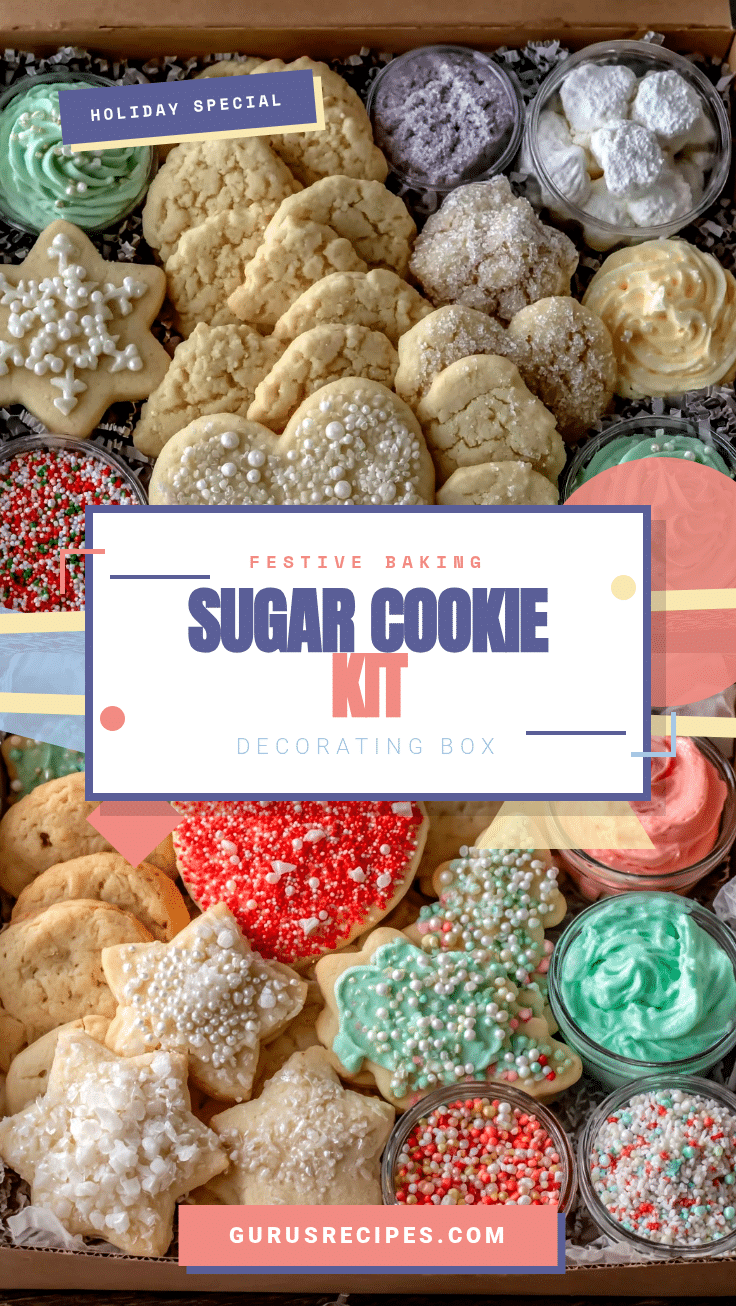

Perfect Sugar Cookie Decorating Kit Box Ideas for Beginners
A fun and beginner-friendly sugar cookie decorating kit recipe that combines buttery, soft cookies with glossy royal icing for creative decorating and gifting.
- Total Time: 25 minutes plus 4 hours drying time
- Yield: 24 cookies 1x
Ingredients
- 2 ½ cups (315 g) all-purpose flour (plus extra for rolling)
- ¾ teaspoon baking powder
- ¼ teaspoon salt
- ¾ cup (170 g) unsalted butter, softened
- ¾ cup (150 g) granulated sugar
- 1 large egg, room temperature
- 1 teaspoon pure vanilla extract (or almond extract for a twist)
- ½ teaspoon lemon zest (optional)
- 2 cups (240 g) powdered sugar
- 1 ½ tablespoons meringue powder
- 3 tablespoons warm water
- Gel food coloring (assorted colors)
- Sprinkles, edible glitter, and decorations of choice
- Decorative box or tin
- Parchment paper sheets or cookie bags
- Small piping bags or squeeze bottles for icing
- Assorted decorating tools (mini spatulas, toothpicks, mini spoons)
- Printed instruction card (optional)
Instructions
- In a large bowl, whisk together flour, baking powder, and salt.
- In another bowl, beat the butter and sugar until light and fluffy, about 2 minutes.
- Add the egg and vanilla extract, mixing until smooth.
- Gradually add the dry ingredients until a soft dough forms. Chill for 15 minutes if sticky.
- Lightly flour your surface and roll the dough to ¼ inch thickness. Cut out shapes using cookie cutters.
- Place cookies on parchment-lined baking sheets, spacing them 1 inch apart.
- Preheat oven to 350°F (175°C). Bake for 8–10 minutes until edges are lightly golden. Cool completely on wire racks.
- Whisk together powdered sugar, meringue powder, and warm water until smooth and glossy. Divide into bowls and add food coloring.
- Adjust icing consistency with a few drops of water if needed.
- Spoon icing into piping bags or squeeze bottles. Outline and fill cookies as desired. Add sprinkles while icing is wet.
- Once cookies are dry, layer them in parchment paper and package with icing tubes, sprinkles, and an instruction card in a decorative box.
Notes
Chill dough before rolling for best shape retention. Avoid overmixing to keep cookies tender. Let icing dry at least 4 hours before packaging. For gluten-free or dairy-free versions, use 1:1 gluten-free flour and plant-based butter.
- Prep Time: 15 minutes
- Cook Time: 10 minutes
- Category: Dessert
- Cuisine: American
Nutrition
- Serving Size: 1 decorated cookie
- Calories: 140
- Sugar: 10
- Sodium: 60
- Fat: 6
- Saturated Fat: 4
- Carbohydrates: 19
- Protein: 2
Keywords: sugar cookies, decorating kit, royal icing, cookie gift box, holiday cookies, beginner baking


