

Introduction
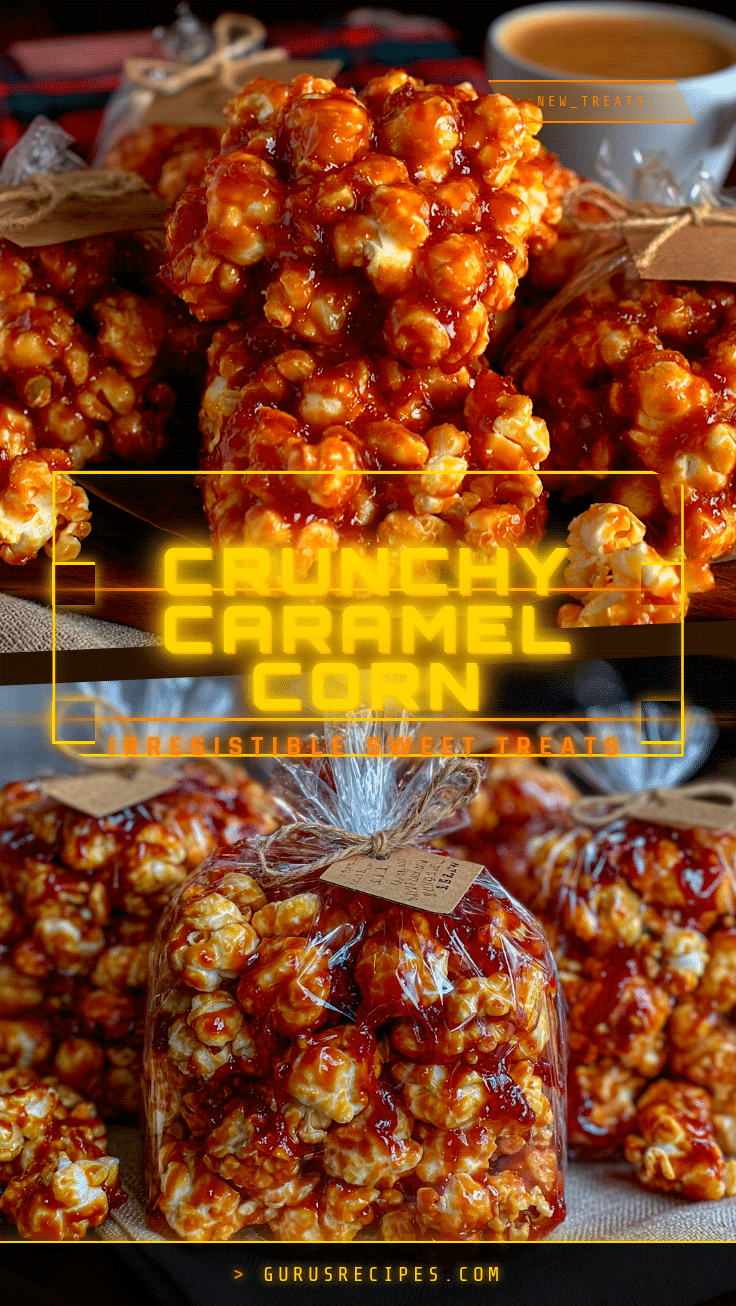
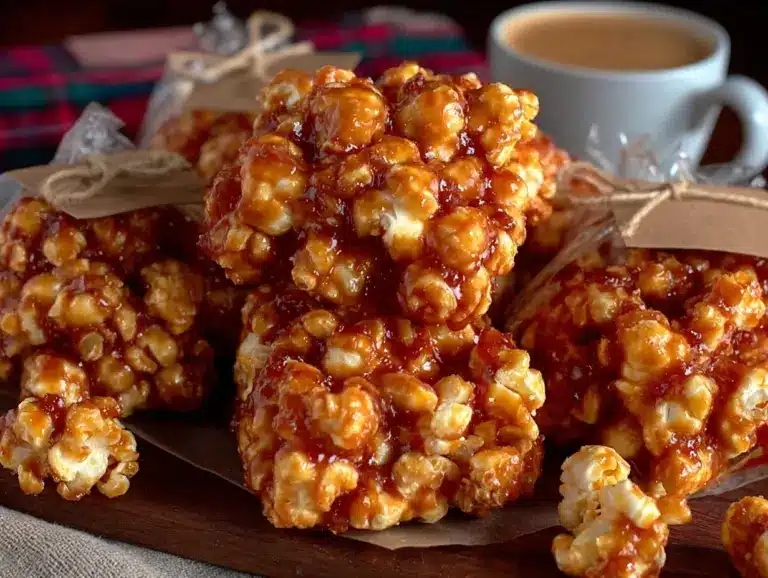
Let me tell you, the scent of freshly popped corn tossed in buttery golden caramel bubbling on the stove is enough to make anyone’s mouth water. The first time I made this crispy homemade caramel corn, I wasn’t planning on creating gift bags—I just wanted a cozy snack for movie night. But after tasting that first crunchy, sweet bite, I knew it was something special. It was one of those moments where you pause, take a deep breath, and smile because you realize you’ve stumbled upon a recipe that feels like pure holiday magic.
Years ago, when I was knee-high to a grasshopper, my grandma used to make caramel corn every December. She’d spread it out on wax paper in the kitchen, humming softly while the scent filled every corner of the house. We’d sneak warm handfuls when she wasn’t looking (and honestly, she probably knew). This crispy homemade caramel corn reminds me of those days—nostalgic, comforting, and dangerously easy to make.
My family couldn’t stop snatching pieces off the cooling tray when I tested this recipe “in the name of research, of course.” It’s now become our go-to for gifting—whether tucked into little cellophane bags tied with red ribbons or packed into mason jars for neighbors. It feels like a warm hug in snack form, perfect for movie nights, teacher gifts, or holiday party favors. You’re going to want to bookmark this one—it’s simple, reliable, and the kind of treat that makes people smile before they even take their first bite.
Why You’ll Love This Recipe
Honestly, this crispy homemade caramel corn is one of those recipes that checks every box. It’s crunchy, sweet, and buttery with just the right hint of salt to balance it all out. After testing it multiple times over the years, I can confidently say this recipe gives you the perfect crispness without being sticky or soggy. It’s the kind that makes you close your eyes after the first bite and think, “Yep, this is it.”
- Quick & Easy: Comes together in under an hour, including baking time—perfect for last-minute gifting or spontaneous sweet cravings.
- Simple Ingredients: No fancy stuff here; you probably already have everything in your pantry (sugar, butter, popcorn, and a dash of salt).
- Perfect for Holidays: Great for Christmas parties, teacher gifts, or cozy nights by the fire. The classic caramel flavor just screams festive.
- Crowd-Pleaser: Everyone—from kids to grandparents—loves the crunchy, buttery sweetness. It disappears fast!
- Unbelievably Delicious: The texture is crisp but light, and the caramel coats each kernel beautifully. No clumps, no chewiness—just pure crunch.
What makes this version stand out is the baking technique. The caramel gets baked slowly over low heat, which ensures that crisp texture that lasts for days. No soggy popcorn here! I’ve tried many recipes before, and this one gives that old-fashioned fairground flavor with the homemade charm we all crave. It’s comfort food reimagined—faster, easier, and just as dreamy. Whether you’re gifting it or keeping it all for yourself (no judgment), this caramel corn will make you feel like a kitchen hero without breaking a sweat.
What Ingredients You Will Need
This crispy homemade caramel corn uses simple, wholesome ingredients that come together like magic. You don’t need any special products—just pantry staples and a little patience while the caramel bubbles away.
- 10 cups (about 120g) popped popcorn (use plain, unsalted popcorn—air-popped or stovetop works best)
- 1 cup (200g) brown sugar (light brown for a mellow sweetness or dark for deeper flavor)
- 1/2 cup (115g) unsalted butter (gives that rich, buttery base for the caramel)
- 1/4 cup (60ml) light corn syrup (helps prevent crystallization and keeps the caramel smooth)
- 1/2 teaspoon baking soda (creates that airy texture and helps caramel coat evenly)
- 1 teaspoon vanilla extract (for that warm, fragrant aroma that makes it taste like a bakery treat)
- 1/2 teaspoon fine sea salt (balances sweetness and adds a subtle savory kick)
- Optional: 1 cup (125g) roasted peanuts or chopped pecans for extra crunch
If you want to make it dairy-free, swap the butter for vegan margarine or coconut oil—it works beautifully. For a gluten-free version, just confirm your popcorn is plain and free from flavor additives. I’ve used different brands of popcorn, but I’ll admit Orville Redenbacher pops perfectly for this recipe, giving even coverage and crispness. If you’re making gift bags, consider adding a sprinkle of cinnamon or drizzling melted chocolate after baking for a festive touch.
Equipment Needed

- Large mixing bowl (big enough to toss the popcorn and caramel together without spilling)
- Medium saucepan (for cooking the caramel—thick-bottomed pans help prevent burning)
- Wooden spoon or heatproof spatula
- Baking sheet (lined with parchment paper or a silicone mat)
- Oven (for baking the caramel corn until crisp)
- Cellophane bags, mason jars, or tins (for packaging gift portions)
If you don’t have a silicone mat, parchment paper works fine. I’ve tried both, and the silicone mat makes cleanup easier. A candy thermometer isn’t essential but can help ensure your caramel hits the perfect temperature (around 250°F or 121°C). Budget-friendly aluminum baking sheets work perfectly as long as you rotate them halfway through baking for even crispness.
Preparation Method
- Preheat your oven: Set it to 250°F (120°C). This low temperature helps dry and crisp the caramel without burning.
- Pop the popcorn: Use your preferred method—air popper, stovetop, or microwave. Measure out 10 cups (about 120g) and place it in a large bowl. Remove any unpopped kernels so no one breaks a tooth later!
- Make the caramel: In a medium saucepan, melt 1/2 cup (115g) butter over medium heat. Stir in 1 cup (200g) brown sugar and 1/4 cup (60ml) corn syrup. Stir constantly until the mixture comes to a boil, then let it bubble gently for 4–5 minutes without stirring. You’ll know it’s ready when the caramel looks glossy and smells toasty.
- Add flavor: Remove from heat and quickly stir in 1/2 teaspoon baking soda and 1 teaspoon vanilla extract. The mixture will foam up—don’t panic! That’s the magic that helps the caramel coat the popcorn evenly.
- Combine: Pour the hot caramel over the popped popcorn and gently stir with a wooden spoon until every piece is coated. Work fast but carefully—the caramel cools quickly.
- Bake for crispness: Spread the coated popcorn onto a lined baking sheet in an even layer. Bake for 45 minutes, stirring every 15 minutes to break up clumps and ensure even coverage.
- Cool and store: Once baked, let the caramel corn cool completely. It will crisp up as it cools. Break apart any clusters with your hands once it’s cool to the touch.
- Package: Scoop into gift bags, jars, or tins. Add festive ribbons or tags—it’s a perfect homemade present!
Troubleshooting tip: If your caramel seems grainy, your sugar may have crystallized—make sure to avoid stirring too much once it starts boiling. If it’s too sticky after baking, it may need a few more minutes in the oven. You’ll know it’s right when the popcorn has a light, crackly sound when you stir it.
Cooking Tips & Techniques
Making perfect crispy homemade caramel corn comes down to timing and texture. One of the biggest lessons I learned (after a few sticky attempts) was not rushing the baking step. The slow bake is what makes it crispy instead of chewy.
- Keep stirring during baking—every 15 minutes helps separate clusters and ensures even caramel distribution.
- Don’t skimp on the baking soda. It’s what gives the caramel its light, bubbly structure, helping it coat smoothly.
- For extra crunch, bake on two sheets if doubling the recipe—crowding traps steam, which makes it soggy.
- Use fresh popcorn. Old kernels pop smaller and can make the mix uneven.
- Let the caramel cool slightly before mixing—it should be pourable but not boiling hot.
One mistake I made early on was skipping the salt—big error! That pinch of salt turns plain sweetness into something addictive. Also, don’t overcook the caramel; once it turns a rich golden brown, it’s ready. If you go too far, it turns bitter. Patience is key here, and once you nail the timing, you’ll have flawless caramel corn every time.
Variations & Adaptations
This recipe is wonderfully flexible, and you can make it your own with a few tweaks. Here are my favorite variations:
- Nutty Delight: Add roasted peanuts or almonds before baking for a classic “cracker jack” vibe. The nuts toast beautifully as the caramel bakes.
- Chocolate Drizzle: Once cooled, drizzle melted dark chocolate or white chocolate over the top for a decadent twist. Sprinkle crushed candy canes for a festive flair.
- Spiced Cinnamon Version: Stir 1 teaspoon of ground cinnamon and a pinch of nutmeg into the caramel before pouring. Perfect for fall celebrations.
- Dairy-Free Option: Use coconut oil instead of butter—it gives a subtle tropical flavor that pairs perfectly with caramel.
- Salted Caramel Corn: Sprinkle flaky sea salt over the baked caramel corn before cooling for a gourmet finish.
Personally, I love adding dark chocolate and a sprinkle of espresso powder for a grown-up twist—it’s incredible with coffee! Whether you want something festive or everyday snack-worthy, this recipe adapts easily to fit your flavor mood.
Serving & Storage Suggestions
Serve your crispy homemade caramel corn at room temperature—it’s at its crunchiest when fresh. For gifting, portion it into small decorative bags or jars and tie with twine or ribbons. A little handwritten tag makes it extra special.
Pair it with hot cocoa, apple cider, or coffee for cozy evenings. It’s also a fantastic addition to snack boards or dessert tables. For storage, keep it in airtight containers at room temperature for up to two weeks. If your home is humid, add a small silica packet to gift jars to keep it crisp (just don’t eat it!).
To refresh slightly softened caramel corn, pop it back into a 250°F (120°C) oven for 10 minutes—it’ll crisp right back up. The flavor actually deepens a bit after a day, making it even better for gifting or snacking.
Nutritional Information & Benefits
Each serving (about 1 cup) of this crispy homemade caramel corn contains roughly 180–200 calories, depending on add-ins. It’s a light, sweet treat rather than a heavy dessert. Popcorn itself is a whole grain, high in fiber, and naturally low in fat—until the caramel joins the party, of course!
Brown sugar adds minerals like calcium and potassium, while butter provides that satisfying richness. If you use coconut oil and natural sweeteners, you can make it dairy-free and a bit lighter. Just watch for allergens if adding nuts or using dairy butter.
It’s a cheerful indulgence—sweet, crunchy, and surprisingly satisfying in small portions. Perfect for mindful snacking or guilt-free gifting.
Conclusion
There’s something special about giving homemade treats, and these crispy homemade caramel corn gift bags are pure joy wrapped in a ribbon. They’re easy to make, simple to package, and always get smiles. Whether you’re gifting them at holidays or keeping a stash in your pantry, they bring that nostalgic comfort we all love.
I adore this recipe because it’s reliable and forgiving—no candy thermometer stress, just golden, crunchy perfection every time. Try it once, and you’ll find yourself making it again and again. Go ahead and customize with nuts, chocolate, or spices—make it your signature version.
If you give it a try, let me know in the comments how yours turned out! Share your gift bag ideas, or tell me what festive twist you added. Honestly, this recipe feels like a hug in snack form—and that’s something worth sharing.
FAQs
Can I use microwave popcorn?
Yes, but make sure it’s plain and unsalted. Buttered or flavored popcorn can make the caramel too greasy.
How long does caramel corn stay fresh?
Stored in airtight containers, it stays crispy for up to two weeks. Keep it away from moisture for best texture.
Can I double the recipe?
Absolutely! Just bake on two sheets and rotate halfway through for even crispness.
Do I need a candy thermometer?
Nope! The caramel is ready once it’s bubbling and golden brown—usually around 4–5 minutes of boiling.
Can I freeze caramel corn?
Freezing isn’t recommended—it can lose its crunch. Stick to airtight jars or bags at room temperature instead.
Pin This Recipe!
Crispy Homemade Caramel Corn Gift Bags
A crunchy, buttery, and sweet caramel corn recipe that’s perfect for holiday gifting or cozy movie nights. This easy treat delivers nostalgic flavor and crisp texture that lasts for days.
- Total Time: 1 hour
- Yield: 10 cups (about 10 servings) 1x
Ingredients
- 10 cups popped popcorn (about 120g, plain and unsalted)
- 1 cup brown sugar (200g)
- 1/2 cup unsalted butter (115g)
- 1/4 cup light corn syrup (60ml)
- 1/2 teaspoon baking soda
- 1 teaspoon vanilla extract
- 1/2 teaspoon fine sea salt
- Optional: 1 cup roasted peanuts or chopped pecans
Instructions
- Preheat oven to 250°F (120°C).
- Pop 10 cups of plain popcorn and place in a large bowl, removing any unpopped kernels.
- In a medium saucepan, melt butter over medium heat. Stir in brown sugar and corn syrup.
- Bring to a boil and let bubble gently for 4–5 minutes without stirring.
- Remove from heat and stir in baking soda and vanilla extract. The mixture will foam.
- Pour hot caramel over popcorn and stir until evenly coated.
- Spread coated popcorn onto a lined baking sheet and bake for 45 minutes, stirring every 15 minutes.
- Cool completely, then break apart clusters.
- Package in gift bags, jars, or tins for serving or gifting.
Notes
For dairy-free caramel corn, use coconut oil or vegan margarine instead of butter. Stir every 15 minutes during baking for even crispness. Store in airtight containers for up to two weeks. To refresh, bake at 250°F for 10 minutes. Add nuts, chocolate drizzle, or spices for variations.
- Prep Time: 15 minutes
- Cook Time: 45 minutes
- Category: Snack
- Cuisine: American
Nutrition
- Serving Size: 1 cup
- Calories: 190
- Sugar: 20
- Sodium: 120
- Fat: 8
- Saturated Fat: 5
- Carbohydrates: 28
- Fiber: 2
- Protein: 2
Keywords: caramel corn, holiday treat, popcorn snack, homemade gift, crispy caramel corn


