
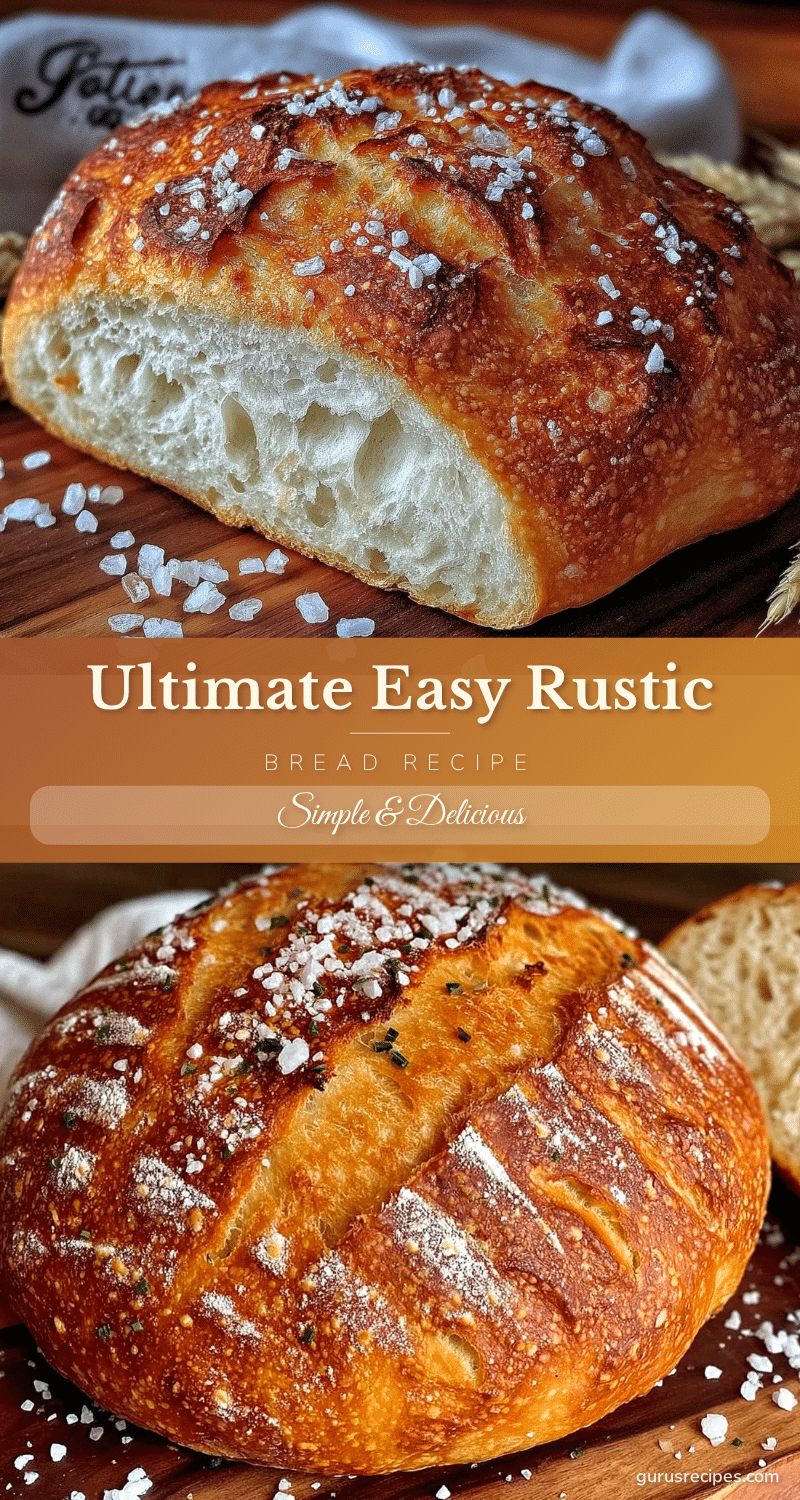
One chilly evening, I found myself staring at a nearly empty pantry and a growing craving for fresh bread. Honestly, the idea of kneading dough for hours felt like too much—especially after a long day. But I didn’t want to settle for store-bought loaves that lacked character and that satisfying crackle when you break the crust. So, I decided to try something simple, almost lazy: an easy rustic bread recipe with a crispy golden crust that promised to be foolproof and delicious.
As the dough bubbled and rose in my kitchen, I caught the warm, earthy scent that reminded me of the small bakery near my childhood home. That smell alone was worth the effort. When the crust finally emerged from the oven, crackling and bronzed, I was surprised at how something so uncomplicated could feel so special. This bread isn’t just about nourishment—it’s about the comfort of homemade food without the fuss. It’s the kind of recipe that sticks around because it feels like a small victory on busy days and a cozy ritual on quiet ones.
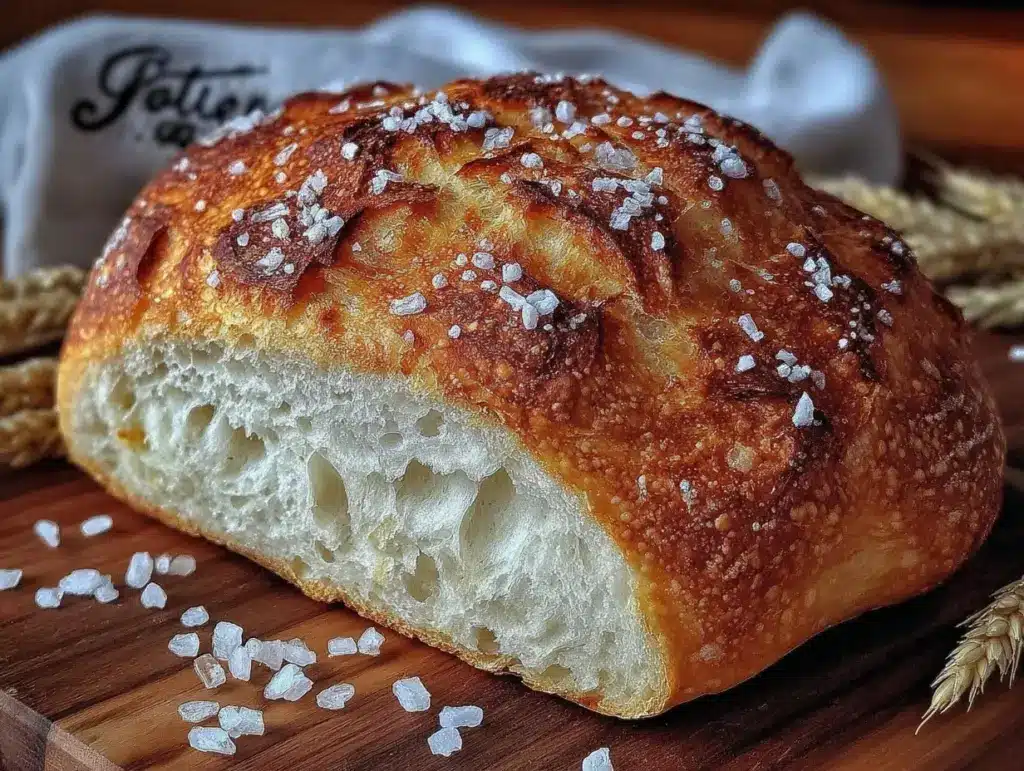
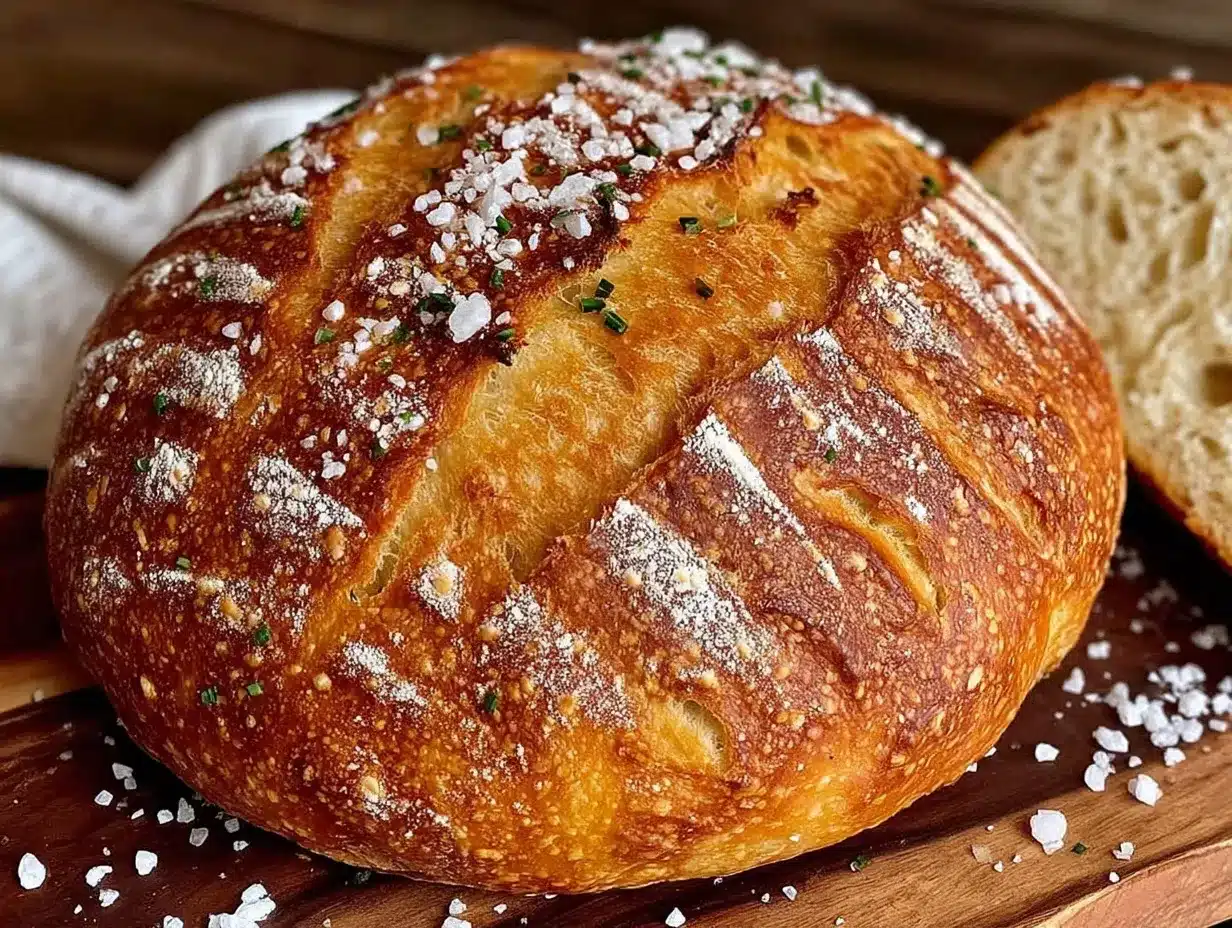
What really won me over was how approachable this rustic bread is, even if you’re “not really a baker.” The crust has this perfect snap, and the inside stays tender and chewy—a balance that’s not always easy to get right. It’s the kind of recipe that invites you to slow down just enough to enjoy the process, and trust me, that golden crust is worth every minute.
Why You’ll Love This Recipe
- Quick & Easy: Comes together with minimal hands-on time and no fancy equipment, ideal for beginners or those short on time.
- Simple Ingredients: Uses everyday pantry staples like flour, yeast, salt, and water—no special shopping trips needed.
- Perfect for Any Occasion: Whether it’s a casual weeknight dinner, weekend brunch, or an impromptu gathering, this bread fits right in.
- Crowd-Pleaser: The crispy golden crust and soft crumb always get compliments from family and friends alike.
- Unbelievably Delicious: The contrast between the crunchy crust and tender inside makes every bite satisfying and comforting.
- This isn’t just another bread recipe—it’s a reliably rustic loaf with a crackly crust achieved by a simple baking method that even the busiest cooks can pull off.
- The slow rise and no-knead approach create flavor and texture that taste like you spent hours fussing in the kitchen, but honestly, it’s mostly just waiting.
- This bread invites you to enjoy the process and the result: a loaf that feels homemade, hearty, and warm—exactly what you want on those days when you need a little comfort without the stress.
What Ingredients You Will Need
This easy rustic bread recipe with crispy golden crust relies on straightforward, wholesome ingredients that come together beautifully to create that lovely texture and flavor we all crave.
- All-purpose flour – 3 cups (360g) (I prefer King Arthur for consistent results)
- Warm water – 1 ½ cups (355ml) (about 110°F/43°C; feels like a warm bath)
- Active dry yeast – 1 ½ teaspoons (or instant yeast; either works fine)
- Salt – 2 teaspoons (fine sea salt adds a nice punch)
That’s it! Just four ingredients and you’re set. The flour forms the sturdy base, the yeast does its magic raising the dough, salt enhances flavor, and water binds everything together. If you’re feeling fancy, you can swap in bread flour for a chewier crumb, or add a tablespoon of olive oil for subtle richness, but the classic version is fantastic on its own.
For substitutions:
- Gluten-Free Option: Use a gluten-free all-purpose blend that includes xanthan gum.
- Dairy-Free: This recipe is naturally dairy-free, so no worries there.
- Yeast-Free: Not quite the same rustic experience, but a sourdough starter can be used if you’re feeling adventurous.
If you want to add herbs or garlic for a twist, just sprinkle them into the dough during mixing—that’s a personal touch I’ve tried with great success.
Equipment Needed
- Large mixing bowl: To combine and proof the dough comfortably (I like glass or ceramic for easy monitoring).
- Wooden spoon or spatula: For mixing the sticky dough (silicone spatulas work well too).
- Kitchen scale: Optional but helpful for precise measurements (especially flour).
- Dutch oven or heavy oven-safe pot with lid: This is key for creating steam and that perfect crust. If you don’t have one, a baking sheet with a pan of water nearby helps.
- Parchment paper: To prevent sticking and make transferring the dough easier.
- Cooling rack: To let your bread rest and keep the crust crisp.
Don’t worry if you don’t have a Dutch oven; I’ve baked this loaf on a pizza stone with good results too. Just watch the baking time since heat distribution differs. A budget-friendly tip—using an oven-safe pot from your kitchen that has a tight-fitting lid works surprisingly well, just be mindful of handles and heat tolerance.
Preparation Method
- Mix the dough: In your large mixing bowl, combine 3 cups (360g) of all-purpose flour, 1 ½ teaspoons of active dry yeast, and 2 teaspoons of salt. Stir these dry ingredients together.
- Add warm water: Pour in 1 ½ cups (355ml) of warm water (110°F/43°C). Using a wooden spoon or spatula, mix until a shaggy, sticky dough forms. It will look rough and a bit messy—that’s perfect. No kneading needed here. (This step takes about 5 minutes.)
- First rise: Cover the bowl loosely with plastic wrap or a clean towel. Let the dough rise at room temperature for 12 to 18 hours—overnight works best. You’ll know it’s ready when the surface is dotted with bubbles and it has nearly doubled in size. The smell is slightly yeasty and tangy, a good sign! (This is mostly hands-off time.)
- Shape the loaf: Lightly flour your work surface and scrape the dough onto it. With floured hands, fold the dough over itself a few times to shape it into a rough ball. Don’t worry about perfection; rustic means a little uneven charm. Place the dough seam-side down on a piece of parchment paper. Cover with a kitchen towel and let it rest for 30 to 60 minutes while you preheat your oven.
- Preheat the oven: Place your Dutch oven or heavy pot (lid on) in the oven and preheat to 450°F (230°C). This step is crucial because the hot pot creates steam that crisps the crust.
- Bake the bread: Carefully remove the hot pot from the oven (use oven mitts!), lift the parchment paper with the dough, and place it inside the pot. Cover with the lid and bake for 30 minutes.
- Finish baking: After 30 minutes, remove the lid and bake for another 10 to 15 minutes until the crust is deep golden and crisp. The loaf should sound hollow when tapped on the bottom.
- Cool completely: Transfer the bread to a cooling rack and let it rest at least 1 hour before slicing. This helps the crumb set and keeps the crust at its crispiest.
Little tip: If your dough feels too sticky when shaping, resist adding too much flour; a light dusting is enough. Also, be gentle—folding rather than kneading keeps that airy crumb.
Cooking Tips & Techniques
One thing I learned the hard way is that rushing the rise kills the flavor and texture. Patience pays off—letting the dough ferment slowly develops those subtle tangy notes and airy pockets inside.
Using a Dutch oven might feel intimidating, but it’s a game changer. The steam trapped inside crisps the crust beautifully. If you don’t have one, try placing a metal pan with hot water on the oven floor for steam, but keep an eye on it.
Don’t skip the cooling step! Cutting the bread too soon makes the crumb gummy. Letting it cool lets residual heat finish the cooking inside.
When shaping, handle the dough lightly—folding gently helps trap air bubbles that create that rustic open crumb. And flour your hands and surface to avoid sticking without overdoing it.
Lastly, keep a thermometer handy to check your oven’s real temperature. Ovens vary wildly, and that perfect crust depends on consistent heat.
Variations & Adaptations
- Herb and garlic loaf: Mix in 1-2 teaspoons of dried herbs like rosemary or thyme and 1 minced garlic clove into the dough for an aromatic twist.
- Whole wheat blend: Substitute half the all-purpose flour with whole wheat flour for a nuttier flavor and denser crumb.
- Seeded crust: Sprinkle sesame, poppy, or sunflower seeds on top before baking for added crunch and flavor.
- Gluten-free option: Use a gluten-free flour blend with xanthan gum; expect a slightly different texture but still tasty.
- Alternative cooking methods: Try baking on a pizza stone preheated in the oven if you don’t have a Dutch oven; add a pan of water for steam.
I once tried adding sun-dried tomatoes and olives for a Mediterranean vibe, and it turned out surprisingly well—just fold them into the dough during shaping.
Serving & Storage Suggestions
This rustic bread is best served warm or at room temperature. I love slicing it thick with butter melting into the crispy crust or using it for hearty sandwiches.
Pair it with soups, stews, or a simple drizzle of olive oil and balsamic vinegar for dipping. It’s great alongside a cheese board or as a base for bruschetta.
Store leftover bread in a paper bag or bread box at room temperature for up to 2 days to keep the crust crisp. For longer storage, wrap tightly and freeze slices; toast or warm in the oven to revive.
Reheating in a 350°F (175°C) oven for about 10 minutes helps restore the crust’s crispness. Avoid microwaving as it can make the bread chewy.
Flavors tend to deepen after a day as the crumb firms up, so if you can wait, the bread tastes even better the next day.
Nutritional Information & Benefits
This rustic bread is a simple, wholesome choice with roughly 150-170 calories per 2-ounce (56g) slice. It provides carbohydrates for energy and a modest amount of protein from the flour.
Using minimal ingredients means no additives or excess sugars—just basic nourishment. Whole wheat variations add fiber and micronutrients.
It’s naturally dairy-free and vegan, making it suitable for various dietary preferences. Gluten-free versions are possible with the right flour blends.
From a wellness perspective, homemade bread lets you control what goes in, avoiding preservatives and unnecessary fillers found in many store-bought options.
Conclusion
Making this easy rustic bread recipe with crispy golden crust has become one of those small kitchen rituals that brings a lot of joy without a lot of fuss. It’s approachable, forgiving, and reliably delicious, perfect for anyone who wants homemade bread without the intimidation.
Feel free to tweak it—add herbs, seeds, or swap flours to make it your own. That’s the beauty of rustic bread: it’s as flexible as your taste buds want it to be.
For me, it’s the smell of warm bread filling the house and the satisfying crunch with every bite that keeps me coming back. Give it a try, and I bet you’ll find yourself baking it more than once a week, too.
Let me know how your loaf turns out or any fun variations you try—I love hearing from fellow bread lovers!
FAQs
How long does the dough need to rise?
The dough should rise for 12 to 18 hours at room temperature until it’s bubbly and nearly doubled in size. This slow rise develops flavor and texture.
Can I make this bread without a Dutch oven?
Yes! You can bake on a preheated pizza stone or baking sheet. To mimic steam, place a pan with hot water in the oven during baking to help crisp the crust.
What if my dough is too sticky to handle?
Lightly flour your hands and work surface, but avoid adding too much flour. The dough will be sticky—that’s normal for rustic bread and helps keep it airy inside.
How do I know when the bread is fully baked?
The crust should be deep golden brown and sound hollow when tapped on the bottom. Internal temperature should reach about 200°F (93°C) if you use a thermometer.
Can I add flavors like herbs or seeds?
Absolutely! Mix herbs or seeds directly into the dough or sprinkle on top before baking. Garlic, olives, and sun-dried tomatoes are also great mix-ins.
Pin This Recipe!

Easy Rustic Bread Recipe with Crispy Golden Crust Perfect for Beginners
A simple, no-knead rustic bread recipe that yields a crispy golden crust and tender, chewy crumb. Perfect for beginners and those looking for a fuss-free homemade bread.
- Total Time: 13 hours
- Yield: 1 loaf (about 8 servings) 1x
Ingredients
- 3 cups (360g) all-purpose flour
- 1 ½ cups (355ml) warm water (about 110°F/43°C)
- 1 ½ teaspoons active dry yeast (or instant yeast)
- 2 teaspoons salt (fine sea salt preferred)
Instructions
- In a large mixing bowl, combine 3 cups (360g) of all-purpose flour, 1 ½ teaspoons of active dry yeast, and 2 teaspoons of salt. Stir the dry ingredients together.
- Pour in 1 ½ cups (355ml) of warm water (110°F/43°C). Mix with a wooden spoon or spatula until a shaggy, sticky dough forms. No kneading needed. (About 5 minutes)
- Cover the bowl loosely with plastic wrap or a clean towel. Let the dough rise at room temperature for 12 to 18 hours until bubbly and nearly doubled in size.
- Lightly flour your work surface and scrape the dough onto it. Fold the dough over itself a few times to shape into a rough ball. Place seam-side down on parchment paper. Cover and let rest for 30 to 60 minutes while preheating the oven.
- Preheat the oven to 450°F (230°C) with a Dutch oven or heavy oven-safe pot with lid inside.
- Carefully remove the hot pot from the oven. Lift the parchment paper with the dough and place it inside the pot. Cover with the lid and bake for 30 minutes.
- Remove the lid and bake for another 10 to 15 minutes until the crust is deep golden and crisp. The loaf should sound hollow when tapped on the bottom.
- Transfer the bread to a cooling rack and let cool completely for at least 1 hour before slicing.
Notes
If dough is too sticky when shaping, use a light dusting of flour but avoid adding too much. Use a Dutch oven to create steam for a crispy crust; if unavailable, bake on a pizza stone or baking sheet with a pan of hot water in the oven for steam. Let bread cool completely before slicing to avoid gummy crumb. Use a thermometer to check internal temperature (~200°F) for doneness.
- Prep Time: 15 minutes
- Cook Time: 45 minutes
- Category: Bread
- Cuisine: American
Nutrition
- Serving Size: 1 slice (2 ounces /
- Calories: 160
- Sodium: 380
- Fat: 1
- Carbohydrates: 33
- Fiber: 1
- Protein: 5
Keywords: rustic bread, easy bread recipe, no-knead bread, homemade bread, crispy crust bread, beginner bread recipe


