
There was this one evening when I found myself staring at a half-empty bag of rolled oats and a fridge full of seeds, wondering if I could turn them into something more exciting than just breakfast cereal. Honestly, I wasn’t aiming for a bakery-worthy loaf—just something simple, hearty, and reliable. The idea of kneading dough always made me a bit hesitant, especially after a long day when I just wanted to unwind, not wrestle with sticky dough. So, I decided to give this easy no-knead seeded oat bread a shot, mostly out of curiosity and a bit of kitchen boredom.
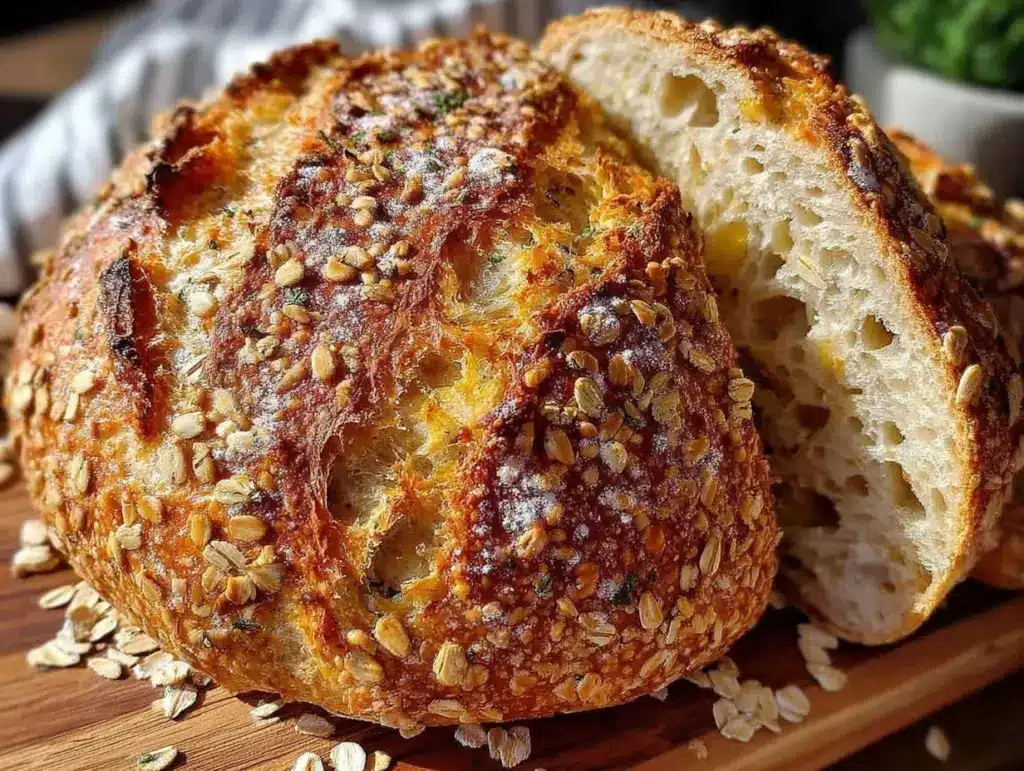
What surprised me was how the crust turned out—crunchy and golden, crackling under my fingers as I sliced into the soft, seeded crumb inside. The oats and seeds gave it this rustic feel, like I’d pulled it fresh from a countryside oven, even though it was made in my cramped city kitchen. The simplicity of no-knead dough meant I could prep it quickly, let it rest, and then just bake while I relaxed with a book. It wasn’t just bread; it was a little moment of calm in the chaos.
Now, I make this bread regularly, sometimes swapping seeds or adding a handful of herbs. It’s the kind of recipe that feels like a quiet victory—easy to pull off, but with that satisfying crunch and wholesome flavor that makes you want to savor every bite. If you’ve ever thought baking bread was complicated, this seeded oat bread might just be the one to change your mind.
Why You’ll Love This Recipe
- Quick & Easy: Comes together in under 15 minutes of hands-on prep, perfect for busy weeknights or lazy weekends.
- Simple Ingredients: Uses everyday pantry staples—rolled oats, mixed seeds, basic flour, no special flours or additives needed.
- Perfect for Beginners: No kneading means less fuss and no need for fancy equipment or expert skills.
- Crowd-Pleaser: The crunchy crust and nutty seeds get rave reviews from both kids and adults, even picky eaters.
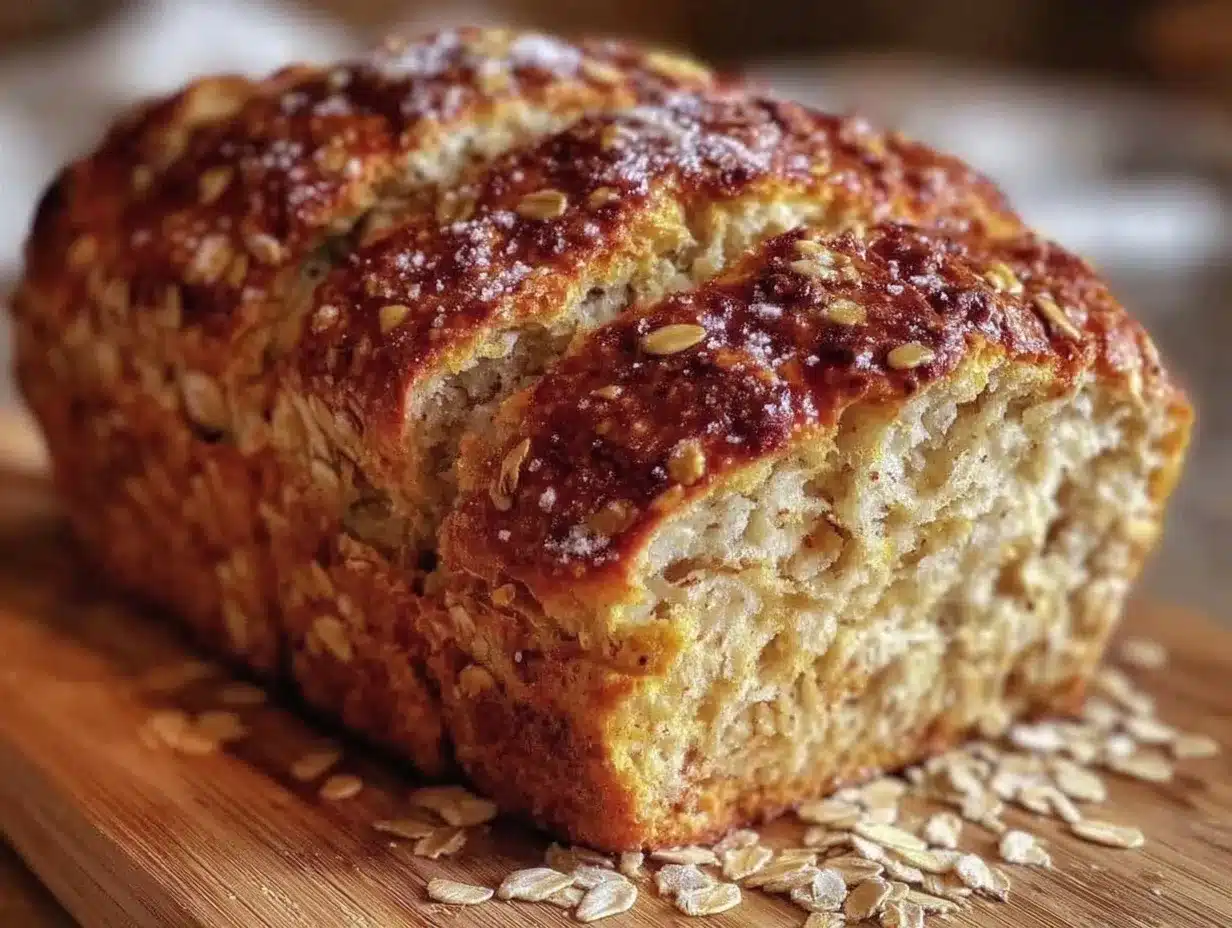
- Unbelievably Delicious: The texture is spot-on—crisp outside with a tender, slightly chewy crumb that holds seeds in every bite.
- This recipe stands apart with its effortless no-knead method combined with the wholesome crunch of oats and seeds, creating a loaf that feels both rustic and refined.
- It’s the kind of bread that invites you to slow down, maybe with a smear of butter or your favorite jam, and just enjoy the simple pleasure of homemade.
What Ingredients You Will Need
This recipe uses simple, wholesome ingredients to deliver bold flavor and satisfying texture without the fuss. Most are pantry staples, which means you can whip this bread up anytime you want, no last-minute grocery runs.
- All-purpose flour (3 cups / 375 g) – provides structure; I prefer King Arthur flour for consistent results.
- Rolled oats (1 cup / 90 g) – brings a nutty flavor and hearty texture, plus it’s great for that crunchy crust.
- Mixed seeds (½ cup / 70 g) – a blend of sunflower, pumpkin, flax, and sesame seeds adds crunch and nutrition.
- Instant yeast (2 tsp / 7 g) – activates quickly without needing proofing, perfect for no-knead recipes.
- Salt (1½ tsp / 9 g) – balances the flavors and enhances the bread’s taste.
- Warm water (1⅔ cups / 400 ml) – hydrates the dough and activates the yeast; not too hot or it kills the yeast.
- Honey or maple syrup (1 tbsp / 15 ml) – optional but adds a subtle sweetness that complements the oats and seeds.
- Olive oil (1 tbsp / 15 ml) – for moisture and a tender crumb; you can swap for avocado oil if preferred.
Ingredient Tips: For a gluten-free alternative, try a blend of oat flour and almond flour, but note the texture will be different. When selecting seeds, fresh is key—stale seeds can make the bread taste off. You might want to toast them lightly before mixing if you like an even deeper flavor. Also, in spring or summer, swapping some seeds for fresh herbs like rosemary or thyme adds a lovely twist.
Equipment Needed
- Large mixing bowl: For combining ingredients; glass or stainless steel works well.
- Wooden spoon or spatula: To mix the dough—no mixer needed here.
- Kitchen scale: Optional but highly recommended for measuring flour and oats accurately.
- Measuring cups and spoons: For liquids and smaller quantities.
- Proofing basket or bowl lined with a clean kitchen towel: Helps the dough hold its shape during rising.
- Dutch oven or heavy oven-safe pot with lid: Creates steam for a crunchy crust; if you don’t have one, a baking sheet with a pan of water works too.
- Cooling rack: Allows the bread to cool properly, preventing sogginess.
If you’re on a budget, you can skip the proofing basket and just use a bowl lined with parchment paper. I once baked this bread in a cast iron skillet when I didn’t have a Dutch oven, and it still came out beautifully crusty. Just keep an eye on it to avoid burning.
Preparation Method
- Combine dry ingredients: In your large bowl, stir together 3 cups (375 g) all-purpose flour, 1 cup (90 g) rolled oats, ½ cup (70 g) mixed seeds, 2 tsp (7 g) instant yeast, and 1½ tsp (9 g) salt. Mixing these well ensures even distribution of yeast and salt. (Approx. 5 minutes)
- Add liquids: Pour in 1⅔ cups (400 ml) warm water, 1 tbsp (15 ml) honey or maple syrup, and 1 tbsp (15 ml) olive oil. Use a wooden spoon to stir until the dough just comes together—it will be sticky and shaggy. Don’t worry; that’s exactly what you want! (Approx. 3 minutes)
- First rise: Cover the bowl loosely with plastic wrap or a damp towel. Let it rest at room temperature for 12 to 18 hours. The dough will expand and develop bubbles—this slow fermentation is key for flavor and texture. (No hands-on time here, but the wait is worth it!)
- Shape the dough: After the long rest, lightly flour your work surface and turn the dough out gently. Fold it over a couple of times to shape into a round loaf—no kneading needed. Place it seam side down into a floured proofing basket or a bowl lined with a floured kitchen towel. Cover and let rise for about 1 to 2 hours until puffy. (Approx. 10 minutes prep + rise time)
- Preheat oven: Place your Dutch oven (or heavy pot with lid) into the oven and preheat to 450°F (230°C). This takes about 30 minutes and ensures a hot environment for baking, which helps achieve that crunchy crust.
- Bake the bread: Carefully remove the hot Dutch oven. Gently invert the dough onto parchment paper and transfer it inside. Cover with the lid and bake for 30 minutes. Then, remove the lid and bake for another 15 minutes to brown and crisp the crust. (Approx. 45 minutes baking)
- Cool completely: Transfer the bread to a cooling rack and let it cool for at least an hour before slicing. This step is crucial—cutting too early can make the crumb gummy.
Pro tip: If your dough feels too wet to handle during shaping, dust your hands and surface lightly with flour instead of adding more to the dough. A wet dough means a better crumb and crust.
Cooking Tips & Techniques
One of the best things about this recipe is how forgiving it is, but there are a few tricks that make a big difference. First, patience with the long ferment really pays off. The overnight rise helps develop a complex flavor without adding effort.
When mixing, resist the urge to knead. This dough is meant to be loose and sticky—that’s the magic behind the no-knead method. Trying to knead it will only make it tough. Instead, folding it gently during shaping gives enough strength to hold the loaf together.
Using a Dutch oven traps steam, which is crucial for that crunchy crust. If you don’t have one, placing a small pan of boiling water on the oven floor during baking helps mimic this effect. Just be careful when opening the oven door!
Watch your oven temperature carefully. Some ovens run hot, and the bread can brown too fast. If you notice the crust darkening too quickly, lower the temperature by 25°F (15°C) after the first 20 minutes. Also, don’t skip the final uncovered bake—it’s what creates that golden, crunchy skin.
I learned the hard way that slicing the bread while it’s hot ruins the crumb texture. Let it cool fully, and you’ll get those perfect, clean slices every time.
Variations & Adaptations
- Gluten-free version: Swap all-purpose flour for a gluten-free blend and oat flour (ensure certified gluten-free oats). Add 1 tsp xanthan gum to help with structure.
- Seed swaps: Try adding chia or hemp seeds for extra nutrition, or swap pumpkin seeds for walnuts for a nutty crunch.
- Herb-infused: Mix in 1 tbsp fresh chopped rosemary or thyme to the dry ingredients for a fragrant twist perfect with soups or stews.
- Whole wheat variation: Replace up to half the all-purpose flour with whole wheat flour for a heartier loaf; expect a denser texture and richer flavor.
- Sweetened version: Add ½ cup dried cranberries or chopped dates with the seeds for a touch of natural sweetness that pairs beautifully with morning coffee.
Personally, I tried swapping olive oil for melted butter once, and it gave the crumb a softer texture but less pronounced crust crunch—worth it if you prefer a tender bite.
Serving & Storage Suggestions
This seeded oat bread is best served at room temperature, sliced thick with a slather of butter or creamy cheese. It’s fantastic for breakfast, sandwiches, or alongside a hearty bowl of soup. The crunchy crust pairs especially well with soft cheeses or a drizzle of honey.
Store the bread in a paper bag or bread box at room temperature for up to 3 days. For longer storage, slice and freeze in an airtight bag—toast slices straight from the freezer for that fresh-baked crunch.
Reheating in a toaster oven or under a broiler for a couple of minutes revives the crust nicely. Flavors deepen a bit after a day or two, making leftovers even better as the oats and seeds meld into the crumb.
Nutritional Information & Benefits
One generous slice (about 60 g) of this seeded oat bread provides approximately 180 calories, 5 g protein, 3 g fiber, and a good dose of healthy fats from the seeds. The oats contribute beta-glucan fiber, known to support heart health and stable blood sugar levels.
Using mixed seeds adds important minerals like magnesium, zinc, and iron, plus omega-3 fatty acids, which help with inflammation and brain function.
This bread is naturally free of added sugars and can be made dairy-free and vegan, making it a wholesome choice for many dietary needs. For those watching gluten, use certified gluten-free ingredients to keep it safe.
Conclusion
Easy no-knead seeded oat bread with a crunchy crust is one of those recipes that quietly turns into a kitchen staple. It’s straightforward enough for beginners but flavorful and textured enough to impress anyone who tastes it. The no-knead approach means you don’t have to carve out special time or skills, and the seeds add a satisfying crunch that keeps you coming back.
I love how versatile this bread is—perfect plain, toasted, or as part of a meal. It’s the kind of recipe where you feel like you made something special without the usual fuss, and that’s why it’s stuck around in my rotation.
If you give it a try, I’d love to hear how you tweaked it or what you paired it with. Happy baking, and may your kitchen be filled with the smell of fresh, crunchy bread!
FAQs
Can I make this bread without a Dutch oven?
Yes! You can bake it on a baking sheet and add a pan of boiling water to the oven to create steam, which helps develop the crust.
How long can I store the bread?
Store at room temperature in a paper bag for up to 3 days. For longer, freeze sliced bread and toast when needed.
Can I use active dry yeast instead of instant yeast?
Yes, but dissolve it in warm water first and let it proof for 5-10 minutes before mixing with other ingredients.
What if my dough is too sticky to handle?
That’s normal! Dust your hands and surface lightly with flour and handle the dough gently. Avoid adding too much flour to keep the crumb tender.
Can I add nuts or dried fruit to this recipe?
Absolutely! Fold in chopped nuts or dried fruit with the seeds during mixing for extra flavor and texture.
Pin This Recipe!
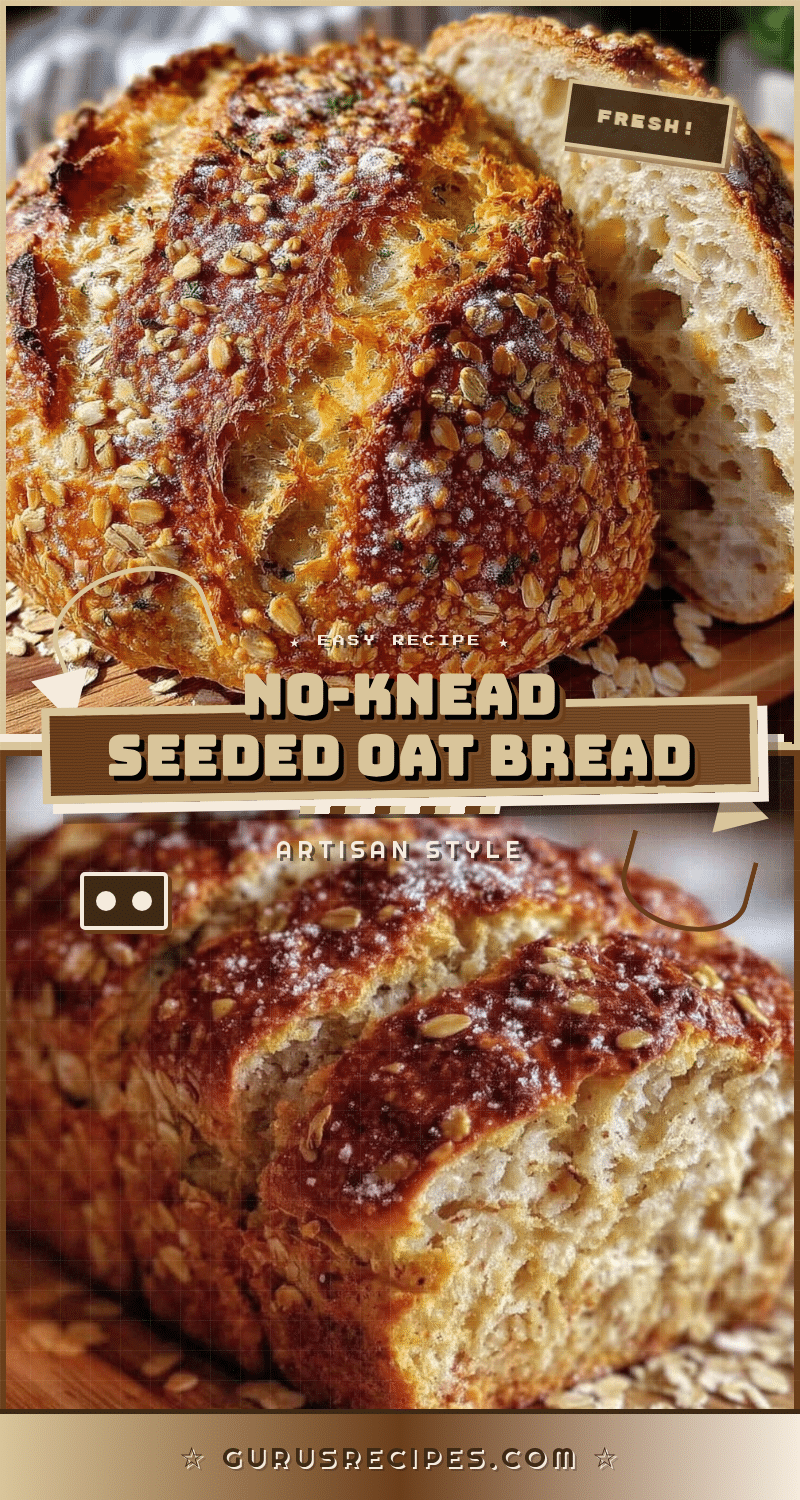

Easy No-Knead Seeded Oat Bread Recipe with Crunchy Crust Perfect for Beginners
A simple, hearty no-knead bread with rolled oats and mixed seeds that yields a crunchy crust and tender crumb, perfect for beginners and busy bakers.
- Total Time: 13 hours (including rising time)
- Yield: 1 loaf (about 12 slices) 1x
Ingredients
- 3 cups (375 g) all-purpose flour
- 1 cup (90 g) rolled oats
- ½ cup (70 g) mixed seeds (sunflower, pumpkin, flax, sesame)
- 2 tsp (7 g) instant yeast
- 1½ tsp (9 g) salt
- 1⅔ cups (400 ml) warm water
- 1 tbsp (15 ml) honey or maple syrup (optional)
- 1 tbsp (15 ml) olive oil
Instructions
- Combine 3 cups all-purpose flour, 1 cup rolled oats, ½ cup mixed seeds, 2 tsp instant yeast, and 1½ tsp salt in a large mixing bowl. Stir well to distribute yeast and salt evenly.
- Add 1⅔ cups warm water, 1 tbsp honey or maple syrup, and 1 tbsp olive oil. Stir with a wooden spoon until dough just comes together; it will be sticky and shaggy.
- Cover the bowl loosely with plastic wrap or a damp towel and let rest at room temperature for 12 to 18 hours until dough expands and bubbles form.
- Lightly flour a work surface and gently turn out the dough. Fold it over a couple of times to shape into a round loaf. Place seam side down into a floured proofing basket or bowl lined with a floured kitchen towel. Cover and let rise for 1 to 2 hours until puffy.
- Preheat oven to 450°F (230°C) with a Dutch oven or heavy oven-safe pot with lid inside for 30 minutes.
- Carefully remove the hot Dutch oven. Invert the dough onto parchment paper and transfer it inside. Cover with lid and bake for 30 minutes.
- Remove lid and bake for an additional 15 minutes to brown and crisp the crust.
- Transfer bread to a cooling rack and cool completely for at least 1 hour before slicing.
Notes
If dough is too sticky to handle, dust hands and surface lightly with flour instead of adding more to dough. Use a Dutch oven or add a pan of boiling water to oven to create steam for a crunchy crust. Let bread cool completely before slicing to avoid gummy crumb. For gluten-free version, use gluten-free flour blend and oat flour with xanthan gum. Seed swaps and herb additions are encouraged for flavor variations.
- Prep Time: 15 minutes
- Cook Time: 45 minutes
- Category: Bread
- Cuisine: American
Nutrition
- Serving Size: 1 slice (about 60 g)
- Calories: 180
- Sugar: 1
- Sodium: 350
- Fat: 7
- Saturated Fat: 1
- Carbohydrates: 28
- Fiber: 3
- Protein: 5
Keywords: no-knead bread, seeded oat bread, easy bread recipe, crunchy crust bread, beginner bread recipe, no-knead oat bread


