
Introduction
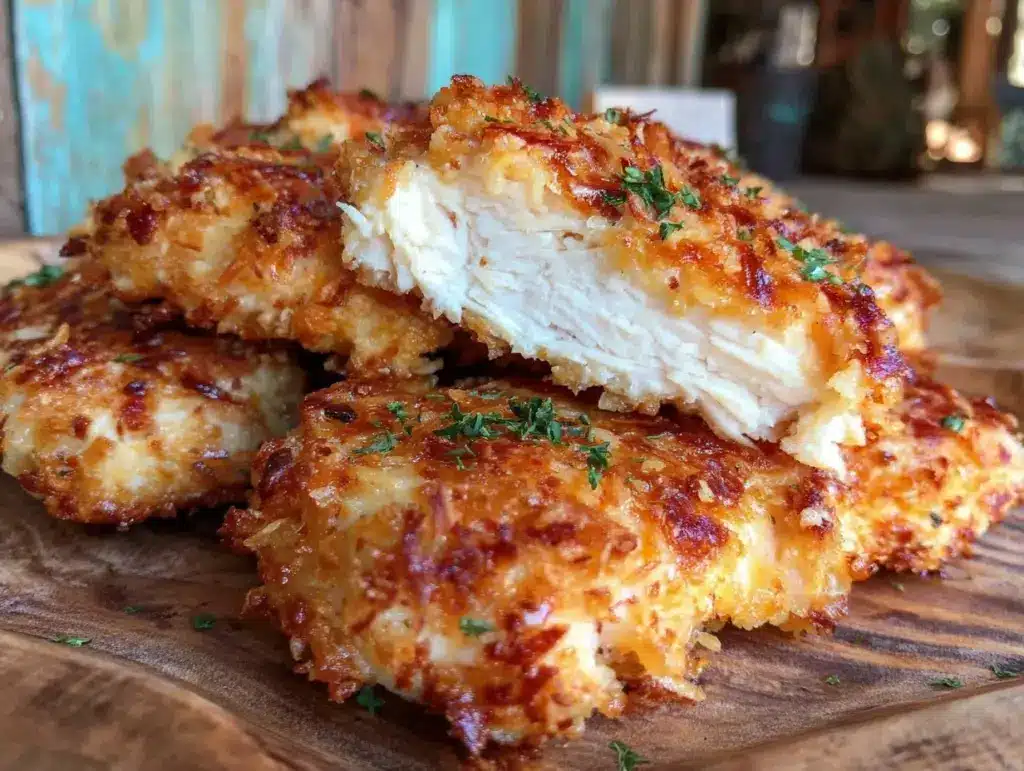
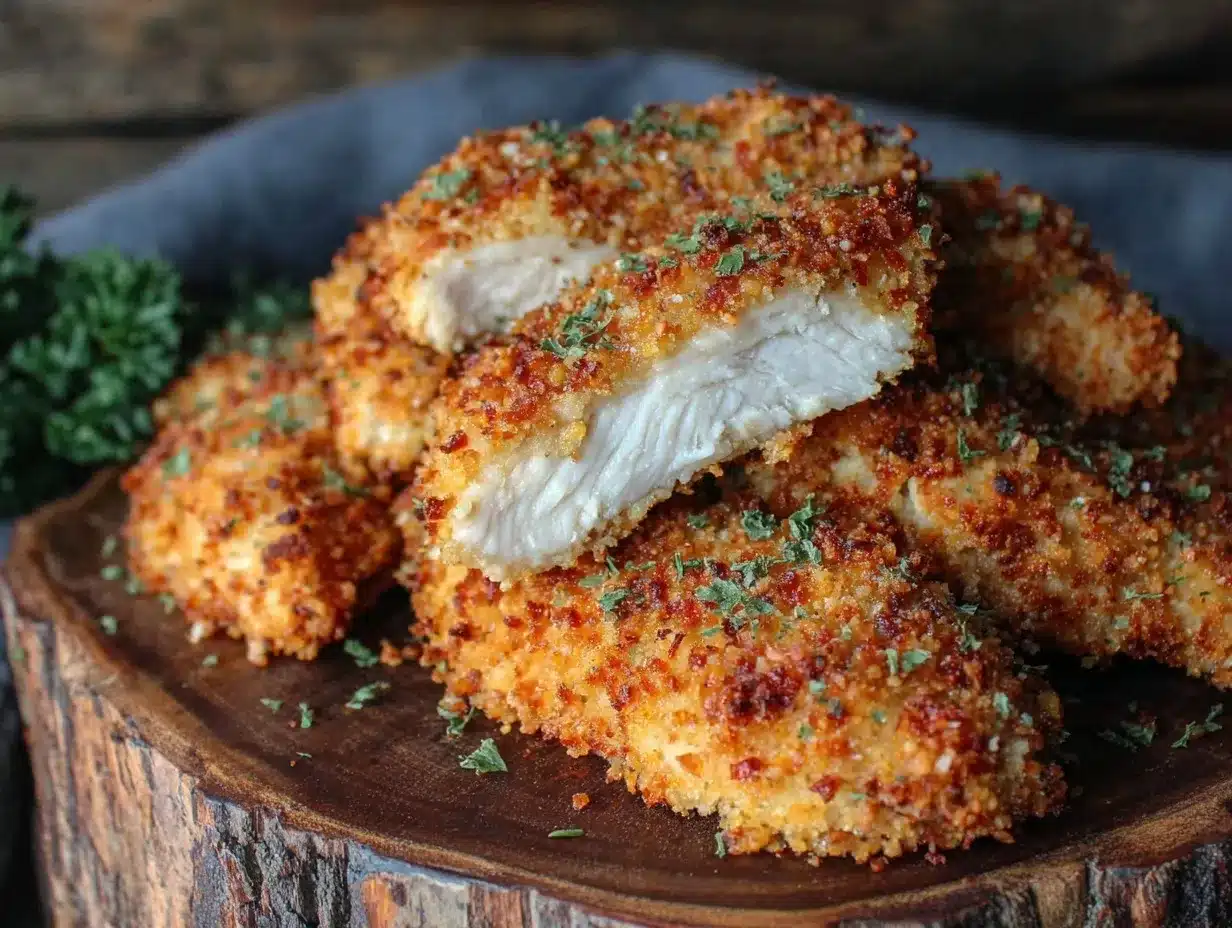
It was one of those evenings when I barely had the energy to think about dinner. The kind where the day’s chaos still clung to my sleeves, and all I wanted was something comforting but quick. I glanced in the fridge, eyes half-closed, spotting some chicken breasts and a nearly forgotten box of panko breadcrumbs. Honestly, I wasn’t convinced baked chicken tenders could hit the right note—especially with that panko crust. I’d tried baked versions before, and they usually came out, well, a little sad and soggy. But this time, something just clicked. I mixed up a simple breading, tossed the tenders in, and popped them in the oven. The timer dinged, and when I pulled those golden, crispy beauties out, I was honestly surprised. The crust was perfectly crunchy, and the chicken inside stayed juicy—not dry like I feared. That night, those tenders turned into my go-to comfort food, especially when I’m craving that crunch without the mess of frying. It’s funny how a little pantry treasure can turn a hectic night around. Now, whenever I need something reliable and delicious, crispy baked chicken tenders with panko crust are my quiet little secret to a satisfying meal.
Why You’ll Love This Recipe
- Quick & Easy: Ready in under 30 minutes—ideal for busy nights when time’s short but hunger’s loud.
- Simple Ingredients: Uses pantry staples like panko breadcrumbs, eggs, and basic seasonings—no fancy trips to specialty stores required.
- Perfect for Any Occasion: Whether it’s a casual family dinner, game day snack, or even a kid-friendly lunch, it fits right in.
- Crowd-Pleaser: Kids and adults alike can’t get enough of that satisfying crunch paired with juicy chicken.
- Unbelievably Delicious: Thanks to the crisp panko crust and well-seasoned interior, it’s the kind of comfort food you’ll want to make again and again.
This isn’t just another baked chicken tender recipe. The secret lies in the double coating step, which creates that unmistakable crunch without frying. Also, I like to toss the panko with a pinch of paprika and garlic powder—the subtle seasoning really makes the crust pop. Honestly, the balance of crunchy texture and tender meat feels like you’re indulging without the guilt. It’s the kind of recipe that sticks because it’s easy but tastes like you put in so much more effort.
What Ingredients You Will Need
This recipe keeps things straightforward, relying on a handful of quality ingredients that deliver a bold crunch and juicy inside. Most are pantry staples you likely already have.
- Chicken tenders: about 1 pound (450g), trimmed of excess fat and patted dry (fresh or thawed works best)
- Panko breadcrumbs: 1 ½ cups (150g), for that signature crispiness (I personally prefer Kikkoman brand for consistent texture)
- All-purpose flour: ½ cup (60g), helps the coating stick better
- Eggs: 2 large, beaten, room temperature (helps create that adhesive layer for the panko)
- Parmesan cheese: ¼ cup (25g), finely grated, optional but adds a nice savory depth
- Garlic powder: 1 teaspoon, for a touch of warm flavor
- Paprika: 1 teaspoon, adds a subtle smoky note and color
- Salt and black pepper: to taste, essential for seasoning both the chicken and the crust
- Cooking spray or olive oil: just enough to lightly coat the tenders before baking (helps with browning)
Feel free to swap all-purpose flour for almond flour if you’re going gluten-free. For a dairy-free twist, leave out the Parmesan or replace it with nutritional yeast for a cheesy hint. If you’re craving extra spice, a pinch of cayenne or chili powder in the panko mix does wonders. And in summertime, sometimes I add a little lemon zest to brighten things up.
Equipment Needed
- Baking sheet: A rimmed one works best to catch any drips and keep things tidy.
- Wire rack: Placed on the baking sheet, this is key to air circulation — it keeps the bottoms crispy instead of soggy.
- Mixing bowls: At least two — one for the flour and seasoning, one for the beaten eggs, and another for the panko mixture.
- Tongs: Helpful for coating tenders without getting messy fingers.
- Measuring cups and spoons: For precise seasoning and coating ratios.
If you don’t have a wire rack, you can lay parchment paper on the baking sheet and flip the tenders halfway through baking—but the rack really makes a difference. I’ve tried silicone baking mats too, but they sometimes don’t let enough airflow for crispiness. A budget-friendly alternative is to use a cooling rack that fits inside your baking sheet. Just make sure it’s oven-safe!
Preparation Method
- Preheat your oven to 425°F (220°C). This higher temperature is crucial for crisping the panko crust without drying out the chicken. Line your baking sheet with foil for easy cleanup, then place a wire rack on top.
- Prepare the coating stations: In a shallow bowl, mix the flour with salt, pepper, garlic powder, and paprika. In a second bowl, beat the eggs until smooth. In a third bowl, combine the panko breadcrumbs with Parmesan cheese, and add a pinch of salt and pepper.
- Coat the chicken tenders: One at a time, dredge each tender in the flour mixture, shaking off excess. Then dip into the beaten eggs, letting the extra drip off. Finally, press firmly into the panko mixture, ensuring an even, thick crust. Repeat for all tenders.
- Arrange the tenders on the wire rack: Place them spaced apart so hot air can circulate all around. Lightly spray or brush the tops with olive oil or cooking spray. This step helps develop that golden color.
- Bake for 15 to 18 minutes: Flip halfway through baking to crisp both sides evenly. The chicken should reach an internal temperature of 165°F (74°C). Look for a deep golden crust and juicy interior.
- Rest briefly before serving: Let the tenders cool for 3-5 minutes on the rack. This allows the crust to set perfectly and avoids sogginess.
Pro tip: If your panko seems dry or falls off during baking, try pressing the coating firmly and spraying lightly with oil before baking. Also, don’t overcrowd the pan; give each tender some breathing room. If it’s your first time, use a meat thermometer to avoid overcooking—nothing worse than dry chicken!
Cooking Tips & Techniques
Getting that perfect crunch without frying can feel tricky, but here’s what I’ve learned over several attempts. First, the wire rack is a game-changer. It lets heat circulate so the crust crisps all around—not just on top. If you skip this, the bottom often gets soggy, and that’s no fun.
Also, seasoning each layer is key. Don’t just rely on the panko; mix your spices into the flour and the breadcrumb mix for depth. I’ve made the mistake of under-seasoning before, and the tenders tasted bland despite a crispy crust.
Keep your eggs at room temperature for easier coating and better adhesion. Cold eggs can cause the panko to slide off. And speaking of adhesion, pressing the breadcrumbs firmly onto the tenders helps maintain that crust during baking.
Lastly, don’t rush the resting time. It’s tempting to dig in right away, but the crust needs a few minutes to set and stay crisp. Trust me, it’s worth the wait. Baking at a higher temperature for a shorter time keeps the inside juicy without drying out the meat—a balance I’ve chased many times.
Variations & Adaptations
- Spicy Crunch: Add cayenne pepper or smoked paprika to the panko mix for a fiery kick. You can even toss the finished tenders in buffalo sauce for extra heat.
- Herb Infused: Mix dried Italian herbs like oregano, basil, and thyme into your flour and panko for a fresh, aromatic flavor.
- Gluten-Free: Swap regular panko with gluten-free breadcrumbs or crushed gluten-free cereal. Almond flour can replace all-purpose flour in the dredging step.
- Oven to Air Fryer: If you have an air fryer, cook the tenders at 400°F (200°C) for about 10-12 minutes, flipping halfway through, for an even crispier finish.
- Dairy-Free: Skip the Parmesan or replace it with a sprinkle of nutritional yeast—still adds that umami bite.
Once, I tried a lemon pepper twist, adding lemon zest and black pepper to the breadcrumb mixture. It became an instant hit for a light summer meal. Experimenting with different spices and herbs keeps this recipe exciting and personalized.
Serving & Storage Suggestions
Serve these crispy baked chicken tenders hot for the best crunch. They pair wonderfully with classic dipping sauces like honey mustard, ranch, or spicy mayo. For a heartier meal, add a fresh side salad or roasted veggies. On a lazy weekend, I like serving them alongside crispy fries or a creamy coleslaw.
To store, place leftovers in an airtight container and refrigerate for up to 3 days. Reheat in the oven at 375°F (190°C) for 8-10 minutes to bring back crispiness. Avoid microwaving if you want to keep that crunch—it tends to make the crust soggy.
If you want to freeze them, flash freeze the baked tenders on a tray first, then transfer to a freezer bag for up to 2 months. Reheat directly from frozen in the oven for about 15 minutes at 400°F (200°C).
Over time, the flavors mellow and the crust softens a bit, but reheating properly brings back a satisfying texture. I’ve noticed the garlic and paprika flavors actually deepen after a day in the fridge, so leftovers aren’t just convenient—they’re tasty too.
Nutritional Information & Benefits
Each serving (about 4 tenders) roughly contains:
| Calories | 320 kcal |
|---|---|
| Protein | 35g |
| Fat | 12g |
| Carbohydrates | 18g |
| Fiber | 1g |
Chicken provides a lean source of protein essential for muscle repair and energy. Panko breadcrumbs add crunch without excessive fat compared to frying, making this recipe a lighter alternative. Garlic powder brings antioxidants, and paprika offers anti-inflammatory properties. For those watching carbs or gluten, swapping ingredients as noted can make this recipe fit low-carb or gluten-free diets.
From a wellness perspective, this recipe balances taste and nutrition—you get that satisfying crunch and juicy protein without extra grease or calories from frying. It’s a meal that feels good and tastes great.
Conclusion
Crispy baked chicken tenders with panko crust have earned a permanent spot in my recipe rotation. They’re easy enough to whip up on hectic nights but tasty enough to feel like a treat. The golden crust and juicy center keep me coming back, and I love how adaptable the recipe is for different flavors and diets. Whether you’re feeding kids, hosting friends, or just craving that crunch without frying, give these tenders a shot. I think you’ll find, like me, they’re the kind of simple dish that quietly becomes a favorite. Don’t hesitate to tweak seasonings or sides to make it your own—cooking should always feel like a little adventure in your own kitchen.
FAQs About Crispy Baked Chicken Tenders with Panko Crust
Can I use chicken breasts instead of tenders?
Yes! Slice chicken breasts into strips about 1-inch wide and follow the same coating and baking method. Just watch the cooking time, as thicker pieces may need a minute or two longer.
How do I keep the panko crust from falling off?
Make sure to dredge the chicken in flour, then dip in egg, and finally press the panko firmly onto the chicken. Using a wire rack for baking and lightly spraying oil on top also helps the crust stay intact.
Can I prepare these tenders ahead of time?
You can coat the tenders and store them in the fridge for up to 4 hours before baking. For longer storage, freeze them after coating and bake directly from frozen.
What dipping sauces go well with these chicken tenders?
Honey mustard, ranch, barbecue sauce, spicy mayo, or even a tangy sriracha aioli complement the crispy tenders beautifully.
Is it possible to make this recipe dairy-free?
Absolutely! Simply omit the Parmesan cheese or replace it with nutritional yeast for a cheesy flavor without dairy.
Pin This Recipe!
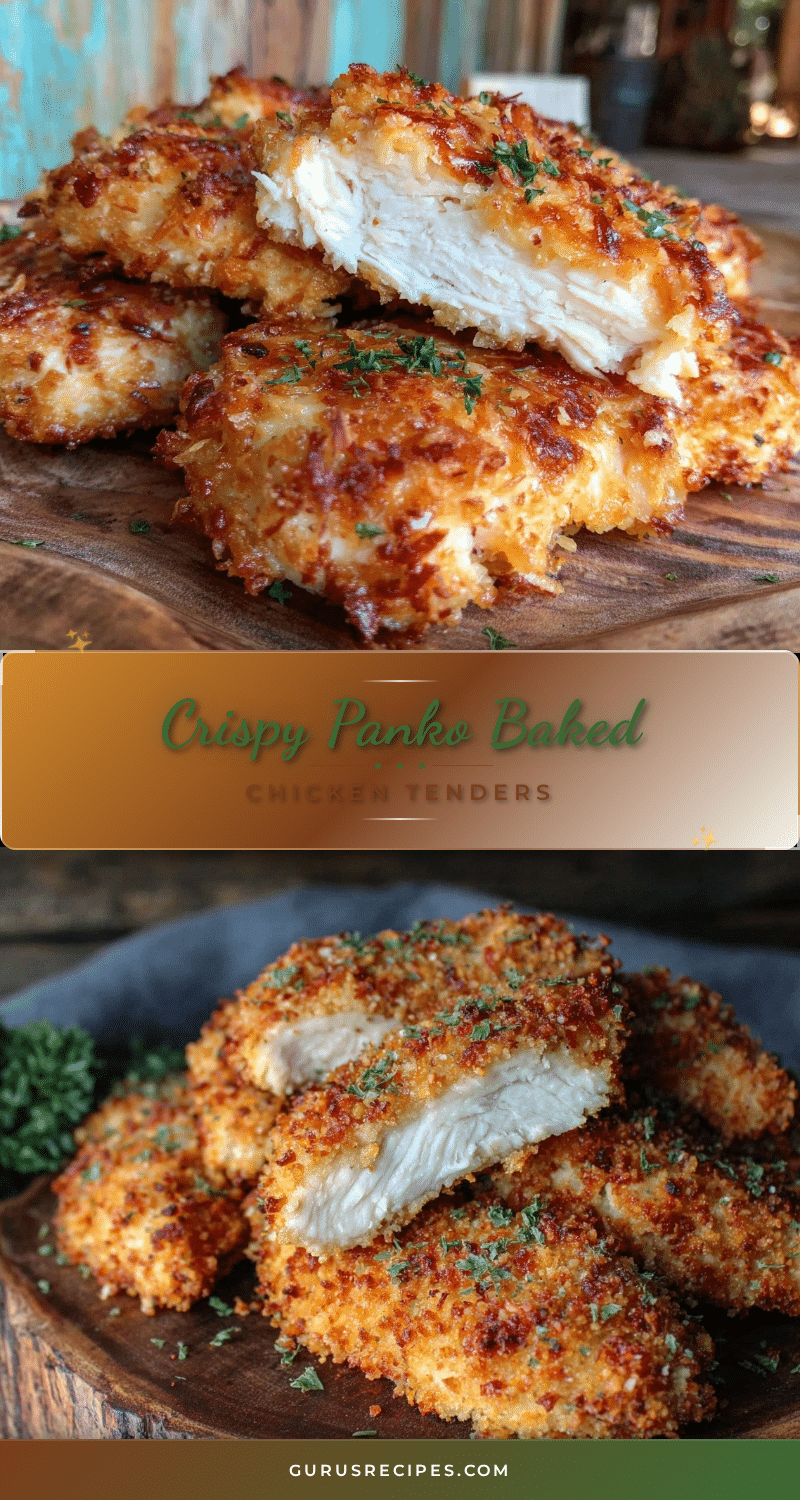

Crispy Baked Chicken Tenders with Panko Crust
A quick and easy recipe for perfectly crunchy baked chicken tenders with a flavorful panko crust that stays juicy inside without frying.
- Total Time: 28 minutes
- Yield: 4 servings 1x
Ingredients
- 1 pound chicken tenders, trimmed of excess fat and patted dry
- 1 ½ cups panko breadcrumbs (about 150g)
- ½ cup all-purpose flour (about 60g)
- 2 large eggs, beaten, room temperature
- ¼ cup Parmesan cheese, finely grated (optional)
- 1 teaspoon garlic powder
- 1 teaspoon paprika
- Salt and black pepper to taste
- Cooking spray or olive oil for coating
Instructions
- Preheat your oven to 425°F (220°C). Line a rimmed baking sheet with foil and place a wire rack on top.
- In a shallow bowl, mix the flour with salt, pepper, garlic powder, and paprika.
- In a second bowl, beat the eggs until smooth.
- In a third bowl, combine the panko breadcrumbs with Parmesan cheese, and add a pinch of salt and pepper.
- Dredge each chicken tender in the flour mixture, shaking off excess.
- Dip the floured tender into the beaten eggs, letting the extra drip off.
- Press the tender firmly into the panko mixture to coat evenly and thickly. Repeat for all tenders.
- Arrange the coated tenders spaced apart on the wire rack.
- Lightly spray or brush the tops with olive oil or cooking spray.
- Bake for 15 to 18 minutes, flipping halfway through, until the chicken reaches an internal temperature of 165°F (74°C) and the crust is deep golden.
- Let the tenders rest on the rack for 3-5 minutes before serving to allow the crust to set.
Notes
Use a wire rack to keep the bottoms crispy. Press panko firmly onto chicken to prevent falling off. Lightly spray oil on top before baking for better browning. Rest tenders after baking to set crust. For gluten-free, swap flour and panko with gluten-free alternatives. For dairy-free, omit Parmesan or use nutritional yeast.
- Prep Time: 10 minutes
- Cook Time: 18 minutes
- Category: Main Course
- Cuisine: American
Nutrition
- Serving Size: About 4 chicken tend
- Calories: 320
- Fat: 12
- Carbohydrates: 18
- Fiber: 1
- Protein: 35
Keywords: crispy baked chicken tenders, panko crust, easy chicken recipe, healthy chicken tenders, baked chicken, kid-friendly chicken, quick dinner


