
There was this late Sunday afternoon when my kitchen smelled like something straight out of a countryside bakery. Honestly, I wasn’t aiming for anything fancy—just a simple loaf of bread that didn’t require me to stand over the counter kneading for what felt like forever. I’d been scrolling through recipes, feeling a bit too tired to tackle anything complex, when I stumbled on this idea: Crispy No-Knead Dutch Oven Bread with Rustic Charm. Skeptical at first, I figured, “How good can no-knead bread really be?” But after a few hours of just letting the dough sit and rise on its own, I popped it into my trusty Dutch oven—and magic happened.
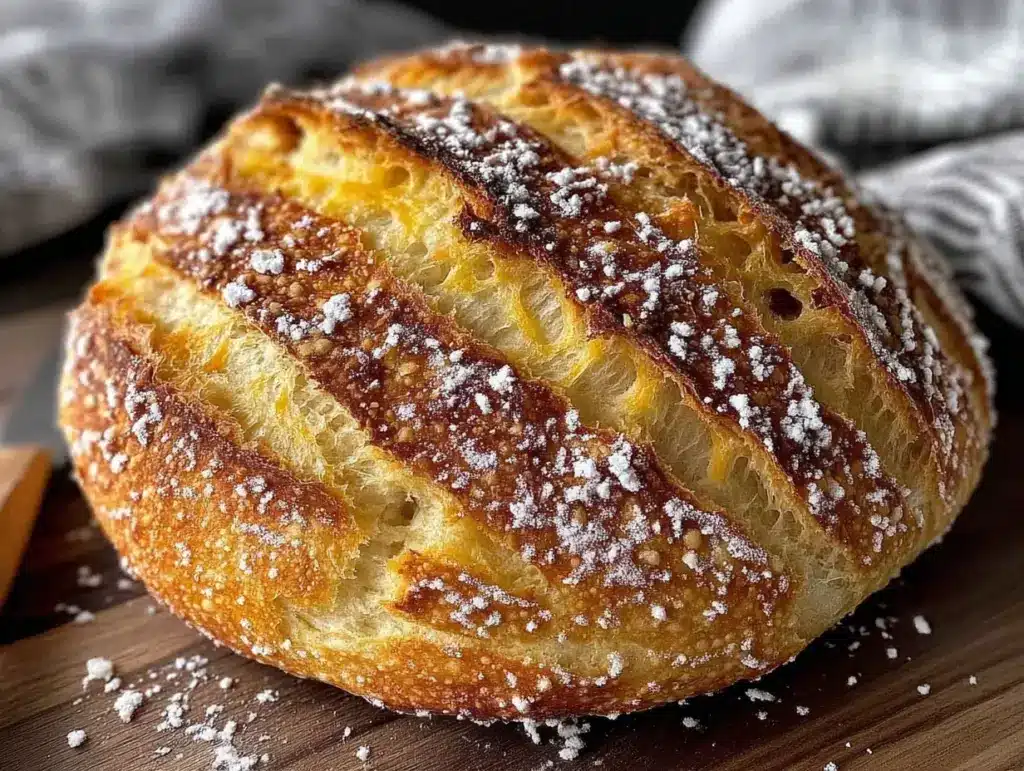
The crust came out beautifully crackly, almost like those artisanal loaves you see in fancy bakeries, but the inside was dreamy and soft, with those perfect air pockets that make bread feel alive. What really got me was the rustic vibe it brought to the table—this isn’t just bread; it’s a little moment of slow-cooked joy in the middle of a hectic week. Somehow, that simple loaf reminded me that good things can happen without rushing, and that a bit of patience in the kitchen can pay off in ways that warm more than just your stomach.
It’s funny how this recipe stuck with me. It’s become my go-to when I want homemade bread without the usual fuss, and it’s a quiet reminder that sometimes, less really is more.
Why You’ll Love This Recipe
- Quick & Easy: This recipe comes together in under 15 minutes of hands-on time, perfect for those busy days when you want fresh bread without the stress.
- Simple Ingredients: No need for exotic flours or fancy gadgets—just pantry staples like flour, yeast, salt, and water.
- Perfect for Cozy Dinners: Whether you’re pairing it with soup, cheese, or just butter, this bread brings a rustic charm to any meal.
- Crowd-Pleaser: Friends and family always ask for this recipe after tasting it—they love the crunchy crust and soft crumb combo.
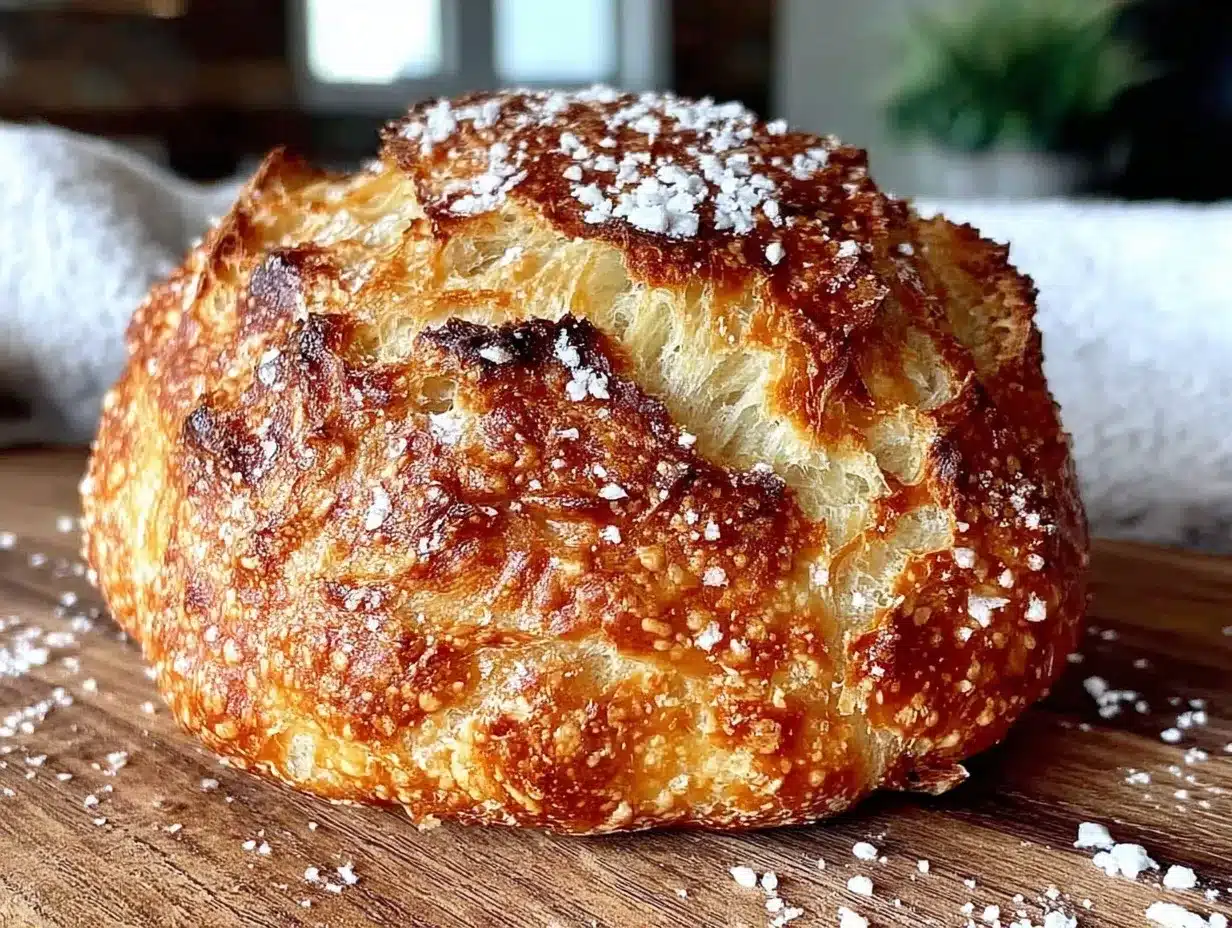
- Unbelievably Delicious: The secret Dutch oven technique traps steam for a crust that’s crispy and golden, almost like you bought it from a bakery.
- What Makes This Recipe Different: Unlike other no-knead breads that can be dense or bland, this loaf balances a chewy interior with a crackling crust thanks to the Dutch oven’s magic. Plus, the long fermentation adds subtle depth to the flavor that you just don’t get with quick breads.
- Why It Resonates: It’s not just bread; it’s a comforting ritual that fits into your life without demanding too much, giving you that rustic, homemade feeling everyone secretly craves.
What Ingredients You Will Need
This recipe uses simple, wholesome ingredients to deliver bold flavor and satisfying texture without the fuss. Most are pantry staples, so you probably have everything on hand right now.
- All-purpose flour – 3 cups (360g), unbleached preferred for better texture
- Instant yeast – 1/4 teaspoon (use active dry if needed, but adjust proofing time)
- Salt – 1 1/4 teaspoons (balances flavor and strengthens gluten)
- Lukewarm water – 1 1/2 cups (360ml), filtered if possible for cleaner taste
- Olive oil or vegetable oil – 1 teaspoon (optional, adds slight softness to crust)
Ingredient Tips: I usually go with King Arthur flour for reliable results, but any good quality all-purpose flour works. If you want a heartier loaf, swapping half the flour with bread flour adds chewiness. For gluten-free variations, consider a blend designed for baking.
Equipment Needed
- Dutch oven (5 to 7-quart size) – Essential for creating the steam chamber that gives the crust its crispiness. If you don’t have one, a heavy oven-safe pot with a lid can work but results vary.
- Mixing bowl – For combining ingredients. Glass or stainless steel works best to see the dough rise.
- Wooden spoon or spatula – To mix the dough without kneading.
- Kitchen towel or plastic wrap – For covering the dough during fermentation.
- Cooling rack – To let your bread breathe after baking and keep that crust crispy.
Personally, I’ve tried cast iron and enameled Dutch ovens. Cast iron holds heat beautifully but requires seasoning care, while enameled versions are easier to clean and don’t react with acidic ingredients. Both give excellent results here, so pick what fits your kitchen and budget.
Preparation Method
- Mix the dry ingredients: In a large bowl, whisk together 3 cups (360g) of all-purpose flour, 1/4 teaspoon instant yeast, and 1 1/4 teaspoons salt. It’s important to evenly distribute the yeast and salt so your bread rises properly and tastes balanced. (5 minutes)
- Add the water: Pour in 1 1/2 cups (360ml) lukewarm water and 1 teaspoon olive oil (if using). Stir gently with a wooden spoon or spatula until a shaggy, sticky dough forms. Don’t worry if it looks rough or sticky—that’s exactly what you want. (3 minutes)
- Cover and ferment: Cover the bowl tightly with plastic wrap or a damp kitchen towel. Let the dough rest at room temperature for 12 to 18 hours. You’ll know it’s ready when the surface is dotted with bubbles and has nearly doubled in size. (Overnight or daytime)
- Preheat your oven and Dutch oven: About 30 minutes before baking, place your empty Dutch oven with its lid in the oven and preheat to 450°F (230°C). This step is key to getting that crisp crust. (30 minutes)
- Shape the dough: Lightly flour a work surface and scrape the dough out gently. Fold it over onto itself a few times to shape into a round loaf—no kneading needed! Let it rest for 30 minutes while the oven heats. (30 minutes)
- Bake the bread: Carefully remove the hot Dutch oven from the oven. Place the dough inside (use parchment paper for easier handling), cover with the lid, and bake for 30 minutes. Then, remove the lid and bake for an additional 15 to 20 minutes until the crust is deeply golden and crisp. (45-50 minutes)
- Cool before slicing: Transfer the bread to a cooling rack and let it rest for at least an hour. This step helps the crumb set perfectly—cutting too soon will make it gummy. (1 hour)
If the crust darkens too quickly, lower the oven temperature slightly next time. And don’t skip preheating the Dutch oven—it really makes all the difference.
Cooking Tips & Techniques
One of the best parts about this crispy no-knead Dutch oven bread is how little hands-on time it needs, but there are a few tricks I learned along the way to get it just right.
- Use instant yeast: It mixes right in with the dry ingredients, so no need to proof it separately. Saves time and simplifies the process.
- Water temperature matters: Too hot can kill the yeast; too cold slows fermentation. Lukewarm (around 100°F/38°C) is your sweet spot.
- Don’t skip the resting time: The long fermentation is what builds flavor and texture. It’s hands-off but crucial.
- Preheat the Dutch oven: This traps steam, giving you that bakery-quality crust. I’ve learned the hard way that baking without preheating results in a dull, soft crust.
- Use parchment paper for easy handling: It helps you lift the sticky dough into the hot pot without burning your fingers or deforming the loaf.
- Be patient cooling: Slicing too soon makes the crumb gummy. I know it’s tempting, but wait at least an hour.
Overall, this bread is forgiving, but those little touches make it shine. Mistakes happen, but each loaf teaches you something new!
Variations & Adaptations
This recipe is a great canvas for your own twists, whether dietary needs or flavor preferences.
- Gluten-Free Version: Swap all-purpose flour for a 1-to-1 gluten-free baking blend. The texture changes a bit, and you’ll want to watch hydration closely—gluten-free doughs often need slightly less water.
- Whole Wheat Twist: Replace up to half the flour with whole wheat for nuttier flavor and extra fiber. The dough will be denser and darker but deliciously hearty.
- Herbs and Seeds: Add fresh rosemary, thyme, or a tablespoon of sesame or poppy seeds into the dough for rustic flair. I once tried garlic powder and oregano—fantastic with soup!
- Different Cooking Vessels: If you don’t have a Dutch oven, a cast iron skillet covered tightly with a large metal bowl can work in a pinch, though the crust might be less crisp.
- Personal Favorite: I sometimes brush the crust with melted butter right after baking for a softer, richer finish. It’s a small indulgence but worth it.
Serving & Storage Suggestions
This bread is best served warm or at room temperature, with a crunchy crust and soft crumb that pairs beautifully with butter, olive oil, or your favorite jam. Try it alongside a bowl of hearty stew or a plate of cheeses for a cozy meal.
Store leftovers wrapped loosely in a tea towel at room temperature for up to two days to keep the crust crisp. For longer storage, slice the bread and freeze in an airtight bag. Toast slices straight from frozen for a fresh-baked feel.
Reheating in a 350°F (175°C) oven for 10 minutes helps revive that crispy crust. The flavors actually deepen after a day or two, making this bread even better the next day.
Nutritional Information & Benefits
A typical serving (about 1/8th of the loaf) contains approximately 180 calories, 5 grams of protein, 1 gram of fat, and 36 grams of carbohydrates. Thanks to simple ingredients, this bread is free from additives or preservatives.
Using all-purpose flour keeps it accessible, but swapping in whole wheat adds fiber and nutrients. The long fermentation helps break down gluten, making it easier to digest for some people.
This recipe is naturally dairy-free and can be made vegan by skipping the optional oil or using plant-based alternatives. It’s a wholesome choice for anyone craving that homemade rustic bread experience without complexity.
Conclusion
Making this crispy no-knead Dutch oven bread has become one of those little kitchen rituals that feels both satisfying and surprisingly easy. It’s proof that you don’t need complicated techniques or fancy ingredients to enjoy truly delicious, rustic bread at home. What I love most is how forgiving it is—you can tweak it to match your pantry, your taste, and your time.
So whether you’re feeding a crowd or just treating yourself, this loaf offers that perfect blend of crunchy crust and tender crumb that invites you to slow down and savor the moment. Give it a try, make it your own, and let me know how your first bake turns out—I’m always curious to hear about your kitchen wins and happy accidents!
FAQs
Can I use active dry yeast instead of instant yeast?
Yes! Just proof it in warm water with a pinch of sugar for 5-10 minutes before mixing with the flour. This step wakes up the yeast and ensures good rise.
Do I have to use a Dutch oven for this recipe?
While a Dutch oven gives the best crust by trapping steam, you can try a heavy pot with a lid or even a cast iron skillet covered with a metal bowl. Results may vary.
How long can I store leftover bread?
Keep it wrapped loosely in a tea towel at room temperature for up to two days. For longer storage, slice and freeze it—toast slices straight from the freezer for best taste.
Can I add seeds or herbs to the dough?
Absolutely! Adding things like rosemary, thyme, sesame, or poppy seeds can boost flavor and rustic charm. Just fold them in during the initial mixing.
What if my dough is too sticky to handle?
A sticky dough is normal for no-knead bread. Lightly flour your hands and surface when shaping, but avoid adding too much flour as that can make the bread dense.
Pin This Recipe!
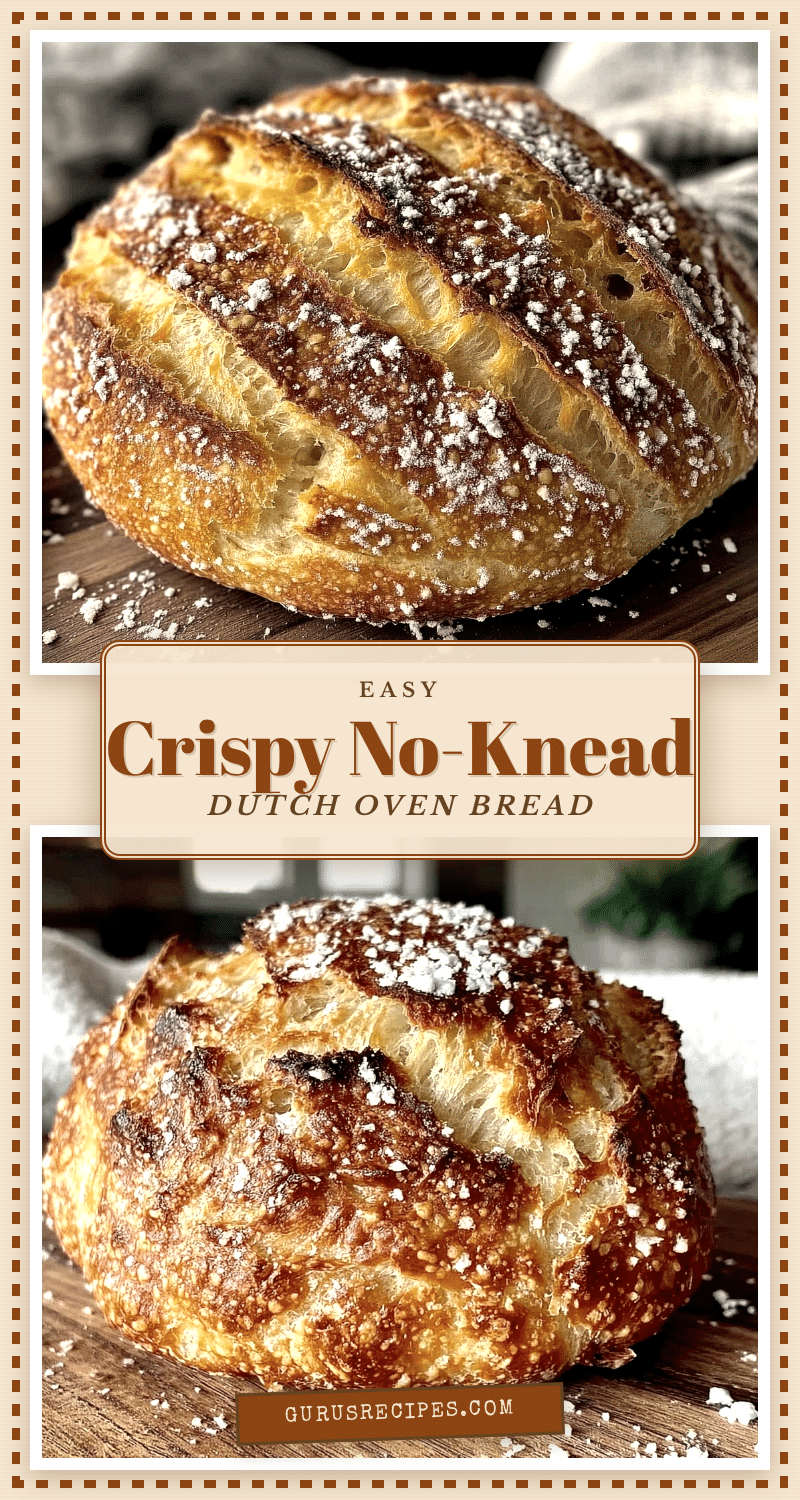

Crispy No-Knead Dutch Oven Bread Easy Homemade Rustic Recipe
A simple, no-knead bread recipe that yields a crispy crust and soft, airy crumb using a Dutch oven. Perfect for homemade rustic bread with minimal hands-on time.
- Total Time: 13 hours 35 minutes
- Yield: 1 loaf (about 8 servings) 1x
Ingredients
- 3 cups (360g) all-purpose flour, unbleached preferred
- 1/4 teaspoon instant yeast (use active dry if needed, adjust proofing time)
- 1 1/4 teaspoons salt
- 1 1/2 cups (360ml) lukewarm water, filtered if possible
- 1 teaspoon olive oil or vegetable oil (optional)
Instructions
- Mix the dry ingredients: In a large bowl, whisk together 3 cups (360g) of all-purpose flour, 1/4 teaspoon instant yeast, and 1 1/4 teaspoons salt. (5 minutes)
- Add the water: Pour in 1 1/2 cups (360ml) lukewarm water and 1 teaspoon olive oil (if using). Stir gently with a wooden spoon or spatula until a shaggy, sticky dough forms. (3 minutes)
- Cover and ferment: Cover the bowl tightly with plastic wrap or a damp kitchen towel. Let the dough rest at room temperature for 12 to 18 hours until doubled in size and bubbly. (Overnight or daytime)
- Preheat your oven and Dutch oven: About 30 minutes before baking, place your empty Dutch oven with its lid in the oven and preheat to 450°F (230°C). (30 minutes)
- Shape the dough: Lightly flour a work surface and scrape the dough out gently. Fold it over onto itself a few times to shape into a round loaf. Let it rest for 30 minutes while the oven heats. (30 minutes)
- Bake the bread: Carefully remove the hot Dutch oven from the oven. Place the dough inside using parchment paper, cover with the lid, and bake for 30 minutes. Remove the lid and bake for an additional 15 to 20 minutes until crust is deeply golden and crisp. (45-50 minutes)
- Cool before slicing: Transfer the bread to a cooling rack and let it rest for at least an hour before slicing. (1 hour)
Notes
Use instant yeast for convenience; if using active dry yeast, proof it first. Lukewarm water is key to yeast activation. Preheat the Dutch oven to trap steam for a crispy crust. Use parchment paper to handle sticky dough easily. Let bread cool at least an hour before slicing to avoid gummy crumb. For gluten-free, use a 1-to-1 gluten-free baking blend and adjust water. Whole wheat can replace up to half the flour for nuttier flavor. Optional brushing with melted butter after baking softens crust.
- Prep Time: 15 minutes
- Cook Time: 50 minutes
- Category: Bread
- Cuisine: American
Nutrition
- Serving Size: 1/8th of the loaf
- Calories: 180
- Sodium: 300
- Fat: 1
- Carbohydrates: 36
- Fiber: 1
- Protein: 5
Keywords: no-knead bread, Dutch oven bread, rustic bread, homemade bread, easy bread recipe, crispy crust bread


