
“You sure you’re not just pouring beer on the grill?” my neighbor joked, watching me set up for what would become my go-to summer dinner. Honestly, I get it. The idea of sticking a beer can inside a whole chicken sounds like some backyard BBQ myth, right? But after a few trial runs (and a couple of smoky mishaps), that skeptical chuckle turned into impressed nods and repeated requests. This crispy beer can chicken with herb rub on the grill wasn’t just a fluke—it became the meal I crave when I want something effortless but seriously satisfying.
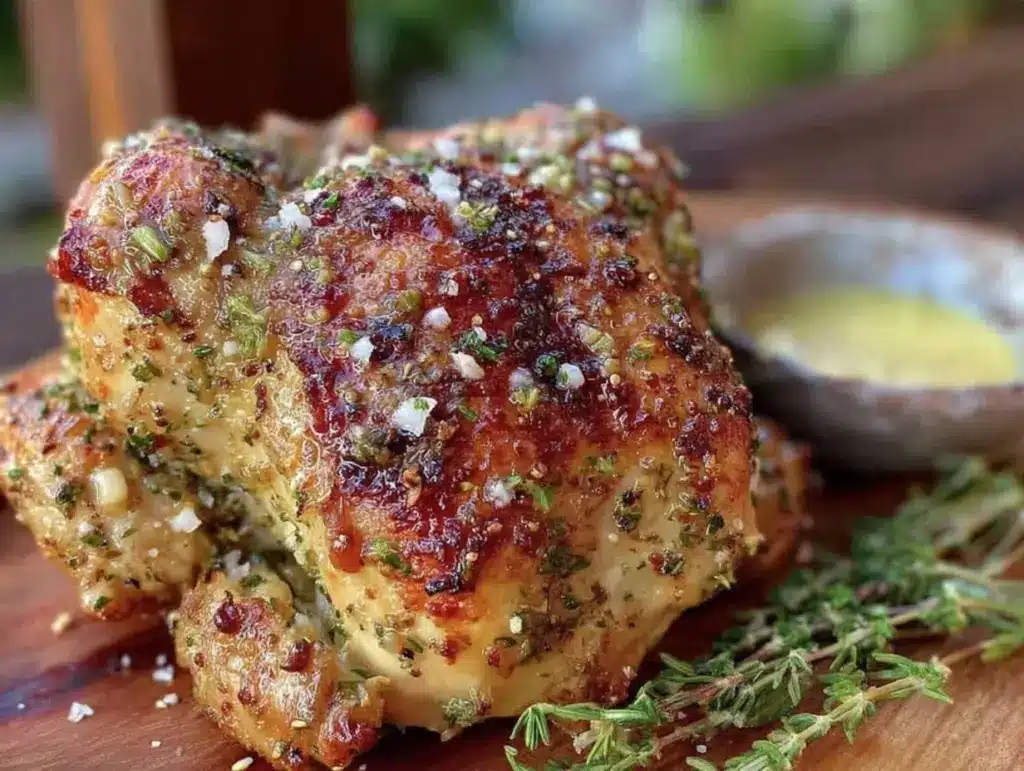
I remember the first time the golden skin crackled just right, catching that perfect balance between juicy and crispy. There was this moment when the smell of the herbs mingling with that subtle beer aroma filled the air, and I just knew this recipe was a keeper. The herb rub? That’s the secret handshake here, a mix that brings fresh, earthy notes without stealing the spotlight from the chicken’s natural flavor. Plus, grilling it upright on a beer can isn’t just for show—it steams the inside gently while crisping every inch of skin.
This recipe stuck for many reasons, but mostly because it’s the kind of dish that invites you to slow down a bit, soak up the easy rhythms of outdoor cooking, and enjoy something indulgently simple. No fuss, no complicated steps—just honest flavors and that unbeatable crispy skin. If you’ve ever had one of those dinners where everyone asks for seconds and no one wants to do the dishes, you might understand why I keep coming back to this one.
Why You’ll Love This Crispy Beer Can Chicken Herb Rub Recipe
After testing countless grilled chicken recipes, I can say this one truly stands out. Here’s why it’s become a favorite for busy evenings and weekend gatherings alike:
- Quick & Easy: The prep takes about 15 minutes, and the grill does most of the work. Perfect for when you want a fuss-free dinner that still feels special.
- Simple Ingredients: You probably already have these herbs and spices in your pantry—no need for fancy trips to specialty stores.
- Perfect for Outdoor Grilling: Whether it’s a summer cookout or a cozy backyard dinner, the grill brings out the best in this recipe.
- Crowd-Pleaser: Kids, adults, picky eaters—you name it. Everyone loves the crispy skin and juicy meat combo.
- Unbelievably Delicious: The herb rub is balanced and fragrant, adding layers of flavor without overwhelming the chicken’s natural taste.
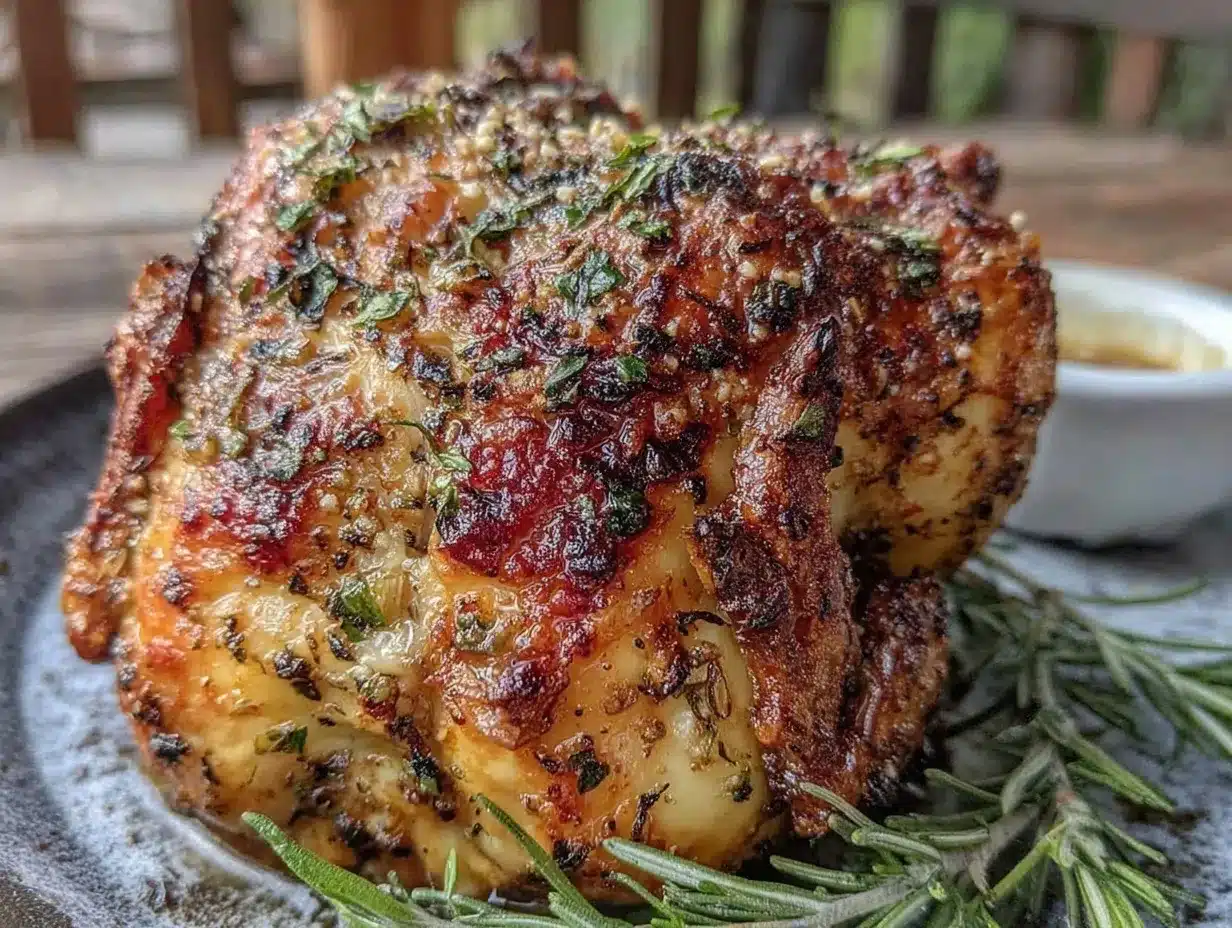
What makes this version different? It’s that thoughtfully crafted herb rub—fresh rosemary, thyme, garlic, and a hint of smoked paprika—that I tweak just enough to feel personal. Plus, cooking the chicken perched on a beer can ensures the inside stays juicy while the outside crisps up like a dream. It’s the kind of recipe that makes you pause mid-bite and think, “Yup, this is exactly why grilling rocks.”
What Ingredients You Will Need
This recipe uses simple, wholesome ingredients to deliver bold flavor and satisfying texture without the fuss. Most are pantry staples, but a few fresh herbs really bring the rub to life.
- Whole chicken (about 4 to 5 pounds / 1.8 to 2.3 kg) – Look for fresh or thawed for even cooking.
- Beer can (12 oz / 355 ml) – Any standard beer works; a lager or pale ale adds a subtle sweetness.
- Olive oil (2 tablespoons) – Helps the rub stick and crisps the skin nicely.
- Garlic powder (1 teaspoon) – For a savory base note.
- Onion powder (1 teaspoon) – Balances garlic with a mild sweetness.
- Smoked paprika (1 teaspoon) – Adds warmth and a hint of smokiness.
- Dried rosemary (1 teaspoon) – The star herb; fresh is even better if you have it.
- Dried thyme (1 teaspoon) – Earthy and aromatic, complements rosemary well.
- Salt (1 ½ teaspoons) – Kosher or sea salt for seasoning.
- Black pepper (1 teaspoon) – Freshly ground for a bit of bite.
- Lemon zest (optional, 1 teaspoon) – Brightens the herb rub with a citrusy punch.
If fresh herbs are on hand, substitute dried rosemary and thyme with 1 tablespoon each of fresh, finely chopped herbs. For a gluten-free version, any gluten-free beer or sparkling water can be used. If you want a spicier kick, a pinch of cayenne pepper works wonders here.
Equipment Needed
- Grill: A gas or charcoal grill works fine. I prefer charcoal for that extra smoky flavor, but gas is great for control and convenience.
- Beer can chicken holder (optional): This gadget keeps the chicken stable and upright on the grill. If you don’t have one, a sturdy beer can and careful balancing will do the trick.
- Meat thermometer: Essential for checking doneness without guessing. I trust a quick-read digital thermometer for accuracy.
- Mixing bowl: To combine the herb rub ingredients.
- Kitchen tongs: Helpful for safely moving the hot chicken on and off the grill.
- Basting brush (optional): For applying olive oil and any finishing touches.
For budget-friendly setups, skip the holder and just use a clean beer can. I’ve done this plenty of times and it works fine with a little patience. Just be sure to empty the beer halfway before inserting the chicken.
Preparation Method
- Preheat the grill: Prepare your grill for indirect cooking by heating one side to medium-high (about 375°F / 190°C) and leaving the other side cooler. This setup lets the chicken cook evenly without burning the skin. It usually takes 10-15 minutes.
- Prepare the chicken: Remove any giblets from inside the cavity and pat the chicken dry with paper towels. Dry skin is key for that crispy finish.
- Mix the herb rub: In a bowl, combine garlic powder, onion powder, smoked paprika, rosemary, thyme, salt, pepper, and lemon zest if using. Stir well.
- Apply olive oil: Rub the chicken all over with 2 tablespoons olive oil to help the herb rub stick and promote browning.
- Rub the chicken: Generously massage the herb blend all over the chicken, including under the skin where you can reach (especially around the breasts and thighs). This adds flavor right where it counts.
- Prepare the beer can: Open the can and pour out (or drink) about half of the beer. You want enough liquid in the can to steam the chicken but not overflow your grill.
- Position the chicken: Carefully place the chicken cavity over the beer can, standing it upright. If using a holder, secure it in place. If balancing manually, take your time to steady it on the grill.
- Grill the chicken: Place the chicken on the cooler side of the grill, covering with the lid. Cook for about 1 to 1 ¼ hours, checking occasionally. The chicken is done when the internal temperature reaches 165°F (74°C) in the thickest part of the thigh without touching the bone.
- Check for doneness: Use your meat thermometer to avoid dry meat or undercooking. If the skin is browning too quickly, move the chicken away from direct heat.
- Rest the chicken: Carefully remove the chicken from the beer can (it’ll be hot and steamy!). Let it rest for 10 minutes before carving. This step locks in the juices.
Pro tip: If you want even crispier skin, open the grill lid during the last 10 minutes of cooking to let moisture escape. Also, avoid poking the chicken with forks—use tongs or a spatula to keep juices in.
Cooking Tips & Techniques
Getting that perfect crispy beer can chicken on the grill is part art, part science. Here’s what I’ve learned over many weekends of grilling experiments:
- Pat the chicken dry: Moisture is the enemy of crisp skin. Always dry the chicken thoroughly before applying oil and rub.
- Indirect heat is your friend: Cooking the chicken away from the direct flame prevents flare-ups and burning.
- Use a digital meat thermometer: Don’t rely on time alone. Chicken size and grill temperature vary. This little gadget saves you from guesswork.
- Don’t rush the rest: Resting after grilling lets the juices redistribute. It makes slicing easier and meat juicier.
- Rotate if needed: If your grill has hot spots, rotate the chicken every 20 minutes for even cooking.
- Watch for flare-ups: Beer drips can cause flames. Keep a spray bottle handy to tame any sudden fires.
I once skipped drying the chicken and ended up with soggy skin—that was a learning moment. Also, early on, I kept removing the lid to check progress, which dropped the temperature and increased cooking time. Now, I only peek near the end, trusting the thermometer instead.
Variations & Adaptations
One of the best things about this crispy beer can chicken recipe is how adaptable it is. Here are some ways to make it your own:
- Spicy Herb Rub: Add ½ teaspoon cayenne pepper and 1 teaspoon smoked chili powder for a smoky heat that wakes up the palate.
- Garlic-Parmesan Twist: Mix grated Parmesan and minced fresh garlic into the herb rub for a savory, cheesy crust reminiscent of crispy garlic parmesan focaccia bread.
- Gluten-Free Option: Use gluten-free beer or substitute the beer can with a can of sparkling water. The method stays the same, and the chicken still comes out juicy and crisp.
- Oven-Baked Alternative: If the weather’s bad, roast the chicken upright on a beer can in a roasting pan at 375°F (190°C) for about 1 hour and 20 minutes.
- Herb Variations: Swap rosemary and thyme for sage and oregano for an Italian-inspired twist.
A personal favorite is the spicy version—adding cayenne gives a subtle kick that pairs perfectly with a cold beer on the side. Also, when I made this for an impromptu cookout, I paired it with a rosemary sea salt bread to soak up those delicious juices.
Serving & Storage Suggestions
This crispy beer can chicken is best served hot off the grill, skin crackling and juicy inside. Carve it into pieces—breasts, thighs, drumsticks—and arrange on a platter garnished with fresh herbs for a rustic look.
For sides, grilled vegetables or a simple green salad work nicely. If you want a cozy pairing, creamy mashed potatoes or a buttery bread like the no-knead roasted garlic rosemary bread make a comforting combo.
Leftovers keep well in the refrigerator for up to 3 days, wrapped tightly in foil or stored in an airtight container. To reheat, warm in a 350°F (175°C) oven for about 15 to 20 minutes to help the skin regain some crispness. Avoid microwaving if you want to keep that texture intact.
Flavors actually develop nicely after resting overnight, making this a great make-ahead option for busy days. Just reheat gently and enjoy the same juicy results.
Nutritional Information & Benefits
This grilled beer can chicken recipe is a lean protein powerhouse, with about 330 calories, 20 grams of fat, and 35 grams of protein per serving (based on 1/4 chicken). The herb rub adds flavor without extra calories or sodium overload.
Chicken is a great source of B vitamins and minerals like phosphorus and selenium. The herbs contribute antioxidants and anti-inflammatory benefits, especially rosemary and thyme, which have been valued for their health properties for centuries.
This recipe is naturally gluten-free (if you watch the beer choice) and low-carb, making it suitable for many dietary plans. Just watch out if you have a beer allergy or sensitivity—there are simple swaps for that.
Conclusion
There’s something honestly satisfying about a whole chicken cooked on a beer can with a fragrant herb rub. It’s the kind of recipe that feels laid-back but delivers big on flavor and texture. Whether you’re firing up the grill for a family dinner or hosting a few friends, this crispy beer can chicken hits the spot every time.
Feel free to tweak the herb mix or try different beers to make it your own. I love how the versatility lets me play with flavors without losing the soul of the dish. And hey, if you enjoy pairing it with fresh-baked bread, you might appreciate trying the Italian herb and cheese bread from the blog—it’s a fantastic combo!
Give this recipe a go, and drop a comment below sharing your favorite herb blends or grilling hacks. Cooking should be fun, and this chicken makes it easy to feel like a backyard pro.
FAQs About Crispy Beer Can Chicken with Herb Rub
Can I use a different type of beer for this recipe?
Absolutely! Lagers, ales, or even flavored craft beers work. Just avoid overly sweet or thick beers, which might affect flavor or cooking.
Is it necessary to use a beer can chicken holder?
No, it’s optional. The holder makes balancing easier and safer, but you can use a regular beer can carefully without it.
How do I know when the chicken is fully cooked?
Use a meat thermometer inserted into the thickest part of the thigh; it should read at least 165°F (74°C).
Can I prepare the herb rub in advance?
Yes! The rub can be mixed and stored in an airtight container for up to a week, making prep quicker when you’re ready to grill.
What should I serve with beer can chicken on the grill?
Grilled veggies, fresh salads, or homemade breads like the rosemary sea salt bread all pair beautifully.
Pin This Recipe!
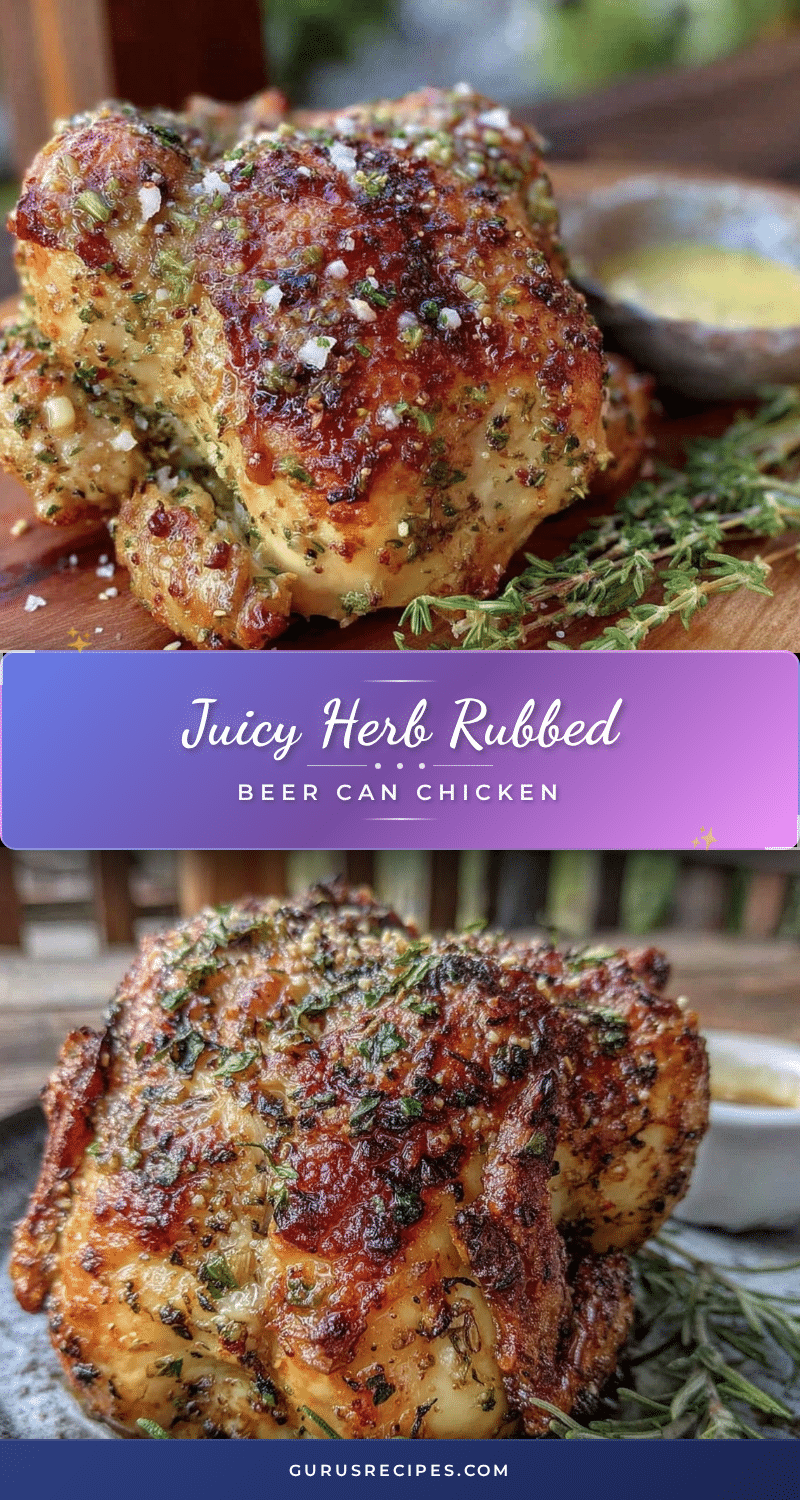

Crispy Beer Can Chicken Herb Rub Recipe
A simple and flavorful grilled whole chicken cooked upright on a beer can with a fragrant herb rub, delivering crispy skin and juicy meat perfect for easy summer dinners.
- Total Time: 1 hour 30 minutes
- Yield: 4 servings 1x
Ingredients
- 1 whole chicken (4 to 5 pounds / 1.8 to 2.3 kg), fresh or thawed
- 1 beer can (12 oz / 355 ml), lager or pale ale recommended
- 2 tablespoons olive oil
- 1 teaspoon garlic powder
- 1 teaspoon onion powder
- 1 teaspoon smoked paprika
- 1 teaspoon dried rosemary (or 1 tablespoon fresh, finely chopped)
- 1 teaspoon dried thyme (or 1 tablespoon fresh, finely chopped)
- 1 ½ teaspoons salt (kosher or sea salt)
- 1 teaspoon freshly ground black pepper
- 1 teaspoon lemon zest (optional)
Instructions
- Preheat the grill for indirect cooking by heating one side to medium-high (about 375°F / 190°C) and leaving the other side cooler; this takes about 10-15 minutes.
- Remove any giblets from inside the chicken cavity and pat the chicken dry thoroughly with paper towels.
- In a mixing bowl, combine garlic powder, onion powder, smoked paprika, rosemary, thyme, salt, black pepper, and lemon zest if using; stir well.
- Rub the chicken all over with 2 tablespoons olive oil to help the herb rub stick and promote browning.
- Generously massage the herb rub all over the chicken, including under the skin around breasts and thighs.
- Open the beer can and pour out or drink about half of the beer, leaving enough liquid to steam the chicken without overflowing the grill.
- Carefully place the chicken cavity over the beer can, standing it upright; secure with a beer can chicken holder if available or balance carefully.
- Place the chicken on the cooler side of the grill, cover with the lid, and cook for about 1 to 1 ¼ hours, checking occasionally.
- Use a meat thermometer to check doneness; the internal temperature should reach 165°F (74°C) in the thickest part of the thigh without touching the bone.
- If the skin browns too quickly, move the chicken away from direct heat; open the grill lid during the last 10 minutes to let moisture escape for crispier skin.
- Carefully remove the chicken from the beer can and let it rest for 10 minutes before carving to lock in the juices.
Notes
Pat the chicken dry thoroughly before applying oil and rub to ensure crispy skin. Use indirect heat to prevent burning and flare-ups. Use a digital meat thermometer for accurate doneness. Rest the chicken after grilling for juicier meat. Rotate the chicken every 20 minutes if your grill has hot spots. Keep a spray bottle handy to control flare-ups caused by beer drips. For even crispier skin, open the grill lid during the last 10 minutes of cooking. Avoid poking the chicken with forks to keep juices in.
- Prep Time: 15 minutes
- Cook Time: 1 hour 15 minutes
- Category: Main Course
- Cuisine: American
Nutrition
- Serving Size: 1/4 chicken
- Calories: 330
- Fat: 20
- Protein: 35
Keywords: beer can chicken, grilled chicken, herb rub, crispy chicken, summer dinner, easy grilled chicken, backyard BBQ


