
“You gotta try these red, white, and blue jello shots!” my friend texted me late one June evening, just a few days before the Fourth of July. Honestly, I was skeptical — layering jello shots? That sounded like a bit of a hassle for a casual summer hangout. But she insisted, saying they were the star of her last party and everyone kept asking for the recipe. Curious and a bit tired of the usual boring beverages, I gave it a shot (pun intended).
What started as a low-key experiment turned into a weekend obsession. I made these Festive Red White and Blue Layered Jello Shots with Fresh Berries three times in one week, tweaking the layers and berry combos until they were just right. The cool thing? The fresh berries didn’t just add color—they brought a burst of natural sweetness and a juicy surprise that balanced perfectly with the jello’s tartness.
Late one night, while the kitchen was quiet except for the hum of the fridge, I realized these jello shots weren’t just a fun party trick. They were a simple way to bring people together, to make summer evenings feel special without a lot of fuss. That’s why this recipe stuck with me—it’s approachable, playful, and honestly, a little nostalgic for those carefree summer nights we all crave.
Why You’ll Love This Recipe
After testing and retesting this recipe, I can tell you it hits all the marks when you want something festive and fuss-free. Here’s why this recipe deserves a spot in your summer celebration lineup:
- Quick & Easy: You can whip up these layered jello shots in under 30 minutes, with just a bit of chilling time in between. Perfect for last-minute party plans or spontaneous get-togethers.
- Simple Ingredients: No need for specialty stores—just jello packets, vodka (or your preferred spirit), fresh berries, and a few pantry basics. Most are staples you probably already have.
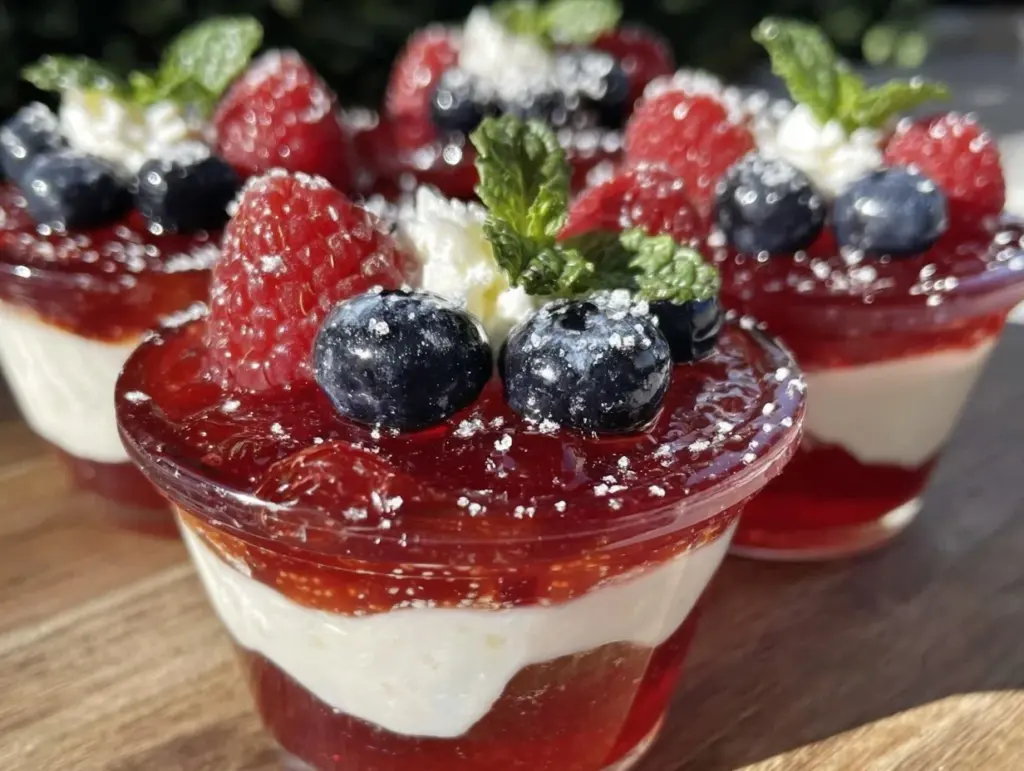
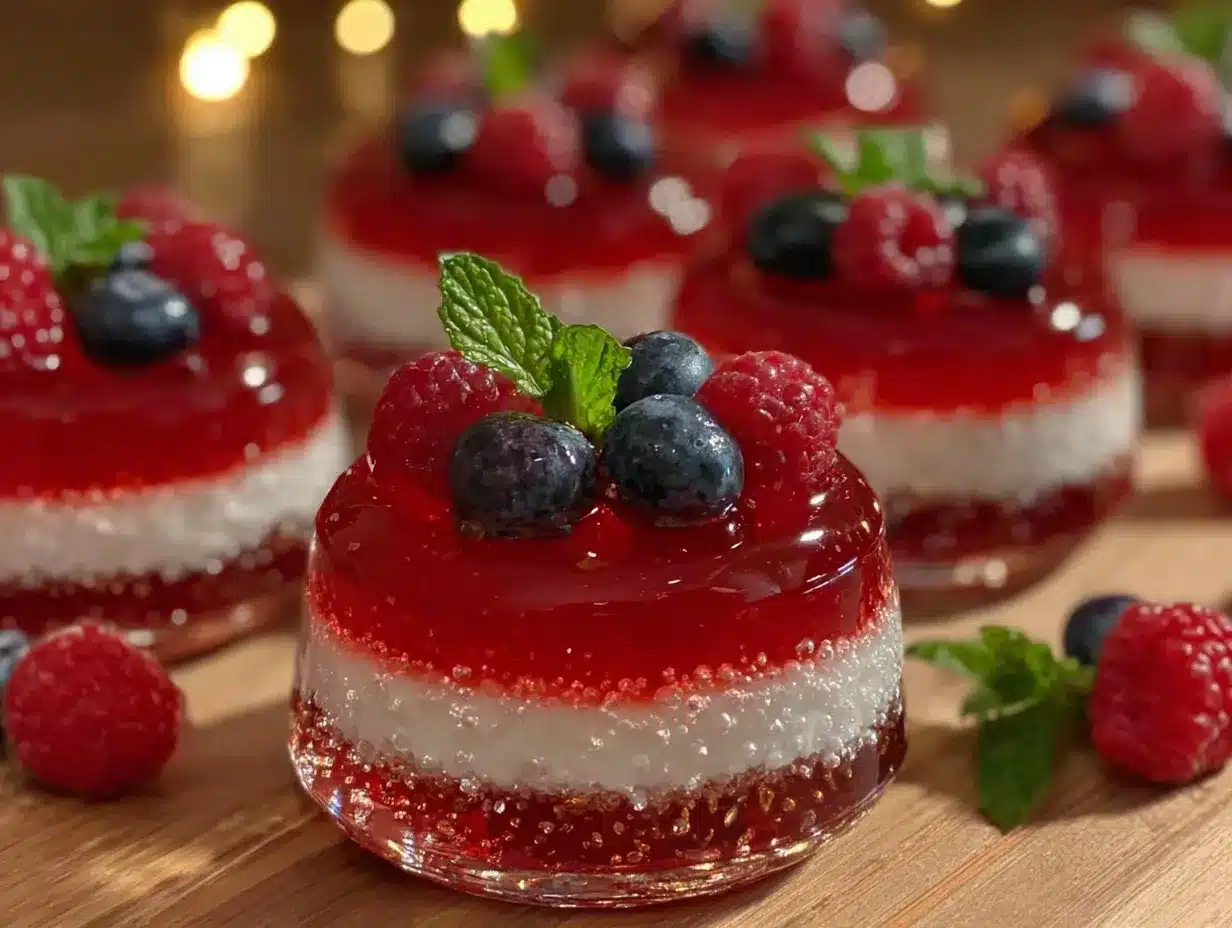
- Ideal for Summer Parties: The bright red, white, and blue layers scream celebration. They’re great for Independence Day, Memorial Day, or any summer BBQ where you want a fun, shareable treat.
- Crowd-Pleaser: Everyone loves them, from adults who appreciate the boozy kick to those who enjoy the fresh berry pops. They’re visually fun and taste just right—not too sweet, not too strong.
- Unbelievably Delicious: The secret is in the fresh berries and the creamy white layer, which adds a smooth texture that makes these jello shots feel a little more sophisticated than your average party snack.
What makes this recipe stand out is the layering technique paired with that creamy middle layer—trust me, it’s a game changer. Plus, I love how you can swap berries depending on what’s fresh or in season. It’s not just red, white, and blue; it’s a little burst of summer in every bite. Honestly, this is the kind of recipe that gets people asking for a repeat at every gathering.
What Ingredients You Will Need
This recipe uses simple, wholesome ingredients to deliver bold color, flavor, and that perfect jiggly texture without any complicated steps. You’ll find most of these are pantry staples or fresh picks that are easy to grab.
- Red Layer:
- 1 package (3 oz / 85 g) cherry or strawberry flavored gelatin (I like using Jell-O brand for best texture)
- 1 cup (240 ml) boiling water
- 1/2 cup (120 ml) cold vodka or water for a non-alcoholic version
- Fresh strawberries, sliced (about 1/2 cup / 75 g)
- White Layer:
- 1 package (3 oz / 85 g) unflavored gelatin
- 1 cup (240 ml) boiling water
- 1/2 cup (120 ml) sweetened condensed milk (adds creaminess and sweetness)
- 1/2 cup (120 ml) cold vodka or water
- Blue Layer:
- 1 package (3 oz / 85 g) blue raspberry gelatin
- 1 cup (240 ml) boiling water
- 1/2 cup (120 ml) cold vodka or water
- Fresh blueberries (about 1/2 cup / 75 g)
Pro tip: For a non-alcoholic option, simply swap the vodka with cold water or juice. Also, if you want a dairy-free creamy layer, coconut milk works surprisingly well instead of sweetened condensed milk. When choosing berries, go for firm, plump ones—they hold up nicely and add a fresh burst with every bite.
Equipment Needed
- Measuring cups and spoons – essential for precise layering
- Mixing bowls – at least three, one for each jello layer
- Whisk – to dissolve gelatin completely and mix ingredients smoothly
- Small clear plastic or glass shot glasses (1 to 2 oz / 30 to 60 ml) – these showcase the layered colors perfectly; any small clear cups will do
- Refrigerator – to chill each layer so they set firmly before adding the next
- Optional: dropper or small spoon for controlled pouring when layering
If you don’t have shot glasses, mini silicone molds or even cupcake liners can work for a fun twist. Just make sure your containers are clear enough so the layers shine through. I learned the hard way that rushing the cooling process causes layers to mix—patience is key here!
Preparation Method
- Prepare the Red Layer:
In a bowl, dissolve the cherry or strawberry gelatin in 1 cup (240 ml) boiling water. Whisk until fully dissolved (about 2 minutes). Stir in 1/2 cup (120 ml) cold vodka or water. Pour about 2 tablespoons (30 ml) into each shot glass. Add a few sliced strawberries on top of each. Refrigerate for 30 minutes or until set but still slightly tacky to the touch. - Make the White Layer:
Dissolve unflavored gelatin in 1 cup (240 ml) boiling water, whisking well. Stir in sweetened condensed milk and 1/2 cup (120 ml) cold vodka or water until smooth. Once the red layer is set, gently pour the white layer over it (about 2 tablespoons per glass). Refrigerate again for 30 minutes until this layer firms up. - Prepare the Blue Layer:
Dissolve blue raspberry gelatin in 1 cup (240 ml) boiling water. Stir in 1/2 cup (120 ml) cold vodka or water. Once set, add fresh blueberries to the top of each shot glass. Pour the blue layer over the white carefully, about 2 tablespoons per glass. Chill for at least 2 hours to fully set. - Final Touches:
Once fully chilled, garnish with a few extra berries on top if you want to amp up the festive look. Keep refrigerated until ready to serve. Serve cold for the best texture and flavor.
Note: Timing and patience are your friends here. If you pour each layer before the one below is set, the colors will blend and lose that crisp layered effect. Also, use a spoon to gently pour over each layer if you don’t want to risk splashing.
Cooking Tips & Techniques
Layering jello shots might seem intimidating, but a few tips from my trial-and-error sessions can save you time and frustration:
- Timing is everything: The key is to let each layer set until it’s firm enough to hold the next one but still slightly tacky. This sticky surface helps the layers stick rather than slide apart.
- Use room temperature liquids: When mixing gelatin with cold liquids like vodka or milk, make sure the boiling water has cooled slightly to avoid shocking the gelatin and causing clumps.
- Pour gently: Use the back of a spoon or a dropper to layer slowly. This prevents the layers from mixing and keeps your shots looking sharp.
- Don’t rush chilling: While it’s tempting to blast the fridge or freezer, rapid cooling can cause condensation or texture issues. Slow and steady is better.
- Fresh berries add texture and flavor: Don’t skip them! They break up the smooth gelatin and make every bite more refreshing.
I once tried pouring the blue layer too soon and ended up with a purple mess. Lesson learned! Also, if you find your gelatin is too firm, reduce the powder slightly next time for a softer bite. These little tweaks make all the difference for consistent results.
Variations & Adaptations
This recipe is flexible and invites creativity depending on your party vibe and dietary needs. Here are some ideas to make it your own:
- Non-Alcoholic Version: Simply replace the vodka with cold sparkling water or lemon-lime soda for a festive, kid-friendly version that still has that fun jiggly texture.
- Different Spirits: Swap vodka for flavored liqueurs like raspberry or coconut rum to add a unique twist to each layer’s flavor profile.
- Dairy-Free Creamy Layer: Use coconut milk mixed with unflavored gelatin and a bit of sweetener instead of sweetened condensed milk for a tropical dairy-free option.
- Seasonal Berry Swaps: In warmer months, fresh berries are ideal, but frozen berries can work fine too. For fall or winter, try pomegranate seeds or cranberries for the red layer with a splash of cranberry juice.
- Mini Desserts: Serve the layers in small clear dessert cups topped with whipped cream for a less boozy, dessert-style treat inspired by this recipe. This approach pairs well with the creamy strawberry desserts like the creamy no-churn strawberry ice cream.
Personally, I love trying the coconut milk creamy layer—it adds this silky texture that feels indulgent but still light. It’s a nice change from the usual and has become a holiday favorite around here.
Serving & Storage Suggestions
These jello shots are best served chilled, straight from the fridge. The colors pop more vibrantly and the texture is delightfully firm but tender. I usually arrange them on a festive tray garnished with extra fresh berries and mint leaves for a fresh burst of aroma and color contrast.
If you’re pairing drinks or food, these jello shots go great with light finger foods or a savory snack platter. For a full summer party spread, consider pairing with some crispy garlic chicken or a fresh summer salad to balance the sweetness.
Storage is straightforward—keep them refrigerated in an airtight container or covered with plastic wrap to prevent drying out. They last up to 3 days chilled but are definitely best enjoyed within 24 hours for peak freshness. You can freeze them for up to a week, but the texture changes a bit upon thawing.
Reheating isn’t recommended, but if you want softer shots, let them sit at room temperature for 10 minutes before serving. The flavors tend to mellow out slightly over time, which can be nice if you like a gentler sweetness.
Nutritional Information & Benefits
Each serving of these jello shots contains roughly 80-100 calories, depending on the amount of alcohol used and whether you opt for the dairy or dairy-free creamy layer. The fresh berries add antioxidants and vitamin C, making this little treat a bit more wholesome than your average party snack.
If you’re mindful of gluten or dairy, this recipe is naturally gluten-free, and the creamy layer can be adapted easily for dairy-free diets. Just watch out for the alcohol content if you’re limiting intake.
From a wellness perspective, I appreciate that this recipe uses real fruit and avoids artificial additives common in some pre-made jello shots. It’s a fun way to enjoy a festive treat with a touch of fresh nutrition.
Conclusion
This Festive Red White and Blue Layered Jello Shots with Fresh Berries recipe is a no-fuss way to add color, flavor, and fun to your summer parties. It’s approachable enough for beginners but impressive enough to get compliments from guests. I love how the fresh berries make each bite feel lively and natural, giving a nice balance to the sweet jello layers.
Feel free to tweak the spirits, swap in different berries, or try that coconut milk creamy layer—I’m always experimenting and love hearing how others customize it too. If you do make these, I’d be thrilled to hear about your favorite spins or party moments!
Now, go ahead and bring these festive jello shots to your next celebration. They’ll be the colorful conversation starter you didn’t know you needed.
FAQs
Can I make these jello shots ahead of time?
Yes! Prepare them up to 2 days in advance and keep refrigerated. The layers hold up well, but fresh berries on top are best added right before serving.
What if I don’t want to use alcohol?
Simply substitute the vodka with cold water, sparkling water, or lemon-lime soda for a non-alcoholic version that’s just as festive and tasty.
How do I prevent the layers from mixing?
Make sure each layer is mostly set and slightly tacky before pouring the next. Pour gently over a spoon or down the side of the glass to avoid splashes.
Can I use frozen berries instead of fresh?
Yes, frozen berries work fine—just thaw and drain excess liquid before adding to prevent dilution of the gelatin.
What’s the best way to serve these at a party?
Keep them chilled until serving, arrange on a festive tray with extra berries or mint, and provide small spoons or toothpicks for easy eating.
Pin This Recipe!
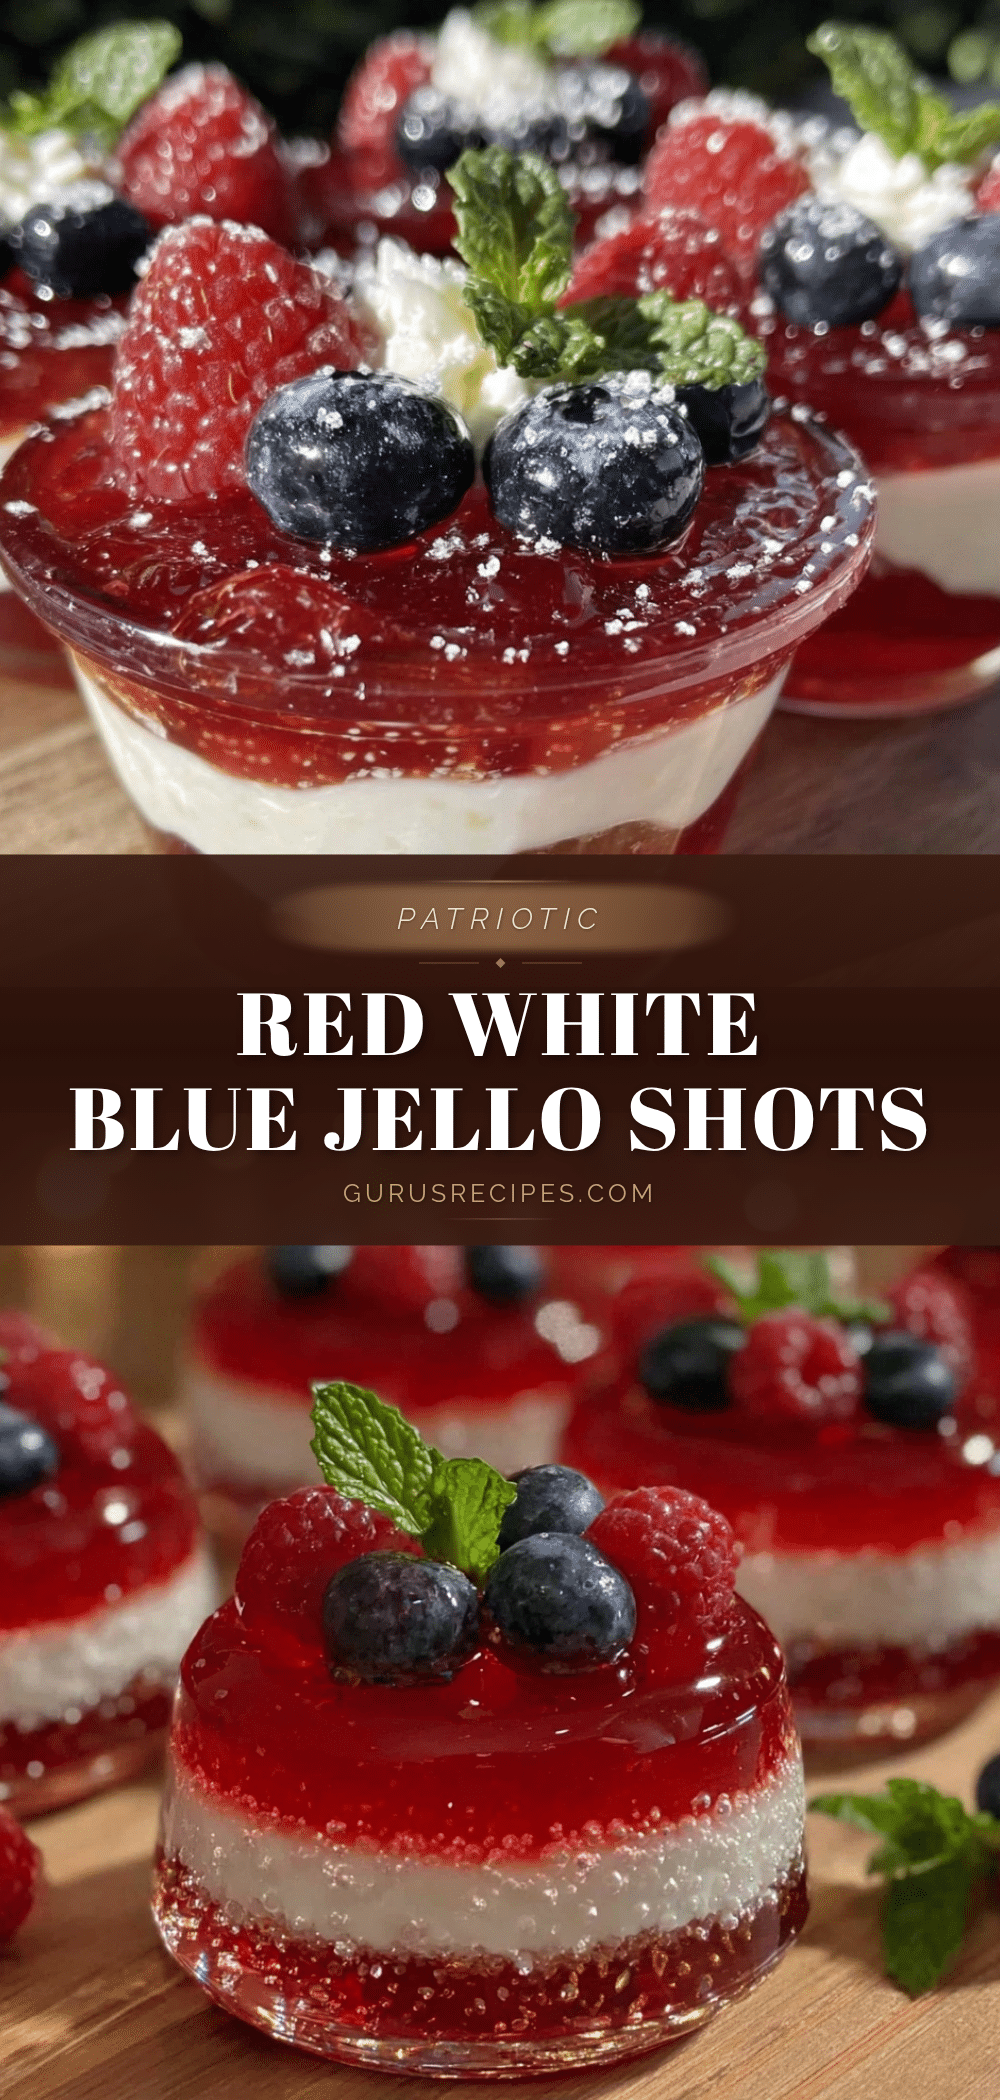

Festive Red White and Blue Layered Jello Shots Recipe with Fresh Berries for Summer Parties
A fun and festive layered jello shot recipe featuring red, white, and blue gelatin layers with fresh berries, perfect for summer parties and celebrations.
- Total Time: 3 hours 15 minutes
- Yield: 12 servings 1x
Ingredients
- Red Layer: 1 package (3 oz / 85 g) cherry or strawberry flavored gelatin
- 1 cup (240 ml) boiling water
- 1/2 cup (120 ml) cold vodka or water for a non-alcoholic version
- Fresh strawberries, sliced (about 1/2 cup / 75 g)
- White Layer: 1 package (3 oz / 85 g) unflavored gelatin
- 1 cup (240 ml) boiling water
- 1/2 cup (120 ml) sweetened condensed milk
- 1/2 cup (120 ml) cold vodka or water
- Blue Layer: 1 package (3 oz / 85 g) blue raspberry gelatin
- 1 cup (240 ml) boiling water
- 1/2 cup (120 ml) cold vodka or water
- Fresh blueberries (about 1/2 cup / 75 g)
Instructions
- Prepare the Red Layer: Dissolve the cherry or strawberry gelatin in 1 cup boiling water. Whisk until fully dissolved (about 2 minutes). Stir in 1/2 cup cold vodka or water. Pour about 2 tablespoons (30 ml) into each shot glass. Add a few sliced strawberries on top of each. Refrigerate for 30 minutes or until set but still slightly tacky to the touch.
- Make the White Layer: Dissolve unflavored gelatin in 1 cup boiling water, whisking well. Stir in sweetened condensed milk and 1/2 cup cold vodka or water until smooth. Once the red layer is set, gently pour the white layer over it (about 2 tablespoons per glass). Refrigerate again for 30 minutes until this layer firms up.
- Prepare the Blue Layer: Dissolve blue raspberry gelatin in 1 cup boiling water. Stir in 1/2 cup cold vodka or water. Once set, add fresh blueberries to the top of each shot glass. Pour the blue layer over the white carefully, about 2 tablespoons per glass. Chill for at least 2 hours to fully set.
- Final Touches: Once fully chilled, garnish with a few extra berries on top if desired. Keep refrigerated until ready to serve. Serve cold for the best texture and flavor.
Notes
Use room temperature liquids when mixing gelatin to avoid clumps. Pour each layer gently over a spoon or dropper to prevent mixing. Let each layer set until slightly tacky before adding the next. Fresh berries add texture and flavor and should be firm and plump. For a non-alcoholic version, substitute vodka with cold water or sparkling water. Coconut milk can replace sweetened condensed milk for a dairy-free creamy layer. Do not rush chilling to avoid condensation or texture issues. Best served chilled and consumed within 24 hours for freshness. Can be made up to 2 days ahead and stored refrigerated.
- Prep Time: 15 minutes
- Cook Time: 3 hours
- Category: Dessert
- Cuisine: American
Nutrition
- Serving Size: 1 shot glass (about
- Calories: 80100
- Sugar: 1215
- Sodium: 5070
- Fat: 12
- Saturated Fat: 0.51
- Carbohydrates: 1518
- Fiber: 1
- Protein: 12
Keywords: jello shots, layered jello, summer party drinks, red white and blue, fresh berries, festive jello shots, boozy treats, non-alcoholic jello shots


