
There was this one unexpectedly scorching afternoon when the oven felt like a cruel joke, and honestly, the last thing I wanted was to turn it on. I was juggling a bunch of things and craving something sweet but refreshing — nothing heavy or complicated. So, I rummaged through the fridge and pantry, tossing together a few simple ingredients that I thought might just work. The result? These easy no-bake mixed berry cheesecake cups. At first, I was skeptical, thinking how good could a no-bake dessert really be? But after that first spoonful, all doubts melted away like summer ice cream on a hot sidewalk.
What got me hooked was how the bright, tart berries paired with the creamy, dreamy cheesecake filling — all without the fuss of baking. It became a repeated rescue on busy days, a cool treat when the heat was unbearable, and an effortless way to impress friends who dropped by unexpectedly. It’s funny how sometimes the simplest ideas turn out to be the most reliable kitchen go-tos.
These cheesecake cups feel like a little celebration in every bite, but they’re also grounded in everyday ease. They’re a reminder that dessert doesn’t have to be complicated or time-consuming to be satisfying. And honestly, I think that’s why this recipe stuck around — it’s as approachable as it is delicious, perfect for when you want a little sweet comfort without the extra stress.
Why You’ll Love This Recipe
After testing this recipe multiple times over the summer, I can say it’s one of those desserts that just works — no matter your skill level or how packed your schedule is. The combination of luscious cream cheese and fresh berries hits all the right notes, and honestly, it’s become a favorite with family and friends alike.
- Quick & Easy: Comes together in under 20 minutes, making it perfect for busy weeknights or last-minute cravings.
- Simple Ingredients: You likely already have cream cheese, berries, and a few pantry staples on hand — no fancy trips needed.
- Perfect for Summer: These cups are cool, refreshing, and ideal for outdoor gatherings or a light dessert after dinner.
- Crowd-Pleaser: Kids love the sweetness of the berries and the creamy texture, while adults appreciate the balance of tart and sweet.
- Unbelievably Delicious: The graham cracker crust adds just the right crunch, creating a texture contrast that makes each spoonful a delight.
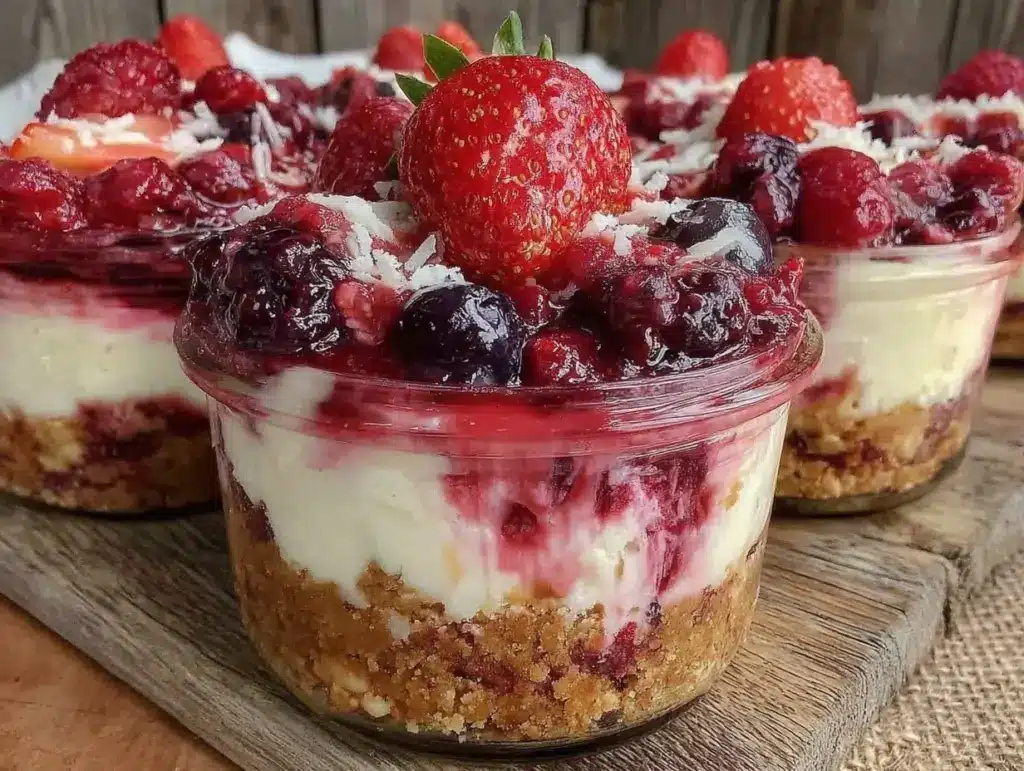
This isn’t just another cheesecake in a cup. The trick is in folding the whipped cream gently into the cream cheese mixture, which gives it a light, airy mouthfeel without sacrificing richness. Plus, layering the berries on top keeps their freshness front and center, making every bite feel like a little burst of summer.
It’s the kind of dessert that makes you pause for a second and savor — like those moments when you close your eyes after the first bite and just let the flavors linger. Whether you’re serving it at a picnic or just indulging solo, it brings a bit of easy joy to the table.
What Ingredients You Will Need
This recipe uses simple, wholesome ingredients to deliver bold flavor and satisfying texture without the fuss. Most of these are pantry staples or fresh produce you can find year-round, though swapping in seasonal berries can add a nice twist.
- For the crust:
- Graham cracker crumbs (about 1 ½ cups / 150g) — I like using Honey Maid for its sweetness and crunch.
- Unsalted butter, melted (6 tablespoons / 85g) — brings richness and helps bind the crumbs.
- Granulated sugar (2 tablespoons / 25g) — balances the buttery crust.
- For the cheesecake filling:
- Cream cheese, softened (8 oz / 225g) — use full-fat for the creamiest texture.
- Powdered sugar (¾ cup / 90g) — dissolves smoothly for a silky sweetness.
- Vanilla extract (1 teaspoon) — adds warmth and depth.
- Heavy whipping cream (1 cup / 240ml) — whipped until stiff peaks for that light, airy feel.
- For the topping:
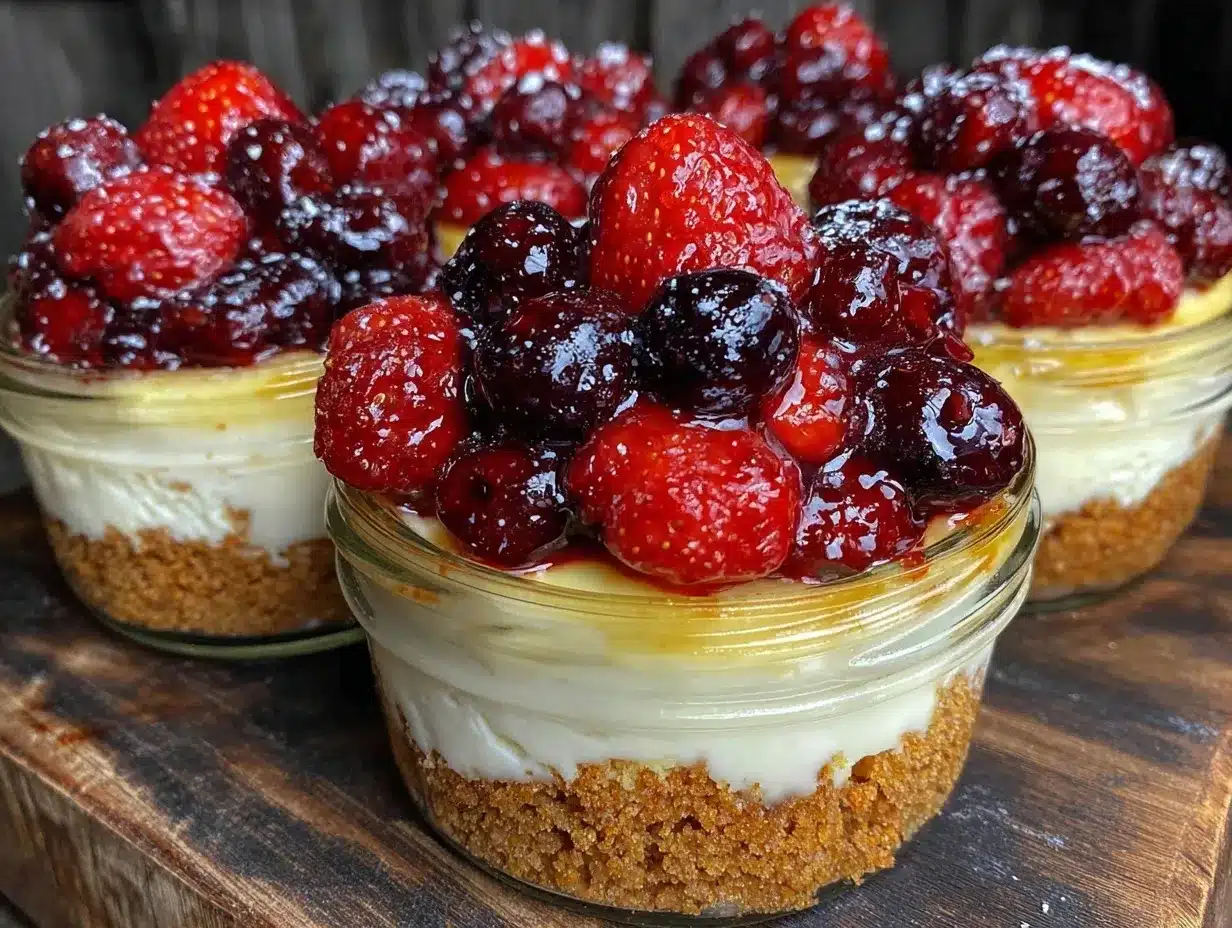
- Mixed berries (2 cups / 300g) — a combination of fresh strawberries, blueberries, raspberries, and blackberries works beautifully. In winter, frozen berries thawed and drained are a good substitute.
- Lemon zest (optional, from 1 lemon) — adds a bright, zesty note that complements the berries.
If you want to switch things up, almond flour can replace graham crackers for a gluten-free crust. Also, coconut cream works well instead of heavy cream for a dairy-free option, but expect a slightly different texture. When picking berries, look for the freshest, plumpest ones you can find — it makes a noticeable difference.
Equipment Needed
- Mixing bowls – a large one for the crust and another for the filling.
- Electric mixer or stand mixer – essential for whipping the cream and smooth cream cheese.
- Measuring cups and spoons – for accurate ingredient portions.
- Spatula – a flexible one works best for folding the whipped cream into the cream cheese mixture gently.
- Serving cups or small mason jars – clear ones are ideal to showcase the layers.
- Optional: food processor – handy if you want to crush the graham crackers quickly, but a rolling pin and ziplock bag work just as well.
Personally, I’ve tried making these cups with a hand whisk, and while it’s possible, it takes a lot more elbow grease. An electric mixer cuts the prep time in half and gives you that perfectly fluffy texture every time. Also, if you want to save on cleanup, mixing directly in the serving cups is a neat trick when you’re short on time.
Preparation Method
- Prepare the crust: In a medium bowl, combine 1 ½ cups (150g) graham cracker crumbs, 2 tablespoons (25g) sugar, and 6 tablespoons (85g) melted unsalted butter. Mix well until the crumbs are evenly coated and hold together when pressed. This should take about 3-5 minutes.
Tip: If the crust feels too dry, add a little more melted butter, a teaspoon at a time. - Assemble the crust layer: Spoon the crumb mixture into your serving cups, dividing evenly (about 2 tablespoons per cup). Press down firmly with the bottom of a glass or your fingers to create a compact base. Chill in the fridge while you prepare the filling. This step takes about 10 minutes.
Note: A compact crust prevents crumbling when eaten. - Make the cheesecake filling: In a large bowl, beat 8 oz (225g) softened cream cheese with ¾ cup (90g) powdered sugar and 1 teaspoon vanilla extract until completely smooth and creamy (about 2-3 minutes).
Tip: Make sure the cream cheese is truly softened to avoid lumps. - Whip the cream: In a separate bowl, whip 1 cup (240ml) of heavy cream with an electric mixer until stiff peaks form — about 3-4 minutes on medium-high speed. You’ll know it’s ready when the cream holds its shape when you lift the beaters.
Warning: Don’t overwhip or it will turn grainy and start turning into butter. - Fold the whipped cream into the cream cheese: Gently fold about a third of the whipped cream into the cream cheese mixture to lighten it. Then fold in the remaining whipped cream carefully to keep the mixture airy and fluffy. This should take 2-3 minutes.
Tip: Use a spatula and fold with a gentle motion — no stirring or beating here! - Fill the cups: Spoon or pipe the cheesecake filling over the chilled crust layer, filling each cup almost to the top. Smooth the surface lightly with the back of a spoon.
Time estimate: 5-7 minutes. - Add the berries: Top each cup generously with 2-3 tablespoons (30-45g) of mixed fresh berries. If you like, sprinkle a little lemon zest on top for an extra zing.
Tip: If berries are very juicy, drain excess liquid to avoid soggy crust. - Chill the cups: Refrigerate for at least 2 hours to let the cheesecake set and the flavors meld.
Note: Overnight chilling is even better if you can wait!
When serving, you can garnish with a mint leaf or a drizzle of honey for a pretty touch. These cups keep well in the fridge for up to 3 days but are best enjoyed fresh to savor the contrast between crisp crust and creamy filling.
Cooking Tips & Techniques
One of the trickiest parts is getting the whipped cream folding just right. If you don’t fold gently, you lose the light texture, and the filling can turn dense. I learned this the hard way after rushing through it and ending up with a heavy cheesecake mix that didn’t feel quite right.
Another tip: soften your cream cheese well ahead of time. I usually leave it on the counter for about an hour, especially if I’m in a hurry. Cold cream cheese is stubborn and will give you lumps no matter how much you beat it.
For the crust, pressing firmly is key. If it’s loose, the crumb base falls apart when you eat it, which is a bummer. Also, if you want a more buttery crust, you can add a pinch of cinnamon or swap half the sugar with brown sugar for a deeper flavor.
Timing-wise, I like to crush the graham crackers first, then whip the cream while assembling the crusts. Multitasking helps keep the prep under 20 minutes, which is perfect for last-minute dessert emergencies.
Lastly, don’t skip chilling. The flavors need time to marry, and the cheesecake filling firms up nicely, making it easier to eat with a spoon without it sliding everywhere.
Variations & Adaptations
- Dairy-Free Version: Use coconut cream whipped until fluffy instead of heavy cream and a dairy-free cream cheese alternative. The flavor will be slightly different but still satisfyingly creamy.
- Seasonal Fruit Swap: In fall, swap berries for diced peaches or mangoes for a tropical twist. Alternatively, pomegranate seeds add a lovely crunch and tartness.
- Chocolate Lover’s Touch: Mix a tablespoon of cocoa powder into the crust or sprinkle mini chocolate chips between the crust and filling for a subtle chocolate note.
- Lower Sugar Option: Reduce powdered sugar by half and add a teaspoon of fresh lemon juice to the filling. The tartness balances the sweetness nicely.
- Personal Favorite: I once stirred in a tablespoon of crushed pistachios into the crust for a nutty surprise — it added texture and a lovely color contrast.
You can also experiment with different berry combos. Sometimes I toss in a handful of frozen blackberries for a juicier topping or add a drizzle of homemade balsamic roasted strawberries on top for a sophisticated flavor boost.
Serving & Storage Suggestions
These cheesecake cups are best served chilled straight from the fridge. The cool temperature highlights the creamy texture and keeps the berries fresh and vibrant. I like to serve them in clear glass cups or mason jars so the layers show through — it’s simple but looks so inviting.
Pair these cups with a cup of iced tea or a crisp glass of sparkling water with a lemon wedge for a refreshing summer treat. For a brunch spread, they complement dishes like creamy strawberry cheesecake stuffed French toast quite nicely.
For storage, cover the cups tightly with plastic wrap or lids and refrigerate for up to 3 days. If you want to prepare them ahead for a party, assembling the crust and filling a day before and adding berries just before serving keeps everything fresh.
Reheat is not recommended for this dessert — it’s meant to be enjoyed cold. However, letting it sit at room temperature for 10 minutes before serving helps soften the filling slightly for an even creamier mouthfeel.
Flavors actually develop beautifully after chilling, with the crust soaking just enough moisture from the filling to become wonderfully tender but still holding its crunch.
Nutritional Information & Benefits
Each serving of these no-bake mixed berry cheesecake cups provides roughly 250-300 calories, depending on portion size. The berries offer a good dose of vitamin C, antioxidants, and fiber, making this dessert a bit more nutritious than your average sweet treat.
Cream cheese and heavy cream provide calcium and protein, though they also contribute saturated fat, so moderation is key. For those watching carbs, swapping the graham cracker crust with almond flour lowers the carbohydrate content significantly.
This recipe is gluten-free when using almond flour or gluten-free graham crackers, and can be adapted to dairy-free with suitable ingredient swaps, making it pretty versatile for different dietary needs.
From a wellness perspective, I appreciate that this dessert doesn’t rely on artificial ingredients or overly processed components. It feels like a treat you can enjoy without that heavy, overstuffed feeling afterward.
Conclusion
Easy no-bake mixed berry cheesecake cups have become my go-to for warm days when I want something sweet but light. They’re quick, straightforward, and deliver that perfect balance of creamy, crunchy, and fruity without fuss. I love how customizable they are too — you can tailor the crust, berries, and sweetness to match your mood or dietary needs.
Honestly, it’s the kind of recipe that invites a little experimenting, so don’t hesitate to add your own twist or make it your own. Whether you’re whipping these up for a casual weeknight dessert or a small gathering, they bring a smile every time.
I’d love to hear how you make these cups your own or what berry combos you try. Feel free to share your thoughts or variations — it’s always fun to swap ideas!
Frequently Asked Questions
Can I use frozen berries instead of fresh for these cheesecake cups?
Yes, you can. Just thaw the berries fully and drain any excess liquid before adding them to avoid a soggy crust.
How long can I store these cheesecake cups in the fridge?
Up to 3 days. Cover them well to keep the crust from absorbing moisture and turning too soft.
Is it possible to make this recipe dairy-free?
Absolutely. Substitute cream cheese and heavy cream with dairy-free alternatives like coconut cream and vegan cream cheese.
Can I prepare these cups a day in advance?
Yes, prepare the crust and filling ahead of time. Add the fresh berries just before serving for best presentation and texture.
What can I use if I don’t have graham crackers for the crust?
Almond flour or crushed digestive biscuits work well as substitutes. For a nutty twist, try crushed pistachios mixed with a bit of sugar and butter.
Pin This Recipe!
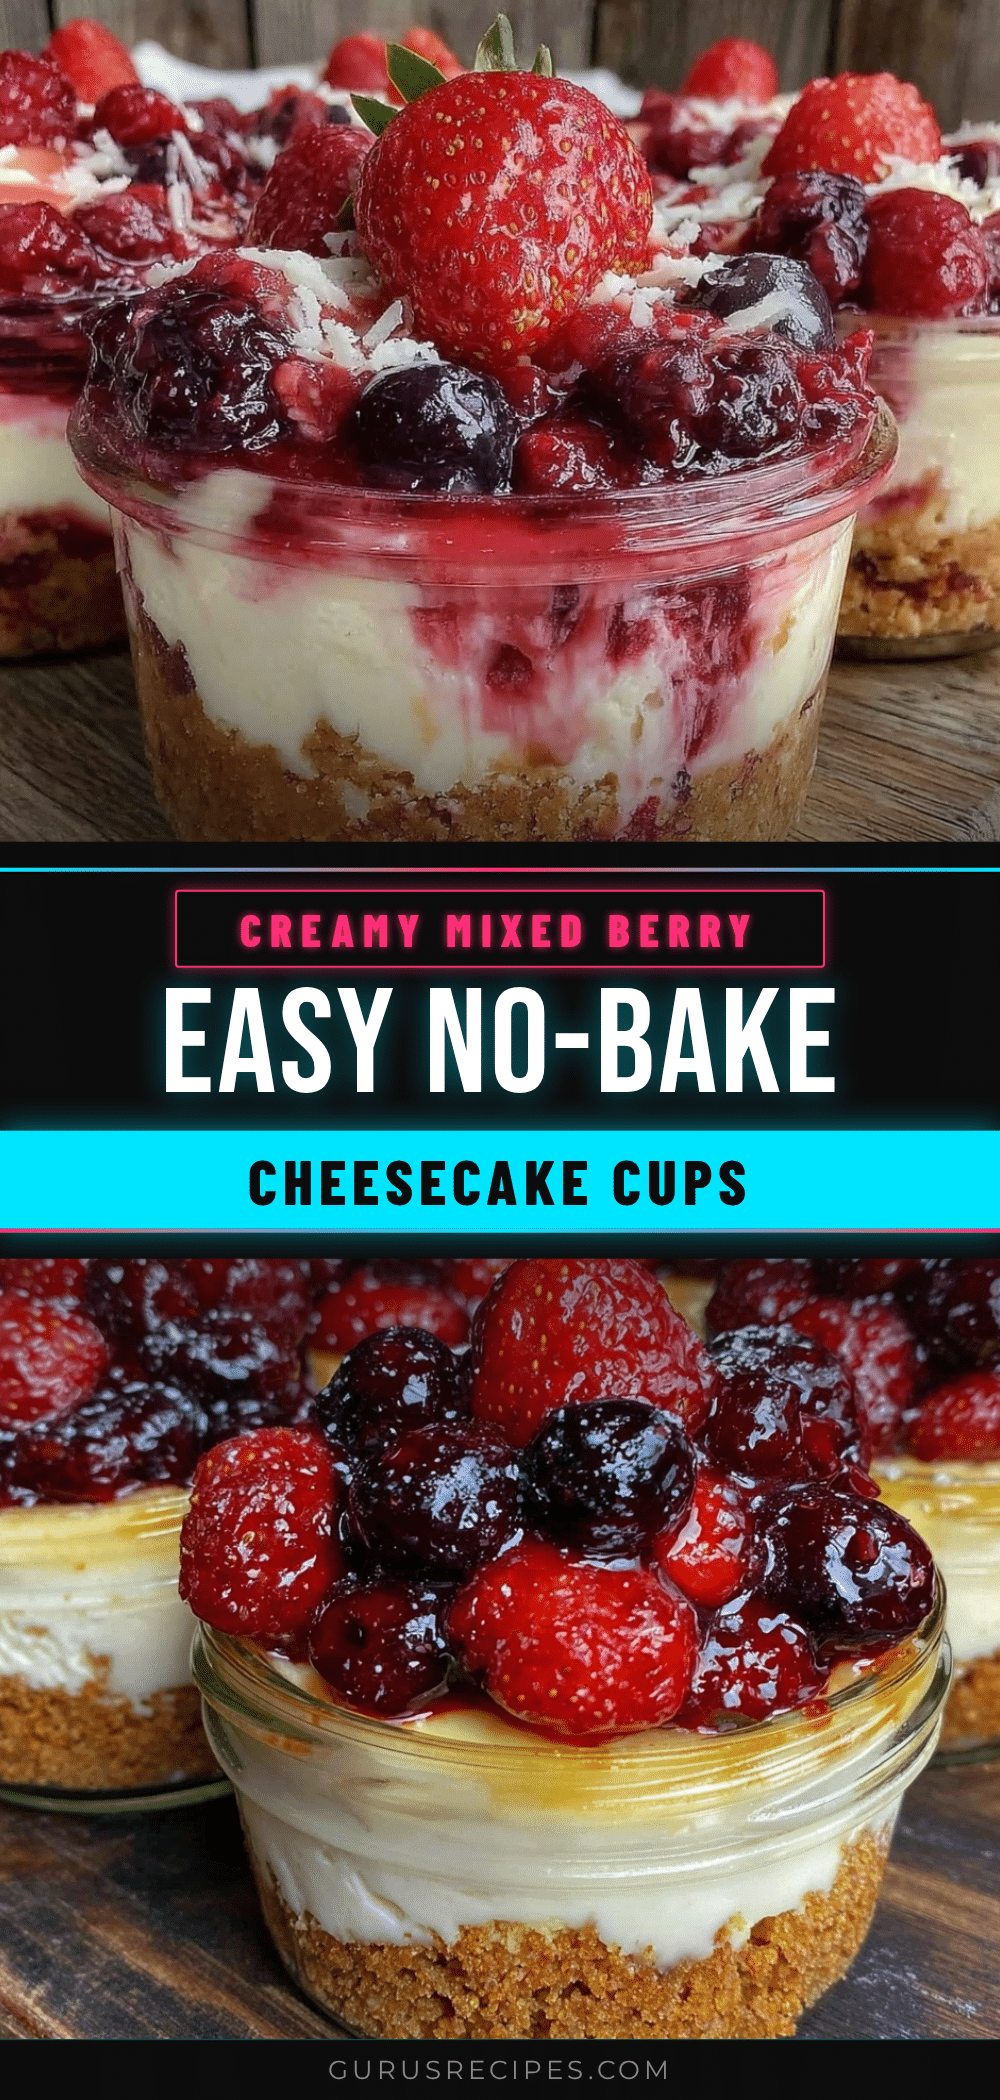

Easy No-Bake Mixed Berry Cheesecake Cups
A quick and refreshing no-bake dessert featuring a crunchy graham cracker crust, creamy cheesecake filling, and fresh mixed berries, perfect for summer.
- Total Time: 2 hours 15 minutes
- Yield: 6 servings 1x
Ingredients
- 1 ½ cups (150g) graham cracker crumbs
- 6 tablespoons (85g) unsalted butter, melted
- 2 tablespoons (25g) granulated sugar
- 8 oz (225g) cream cheese, softened
- ¾ cup (90g) powdered sugar
- 1 teaspoon vanilla extract
- 1 cup (240ml) heavy whipping cream
- 2 cups (300g) mixed berries (strawberries, blueberries, raspberries, blackberries)
- Lemon zest from 1 lemon (optional)
Instructions
- In a medium bowl, combine graham cracker crumbs, sugar, and melted butter. Mix well until crumbs are evenly coated and hold together when pressed (3-5 minutes). If too dry, add more melted butter, 1 teaspoon at a time.
- Divide crumb mixture evenly into serving cups (about 2 tablespoons per cup). Press firmly to create a compact base. Chill in fridge for 10 minutes.
- In a large bowl, beat softened cream cheese with powdered sugar and vanilla extract until smooth and creamy (2-3 minutes).
- In a separate bowl, whip heavy cream with an electric mixer until stiff peaks form (3-4 minutes). Avoid overwhipping.
- Gently fold one-third of whipped cream into cream cheese mixture to lighten it, then fold in remaining whipped cream carefully to keep airy texture (2-3 minutes).
- Spoon or pipe cheesecake filling over chilled crust layer in cups, smoothing surface lightly (5-7 minutes).
- Top each cup with 2-3 tablespoons of mixed berries. Optionally sprinkle lemon zest. Drain excess liquid from berries if very juicy.
- Refrigerate cups for at least 2 hours to set. Overnight chilling is recommended for best flavor and texture.
Notes
Use softened cream cheese to avoid lumps. Fold whipped cream gently to keep filling airy. Press crust firmly to prevent crumbling. Chill at least 2 hours or overnight for best results. For dairy-free, substitute cream cheese and heavy cream with vegan alternatives. Almond flour can replace graham crackers for gluten-free crust.
- Prep Time: 15 minutes
- Cook Time: 0 minutes
- Category: Dessert
- Cuisine: American
Nutrition
- Serving Size: 1 cheesecake cup
- Calories: 275
- Sugar: 16
- Sodium: 150
- Fat: 18
- Saturated Fat: 10
- Carbohydrates: 22
- Fiber: 2
- Protein: 4
Keywords: no-bake cheesecake, mixed berry dessert, summer dessert, easy cheesecake cups, no oven dessert, quick dessert, berry cheesecake


