
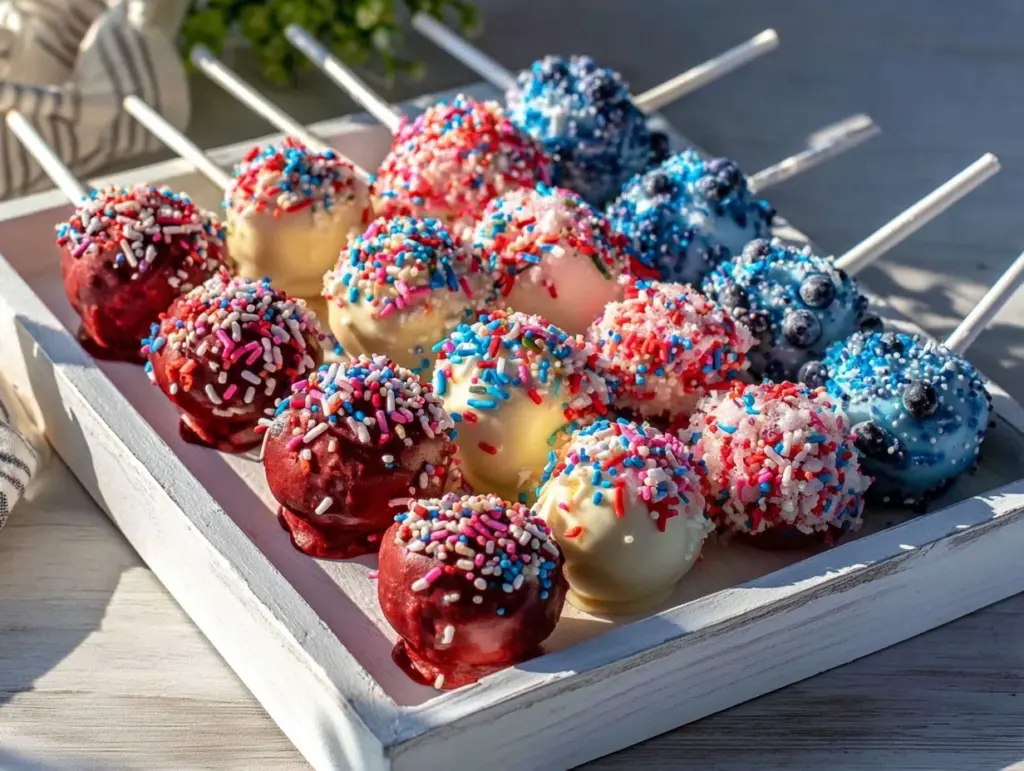
Rummaging through a half-empty pantry and realizing the Fourth of July party was less than an hour away — that’s when the idea for these festive perfect red white blue cake pops with sprinkles hit me. The oven was already humming, the kids were debating over sparklers, and I had exactly fifteen minutes to whip up something sweet and celebratory. Honestly, it was a mad dash of crumbs, frosting, and sprinkles flying everywhere, but those little cake pops turned out to be the star of the party. The way the red, white, and blue colors popped against the shimmering sprinkles made them feel like tiny fireworks on a stick. Plus, the kids didn’t even mind the rushed assembly — they just wanted to dive right in.
What surprised me most was how simple and forgiving this recipe turned out to be. I wasn’t aiming for perfection, just something quick and tasty, but these cake pops have since stuck around as a go-to for any patriotic celebration or last-minute dessert panic. The balance between moist cake, smooth frosting, and crunchy sprinkles hits that nostalgic note — you know, like the kind of treat that makes you pause and smile, even in the middle of chaos. Somehow, despite the whirlwind, that first batch of festive cake pops made me realize that you don’t always need fancy tools or hours to make something memorable.
These cake pops aren’t just a pretty face, either. They carry a bit of that homemade warmth and a sprinkle-covered promise that every messy kitchen moment can lead to something sweet and special. This recipe has become my little secret weapon for turning any rushed gathering into a festive feast, and I’m betting it’ll do the same for you.
Why You’ll Love This Recipe
Honestly, I’ve tackled my fair share of cake pop recipes, and these festive red white blue cake pops with sprinkles stand out for a handful of reasons that make them perfect for busy cooks and celebration lovers alike.
- Quick & Easy: You can have these ready in under 45 minutes — perfect for last-minute parties or when you’re juggling a hundred other things.
- Simple Ingredients: No fancy or hard-to-find stuff here. Just cake, frosting, candy melts, and sprinkles — most of which you probably have stashed away.
- Perfect for Patriotic Occasions: Whether it’s the Fourth of July, Memorial Day, or just a fun summer BBQ, these pops bring the right festive vibe.
- Crowd-Pleaser: Kids and adults alike love them — the bite-sized portions are easy to eat, and the sprinkle-covered pops add that extra fun factor.
- Unbelievably Delicious: The combo of moist cake crumbled and mixed with frosting, dipped in candy melts, and coated in vibrant sprinkles is an unbeatable texture and flavor treat.
What makes these cake pops different? Well, I’ve found that using a blend of classic vanilla and a touch of almond extract in the cake and frosting mix gives them a subtle but memorable flavor twist. Plus, the way the candy melts set with a smooth finish (not too thick or gloopy) makes them look like little edible works of art. I also prefer a mix of nonpareils and glittery sprinkles for that “wow” factor — it’s not just about the colors, but the texture and sparkle that make them pop. This recipe isn’t just another cake pop tutorial; it’s a fast, fuss-free way to bring some festive joy to your table with minimal stress.
What Ingredients You Will Need
This recipe uses simple, wholesome ingredients to deliver bold flavor and satisfying texture without the fuss. Most of what you need are pantry staples or items you can easily grab from the store. Here’s a breakdown:
- For the Cake Base:
- 1 box white cake mix (or homemade white cake batter, about 15.25 oz / 432g)
- Ingredients called for on the box (usually water, oil, and eggs) or your preferred homemade recipe equivalents
- For the Frosting Mix:
- 1/2 cup unsalted butter, softened (adds creaminess and binding)
- 1 1/2 cups powdered sugar, sifted
- 1 teaspoon vanilla extract (or almond extract for a subtle twist)
- 2-3 tablespoons milk or cream (to reach the right consistency)
- For Coating & Decoration:
- 16 oz (450g) candy melts in white, red, and blue (Wilton brand works well for smooth melting)
- Assorted patriotic sprinkles (nonpareils, jimmies, and glitter sprinkles in red, white, and blue)
- 24-30 lollipop sticks (or sturdy wooden skewers)
Optional ingredients you might consider:
- Food coloring gel if you want to intensify the red or blue shades on the cake or coating
- Flavored extracts like lemon or coconut for a fun variation
- Non-dairy milk or vegan butter alternatives for dietary needs
Pro tip: When picking candy melts, make sure they’re specifically designed for dipping or coating — some chocolate chips won’t behave the same and can clump or seize. And if you want to customize the cake flavor, you could swap in a strawberry cake mix or even a homemade strawberry ice cream for the ultimate red, white, and blue combo.
Equipment Needed
- Mixing bowls (medium and large) — glass or metal works best for candy melts
- Electric mixer or hand whisk (to cream the frosting and mix cake crumbs)
- Baking pan (9×13 inch / 23×33 cm) for baking the cake
- Cooling rack to let the cake cool completely
- Microwave-safe bowls or double boiler for melting candy melts
- Lollipop sticks or sturdy wooden skewers
- Styrofoam block or cake pop stand to hold pops upright while drying
- Spatula and spoon for mixing
- Wax paper or parchment paper to rest cake pops before coating
If you don’t have a cake pop stand, a makeshift version with a block of styrofoam or even a clean piece of floral foam works just fine. For melting candy melts, I’ve tried both microwaving in short bursts and the double boiler method — the microwave is quicker but requires watching closely to avoid burning. If you’re on a budget, simple glass bowls and a hand whisk will do the job perfectly well.
Preparation Method
- Bake the Cake: Preheat your oven to 350°F (175°C). Prepare the cake mix according to the package instructions or your homemade recipe. Pour into a greased 9×13 inch (23×33 cm) baking pan and bake for 25-30 minutes, until a toothpick inserted comes out clean. Let the cake cool completely on a wire rack — this is key for easy crumbling and no soggy pops (about 1 hour).
- Crumble the Cake: Once cool, crumble the cake into a large bowl using your hands or a fork until it’s in fine crumbs. The texture should be loose but not powdery.
- Make the Frosting: In a separate bowl, cream the softened butter with powdered sugar using an electric mixer on medium speed. Add vanilla or almond extract and 2 tablespoons of milk or cream. Mix until smooth. If the frosting feels too stiff, add an extra tablespoon of milk gradually.
- Combine Cake & Frosting: Add the frosting to the cake crumbs a little at a time, mixing with your hands or a spoon until the mixture holds together when pressed but isn’t overly sticky. You want a consistency that forms a ball without crumbling or feeling wet.
- Form the Cake Pops: Roll the mixture into 1.5-inch (4 cm) balls and place on a baking sheet lined with wax paper. Chill in the fridge for at least 30 minutes or in the freezer for 15 minutes to firm up — this helps them hold their shape when dipped.
- Prepare Candy Melts: Melt the candy melts in separate microwave-safe bowls in 30-second bursts, stirring in between until smooth. You can also use a double boiler if preferred.
- Insert Sticks: Dip the tip of each lollipop stick into the melted candy, then gently insert it halfway into each chilled cake ball. This acts like glue to secure the sticks.
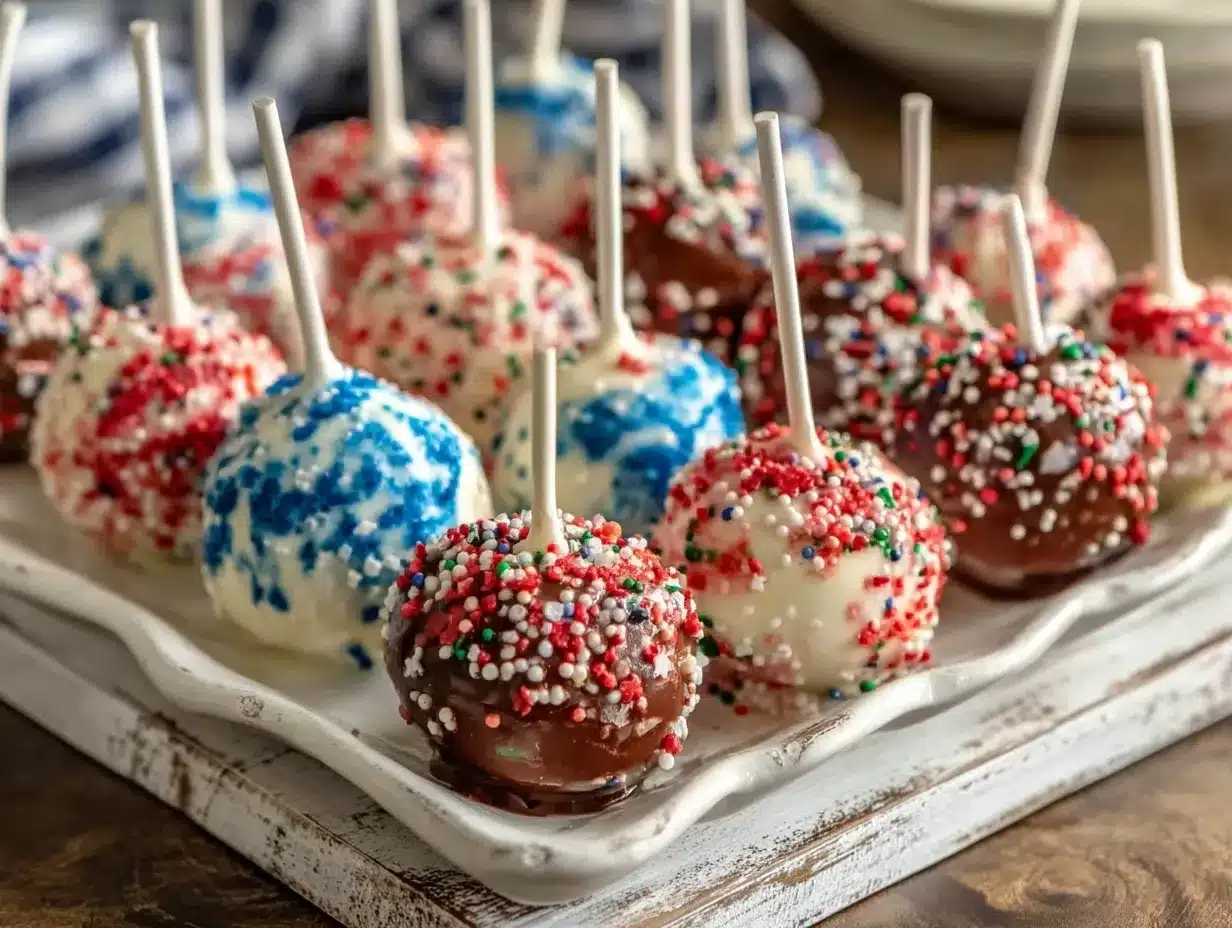
- Coat the Cake Pops: Holding the stick, dip each cake ball fully into the melted candy, letting excess drip off. Immediately sprinkle with red, white, and blue sprinkles before the coating sets. Place the pops upright into a styrofoam block to dry completely (about 15-20 minutes).
- Final Touches: Once dry, you can add extra sprinkles or drizzle with contrasting candy melts for a decorative effect. Keep the pops refrigerated if not served right away.
Watch out for candy melts that get too thick; if that happens, stir in a little vegetable oil or shortening to thin them out. And if the cake balls crack while rolling, chill them longer — that extra firmness makes all the difference.
Cooking Tips & Techniques
Working with cake pops can be a bit tricky at first, but a few tips can save you from frustration:
- Chill, Chill, Chill: Don’t skip the chilling steps. Firm cake balls are easier to dip and less likely to crumble or fall off the sticks.
- Thin Your Candy Melts: If your candy coating is too thick, add a teaspoon of vegetable oil or shortening. This helps create a smoother coating and prevents clumps.
- Use the ‘Glue’ Dip: Always dip your stick tip in the candy melts before inserting into the cake ball. This little trick keeps the cake pops securely on the sticks.
- Work Quickly: Candy melts harden fast. Have your sprinkles ready and apply them immediately after dipping.
- Practice Patience: If your first few pops crack or fall apart, don’t sweat it — the more you make, the better you get at feeling the right consistency and timing.
I remember the first time I tried making cake pops, I ignored chilling the cake balls and ended up with a crumbly mess. Lesson learned: patience and proper cooling are your best friends. Also, multitasking by melting candy melts in advance while the cake cools can save you precious prep time.
Variations & Adaptations
Want to switch things up? Here are some ways to customize your festive cake pops:
- Flavor Twists: Add cocoa powder to the cake crumbs for a chocolatey version or mix in a teaspoon of peppermint extract for a cool surprise.
- Dietary Needs: Use gluten-free cake mix and dairy-free frosting alternatives to make these cake pops allergy-friendly.
- Seasonal Themes: Swap red, white, and blue sprinkles for autumnal colors like orange and brown for Thanksgiving or pastel shades for Easter.
- Different Coatings: Instead of candy melts, dip in white chocolate or colored melting wafers for a smoother finish.
- Fun Shapes: Instead of round pops, press the cake mixture into silicone molds for stars or hearts — perfect for themed parties.
Personally, I’ve tried swapping the white cake with a moist lemon pound cake and pairing it with blueberry frosting for a fresh take on the patriotic colors. It was a hit at a summer BBQ! For a no-bake option, you can borrow ideas from my strawberry cheesecake stuffed french toast recipe, which uses creamy layers and fresh berries to assemble a quick festive treat.
Serving & Storage Suggestions
Serve these cake pops chilled or at room temperature for the best texture. They’re perfect for buffet tables, kids’ parties, or as a grab-and-go treat during any red, white, and blue celebration.
- Presentation: Arrange them upright in a colorful festive stand or a glass vase filled with sugar or beads to keep them steady and eye-catching.
- Pairings: These cake pops go great with a cold lemonade, iced tea, or even alongside a scoop of creamy no-churn strawberry ice cream for a summery dessert spread.
- Storage: Keep leftover cake pops in an airtight container in the refrigerator for up to 4 days. For longer storage, freeze them individually wrapped in plastic wrap and placed in a container for up to 2 months.
- Reheating: Let frozen cake pops thaw in the fridge overnight before serving. Avoid microwaving as it can melt the coating.
- Flavor Development: The cake pops actually taste better after resting a few hours; the frosting and cake meld together for a moister bite.
Nutritional Information & Benefits
While cake pops are definitely an indulgence, here’s a rough idea of what one pop contains:
| Nutrient | Per Cake Pop (approx.) |
|---|---|
| Calories | 150-180 kcal |
| Fat | 7-9 g (mostly from frosting and candy melts) |
| Sugar | 18-22 g |
| Protein | 1-2 g |
| Carbohydrates | 25-30 g |
Key ingredients like butter and candy melts contribute fat and sweetness, so these cake pops are best enjoyed as a treat. For those with dietary restrictions, you can swap ingredients to make them gluten-free or dairy-free. The use of real cake and homemade frosting means you’re avoiding some preservatives or artificial fillers found in store-bought snacks.
From a wellness perspective, I see these cake pops as a fun way to celebrate with friends and family — and honestly, that joy is part of any healthy lifestyle!
Conclusion
In the end, these festive perfect red white blue cake pops with sprinkles are a testament to the magic that can come from a little kitchen chaos and a handful of simple ingredients. They’re quick, fun, and bring a nostalgic pop of color and flavor that’s hard to beat. What I love most is how easy they are to customize and how they make any celebration instantly feel a little brighter.
Give this recipe a try the next time you need a festive sweet fix that won’t have you stuck in the kitchen for hours. And if you experiment with flavors or decorations, I’d love to hear about it — sharing those little tweaks is what makes cooking so much fun. Here’s to making memories, one sprinkle-covered cake pop at a time!
FAQs about Festive Red White Blue Cake Pops
How long do cake pops last once made?
Stored in an airtight container in the refrigerator, cake pops last about 3-4 days. You can freeze them for up to 2 months; just thaw in the fridge before serving.
Can I use homemade cake instead of box mix?
Absolutely! Homemade white or yellow cake works great. Just make sure it’s completely cooled before crumbling.
What if I don’t have candy melts?
You can use white chocolate or colored melting wafers, but candy melts are designed to harden smoothly and are easier to work with.
How do I prevent cake pops from falling off the sticks?
Dip the tip of the stick in melted candy before inserting into the cake ball. Chilling the cake balls well before dipping also helps.
Can I make these cake pops vegan or gluten-free?
Yes, use vegan cake mix, dairy-free butter, and candy melts. Gluten-free cake mix will work too. Adjust frosting ingredients accordingly.
Pin This Recipe!
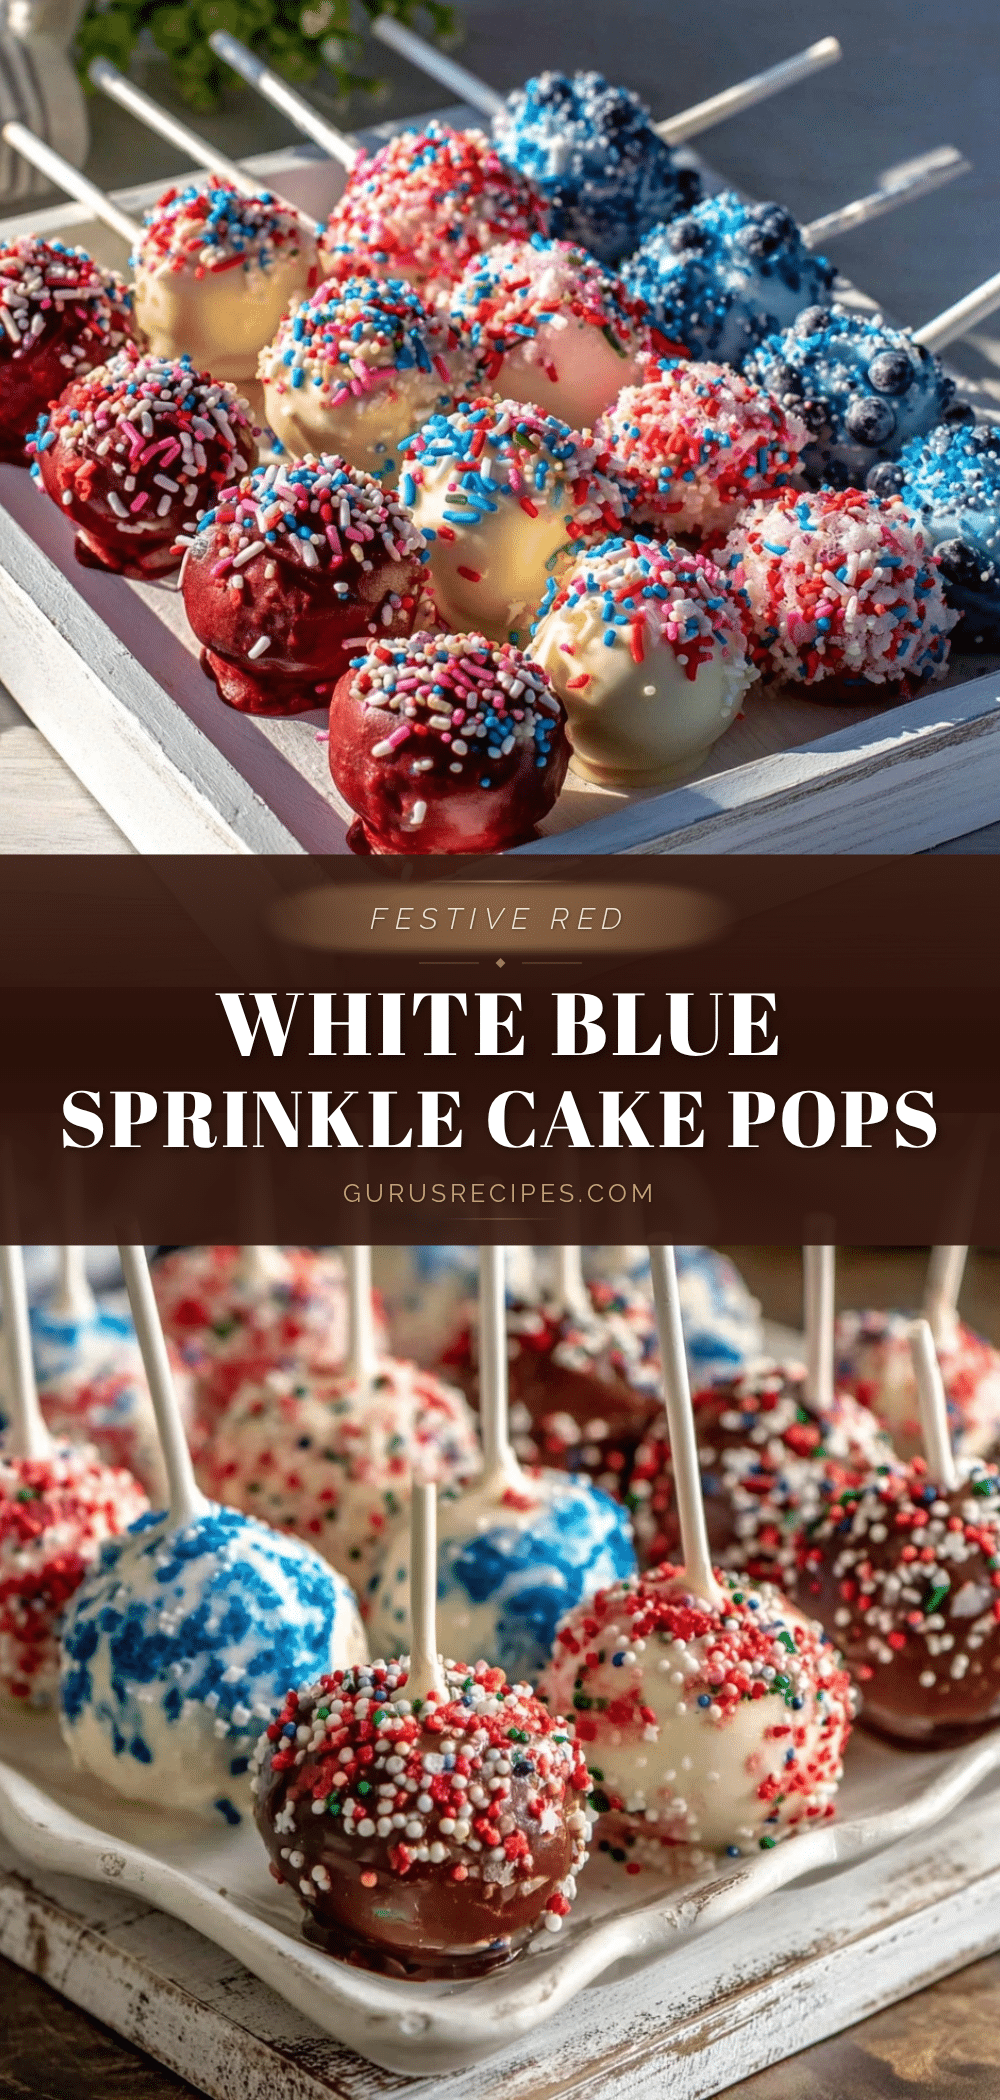

Festive Red White Blue Cake Pops with Sprinkles
Quick and easy festive cake pops perfect for patriotic celebrations, combining moist cake, smooth frosting, and crunchy sprinkles for a nostalgic and fun treat.
- Total Time: 1 hour 50 minutes
- Yield: 24-30 cake pops 1x
Ingredients
- 1 box white cake mix (about 15.25 oz / 432g) or homemade white cake batter
- Ingredients called for on the cake mix box (usually water, oil, and eggs) or homemade equivalents
- 1/2 cup unsalted butter, softened
- 1 1/2 cups powdered sugar, sifted
- 1 teaspoon vanilla extract or almond extract
- 2–3 tablespoons milk or cream
- 16 oz (450g) candy melts in white, red, and blue
- Assorted patriotic sprinkles (nonpareils, jimmies, glitter sprinkles in red, white, and blue)
- 24–30 lollipop sticks or sturdy wooden skewers
- Optional: Food coloring gel, flavored extracts (lemon, coconut), non-dairy milk or vegan butter alternatives
Instructions
- Preheat oven to 350°F (175°C). Prepare cake mix according to package or homemade recipe. Pour into greased 9×13 inch (23×33 cm) pan and bake 25-30 minutes until toothpick comes out clean. Cool completely on wire rack (about 1 hour).
- Crumble cooled cake into fine crumbs in a large bowl.
- Cream softened butter with powdered sugar using electric mixer. Add vanilla or almond extract and 2 tablespoons milk or cream. Mix until smooth, adding more milk if needed.
- Add frosting gradually to cake crumbs, mixing until mixture holds together but is not sticky.
- Roll mixture into 1.5-inch (4 cm) balls. Place on wax paper-lined baking sheet. Chill in fridge 30 minutes or freezer 15 minutes to firm up.
- Melt candy melts in separate microwave-safe bowls in 30-second bursts, stirring until smooth, or use double boiler.
- Dip tip of each lollipop stick into melted candy, then insert halfway into each chilled cake ball to secure.
- Dip each cake ball fully into melted candy, letting excess drip off. Immediately sprinkle with red, white, and blue sprinkles. Place upright in styrofoam block to dry 15-20 minutes.
- Optionally add extra sprinkles or drizzle with contrasting candy melts. Refrigerate if not serving immediately.
Notes
Chill cake balls well before dipping to prevent crumbling. Thin candy melts with vegetable oil or shortening if too thick. Dip stick tip in candy melts before inserting into cake ball to secure. Work quickly when applying sprinkles as candy melts harden fast. Cake pops taste better after resting a few hours.
- Prep Time: 20 minutes
- Cook Time: 30 minutes
- Category: Dessert
- Cuisine: American
Nutrition
- Serving Size: 1 cake pop
- Calories: 150180
- Sugar: 1822
- Fat: 79
- Carbohydrates: 2530
- Protein: 12
Keywords: cake pops, patriotic dessert, red white blue, Fourth of July, easy cake pops, sprinkles, party treats


