
That first crack of a gingersnap — the sharp, spicy-sweet scent of molasses and clove breaking through the kitchen air — still takes me straight to my grandmother’s tiny apartment on the edge of town. She’d pull out that dented metal tin, the one with the faded poinsettias on the lid, and the whole room would shift. I’d sit on the linoleum floor, my back against the radiator, waiting for her to hand me one (or three). I didn’t know then that those same cookies would one day become the foundation for my favorite fall dessert.
Years later, I found myself standing in my own kitchen, a bruised pumpkin on the counter and a half-eaten sleeve of store-bought gingersnaps next to the coffee maker. I wanted something that tasted like that memory — but richer, creamier, more grown-up. Something that could sit on a Thanksgiving table and hold its own against the pies. That’s how these Perfect Pumpkin Cheesecake Bars with Gingersnap Crust came to be. They’re not fussy. They don’t require a water bath or a springform pan. They just taste like the best kind of autumn afternoon.
It took a few tries to get the layers right. The first batch? The cheesecake slid right off the crust. The second? Too dense. But the third — that one was gold. The gingersnap crust stayed crisp, the pumpkin cheesecake was silky, and the whole thing had this quiet, confident flavor that didn’t need a single garnish. Honestly, I think Grandma would have approved. She’d probably have grabbed two.
Why You’ll Love This Recipe
Let’s be real — there are a lot of pumpkin cheesecake recipes out there. But these Perfect Pumpkin Cheesecake Bars with Gingersnap Crust are the ones I keep coming back to, year after year. Here’s why they’re different:
- No Water Bath Required — I know, I know. Cheesecake purists might gasp. But this recipe bakes up perfectly smooth without the fuss of a water bath. Less stress, same creamy results.
- That Gingersnap Crust — It’s not just a crust. It’s a flavor bomb. The molasses and warm spices in the gingersnaps play off the pumpkin in a way a standard graham cracker crust just can’t touch. It’s the kind of pairing that makes you wonder why you haven’t been doing it all along.
- Simple Ingredients — Nothing weird here. No obscure extracts or specialty flours. You probably have most of this in your pantry right now, especially if you’re a fall baker.
- Perfect for Crowds — These bars slice cleanly, stack nicely on a platter, and don’t require a fork and plate situation. They’re ideal for potlucks, Friendsgiving, or that office party where you want to impress without showing up with a whole pie.
- Make-Ahead Friendly — These actually get better after a day in the fridge. The flavors meld, the texture firms up, and you get to cross “dessert” off your to-do list a full 24 hours before the meal.
I’ve tested this recipe with a few different crusts — shortbread, vanilla wafers, even crushed pretzels (which was interesting, but not quite right). The gingersnap version won every single time. It’s not just good. It’s the kind of dessert that makes people close their eyes after the first bite, and honestly, that’s the best compliment a baker can get.
What Ingredients You Will Need
This recipe keeps things straightforward. The ingredients work together to create that unmistakable fall flavor without any fuss. Here’s what you’ll need:
For the Gingersnap Crust
- 2 cups (240g) gingersnap cookie crumbs — About 8 ounces of cookies. I prefer Nabisco or a bakery brand for consistent texture. Pulse them in a food processor or smash them in a bag with a rolling pin (the latter is oddly satisfying).
- 6 tablespoons (85g) unsalted butter, melted — Use real butter here. Margarine changes the texture and flavor.
- 2 tablespoons (25g) granulated sugar — Just a touch to help the crust hold together.
- ¼ teaspoon salt — Balances the sweetness of the cookies.
For the Pumpkin Cheesecake Filling
- 16 ounces (452g) cream cheese, softened — Full-fat is non-negotiable here. Low-fat cream cheese contains more water and can lead to a runny filling. Let it sit on the counter for at least an hour before starting.
- 1 cup (200g) granulated sugar — Standard white sugar works perfectly.
- 1 cup (245g) pumpkin puree — Not pumpkin pie filling. Look for 100% pure pumpkin. Libby’s is my go-to, but store brands work fine too. If your puree looks watery, blot it with a paper towel before using.
- 3 large eggs, room temperature — Cold eggs can cause the batter to seize up. If you forgot to take them out, place them in a bowl of warm water for 5 minutes.
- 1 teaspoon vanilla extract — Pure vanilla, not imitation. It makes a difference in the final flavor.
- 1 teaspoon pumpkin pie spice — Or make your own: ½ teaspoon cinnamon, ¼ teaspoon ginger, ⅛ teaspoon nutmeg, ⅛ teaspoon cloves.
- ½ teaspoon cinnamon — Extra warmth for the pumpkin layer.
- ¼ teaspoon salt — Enhances all the flavors.
- 2 tablespoons (16g) all-purpose flour — Helps stabilize the cheesecake and prevents cracking.
A quick note on the cream cheese: I’ve tried this with Philadelphia and a few generic brands. Philadelphia gives the creamiest, most reliable texture. If you’re using a store brand, make sure it’s not the spreadable kind — that has added water and stabilizers that will mess with the final consistency.
For the pumpkin puree, I always recommend checking the label. Some brands add spices or sweeteners, and you want pure pumpkin only. If you’re feeling ambitious, you can roast and puree your own sugar pumpkins, but honestly? Canned works beautifully here and saves you a solid hour of work.
Equipment Needed
You don’t need a fancy kitchen to pull these off. Here’s what you’ll actually use:
- 9×9-inch baking pan — Metal or ceramic both work. Glass is fine too, but reduce the oven temperature by 25°F to prevent over-browning.
- Parchment paper — Cut two strips to create a sling. This makes lifting the bars out a breeze.
- Food processor or rolling pin — For crushing the gingersnaps. A zip-top bag and a heavy-bottomed pan work in a pinch.
- Electric hand mixer or stand mixer — A hand mixer is totally fine. I actually prefer it for cheesecake because it’s harder to overmix.
- Large mixing bowls — At least two.
- Rubber spatula — For scraping down the sides of the bowl. Don’t skip this step.
- Measuring cups and spoons — Standard set.
- Cooling rack — Lets air circulate so the bars cool evenly.
If you don’t have a food processor, don’t sweat it. Place the gingersnaps in a sturdy zip-top bag, seal it, and go to town with a rolling pin. It’s a little more work, but it’s also a great way to release some baking frustration. I’ve done it more times than I’d like to admit.
Preparation Method
Let’s get to the good part. Take your time with these steps — rushing is the main reason cheesecake bars crack or separate.
- Preheat and Prep — Preheat your oven to 325°F (163°C). Line your 9×9-inch pan with two strips of parchment paper, crossing them so they hang over the sides. This creates a sling that makes lifting the bars out effortless later. Lightly grease the parchment with butter or non-stick spray.
- Make the Crust — In a food processor, pulse the gingersnaps until you have fine crumbs. You should have about 2 cups. Transfer to a medium bowl. Pour in the melted butter, sugar, and salt. Stir with a fork until every crumb is coated. The mixture should look like wet sand and hold together when you squeeze it.
- Press and Bake the Crust — Dump the crumb mixture into your prepared pan. Use the bottom of a measuring cup or a flat glass to press it down firmly and evenly. Don’t just pat it — really press. An even crust means even baking. Bake for 10 minutes at 325°F. It should be fragrant and just slightly darker around the edges. Set aside to cool while you make the filling.
- Beat the Cream Cheese — In a large bowl, beat the softened cream cheese with an electric mixer on medium speed until smooth and creamy. About 2 minutes. Scrape down the sides and the bottom of the bowl with a rubber spatula. This step matters — lumps here will stay lumps in the final bars.
- Add the Sugar — Add the granulated sugar and beat on medium until combined, about 1 minute. Scrape the bowl again.
- Mix in the Pumpkin — Add the pumpkin puree, vanilla, pumpkin pie spice, cinnamon, and salt. Beat on low until just combined. Don’t go crazy here — overmixing incorporates too much air, which can cause cracks later.
- Add the Eggs — Add the eggs one at a time, beating on low after each addition until just incorporated. Scrape the bowl between eggs. After the last egg, add the flour and mix on low until you can’t see it anymore. The batter should be smooth, thick, and a gorgeous orange-brown color.
- Pour and Spread — Pour the filling over the pre-baked crust. Use your spatula to spread it evenly to the edges. Give the pan a gentle tap on the counter to release any air bubbles.
- Bake — Bake at 325°F for 35-40 minutes. The edges should look set and slightly puffed, but the center should still jiggle just a little when you gently shake the pan. That slight jiggle is your friend — it means the center will stay creamy instead of turning dry and crumbly.
- Cool Slowly — Turn off the oven, crack the door open, and let the bars sit inside for 15 minutes. This slow cooling prevents the dreaded crack. Then transfer the pan to a wire rack and let it cool completely at room temperature, about 1 hour.
- Chill — Cover the pan with plastic wrap and refrigerate for at least 4 hours, but overnight is better. The bars need this time to fully set. If you try to cut them too soon, they’ll be a mess. Trust me, I’ve learned this the hard way.
- Slice and Serve — Use the parchment sling to lift the entire block out of the pan. Place it on a cutting board. Use a sharp chef’s knife, wiping it clean between cuts, to slice into 16 even bars. Serve cold or let them sit at room temperature for 10 minutes for a softer texture.
One more thing — if you notice the top of your cheesecake browning too quickly, tent the pan loosely with aluminum foil around the 25-minute mark. Every oven runs a little differently, and this trick saves the top from getting too dark.
Cooking Tips & Techniques
I’ve made these Perfect Pumpkin Cheesecake Bars with Gingersnap Crust more times than I can count, and I’ve messed up plenty along the way. Here’s what I’ve learned:
Room temperature ingredients are not optional. Cold cream cheese creates lumps that no amount of beating will fully smooth out. Cold eggs can cause the batter to separate. Set everything out an hour before you start. If you forget, place the eggs in a bowl of warm water for 5 minutes and microwave the cream cheese in 10-second bursts — but honestly, the counter method is better.
Don’t overmix the batter. I know it’s tempting to keep beating until it’s perfectly smooth, but too much air in the batter leads to cracks during baking. Mix until the ingredients are just combined, then stop. A few tiny lumps are fine — they’ll bake out.
The jiggle test is your best friend. When the timer goes off, don’t just pull the pan out. Gently shake it. The center should wobble like Jell-O, not slosh like soup. If it’s still liquidy, give it 5 more minutes. If it’s completely firm and doesn’t move at all, it’s overbaked and will likely crack as it cools.
Patience with cooling pays off. I once tried to speed-cool a cheesecake in the freezer. Big mistake. The top cracked right down the middle. Let it cool gradually — first in the turned-off oven with the door cracked, then on the counter, then in the fridge. Each stage matters.
Use a sharp knife for clean slices. Run the blade under hot water, dry it off, then make your cut. Wipe the blade clean between each slice. This gives you those beautiful, bakery-style edges that make people think you’re a pro.
One more thing — if your crust crumbles when you try to cut it, you probably didn’t press it firmly enough into the pan. Next time, use the bottom of a flat glass and really lean into it. A tight, compact crust holds together much better.
Variations & Adaptations
This recipe is pretty forgiving, and I’ve played around with it quite a bit. Here are a few variations worth trying:
Gluten-Free Version — Use gluten-free gingersnaps for the crust. Several brands make them, or you can use gluten-free graham crackers with added ginger and molasses. Substitute the all-purpose flour with a 1:1 gluten-free baking flour. The texture is slightly more delicate but still delicious.
Dairy-Free Adaptation — Use a high-quality dairy-free cream cheese alternative. Kite Hill and Miyoko’s both work well. Substitute the butter with coconut oil or a plant-based butter. The texture won’t be quite as creamy, but the flavor is still spot-on.
Extra Spicy — If you like your fall desserts with a kick, add ¼ teaspoon of cayenne pepper to the cheesecake filling. It sounds weird, I know, but the heat plays beautifully with the sweet pumpkin and spicy gingersnap crust. I tried this on a whim last year and it was a hit at our Friendsgiving.
Chocolate Drizzle — Melt ½ cup of semi-sweet chocolate chips with 1 tablespoon of coconut oil and drizzle it over the chilled bars. The chocolate and pumpkin combination is surprisingly good, and it makes the bars look fancy with almost zero effort.
Mini Bar Version — Press the crust into a 24-cup mini muffin tin and fill each cup with cheesecake batter. Bake for 15-18 minutes. These are perfect for parties or holiday cookie platters. Just reduce the baking time and keep an eye on them.
I’ve also tried swapping the pumpkin puree for sweet potato puree once when I ran out of pumpkin. It worked surprisingly well — slightly sweeter, a little earthier. If you’re in a pinch, go for it.
Serving & Storage Suggestions
These bars are versatile enough for a casual snack or a fancy dessert table. Here’s how I like to serve and store them:
Serving Temperature — I prefer these cold, straight from the fridge. The cheesecake layer is firm and creamy, and the crust stays snappy. If you like a softer texture, let them sit at room temperature for 10-15 minutes before serving. Either way, they’re fantastic.
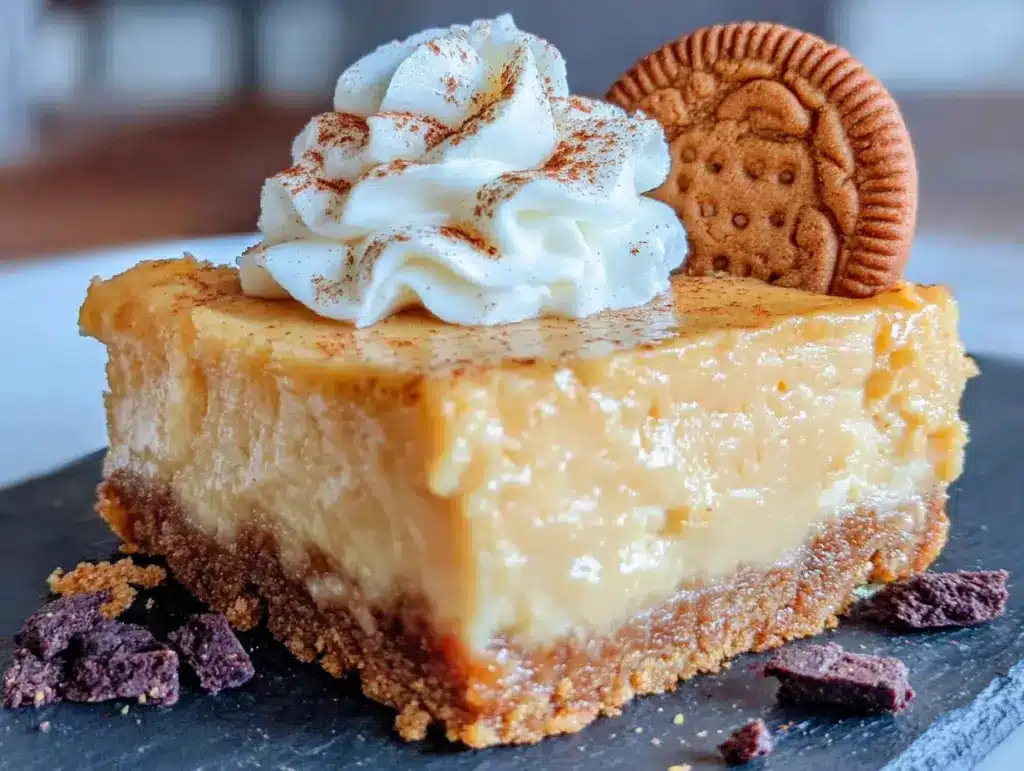
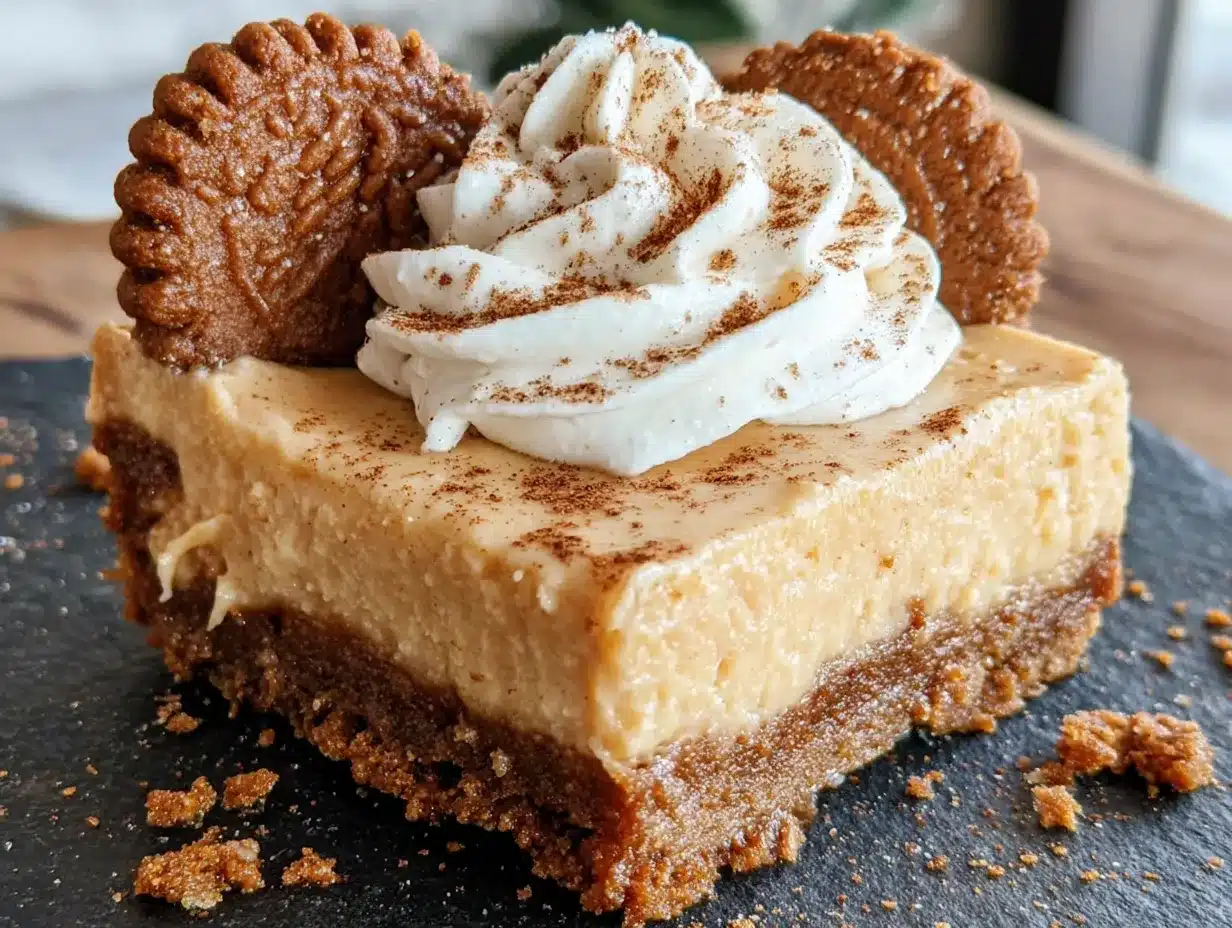
Presentation Ideas — A light dusting of cinnamon or powdered sugar right before serving adds a nice touch. A dollop of whipped cream and a small gingersnap cookie on top makes them look extra special. For a more decadent option, drizzle with salted caramel sauce.
Pairings — These bars pair beautifully with a hot cup of coffee, a spiced chai latte, or a glass of cold milk. For a boozy option, try them with a dark rum or a pumpkin spice cocktail.
Refrigerator Storage — Store the bars in an airtight container in the refrigerator for up to 5 days. Layer them with parchment paper between each layer to prevent sticking. The flavor actually improves after a day or two as the spices meld together.
Freezer Storage — These freeze beautifully. Wrap individual bars tightly in plastic wrap, then place them in a freezer-safe bag or container. They’ll keep for up to 3 months. To thaw, move them to the refrigerator overnight. Don’t thaw at room temperature — they can get weepy.
Reheating — These are best served cold, so reheating isn’t really necessary. If you want a warm dessert, microwave a single bar for 10-15 seconds. The crust will soften, but the cheesecake will get slightly gooey. It’s a different experience, but some people love it.
One note on make-ahead: these bars are actually better the next day. The flavors have time to settle and deepen. So if you’re planning a holiday meal, make these the day before. Your future self will thank you.
Nutritional Information & Benefits
Let’s be honest — these are a treat, not a health food. But here’s the nutritional breakdown for one bar (based on 16 servings):
- Calories: Approximately 285
- Fat: 18g
- Carbohydrates: 28g
- Protein: 5g
- Fiber: 1g
- Sugar: 20g
- Sodium: 230mg
On the bright side, pumpkin is packed with vitamin A, which is great for your eyes and immune system. It also contains fiber and antioxidants. The cream cheese provides calcium and protein, though it’s also where most of the fat comes from. The gingersnaps add a touch of molasses, which contains iron, calcium, and magnesium.
If you’re watching your sugar intake, you can reduce the sugar in the filling to ¾ cup without sacrificing too much texture. The bars will be slightly less sweet, but the pumpkin and spice flavors will shine through more.
For those with dietary restrictions, this recipe contains gluten, dairy, and eggs. See the variations section for adaptation ideas. As always, consult with a healthcare provider for personalized nutritional advice — I’m just a home cook who loves dessert.
Conclusion
These Perfect Pumpkin Cheesecake Bars with Gingersnap Crust have become my go-to fall dessert for a reason. They’re simple enough for a Tuesday night treat but impressive enough for a holiday table. The gingersnap crust adds that little something extra that makes people ask for the recipe, and the creamy pumpkin filling is everything you want in a fall dessert — warm, spiced, and deeply satisfying.
I love that I can make them ahead, slice them cleanly, and watch them disappear at parties. But honestly? I love them most on a quiet afternoon with a cup of coffee and nobody around to judge me for having a second one.
If you make these, I’d love to hear how they turn out. Leave a comment below, share your photos, or tell me if you tried a fun variation. And if you’re looking for more fall baking inspiration, you might enjoy our creamy Baileys Irish cream cheesecake or these creamy strawberry cheesecake stuffed French toast for a different take on cheesecake flavors. Happy baking, friends!
Frequently Asked Questions
Can I use a different type of cookie for the crust?
Absolutely. Graham crackers, vanilla wafers, or shortbread cookies all work. Just add a teaspoon of ground ginger and a pinch of cloves to replicate the gingersnap flavor. The texture will be slightly different, but still delicious.
Why did my cheesecake crack on top?
Cracks usually happen from overbaking, overmixing, or cooling too quickly. Make sure you remove the bars when the center still jiggles slightly, and let them cool gradually in the turned-off oven before moving to the counter. Overmixing incorporates too much air, which expands and then collapses, causing cracks.
Can I make this recipe in a different size pan?
Yes. For a 9×13-inch pan, double the recipe and bake for 40-45 minutes. For an 8×8-inch pan, the baking time stays the same but you’ll get thicker bars. Just keep an eye on the doneness — the jiggle test is your best guide.
How do I know when the bars are done baking?
The edges should look set and slightly puffed, but the center should still jiggle when you gently shake the pan. That slight wobble is crucial — it means the center will stay creamy. If the center is completely firm, the bars are overbaked.
Can I use fresh pumpkin instead of canned?
Yes, but you’ll need to roast and puree a sugar pumpkin first. Make sure to drain the puree through a cheesecloth or paper towel to remove excess water. Fresh pumpkin can be more watery than canned, which can affect the texture of the cheesecake.
Pin This Recipe!
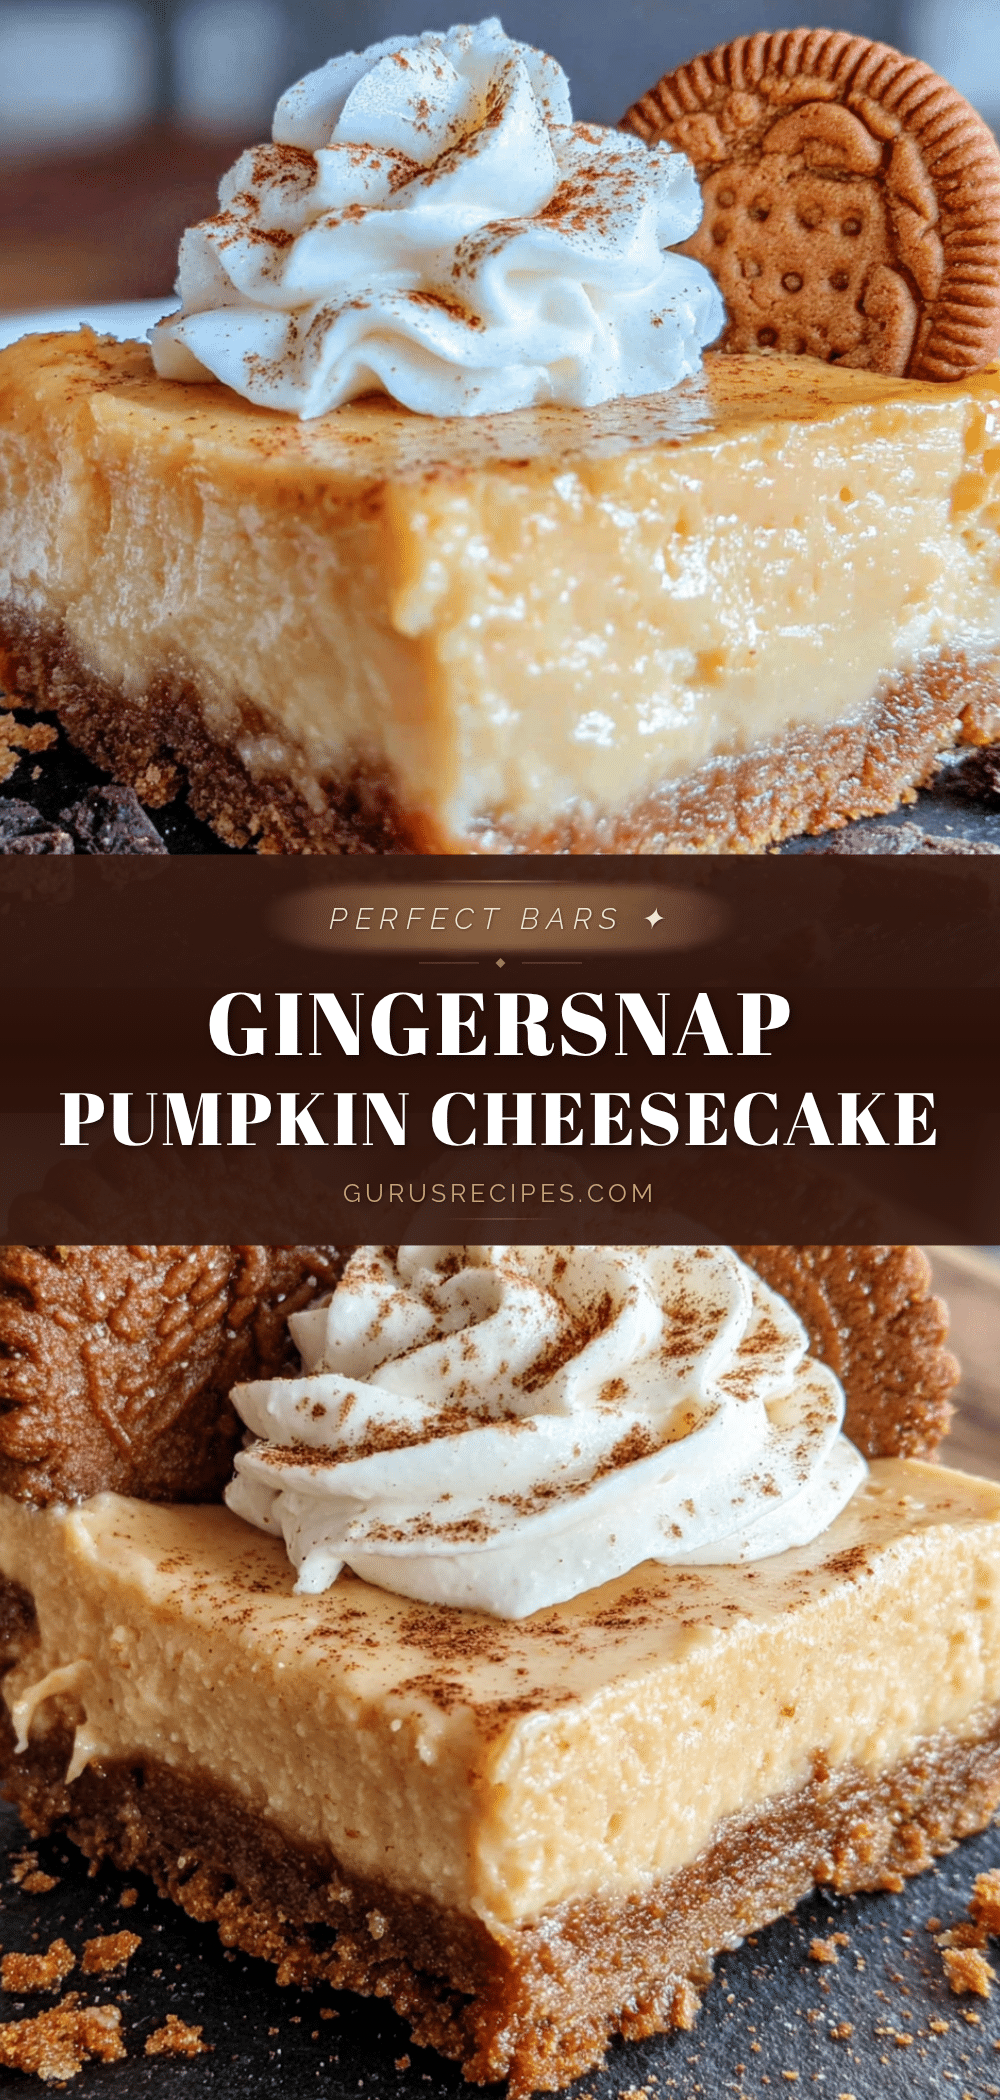

Perfect Pumpkin Cheesecake Bars with Gingersnap Crust
These Perfect Pumpkin Cheesecake Bars with Gingersnap Crust are a creamy, spiced fall dessert with a crisp, flavorful crust. No water bath required, they’re easy to make ahead and perfect for holiday gatherings.
- Total Time: 5 hours (includes chilling)
- Yield: 16 bars 1x
Ingredients
- 2 cups (240g) gingersnap cookie crumbs
- 6 tablespoons (85g) unsalted butter, melted
- 2 tablespoons (25g) granulated sugar
- ¼ teaspoon salt
- 16 ounces (452g) cream cheese, softened
- 1 cup (200g) granulated sugar
- 1 cup (245g) pumpkin puree
- 3 large eggs, room temperature
- 1 teaspoon vanilla extract
- 1 teaspoon pumpkin pie spice
- ½ teaspoon cinnamon
- ¼ teaspoon salt
- 2 tablespoons (16g) all-purpose flour
Instructions
- Preheat oven to 325°F (163°C). Line a 9×9-inch pan with parchment paper sling and lightly grease.
- Make the crust: Pulse gingersnaps into fine crumbs. Mix with melted butter, 2 tablespoons sugar, and ¼ teaspoon salt until it holds together.
- Press crust firmly into prepared pan. Bake for 10 minutes. Set aside to cool.
- Beat softened cream cheese with an electric mixer on medium until smooth, about 2 minutes. Scrape bowl.
- Add 1 cup sugar and beat on medium until combined, about 1 minute. Scrape bowl.
- Add pumpkin puree, vanilla, pumpkin pie spice, cinnamon, and ¼ teaspoon salt. Beat on low until just combined.
- Add eggs one at a time, beating on low after each. Scrape bowl between eggs. Add flour and mix on low until just incorporated.
- Pour filling over crust and spread evenly. Tap pan gently to release air bubbles.
- Bake at 325°F for 35-40 minutes, until edges are set but center jiggles slightly.
- Turn off oven, crack door, and let bars sit inside for 15 minutes. Then cool completely on a wire rack, about 1 hour.
- Cover and refrigerate for at least 4 hours, preferably overnight.
- Use parchment sling to lift bars out. Slice into 16 bars with a sharp knife, wiping blade clean between cuts.
Notes
Room temperature ingredients are essential for a smooth texture. Don’t overmix the batter to avoid cracks. The jiggle test is key for doneness. Cool gradually to prevent cracking. For clean slices, use a hot, dry knife and wipe between cuts.
- Prep Time: 20 minutes
- Cook Time: 40 minutes
- Category: Dessert
- Cuisine: American
Nutrition
- Serving Size: 1 bar
- Calories: 285
- Sugar: 20
- Sodium: 230
- Fat: 18
- Saturated Fat: 10
- Carbohydrates: 28
- Fiber: 1
- Protein: 5
Keywords: pumpkin cheesecake bars, gingersnap crust, fall dessert, Thanksgiving dessert, no water bath cheesecake


