
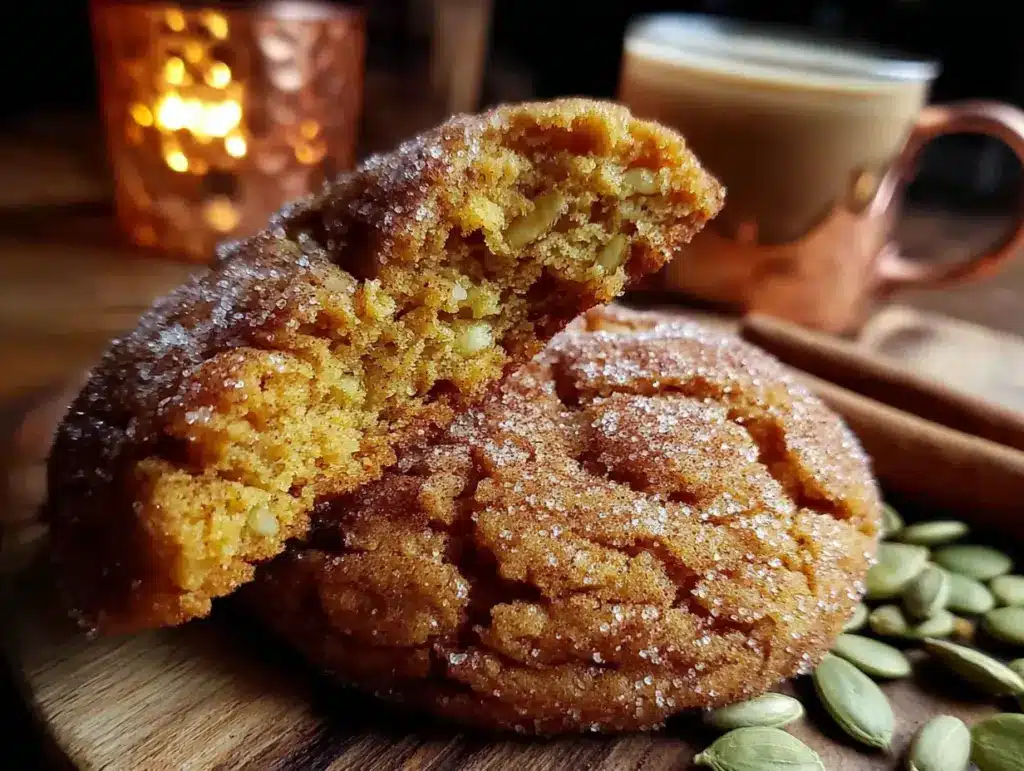
The first thing you notice is the brown butter — that nutty, almost caramel smell that fills the kitchen before you’ve even measured the flour. It hits you the second the butter starts to foam in the pan, and I swear, it’s the kind of scent that makes you stop whatever you’re doing and just breathe in deep. For me, that smell takes me straight back to my tiny apartment kitchen in early October, the first time I decided to combine brown butter with pumpkin and cinnamon sugar on a whim. I had a can of pumpkin puree left over from a soup I’d made, and a bag of snickerdoodle ingredients staring at me from the pantry. It felt like a risk at the time — would the pumpkin make the cookies too soft? Would the brown butter get lost? But that first batch came out of the oven with cracked, sugary tops and a texture that was somehow both chewy and pillowy, and I knew I’d stumbled onto something special. These Best Brown Butter Pumpkin Snickerdoodle Cookies are that happy accident, perfected over years of tweaking. They’re the cookie you make when you want fall on a plate, without any fuss or complicated steps.
Why You’ll Love This Recipe
These cookies aren’t just another pumpkin recipe. They’re the result of countless batches where I learned exactly how to keep them from turning into cakey pucks. The brown butter is the secret weapon here — it adds a deep, toasty richness that plain butter just can’t match, and it pairs perfectly with the warm spices. I’ve tested this with different butter-to-pumpkin ratios, different chilling times, and even different types of sugar, and this version is hands-down the best.
- Quick & Easy: From start to finish, you’re looking at about 30 minutes of active work. The dough needs a quick chill, but it’s totally manageable for a weeknight baking session.
- Simple Ingredients: You probably have most of these in your pantry right now. No weird extracts or hard-to-find flours — just butter, sugar, pumpkin, and spices.
- Perfect for Fall Gatherings: These cookies are the first thing to disappear at potlucks, Thanksgiving dessert tables, or cozy coffee dates with friends.
- Crowd-Pleaser: I’ve had people who swear they don’t like pumpkin cookies go back for thirds. The brown butter and cinnamon sugar coating win everyone over.
- Unbelievably Delicious: The texture is what gets you — crisp edges with a soft, almost tender center that stays moist for days (if they last that long).
What makes these different from every other pumpkin cookie out there? It’s the technique. Browning the butter first deepens the flavor in a way that complements the pumpkin without overwhelming it. And the cream of tartar in the snickerdoodle-style dough gives them that signature tangy chew that balances the sweetness. Honestly, I’ve tried versions that skip the brown butter or use oil instead, and they just don’t have the same soul. This is comfort food reimagined — richer, more aromatic, but still simple enough to whip up on a random Tuesday night.
What Ingredients You Will Need
This recipe uses straightforward ingredients that work together to create something truly special. The brown butter is the star, but each component plays a role in getting that perfect texture and flavor.
- 1 cup (2 sticks) unsalted butter — You’ll brown this yourself. I recommend using a good-quality butter like Kerrygold for the richest flavor, but any unsalted butter works fine. The browning process is where the magic happens, so don’t skip it.
- 1 cup granulated sugar — For sweetness and that classic snickerdoodle texture. Regular white sugar is perfect here.
- ½ cup packed light brown sugar — Adds moisture and a hint of molasses that plays beautifully with the pumpkin and brown butter.
- ¾ cup pumpkin puree — Not pumpkin pie filling! Make sure you grab 100% pure pumpkin puree. I prefer Libby’s for its consistent texture, but store brands work too. Pat the puree with a paper towel to remove excess moisture if it looks watery.
- 1 large egg — Room temperature, please. It incorporates more evenly into the brown butter.
- 2 teaspoons vanilla extract — Pure vanilla extract makes a difference here. The floral notes complement the warm spices.
- 2 ½ cups all-purpose flour — Spoon and level it into your measuring cup. Scooping directly can pack the flour and make the cookies dry.
- 1 teaspoon baking soda — Helps the cookies spread just enough while staying soft.
- ½ teaspoon cream of tartar — This is what gives snickerdoodles their signature tangy flavor and chewy texture. Don’t skip it!
- 1 teaspoon ground cinnamon — Warm and aromatic, the backbone of the spice mix.
- ½ teaspoon ground nutmeg — Freshly grated if you have it, but pre-ground works perfectly fine.
- ½ teaspoon ground ginger — Adds a subtle warmth that cuts through the sweetness.
- ¼ teaspoon ground cloves — Just a pinch for depth. Too much can overpower the other spices.
- ½ teaspoon salt — Balances the sweetness and enhances the brown butter flavor.
For the Cinnamon Sugar Coating:
- ¼ cup granulated sugar
- 1 tablespoon ground cinnamon
You can also add a pinch of nutmeg to the coating for extra warmth — I do this sometimes when I’m feeling extra festive. If you’re looking for a dairy-free option, you can substitute the butter with a high-quality vegan butter, but honestly, the brown butter flavor won’t be quite the same. For a gluten-free version, swap the all-purpose flour with a 1:1 gluten-free baking blend that contains xanthan gum.
Equipment Needed
You don’t need a ton of fancy tools for these cookies, which is part of their charm. Here’s what you’ll want on hand:
- Medium saucepan — For browning the butter. A light-colored pan is best so you can see the butter change color.
- Large mixing bowls — One for the wet ingredients, one for the dry. I use glass or stainless steel.
- Whisk — For combining the dry ingredients and smoothing out the brown butter mixture.
- Rubber spatula — For folding everything together without overmixing.
- Baking sheets — Two standard half-sheet pans work great. Line them with parchment paper or a silicone baking mat.
- Cookie scoop — A 1.5-tablespoon scoop ensures uniform cookies that bake evenly. If you don’t have one, you can use two spoons.
- Cooling rack — Lets the cookies cool properly so the bottoms don’t get soggy.
If you don’t have a stand mixer, don’t worry — a hand mixer or even a strong arm and a wooden spoon will do the job. The dough is soft enough to mix by hand once the brown butter has cooled slightly. I’ve used both methods, and honestly, the hand-mixed batches come out just as good. Just make sure you don’t overwork the dough, or the cookies will be tough.
Preparation Method
Let’s get baking. This process is straightforward, but there are a few key moments where paying attention makes all the difference.
- Brown the butter. Place the butter in your saucepan over medium heat. Let it melt completely, then swirl the pan occasionally. The butter will start to foam and crackle — that’s the water evaporating. After a few minutes, the foam will subside, and you’ll see golden-brown specks forming at the bottom. This is where you need to watch closely. The butter should smell nutty and look like the color of a penny. Once it reaches that stage, immediately remove it from the heat and pour it into a heatproof bowl to stop the cooking. Let it cool for about 10 minutes.
- Mix the wet ingredients. In a large bowl, whisk together the cooled brown butter, granulated sugar, and brown sugar until smooth. It should look like wet sand. Add the pumpkin puree, egg, and vanilla extract, and whisk until everything is fully combined. The mixture will look a little thick and glossy — that’s perfect.
- Combine the dry ingredients. In a separate bowl, whisk together the flour, baking soda, cream of tartar, cinnamon, nutmeg, ginger, cloves, and salt. This step ensures the spices are evenly distributed throughout the dough.
- Fold the dry into the wet. Gradually add the dry ingredients to the wet mixture, folding gently with a rubber spatula. Stop as soon as you no longer see streaks of flour. Overmixing will develop the gluten and make the cookies tough. The dough will be soft and slightly sticky — that’s normal.
- Chill the dough. Cover the bowl with plastic wrap and refrigerate for at least 30 minutes, or up to 2 hours. Chilling is non-negotiable here. It firms up the brown butter so the cookies don’t spread into flat puddles, and it gives the flavors time to meld. I’ve tried baking them right away, and they spread too much. Trust the chill.
- Preheat and prep. About 15 minutes before you’re ready to bake, preheat your oven to 350°F (175°C). Line your baking sheets with parchment paper.
- Make the cinnamon sugar coating. In a small bowl, stir together the ¼ cup granulated sugar and 1 tablespoon cinnamon.
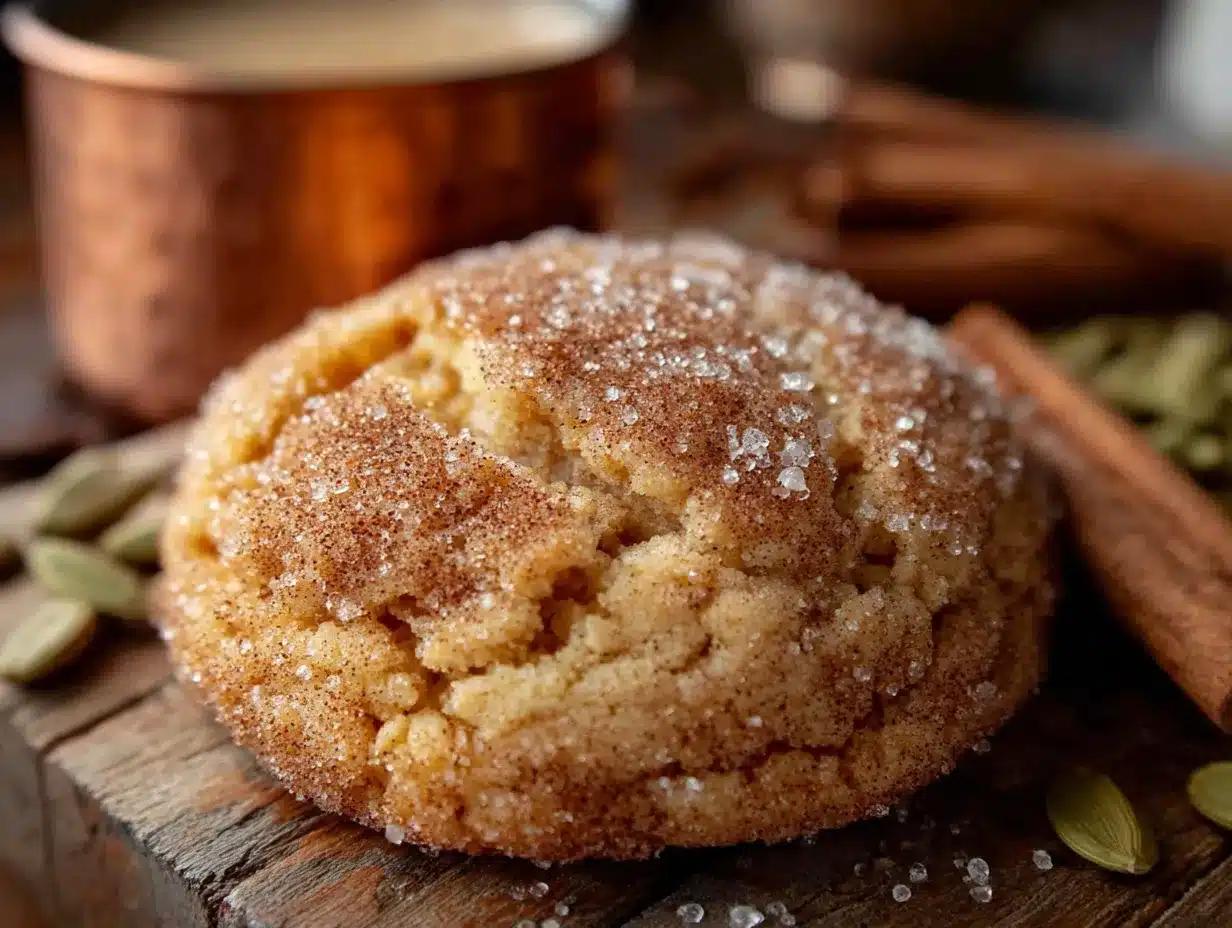
- Shape and coat the cookies. Using your cookie scoop or a spoon, portion out rounded tablespoons of dough (about 1.5 tablespoons each). Roll each portion into a smooth ball between your palms, then roll it in the cinnamon sugar mixture until fully coated. Place the coated dough balls on the prepared baking sheets, spacing them about 2 inches apart.
- Bake. Bake for 10 to 12 minutes, or until the edges are set and the tops look slightly cracked and puffed. The centers will look soft and slightly underdone — that’s what you want. They’ll continue to set as they cool. For softer cookies, pull them at 10 minutes. For slightly crisper edges, go to 12.
- Cool. Let the cookies rest on the baking sheet for 5 minutes. This allows them to firm up enough to transfer without breaking. Then move them to a wire rack to cool completely. The smell at this point is absolutely intoxicating — nutty, spicy, and sweet all at once.
Cooking Tips & Techniques
I’ve made these cookies more times than I can count, and I’ve learned a few things the hard way. Here are the tips that make the biggest difference:
Watch the brown butter like a hawk. It goes from perfectly nutty to burnt in about 30 seconds. The first time I made it, I got distracted by my phone and ended up with black specks and a bitter smell. Keep your eyes on the pan, and remove it from the heat the second it turns a deep amber color. Pour it into a bowl immediately so the residual heat from the pan doesn’t keep cooking it.
Don’t skip the cream of tartar. I know it’s a weird ingredient that you might not have on hand, but it’s what gives snickerdoodles their signature tangy flavor and chewy texture. If you absolutely have to substitute it, use 1 teaspoon of lemon juice or white vinegar mixed into the wet ingredients, but the texture won’t be quite the same.
Chill the dough — seriously. I know it’s tempting to skip this step when you’re craving cookies, but the brown butter stays soft at room temperature, and without chilling, the cookies will spread into thin, crispy discs. I’ve made that mistake. The 30-minute chill is worth it for thick, chewy cookies.
Use a cookie scoop for uniform size. This isn’t just about aesthetics — evenly sized cookies bake at the same rate, so you won’t end up with some burnt and some underdone. If you don’t have a scoop, use two spoons to portion the dough, and try to make them all roughly the same size.
Let the cookies cool on the pan. Those first 5 minutes on the hot baking sheet are crucial. The cookies are fragile right out of the oven, and moving them too soon can cause them to fall apart. I learned this when I tried to transfer a batch immediately and ended up with a pile of crumbles. Patience pays off.
Variations & Adaptations
One of the best things about this recipe is how easy it is to tweak based on what you have or what you’re craving. Here are some variations I’ve tried and loved:
Spiced Up Version: Add ¼ teaspoon of cardamom or allspice to the dry ingredients for an even warmer, more complex flavor profile. I did this for a Friendsgiving once, and everyone asked what my “secret spice” was.
Gluten-Free Adaptation: Swap the all-purpose flour with a 1:1 gluten-free baking blend that contains xanthan gum. I’ve tested this with Bob’s Red Mill 1:1 Baking Flour, and the cookies come out just as soft and chewy. No one will know the difference.
Dairy-Free Option: Use vegan butter for the browning process. I’ve tried this with Miyoko’s European Style Cultured Vegan Butter, and while the brown butter flavor is slightly less pronounced, it still works beautifully. Just keep in mind that vegan butter browns a little faster, so watch it closely.
Add-Ins: Fold in ½ cup of white chocolate chips or chopped pecans after you mix the dough. The white chocolate adds a creamy sweetness that pairs perfectly with the pumpkin spices, and the pecans give a nice crunch. I made a batch with both once, and they were gone in an hour.
Maple Twist: Replace the brown sugar with ½ cup of maple syrup and reduce the pumpkin puree to ½ cup. The dough will be a bit stickier, so you’ll need to chill it for at least an hour. The maple flavor adds a whole new layer of fall goodness.
Serving & Storage Suggestions
These cookies are best served slightly warm, when the edges are still a little crisp and the center is soft and tender. I love them with a glass of cold milk or a hot cup of spiced chai. If you’re feeling fancy, sandwich two cookies with a dollop of cream cheese frosting for an indulgent treat that’s perfect for holiday parties. They also pair beautifully with a scoop of vanilla ice cream for a simple dessert that feels special.
Storage: Keep the cookies in an airtight container at room temperature for up to 5 days. Place a slice of bread in the container to help maintain moisture — the cookies will absorb it and stay soft. I’ve done this for years, and it works like a charm. Just replace the bread slice every couple of days.
Freezing: You can freeze the baked cookies for up to 3 months. Layer them between sheets of parchment paper in a freezer-safe container. To thaw, let them sit at room temperature for about 30 minutes. You can also freeze the unbaked dough balls — just roll them in the cinnamon sugar, place them on a baking sheet, freeze until solid, then transfer to a freezer bag. Bake from frozen, adding 2 to 3 minutes to the baking time.
Reheating: Pop a cookie in the microwave for 10 to 15 seconds for that fresh-from-the-oven taste. Alternatively, warm them in a 300°F oven for 5 minutes if you’re reheating a batch.
The flavors actually develop and deepen after a day or two. I’ve found that the brown butter taste becomes more pronounced, and the spices meld together beautifully. So don’t be afraid to make them a day ahead if you’re planning for a gathering.
Nutritional Information & Benefits
Per cookie (based on 24 cookies): approximately 180 calories, 8g fat, 25g carbohydrates, 2g protein, 1g fiber, 14g sugar. These are estimates and will vary based on exact ingredients and portion sizes.
While these are definitely a treat, there are a few nutritional bright spots. Pumpkin puree is packed with vitamin A, which supports eye health and immune function. It also adds moisture without requiring extra fat, which is a win in my book. The brown butter, while indulgent, provides a small amount of vitamin A and healthy fats that help with nutrient absorption. The cinnamon in the coating has anti-inflammatory properties and can help regulate blood sugar levels. I like to think of these cookies as a balanced indulgence — they satisfy a craving while sneaking in a little bit of goodness.
For those with dietary restrictions, this recipe contains gluten (unless you use the gluten-free adaptation), dairy (unless you use vegan butter), and eggs. It’s not suitable for a vegan diet as written, but you could try a flax egg substitute if you’re adventurous.
Conclusion
These Best Brown Butter Pumpkin Snickerdoodle Cookies are the kind of recipe that becomes a tradition. They’re the cookies you make on the first cool day of fall, the ones you bring to your office party and watch disappear in minutes, the ones your family requests year after year. The combination of nutty brown butter, warm pumpkin spices, and that signature cinnamon-sugar coating is just unbeatable.
I love this recipe because it feels like fall in cookie form — cozy, comforting, and full of flavor. It’s forgiving enough for beginners but impressive enough to serve to company. And honestly, the smell alone is worth making them. That brown butter and cinnamon aroma will fill your kitchen and make everyone who walks through the door ask, “What are you baking?”
So go ahead and give these a try. Customize them with your favorite add-ins, make a double batch for a party, or just bake them for yourself on a quiet Sunday afternoon. I’d love to hear how they turn out — drop a comment below and let me know if you made any fun variations, or share a photo of your cookies! Happy baking, friends!
Frequently Asked Questions
Can I use pumpkin pie filling instead of pumpkin puree?
No, please don’t. Pumpkin pie filling is already sweetened and spiced, which will throw off the sugar and spice balance in this recipe. Stick with 100% pure pumpkin puree for the best results. If you only have pie filling on hand, you’d need to adjust the sugar and spices significantly, and I can’t guarantee the outcome.
Why did my cookies turn out flat?
Flat cookies usually mean one of two things: the dough wasn’t chilled long enough, or the butter was too warm when you mixed it. Brown butter needs time to firm up in the fridge, so make sure you chill the dough for at least 30 minutes. Also, if your brown butter was still hot when you added it to the sugar, it could have melted the sugar too much. Let it cool for 10 minutes before mixing.
Can I make the dough ahead of time?
Absolutely! The dough can be refrigerated for up to 3 days before baking. Just keep it tightly covered so it doesn’t dry out. You can also freeze the dough balls for up to 3 months — just roll them in the cinnamon sugar before freezing, and bake from frozen, adding a couple of extra minutes to the baking time.
How do I know when the cookies are done baking?
Look for set edges and slightly puffed, cracked tops. The centers should look soft and a little underdone — they’ll continue to bake on the hot pan as they cool. If you’re unsure, err on the side of underbaking. Overbaked pumpkin cookies can turn dry and cakey.
Can I use salted butter instead of unsalted?
You can, but you’ll need to reduce the added salt in the recipe to ¼ teaspoon. Salted butter has varying amounts of salt depending on the brand, so it’s harder to control the final flavor. I recommend unsalted butter for consistent results, especially since the brown butter flavor is so delicate.
Pin This Recipe!
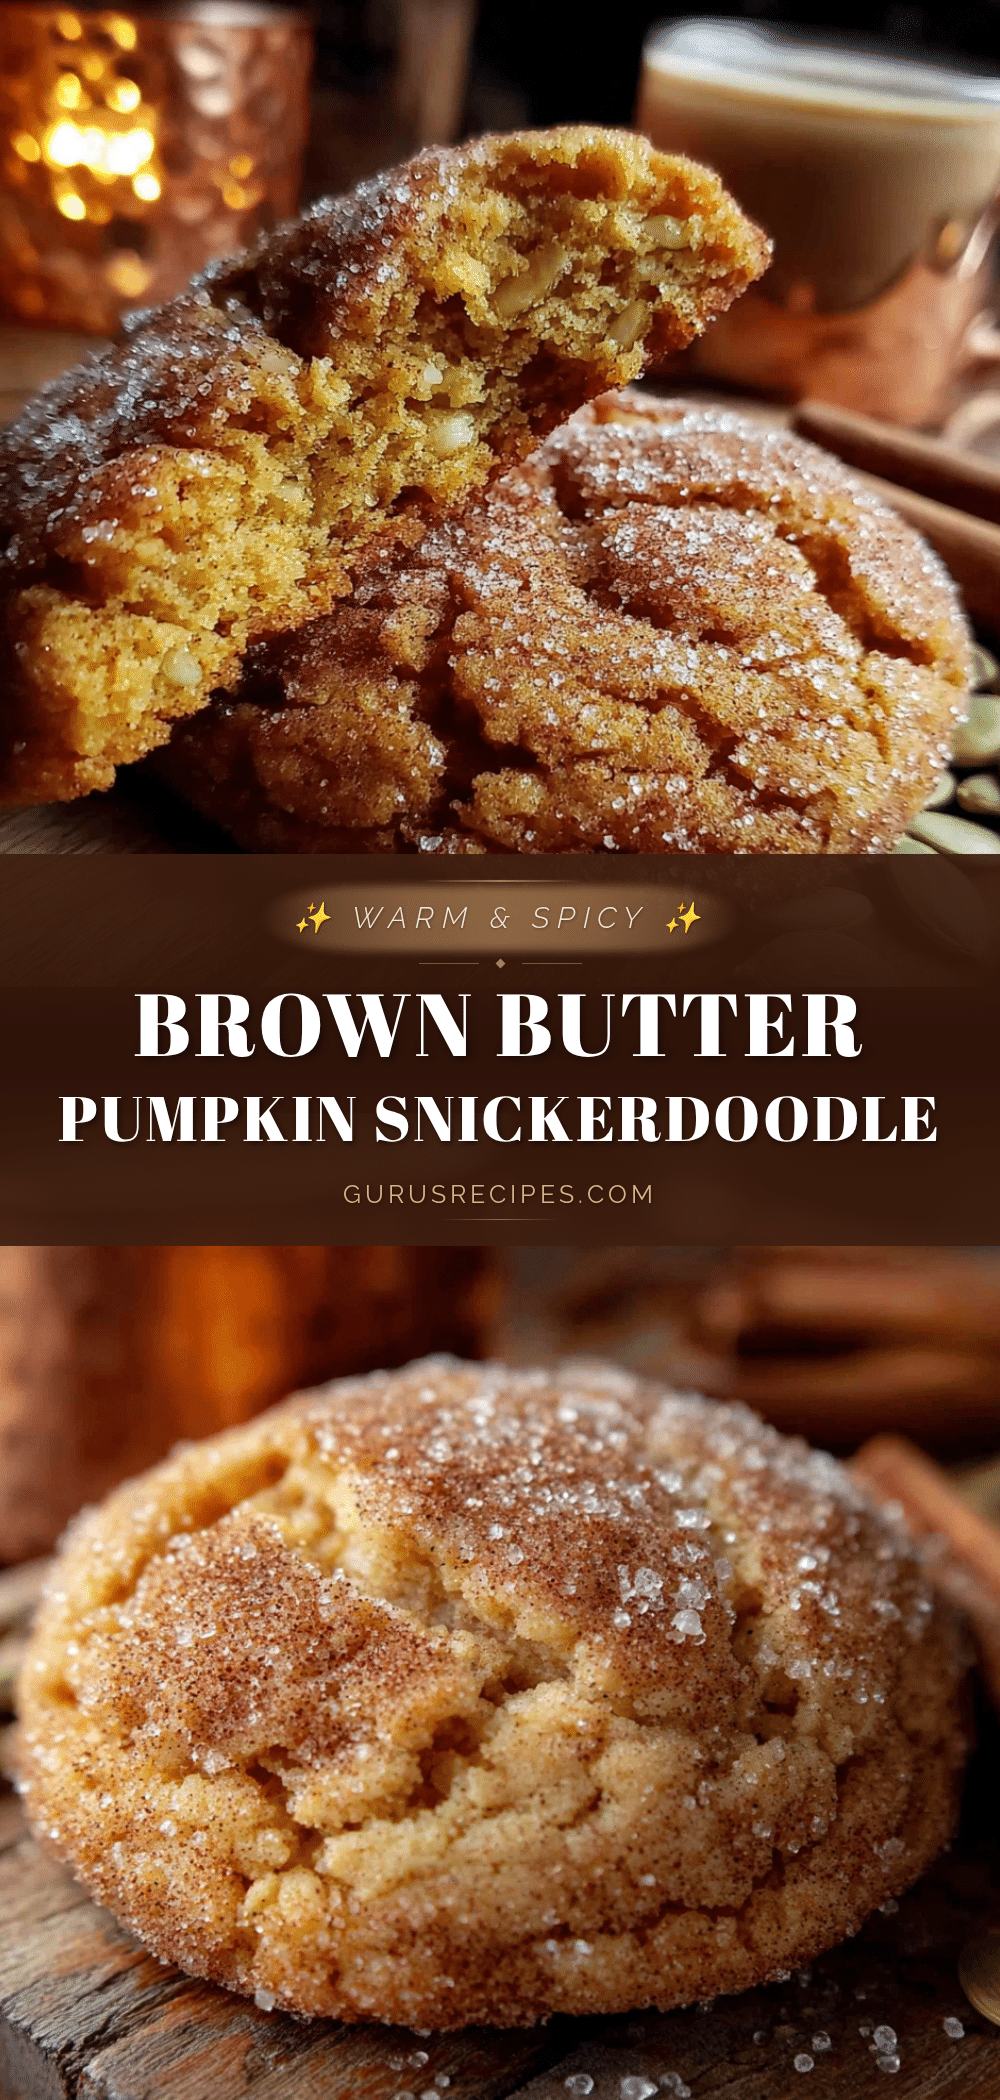

Best Brown Butter Pumpkin Snickerdoodle Cookies: Easy Fall Recipe
These cookies combine nutty brown butter with pumpkin and warm spices, resulting in a chewy, pillowy texture with crisp edges and a cinnamon-sugar coating. They’re the perfect fall treat that’s quick to make and always a crowd-pleaser.
- Total Time: 1 hour 12 minutes (including 30 minutes chilling)
- Yield: 24 servings 1x
Ingredients
- 1 cup (2 sticks) unsalted butter
- 1 cup granulated sugar
- ½ cup packed light brown sugar
- ¾ cup pumpkin puree (100% pure, not pie filling)
- 1 large egg (room temperature)
- 2 teaspoons vanilla extract
- 2 ½ cups all-purpose flour (spooned and leveled)
- 1 teaspoon baking soda
- ½ teaspoon cream of tartar
- 1 teaspoon ground cinnamon
- ½ teaspoon ground nutmeg
- ½ teaspoon ground ginger
- ¼ teaspoon ground cloves
- ½ teaspoon salt
- ¼ cup granulated sugar (for coating)
- 1 tablespoon ground cinnamon (for coating)
Instructions
- Brown the butter: Place butter in a medium saucepan over medium heat. Melt completely, then swirl occasionally. After foaming subsides, watch for golden-brown specks and a nutty aroma. Remove from heat immediately and pour into a heatproof bowl. Cool for 10 minutes.
- Mix wet ingredients: In a large bowl, whisk together cooled brown butter, granulated sugar, and brown sugar until smooth. Add pumpkin puree, egg, and vanilla extract; whisk until fully combined and glossy.
- Combine dry ingredients: In a separate bowl, whisk together flour, baking soda, cream of tartar, cinnamon, nutmeg, ginger, cloves, and salt.
- Fold dry into wet: Gradually add dry ingredients to wet mixture, folding gently with a rubber spatula until no streaks of flour remain. Do not overmix. Dough will be soft and slightly sticky.
- Chill dough: Cover bowl with plastic wrap and refrigerate for at least 30 minutes (up to 2 hours).
- Preheat and prep: About 15 minutes before baking, preheat oven to 350°F (175°C). Line baking sheets with parchment paper.
- Make cinnamon sugar coating: In a small bowl, stir together ¼ cup granulated sugar and 1 tablespoon cinnamon.
- Shape and coat cookies: Using a cookie scoop or spoon, portion rounded tablespoons of dough (about 1.5 tablespoons each). Roll into smooth balls, then roll in cinnamon sugar mixture until fully coated. Place on prepared baking sheets, spacing 2 inches apart.
- Bake: Bake for 10 to 12 minutes, until edges are set and tops look slightly cracked and puffed. Centers should look soft and slightly underdone.
- Cool: Let cookies rest on baking sheet for 5 minutes, then transfer to a wire rack to cool completely.
Notes
Watch brown butter closely—it burns quickly. Do not skip chilling the dough; it prevents spreading. For softer cookies, bake 10 minutes; for crisper edges, bake 12 minutes. Store in airtight container at room temperature up to 5 days; place a slice of bread in container to maintain moisture. Freeze baked cookies up to 3 months or unbaked dough balls (coated) for up to 3 months.
- Prep Time: 30 minutes
- Cook Time: 12 minutes
- Category: Dessert
- Cuisine: American
Nutrition
- Serving Size: 1 cookie
- Calories: 180
- Sugar: 14
- Sodium: 120
- Fat: 8
- Saturated Fat: 5
- Carbohydrates: 25
- Fiber: 1
- Protein: 2
Keywords: brown butter, pumpkin, snickerdoodle, cookies, fall recipe, easy, cinnamon sugar


