
I was standing in the middle of the hardware store aisle, holding a shower curtain ring, when the woman behind me cleared her throat. Not a polite little sound either—the kind that says “I have something important to say and you’re going to want to hear it.” I turned around, expecting directions to the plumbing section, but instead, this woman—probably seventy-five, wearing bright orange gardening gloves—just said, “You look like someone who needs a good cookie recipe.”
And you know what? She was absolutely right. It was late October, I’d just spent an hour searching for a specific kind of lightbulb, and honestly, I was this close to giving up on the whole day. But that moment in the hardware store changed everything. Her name was Margaret, and she told me about these small-batch pumpkin snickerdoodle cookies that she’d been making every fall since 1982. She scribbled the recipe on the back of a receipt she pulled from her pocket—a receipt for a bag of birdseed, if you can believe it.
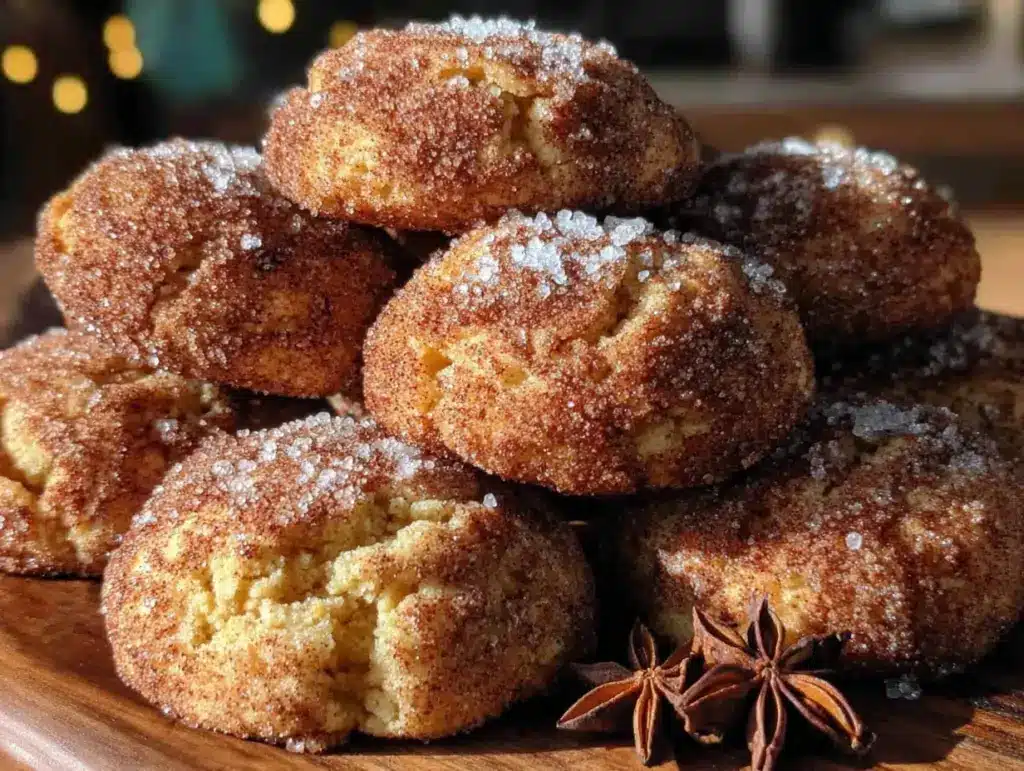
I almost lost that receipt. It sat crumpled in my coat pocket for three days before I found it again. But when I finally made these cookies, I understood why Margaret had stopped me. They’re the kind of cookie that makes you close your eyes after the first bite—soft, chewy, with just enough pumpkin to feel like fall without being heavy. And the best part? They make exactly six cookies. No leftovers begging you to eat them for breakfast, no giant batch that forces you to share with the whole office. Just six perfect cookies for you and maybe one other person.
Maybe you’ve been there too—wanting something homemade but not wanting to commit to forty-eight cookies that’ll go stale before you finish them. These small-batch pumpkin snickerdoodle cookies are the answer. They came from a hardware store and a woman named Margaret, and I’ve been making them every October since.
Why You’ll Love This Recipe
These small-batch pumpkin snickerdoodle cookies are genuinely the best thing to happen to my fall baking routine, and I say that with zero exaggeration. I’ve tested this recipe at least seven times to get the texture just right—soft centers, slightly crisp edges, that perfect crackled cinnamon-sugar top. Let me tell you why these cookies deserve a spot in your kitchen.
- Quick & Easy: From start to finish, you’re looking at about 25 minutes. That includes prep, baking, and cleanup. I’ve made these on a Tuesday night after work while waiting for pasta water to boil. They’re that fast.
- Simple Ingredients: You probably have most of these in your pantry right now. No trips to specialty stores, no hunting for obscure spices. Just butter, sugar, pumpkin puree, and basic baking staples.
- Perfect for Weeknights: When you want something warm and homemade but don’t want to spend an hour in the kitchen, these cookies deliver. They’re my go-to for those evenings when I need a little fall comfort without the fuss.
- Small Batch Magic: Six cookies. That’s it. No giant tupperware containers, no pressure to finish a dozen before they go stale. Just enough for a treat without the temptation of leftovers.
- Unbelievably Delicious: The pumpkin keeps them incredibly soft and tender, while the cinnamon-sugar coating gives you that classic snickerdoodle tang. It’s the perfect balance of fall flavors and nostalgic comfort.
What makes these different from every other pumpkin cookie recipe out there? It’s the technique. Instead of using a whole can of pumpkin puree (which forces you to figure out what to do with the rest), I use exactly the right amount—no waste, no extra. And I’ve figured out the trick to getting that perfect snickerdoodle texture with pumpkin added, which can make cookies too cakey if you’re not careful. These stay chewy and soft, just like a good snickerdoodle should be.
These cookies are the kind that make you forget about your long day. They’re warm, they’re spiced, and they feel like a hug in cookie form. Perfect for when you want something special but don’t need a bakery’s worth of treats.
What Ingredients You Will Need
This recipe uses simple, wholesome ingredients that come together to create something truly special. Most of these are pantry staples, which makes these small-batch pumpkin snickerdoodle cookies perfect for spontaneous baking cravings.
- Unsalted butter, softened – 3 tablespoons (42g). I always use unsalted so I can control the salt level. Let it sit out for about 30 minutes before starting.
- Granulated sugar – ¼ cup (50g) for the cookie dough. This gives the cookies their structure and sweetness.
- Light brown sugar, packed – 2 tablespoons (25g). Adds moisture and a hint of molasses flavor that pairs beautifully with pumpkin.
- Pumpkin puree – 3 tablespoons (45g). Make sure you’re using pure pumpkin puree, not pumpkin pie filling. I prefer Libby’s brand for consistent texture.
- Large egg yolk – 1 yolk. The yolk adds richness and helps keep the cookies tender. Save the white for scrambled eggs tomorrow.
- Vanilla extract – ½ teaspoon. Pure vanilla makes a difference here—skip the imitation stuff if you can.
- All-purpose flour – ¾ cup (90g). Spoon and level your flour for the most accurate measurement. Scooping directly can pack in too much flour and make dry cookies.
- Cream of tartar – ½ teaspoon. This is the secret to that classic snickerdoodle tang. Don’t skip it—baking soda isn’t a substitute here.
- Baking soda – ¼ teaspoon. Helps the cookies spread just enough.
- Salt – ¼ teaspoon. Balances the sweetness and enhances the pumpkin flavor.
- Pumpkin pie spice – ½ teaspoon. You can use store-bought or make your own with cinnamon, nutmeg, ginger, and cloves.
- Cinnamon – ¼ teaspoon in the dough. Adds warmth and depth.
For the cinnamon-sugar coating:
- Granulated sugar – 2 tablespoons (25g)
- Ground cinnamon – 1 teaspoon
A quick note on pumpkin puree: Since this is a small batch, you’ll have leftover puree from a standard 15-ounce can. I like to portion the rest into tablespoon-sized scoops and freeze them on a parchment-lined tray. Once frozen, pop them into a freezer bag, and you’ll have ready-to-use pumpkin for your next small-batch baking adventure.
Equipment Needed
You don’t need a fancy kitchen to make these small-batch pumpkin snickerdoodle cookies. Here’s what you’ll need:
- Mixing bowls – One medium bowl for the wet ingredients, one small bowl for the dry ingredients. Nothing fancy—I use the same nesting bowls I’ve had for years.
- Hand mixer or whisk – A hand mixer makes creaming the butter and sugar easier, but a sturdy whisk and some elbow grease works too. I’ve done it both ways.
- Rubber spatula – For folding everything together without overmixing. A wooden spoon works in a pinch.
- Measuring cups and spoons – Accurate measurements matter in baking, especially with a small batch where ratios are critical.
- Baking sheet – A standard half-sheet pan works perfectly. No need for anything special.
- Parchment paper or silicone baking mat – Parchment paper makes cleanup a breeze and prevents sticking. I buy the pre-cut sheets for convenience.
- Small cookie scoop or tablespoon – For evenly sized cookies. A tablespoon measure works perfectly if you don’t have a scoop.
- Cooling rack – Lets the cookies cool evenly. If you don’t have one, a clean cutting board works in a pinch.
Budget-friendly tip: If you’re new to baking, start with basic tools. I made these cookies for years with just a fork, a bowl, and a baking sheet. The fancy equipment is nice, but it’s not necessary.
Preparation Method
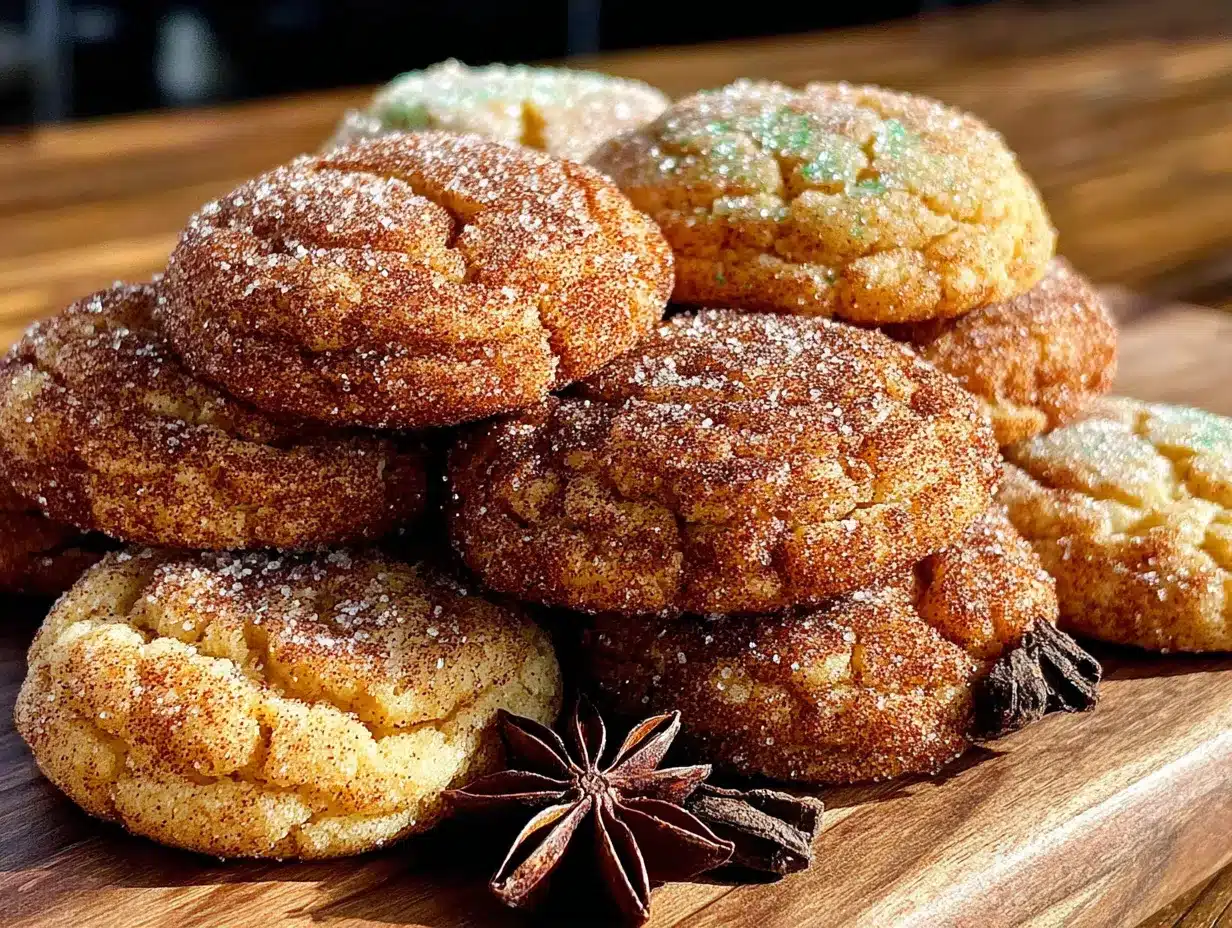
Let me walk you through making these small-batch pumpkin snickerdoodle cookies step by step. I’ve included all the little details I wish someone had told me the first time I made them.
- Preheat your oven to 350°F (175°C) and line a baking sheet with parchment paper. Getting the oven to the right temperature before you start mixing ensures even baking.
- Cream the butter and sugars together. In a medium mixing bowl, beat the softened butter, ¼ cup granulated sugar, and 2 tablespoons brown sugar together until light and fluffy—about 2 minutes with a hand mixer on medium speed, or 3-4 minutes if whisking by hand. You’ll know it’s ready when the mixture looks pale and slightly increased in volume. Don’t rush this step; proper creaming creates the foundation for soft cookies.
- Add the wet ingredients. Mix in the pumpkin puree, egg yolk, and vanilla extract until just combined. The mixture might look a little curdled at this point—that’s totally normal. The pumpkin and egg yolk don’t emulsify perfectly with the butter, but everything comes together in the oven.
- Whisk the dry ingredients separately. In a small bowl, whisk together the flour, cream of tartar, baking soda, salt, pumpkin pie spice, and ¼ teaspoon cinnamon. Whisking ensures the leavening agents and spices are evenly distributed throughout the flour.
- Combine wet and dry ingredients. Gradually add the dry ingredients to the wet mixture, stirring with a rubber spatula until just combined. Stop mixing as soon as you no longer see streaks of flour. Overmixing at this stage will develop too much gluten, making your cookies tough instead of tender.
- Chill the dough (important!). Cover the bowl with plastic wrap and refrigerate for at least 30 minutes. I know, I know—you want cookies now. But trust me on this one. Chilling the dough solidifies the butter, which prevents the cookies from spreading too much in the oven. It also gives the flavors time to meld together. If you’re in a hurry, 15 minutes in the freezer works too.
- Prepare the cinnamon-sugar coating. While the dough chills, mix the 2 tablespoons granulated sugar and 1 teaspoon cinnamon in a small, shallow bowl. Set aside.
- Shape the cookies. Once the dough is chilled, use a small cookie scoop or a tablespoon to portion the dough into 6 equal balls (about 1.5 tablespoons each). Roll each ball between your palms until smooth.
- Coat each ball generously. Roll each dough ball in the cinnamon-sugar mixture, pressing gently so the coating sticks. Don’t be shy—you want a good layer of cinnamon sugar on every cookie. Place the coated balls on the prepared baking sheet, spacing them about 2 inches apart.
- Bake for 10-12 minutes. The cookies are done when the edges look set and slightly golden, but the centers still appear soft and slightly puffy. They’ll continue to set as they cool on the baking sheet. For softer, chewier cookies, bake on the shorter end. For slightly crisper edges, go for the full 12 minutes.
- Cool on the baking sheet for 5 minutes. This step is crucial. The cookies are very fragile right out of the oven—the pumpkin makes them extra tender. Let them rest on the hot baking sheet, then transfer to a wire rack to cool completely.
A personal tip: I always bake one test cookie first when I’m trying a new recipe, but with these small-batch cookies, you don’t have that luxury. Trust the visual cues—the edges should look set, and the centers should still look slightly underdone. They’ll finish cooking from residual heat.
Cooking Tips & Techniques
After making these small-batch pumpkin snickerdoodle cookies more times than I can count, I’ve learned a few things the hard way. Let me save you some trouble.
The biggest mistake I made: The first time I made these, I skipped the chilling step. I was impatient, and the cookies spread into flat, sad discs that looked nothing like the beautiful puffy cookies Margaret described. Don’t skip the chill. It’s not optional—it’s essential.
Pumpkin moisture matters. If your pumpkin puree looks watery when you open the can, blot it gently with a paper towel before measuring. Excess moisture will make your cookies spread and turn out gummy. I learned this after a particularly humid October when my cookies came out flat three times in a row.
Room temperature ingredients are your friend. Cold butter won’t cream properly with the sugar, and cold egg yolk can seize the mixture. Let your butter sit out for 30 minutes, and if your eggs are cold from the fridge, place them in a bowl of warm water for 5 minutes before separating.
Multitasking strategy: While the dough chills, clean up your mixing bowls and measuring cups. By the time the cookies are in the oven, your kitchen will already be clean. That’s my favorite kind of baking—delicious results with minimal post-baking cleanup.
The cream of tartar is non-negotiable. I’ve seen people try to substitute lemon juice or vinegar, and it just doesn’t work the same way. Cream of tartar gives snickerdoodles their signature tangy flavor and helps activate the baking soda for the perfect texture. Buy a small jar—it lasts forever and you’ll use it for meringues and sugar cookies too.
For consistently sized cookies: Use a kitchen scale to weigh each dough ball. Each ball should be about 35-40 grams. This ensures even baking and makes the cookies look professional.
Variations & Adaptations
One of the best things about these small-batch pumpkin snickerdoodle cookies is how easily they adapt to different tastes and dietary needs. Here are some variations I’ve tried and loved.
Gluten-Free Version: Substitute the all-purpose flour with a 1:1 gluten-free baking flour blend that contains xanthan gum. I’ve had great results with Bob’s Red Mill 1:1 Gluten-Free Baking Flour. The texture is slightly more delicate, so handle the dough gently. No other adjustments needed.
Dairy-Free Adaptation: Use vegan butter sticks (I like Earth Balance) in place of regular butter. Make sure it’s softened to room temperature just like regular butter. The cookies might spread slightly more, so an extra 10 minutes of chilling helps.
Spice It Up: If you love bold flavors, add ¼ teaspoon of ground ginger and a pinch of ground cloves to the dough. You can also add a tiny pinch of black pepper—it sounds strange, but it enhances the pumpkin flavor in a subtle, magical way.
Add Some Crunch: Fold ¼ cup of chopped pecans or walnuts into the dough before chilling. Toast the nuts first for extra flavor—just spread them on a baking sheet and bake at 350°F for 5-7 minutes until fragrant.
Make Them Vegan: Replace the egg yolk with 1 tablespoon of aquafaba (the liquid from a can of chickpeas) mixed with ¼ teaspoon of cornstarch. Use vegan butter as mentioned above. The texture won’t be quite as rich, but they’re still delicious.
Pumpkin Chocolate Chip Snickerdoodles: Add ¼ cup of mini chocolate chips to the dough after mixing. The chocolate pairs beautifully with the pumpkin and cinnamon. Dark chocolate chips work especially well here.
My personal favorite variation: I add a teaspoon of orange zest to the dough along with the wet ingredients. The citrus brightens the pumpkin flavor and makes the cookies taste even more like fall. It’s a small change that makes a big difference.
Serving & Storage Suggestions
These small-batch pumpkin snickerdoodle cookies are best enjoyed warm, but they’re pretty fantastic at any temperature. Here’s how to serve and store them.
Serving temperature: I love these cookies straight from the oven, when the cinnamon-sugar coating is still slightly melty and the centers are soft and pillowy. Let them cool for about 10 minutes on the baking sheet, then dig in. If you’re serving them later, a quick 10-second zap in the microwave brings back that fresh-baked warmth.
What to serve with them: A glass of cold milk is the classic pairing, and it’s perfect here. For a cozy fall treat, serve them with a mug of hot apple cider or a chai latte. If you’re feeling indulgent, a scoop of vanilla ice cream sandwiched between two cookies makes an incredible ice cream sandwich.
Presentation idea: Arrange the cookies on a small plate or cake stand and dust them with a little extra cinnamon sugar. A few fresh cranberries or small autumn leaves around the plate make a beautiful seasonal presentation for Instagram or Pinterest.
Storage instructions: Store the cookies in an airtight container at room temperature for up to 3 days. Layer them with parchment paper between each cookie to prevent sticking. These cookies actually taste even better on day two—the flavors meld together and the texture becomes even softer.
Freezing instructions: You can freeze the baked cookies for up to 3 months. Place them in a single layer in a freezer-safe container with parchment paper between layers. To thaw, let them sit at room temperature for about 30 minutes. For that fresh-baked taste, warm them in a 300°F oven for 5 minutes.
Freezing the dough: This is my favorite trick. Shape the dough into balls, coat them in cinnamon sugar, and freeze them on a baking sheet until solid. Transfer the frozen dough balls to a freezer bag. When you’re ready to bake, just add 2-3 minutes to the baking time—no thawing needed. Instant cookies whenever the craving strikes.
Flavor development note: These cookies are at their best within the first 24 hours. After that, the cinnamon-sugar coating starts to absorb into the cookie, and they lose some of that crackly top. They’re still delicious, just not quite as pretty.
Nutritional Information & Benefits
Let’s be real—these are cookies, not health food. But they’re made with real ingredients, and there are a few nutritional bright spots worth mentioning.
Estimated nutrition per cookie (based on 6 cookies):
| Nutrient | Amount |
|---|---|
| Calories | 185 |
| Total Fat | 8g |
| Saturated Fat | 5g |
| Carbohydrates | 27g |
| Sugar | 16g |
| Protein | 2g |
| Fiber | 1g |
| Sodium | 135mg |
Health highlights: Pumpkin puree is packed with vitamin A (over 200% of your daily needs per cup) and antioxidants like beta-carotene. It also adds moisture to the cookies without extra fat, which means these are slightly lower in calories than traditional snickerdoodles. The cinnamon in the coating has anti-inflammatory properties and may help regulate blood sugar levels.
Dietary considerations: These cookies contain dairy (butter) and eggs, so they’re not vegan or dairy-free in their standard form. They do contain gluten from the all-purpose flour. For gluten-free and vegan adaptations, check the variations section above.
My personal perspective: I believe in balance. These cookies are a treat, and that’s okay. They’re made with real ingredients, they’re portion-controlled (six cookies, not three dozen), and they bring genuine joy. That’s a win in my book. Enjoy them mindfully, savor every bite, and don’t feel guilty about having a cookie on a Tuesday night.
Conclusion
These small-batch pumpkin snickerdoodle cookies have become a fall tradition in my kitchen, all thanks to a chance encounter in a hardware store aisle. They’re proof that the best recipes often come from the most unexpected places—and that you don’t need a complicated production to enjoy something truly delicious.
What I love most about these cookies is how they make me feel. They’re simple, they’re quick, and they fill my kitchen with the warm, spicy aroma of cinnamon and pumpkin. They remind me that baking doesn’t have to be a big production to be special. Sometimes, six perfect cookies are exactly what you need.
I’d love to hear how these turn out for you. Did you try any of the variations? Did you discover a new favorite spice combination? Drop a comment below and let me know—I read every single one. And if you share these on social media, tag me so I can see your beautiful cookies. Happy baking, friend. You’ve got this.
Frequently Asked Questions
Can I make these cookies without cream of tartar?
Cream of tartar is essential for the classic snickerdoodle flavor and texture. Without it, you’ll lose that distinctive tangy taste, and the cookies won’t spread properly. If you absolutely must substitute, you can try using ½ teaspoon of lemon juice or white vinegar mixed with the wet ingredients, but the results won’t be the same. I recommend just buying a small jar of cream of tartar—it’s inexpensive and lasts for years.
Why did my cookies spread too much?
This usually happens for one of three reasons: the dough wasn’t chilled long enough, the butter was too soft, or the flour was measured incorrectly. Make sure your butter is softened but still cool to the touch, not melted or greasy. Measure your flour by spooning it into the measuring cup and leveling it off, rather than scooping directly. And don’t skip the chilling step—30 minutes minimum, no exceptions.
Can I double this recipe?
Absolutely. To make a full batch of 12 cookies, simply double all the ingredients. You’ll need one whole egg instead of just a yolk (beat the egg first, then measure out half if you want to be precise, but a whole egg works fine for a doubled batch). The baking time may increase by 1-2 minutes since the oven will have more cookies. Keep an eye on them and use the visual cues from the recipe.
How do I know when the cookies are done baking?
Look for set edges that are slightly golden, while the centers still look soft and slightly puffy. The cookies will continue to bake from residual heat after you remove them from the oven, so it’s better to underbake slightly than overbake. If the edges are brown and the centers look completely set, you’ve gone too far. Trust the 10-12 minute window and check at 10 minutes.
Can I use pumpkin pie filling instead of pumpkin puree?
No, please don’t. Pumpkin pie filling is pre-sweetened and spiced, which will throw off the sugar and spice ratios in this recipe. Your cookies will be overly sweet and might not set properly. Always use 100% pure pumpkin puree for baking. Libby’s is my go-to brand, but any brand of pure pumpkin puree works fine.
Pin This Recipe!
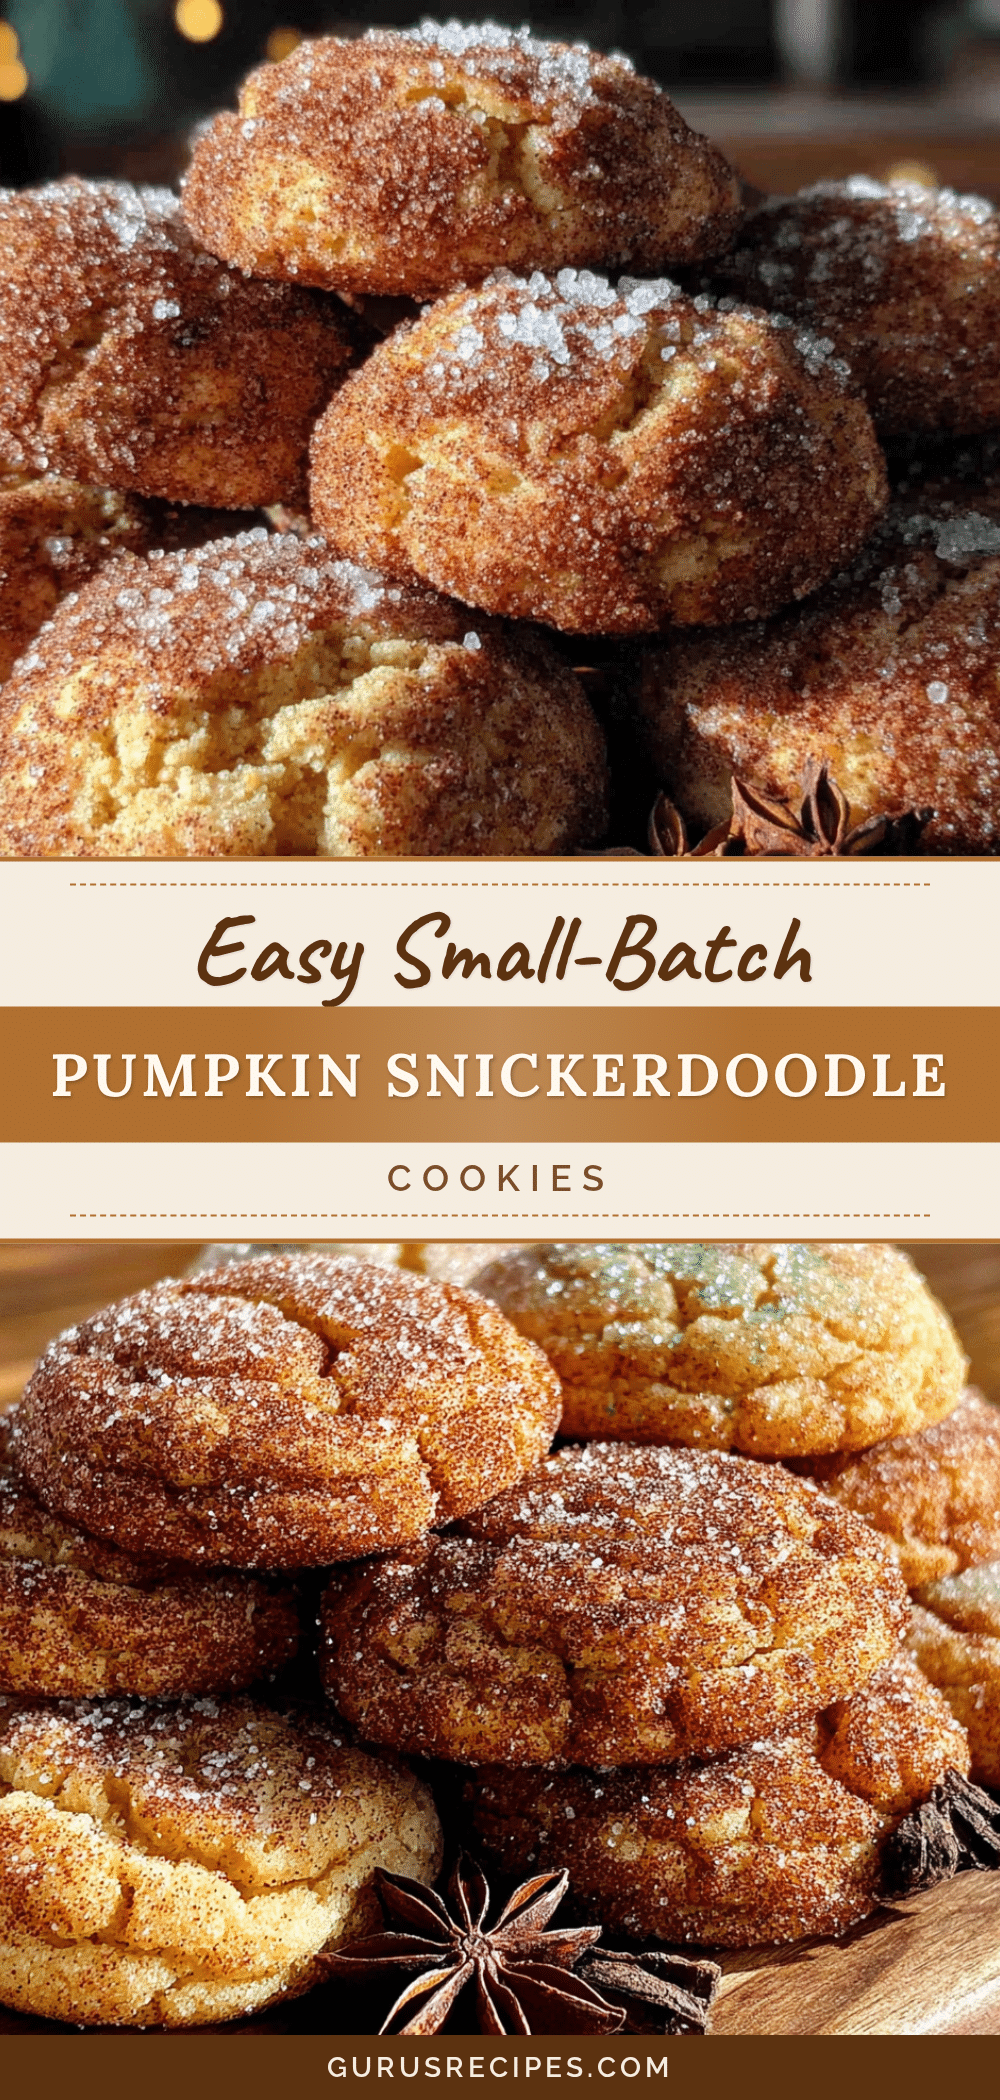

Easy Small-Batch Pumpkin Snickerdoodle Cookies for Two
These small-batch pumpkin snickerdoodle cookies are soft, chewy, and perfectly spiced, making exactly six cookies for a cozy treat without leftovers. Quick to prepare with simple ingredients, they’re ideal for fall baking.
- Total Time: 27 minutes
- Yield: 6 cookies 1x
Ingredients
- 3 tablespoons (42g) unsalted butter, softened
- ¼ cup (50g) granulated sugar
- 2 tablespoons (25g) light brown sugar, packed
- 3 tablespoons (45g) pumpkin puree
- 1 large egg yolk
- ½ teaspoon vanilla extract
- ¾ cup (90g) all-purpose flour
- ½ teaspoon cream of tartar
- ¼ teaspoon baking soda
- ¼ teaspoon salt
- ½ teaspoon pumpkin pie spice
- ¼ teaspoon ground cinnamon
- For the cinnamon-sugar coating:
- 2 tablespoons (25g) granulated sugar
- 1 teaspoon ground cinnamon
Instructions
- Preheat your oven to 350°F (175°C) and line a baking sheet with parchment paper.
- In a medium mixing bowl, beat the softened butter, ¼ cup granulated sugar, and 2 tablespoons brown sugar together until light and fluffy—about 2 minutes with a hand mixer on medium speed, or 3-4 minutes if whisking by hand.
- Mix in the pumpkin puree, egg yolk, and vanilla extract until just combined.
- In a small bowl, whisk together the flour, cream of tartar, baking soda, salt, pumpkin pie spice, and ¼ teaspoon cinnamon.
- Gradually add the dry ingredients to the wet mixture, stirring with a rubber spatula until just combined. Stop mixing as soon as you no longer see streaks of flour.
- Cover the bowl with plastic wrap and refrigerate for at least 30 minutes.
- While the dough chills, mix the 2 tablespoons granulated sugar and 1 teaspoon cinnamon in a small, shallow bowl for the coating.
- Once the dough is chilled, use a small cookie scoop or a tablespoon to portion the dough into 6 equal balls (about 1.5 tablespoons each). Roll each ball between your palms until smooth.
- Roll each dough ball in the cinnamon-sugar mixture, pressing gently so the coating sticks. Place the coated balls on the prepared baking sheet, spacing them about 2 inches apart.
- Bake for 10-12 minutes. The cookies are done when the edges look set and slightly golden, but the centers still appear soft and slightly puffy.
- Cool on the baking sheet for 5 minutes, then transfer to a wire rack to cool completely.
Notes
Chilling the dough is essential to prevent spreading. For softer cookies, bake on the shorter end (10 minutes). For slightly crisper edges, bake for 12 minutes. The cookies are best enjoyed within 24 hours.
- Prep Time: 15 minutes
- Cook Time: 12 minutes
- Category: Dessert
- Cuisine: American
Nutrition
- Serving Size: 1 cookie
- Calories: 185
- Sugar: 16
- Sodium: 135
- Fat: 8
- Saturated Fat: 5
- Carbohydrates: 27
- Fiber: 1
- Protein: 2
Keywords: pumpkin snickerdoodle cookies, small batch cookies, fall cookies, snickerdoodle recipe, pumpkin cookies for two


