
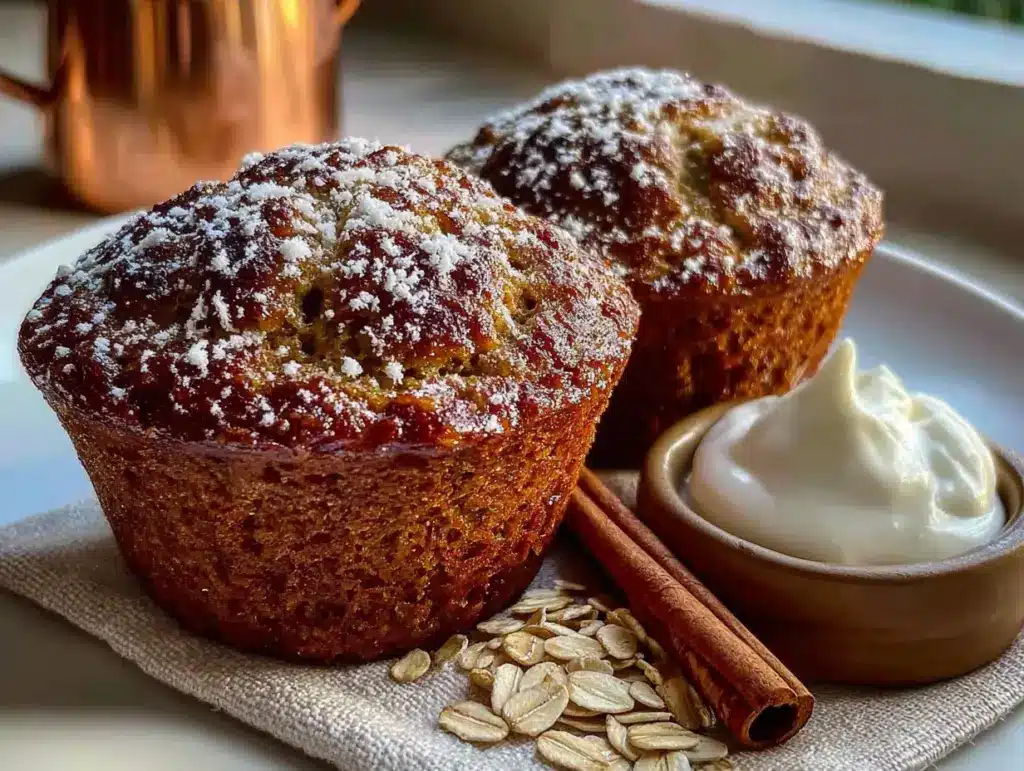
Linda wasn’t trying to make anything special. I’d stopped by to drop off a library book she’d lent me—one of those cookbooks that promised “30-Minute Dinners” but really meant “30-Minute Prep, Plus an Hour of Your Soul.” The smell hit me before I even sat down. Warm. Spiced. Sweet in a way that felt honest, not cloying. She had a toddler on one hip and a spatula in the other hand, and she just nodded toward the cooling rack like it was no big deal. “Pumpkin muffins,” she said, shrugging. “The kid ate three.”
I grabbed one while she was wrestling a sippy cup, and honestly? I almost dropped it. It was that good. Moist without being mushy, sweet without being a sugar bomb, and you could actually feel good about handing one to your kid. Or yourself. Let me tell you, I ate two before I left her driveway. Linda laughed when I texted her for the recipe that night. She said she’d just thrown stuff together—pumpkin, oats, a little maple syrup, some things she had lying around. But I knew a keeper when I tasted one.
Maybe you’ve been there. You want something your kids will actually eat that doesn’t come from a box with a cartoon character on it. Something that feels like a treat but doesn’t leave you worrying about the sugar crash at 10 a.m. These healthy pumpkin oat muffins are that recipe. They’re the kind of thing you make on a Sunday afternoon and grab all week long. The kind that makes you look like a rockstar parent when really, you just followed a simple, forgiving formula. And the best part? They freeze beautifully, so you’re always prepared for the 3 p.m. hangry meltdown. I mean, honestly, that alone is worth the price of admission.
Why You’ll Love This Recipe
I’ve tested this recipe more times than I care to admit. The first batch was too dry. The second was too sweet. The third—well, the third was the one where my kid looked up mid-bite and said, “More, please.” That’s the version I’m sharing with you. These muffins are built for real life, not a food magazine cover. Here’s why they work:
- Quick & Easy: From bowl to oven in under 15 minutes. No stand mixer required. No weird techniques.
- Simple Ingredients: Oats, pumpkin puree, eggs, a little maple syrup, cinnamon. You probably have most of this in your pantry right now.
- Kid-Approved: My picky eater devours these. I’ve had friends report the same. They’re not “healthy muffins that taste healthy.” They’re just good muffins.
- Budget-Friendly: Canned pumpkin is cheap. Oats are cheap. Eggs are cheap. You’re looking at pennies per muffin, not dollars.
- Freezer-Friendly: Make a double batch on Sunday. Grab and go all week. They thaw in about 30 seconds in the microwave.
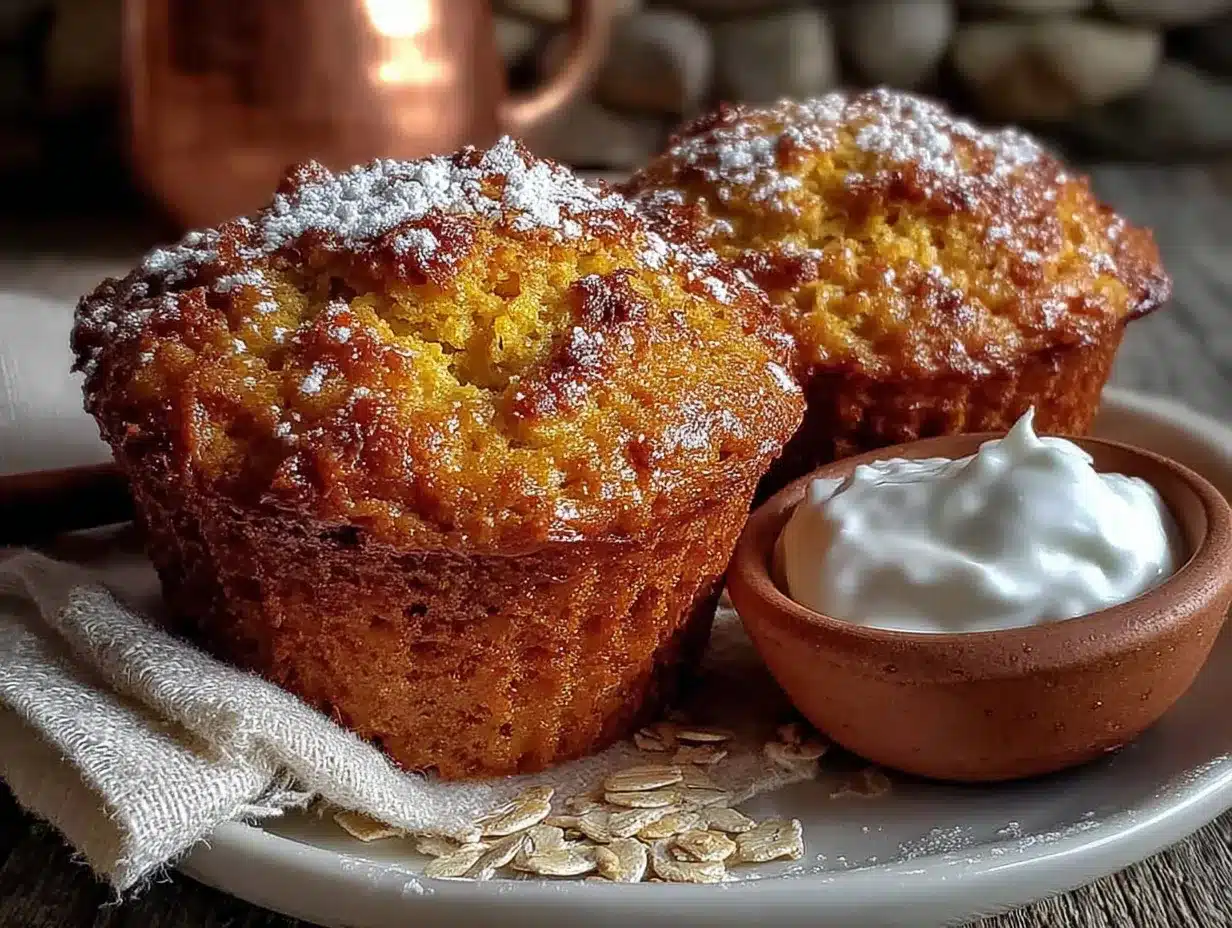
What makes these different from every other pumpkin muffin recipe out there? It’s the texture. Most healthy muffins are either dense as a brick or so delicate they fall apart. These land right in the sweet spot—tender, moist, with just enough structure from the oats to hold together. The secret is letting the oats soak in the pumpkin mixture for a few minutes before baking. It’s not a fancy trick. It’s just a little patience that pays off big time.
These muffins are the kind that make you close your eyes after the first bite. Not because they’re fancy, but because they’re exactly right. They’re comfort food you can feel good about. Faster than a drive-through. Healthier than a packaged snack. And honestly, they taste like fall in a paper liner.
What Ingredients You Will Need
This recipe uses simple, wholesome ingredients to deliver big flavor and that perfect muffin texture. Most of these are pantry staples, which is exactly what you want when you’re feeding a family on a budget. Here’s what you’ll need:
For the Muffins
- 1 cup pumpkin puree (not pumpkin pie filling—make sure you grab the plain stuff. I like Libby’s, but store brand works just fine.)
- 1/2 cup maple syrup (pure maple syrup, not pancake syrup. It makes a difference in flavor. If you’re watching sugar, you can cut this to 1/3 cup.)
- 2 large eggs (room temperature if you remember, but honestly, cold works too)
- 1/4 cup melted coconut oil (or melted butter, or any neutral oil. I’ve used all three and they all work.)
- 1 teaspoon vanilla extract (adds warmth and rounds out the flavors)
- 1 1/2 cups rolled oats (old-fashioned oats, not quick-cooking. The texture is better. But in a pinch, quick oats will do.)
- 1/2 cup whole wheat flour (or all-purpose, or a gluten-free 1:1 blend. I’ve tested all three.)
- 1 teaspoon baking soda
- 1/2 teaspoon baking powder
- 1 1/2 teaspoons cinnamon
- 1/2 teaspoon nutmeg
- 1/4 teaspoon ginger
- 1/4 teaspoon salt
Optional Add-Ins
- 1/3 cup dark chocolate chips (my kid’s favorite—makes them feel like dessert)
- 1/4 cup chopped walnuts or pecans (adds crunch and healthy fats)
- 1/4 cup raisins or dried cranberries (for extra sweetness without sugar)
Ingredient Tips: Look for pumpkin puree that’s just pumpkin—no added spices or sugar. If you’re using a gluten-free flour blend, make sure it contains xanthan gum for structure. For the oats, I’ve tested this with both rolled and quick-cooking, and rolled oats give a better, chewier texture. Quick oats work but the muffin is a little softer. Also, if your coconut oil is solid, just pop it in the microwave for 15 seconds. No need to stress about it.
Equipment Needed
You don’t need a fancy kitchen to make these muffins. Here’s what you’ll actually use:
- Muffin tin (standard 12-cup. I’ve had my cheap non-stick one for years and it still works fine.)
- Paper liners (or you can grease the tin well with butter or oil spray)
- Two mixing bowls (one large, one medium—nothing fancy)
- Whisk (or a fork, honestly. I’ve used both.)
- Measuring cups and spoons
- Spatula (for scraping the bowl clean)
- Ice cream scoop or spoon (for portioning the batter evenly)
- Cooling rack (worth having—it keeps the bottoms from getting soggy)
Budget Tip: If you don’t have a cooling rack, just use the oven rack itself (turned off, obviously). Or let them cool in the pan for 5 minutes, then transfer to a plate. It’s not perfect, but it works.
Preparation Method
Alright, let’s make some muffins. This is straightforward, I promise. Here’s the step-by-step:
- Preheat your oven to 350°F (175°C). Line your muffin tin with paper liners or grease it well. I’ve forgotten to do this before and spent 20 minutes chiseling muffin bits out of the pan. Learn from my mistakes.
- In a large bowl, whisk together the pumpkin puree, maple syrup, eggs, melted coconut oil, and vanilla extract. Whisk until everything is smooth and combined. It’ll look a little like a thick, orange milkshake. That’s good.
- Add the rolled oats to the wet mixture and stir. Here’s the important part: let it sit for 5 minutes. Set a timer if you need to. This lets the oats soak up some of the liquid, which gives you that perfect tender-but-not-mushy texture. I learned this the hard way after making a batch where the oats were still crunchy in the middle. Not great.
- In a separate medium bowl, whisk together the whole wheat flour, baking soda, baking powder, cinnamon, nutmeg, ginger, and salt. Make sure there are no lumps. If you’re adding chocolate chips or nuts, you can stir them into the flour mixture now—it helps keep them from sinking to the bottom of the muffins.
- Pour the dry ingredients into the wet ingredients. Fold gently with a spatula until just combined. A few streaks of flour are okay. Overmixing will make your muffins tough, and nobody wants a tough muffin. Stop when you don’t see any more dry flour.
- Let the batter rest for another 2-3 minutes. This gives the whole wheat flour time to hydrate. Trust me on this one.
- Scoop the batter into the prepared muffin tin. Fill each cup about 3/4 full. An ice cream scoop makes this super easy and gives you evenly sized muffins. If you don’t have one, use two spoons—one to scoop, one to scrape.
- Bake for 18-22 minutes. Start checking at 18 minutes. The muffins are done when a toothpick inserted into the center comes out clean or with just a few moist crumbs. The tops should be golden and spring back when you gently press them.
- Let the muffins cool in the pan for 5 minutes. Then transfer them to a cooling rack. If you leave them in the pan too long, the bottoms get steamy and soggy. Five minutes is the sweet spot.
- Enjoy warm or at room temperature. My kid likes them warm with a little butter. I like them cold from the fridge with my morning coffee. No wrong answers here.
Cooking Tips & Techniques
I’ve made these muffins probably twenty times by now. Here’s what I’ve learned the hard way so you don’t have to:
Don’t skip the resting step. I know it seems fussy. I thought so too the first time. But letting the oats soak in the wet ingredients is the difference between a good muffin and a great one. The oats absorb liquid and soften, which means they blend into the muffin instead of staying chewy and separate. Five minutes. Set a timer.
Measure your flour correctly. The most common mistake people make with whole wheat flour is packing it into the measuring cup. Scoop it gently with a spoon into the cup, then level it off with a knife. If you scoop directly with the measuring cup, you’ll end up with too much flour and dry muffins. I’ve done it. It’s not pretty.
Rotation is your friend. Every oven has hot spots. Halfway through baking, rotate the pan front to back. This ensures even browning. I learned this after my first batch came out with half the muffins perfect and half overdone on one side.
Check for doneness with your finger. The toothpick test is reliable, but I also like to gently press the top of a muffin. If it springs back, it’s done. If your finger leaves a dent, give it another 2 minutes. This saves you from stabbing every single muffin with a toothpick.
Let them cool completely before storing. If you put warm muffins in a container, the steam will make them soggy. I know it’s tempting to pack them up right away, especially if you’re in a rush. But patience pays off here. Give them at least 30 minutes on the cooling rack.
Variations & Adaptations
One of the best things about this recipe is how flexible it is. Here are some variations I’ve tried and loved:
Gluten-Free Version
Swap the whole wheat flour for a 1:1 gluten-free baking flour blend. Make sure it contains xanthan gum. The oats are naturally gluten-free, but if you’re serving someone with celiac disease, use certified gluten-free oats. I’ve made this version for a friend and she couldn’t tell the difference.
Dairy-Free Version
This recipe is already dairy-free if you use coconut oil. If you’re using butter, just swap it for coconut oil or a plant-based butter. Easy peasy.
Lower Sugar Option
Cut the maple syrup down to 1/3 cup. Add a mashed ripe banana for natural sweetness. The banana also adds moisture, so you’re not losing anything. My toddler still gobbles these up.
Pumpkin Chocolate Chip Muffins
Fold in 1/3 cup dark chocolate chips at the end. This is my kid’s favorite version. The chocolate melts into little pockets of goodness, and honestly, it makes breakfast feel like a treat.
Savory-Sweet Twist
Add 1/4 cup of shredded cheddar cheese and a pinch of black pepper. It sounds weird, but pumpkin and cheddar are a classic combo. My husband thought I was crazy until he tried one. Now he requests them.
Serving & Storage Suggestions
These muffins are incredibly versatile. Here’s how I serve and store them:
Serving: They’re perfect at room temperature with a smear of butter or cream cheese. For a quick breakfast, I’ll grab one and a piece of fruit. For an after-school snack, my kid loves them with a glass of milk. They’re also great crumbled over yogurt for a kind of deconstructed parfait situation.
Storage: Keep them in an airtight container at room temperature for up to 3 days. If your kitchen is warm, pop them in the fridge—they’ll last up to a week. I like to line the container with a paper towel to absorb any extra moisture. Replace the paper towel if it gets damp.
Freezing: These freeze like a dream. Let them cool completely, then wrap each muffin individually in plastic wrap and place them in a freezer bag. They’ll keep for up to 3 months. To thaw, just microwave one for 20-30 seconds, or let it sit on the counter for 15 minutes. I make a double batch every month and we grab them as needed.
Reheating: The microwave is fastest, but the oven gives you a slightly crispier exterior. If you’re reheating from frozen, wrap in foil and warm at 300°F for about 10 minutes. From room temperature, 5 minutes at 300°F does the trick.
Flavor Development: Honestly, these muffins taste even better on day two. The flavors meld together, and the texture gets even more tender. So don’t be disappointed if they’re not perfect on day one—they’ll get there.
Nutritional Information & Benefits
Here’s the approximate nutrition for one muffin (based on 12 muffins, without add-ins):
| Nutrient | Amount |
|---|---|
| Calories | 145 |
| Total Fat | 6g |
| Saturated Fat | 4g |
| Carbohydrates | 20g |
| Fiber | 3g |
| Sugar | 9g |
| Protein | 4g |
Health Benefits: Pumpkin is packed with vitamin A, which is great for eye health and immune function. Oats provide soluble fiber, which helps keep blood sugar stable and keeps everyone full longer. Whole wheat flour adds extra fiber and B vitamins. And maple syrup is a more natural sweetener than refined sugar, with a lower glycemic index. These muffins are also low in added sugar compared to store-bought options, making them a smart choice for busy families.
Dietary Considerations: This recipe is naturally dairy-free (if using coconut oil) and can easily be made gluten-free with the right flour blend. It’s vegetarian and contains no nuts unless you add them. Potential allergens include eggs and gluten (if using wheat flour).
Conclusion
These healthy pumpkin oat muffins are the kind of recipe that makes you feel like you’ve got this whole parenting thing figured out. They’re easy enough for a Tuesday morning, special enough for a weekend brunch, and forgiving enough that you can mess up a step and still end up with something delicious. I’ve made them when I was tired, when I was rushed, and when I had a toddler clinging to my leg, and they’ve never let me down.
What I love most about this recipe is that it doesn’t ask you to choose between healthy and delicious. You get both. Your kids get a snack that fuels their bodies, and you get the peace of mind that comes from knowing exactly what went into it. Plus, they taste like fall in the best possible way.
I’d love to hear how these turn out for you. Did your kids gobble them up? Did you add chocolate chips or nuts? Did you find a variation that worked even better? Drop a comment below and let me know. And if you loved this recipe, share it with a friend who needs a win in the kitchen. We’re all in this together, after all.
Happy baking, friends. You’ve got this.
Frequently Asked Questions
Can I use quick-cooking oats instead of rolled oats?
Yes, you can. Quick oats will work, but the texture will be slightly softer and less chewy. If that’s what you have on hand, go for it. Just don’t use instant oatmeal packets—those have added sugar and flavorings that will throw off the recipe.
Can I make these muffins without eggs?
I haven’t tested this with an egg substitute, but a flax egg (1 tablespoon ground flaxseed mixed with 3 tablespoons water) should work. The texture might be a little denser, but it’s worth a try. If you test it, let me know how it goes in the comments.
How do I prevent the muffins from sticking to the liners?
Use good-quality paper liners or spray them lightly with cooking spray before adding the batter. I’ve found that parchment paper liners work better than standard ones. If you’re still having trouble, just grease the muffin tin directly and skip the liners altogether.
Can I use fresh pumpkin instead of canned?
Absolutely. If you have fresh pumpkin puree, use it. Just make sure it’s not too watery. Fresh pumpkin can have more moisture than canned, so you might need to drain it slightly by pressing it through a fine-mesh sieve or paper towel. I’ve used both and they work fine.
How do I make these muffins more fluffy?
Make sure your baking soda and baking powder are fresh. Old leavening agents lose their power and result in flat, dense muffins. Also, don’t overmix the batter. Mix until just combined, and you’ll get a lighter texture. Letting the batter rest for a few minutes before baking also helps.
Pin This Recipe!
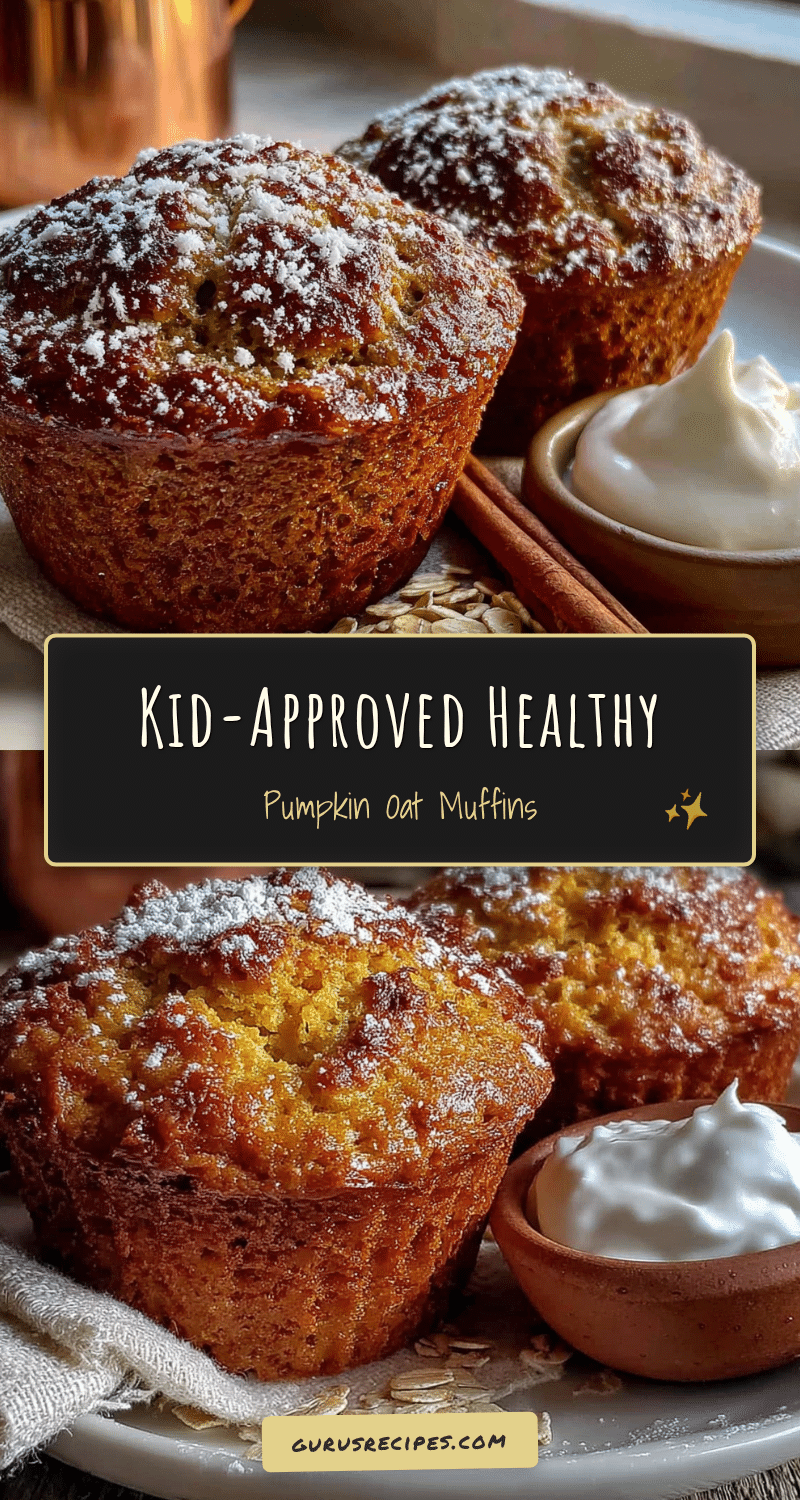

Healthy Pumpkin Oat Muffins: Easy Kid-Approved Recipe
These healthy pumpkin oat muffins are moist, tender, and naturally sweetened with maple syrup. Made with simple pantry ingredients, they’re kid-approved, budget-friendly, and perfect for make-ahead breakfasts or snacks.
- Total Time: 35 minutes
- Yield: 12 muffins 1x
Ingredients
- 1 cup pumpkin puree (not pumpkin pie filling)
- 1/2 cup maple syrup (pure maple syrup; can reduce to 1/3 cup)
- 2 large eggs (room temperature preferred, but cold works)
- 1/4 cup melted coconut oil (or melted butter or neutral oil)
- 1 teaspoon vanilla extract
- 1 1/2 cups rolled oats (old-fashioned oats; quick-cooking oats work in a pinch)
- 1/2 cup whole wheat flour (or all-purpose or gluten-free 1:1 blend)
- 1 teaspoon baking soda
- 1/2 teaspoon baking powder
- 1 1/2 teaspoons cinnamon
- 1/2 teaspoon nutmeg
- 1/4 teaspoon ginger
- 1/4 teaspoon salt
- 1/3 cup dark chocolate chips (optional)
- 1/4 cup chopped walnuts or pecans (optional)
- 1/4 cup raisins or dried cranberries (optional)
Instructions
- Preheat your oven to 350°F (175°C). Line a 12-cup muffin tin with paper liners or grease well.
- In a large bowl, whisk together the pumpkin puree, maple syrup, eggs, melted coconut oil, and vanilla extract until smooth.
- Add the rolled oats to the wet mixture and stir. Let it sit for 5 minutes to allow the oats to soak up the liquid.
- In a separate medium bowl, whisk together the whole wheat flour, baking soda, baking powder, cinnamon, nutmeg, ginger, and salt. If using optional add-ins like chocolate chips or nuts, stir them into the flour mixture now.
- Pour the dry ingredients into the wet ingredients. Fold gently with a spatula until just combined. A few streaks of flour are okay; do not overmix.
- Let the batter rest for another 2-3 minutes.
- Scoop the batter into the prepared muffin tin, filling each cup about 3/4 full.
- Bake for 18-22 minutes, or until a toothpick inserted into the center comes out clean or with a few moist crumbs. The tops should be golden and spring back when gently pressed.
- Let the muffins cool in the pan for 5 minutes, then transfer to a cooling rack to cool completely.
- Enjoy warm or at room temperature.
Notes
Don’t skip the resting step after adding oats—it ensures a tender texture. Measure flour correctly by spooning it into the cup and leveling off. Rotate the pan halfway through baking for even browning. Let muffins cool completely before storing to avoid sogginess. These muffins taste even better on day two as flavors meld.
- Prep Time: 15 minutes
- Cook Time: 20 minutes
- Category: Breakfast, Snack
- Cuisine: American
Nutrition
- Serving Size: 1 muffin
- Calories: 145
- Sugar: 9
- Fat: 6
- Saturated Fat: 4
- Carbohydrates: 20
- Fiber: 3
- Protein: 4
Keywords: pumpkin muffins, healthy muffins, oat muffins, kid-friendly, easy breakfast, fall baking, freezer-friendly


