
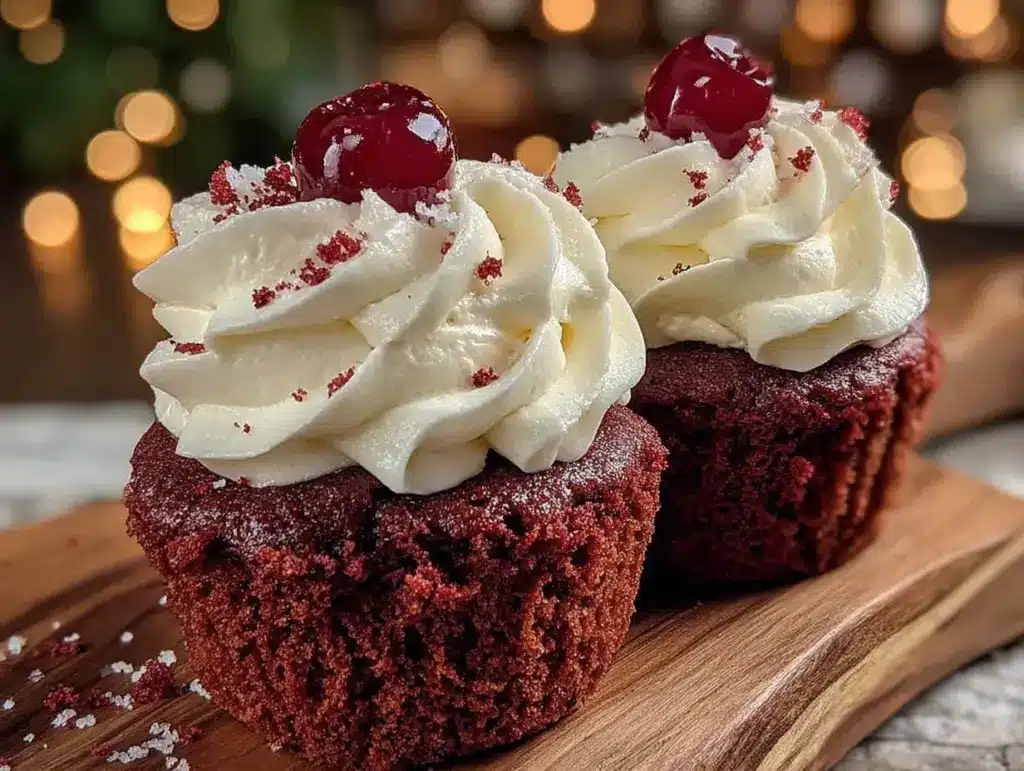
I wasn’t expecting baking advice from my accountant, but there I was, knee-deep in spreadsheets during tax season, listening to Mr. Henderson describe exactly how to make the perfect red velvet cupcake. The man who normally talked about deductions and depreciation was suddenly animated, waving his hands as he explained the importance of buttermilk temperature and the precise moment to add the cocoa powder. I had mentioned I was planning a Valentine’s Day baking session, and he practically pushed his chair back to demonstrate the whisking motion. “You can’t overmix,” he said, looking me dead in the eye. “That’s where most people go wrong.” I scribbled his notes on a sticky note that I still keep tucked in my recipe box. Honestly, it was the last place I expected to find culinary gold, but Mr. Henderson’s red velvet recipe has become my absolute go-to for Valentine’s Day. The cupcakes come out perfectly moist, with that signature tangy-sweet flavor and a crumb so tender it practically melts. I’ve tweaked his version over the years, adding a touch more vanilla and perfecting the cream cheese frosting ratio, but the soul of the recipe is still his. Maybe you’ve had a moment like that, where good advice comes from the most unexpected person. This is that recipe for me.
Why You’ll Love These Red Velvet Heart Cupcakes
These aren’t just any red velvet cupcakes. They are the ones that disappear first at every party, the ones people ask for by name. I’ve tested this recipe more times than I can count, tweaking the baking time and the frosting consistency until everything was absolutely spot-on. Here is why these heart-shaped beauties deserve a spot in your Valentine’s Day plans.
- Quick & Easy : From start to finish, these come together in about 45 minutes. The batter mixes up in one bowl, and the frosting is a simple five-minute affair. Perfect for a last-minute romantic gesture or a classroom treat.
- Simple Ingredients : You likely have most of these in your pantry right now. No weird extracts or hard-to-find specialty flours. Just good, honest baking staples.
- Perfect for Valentine’s Day : The heart shape and the rich red color make them the star of any Valentine’s celebration, whether it’s for a partner, friends, or your kids’ school party.
- Crowd-Pleaser : I have watched people who claim they “don’t like red velvet” devour two of these. The balance of chocolate and tang is just right, and the cream cheese frosting is everything.
- Unbelievably Delicious : The texture is what gets me every time. It’s not too dense, not too fluffy, but somewhere in that perfect middle ground. The crumb is fine and velvety, true to its name.
What makes this version different from the rest is the technique. Most recipes have you cream the butter and sugar, but Mr. Henderson’s method uses oil for moisture and a touch of butter for flavor. It’s a game-changer. The cupcakes stay soft for days, if they last that long. This is comfort food reimagined for a special day, and it delivers every single time.
What Ingredients You Will Need
This recipe uses simple, wholesome ingredients to deliver that signature red velvet flavor and a tender, moist crumb. Most of these are pantry staples, so you won’t need a special trip to the store.
- All-purpose flour , 2 ½ cups (310g) – Spoon and level it for the best results. Too much flour makes the cupcakes dry.
- Unsweetened cocoa powder , 2 tablespoons (10g) – Just enough for that subtle chocolate flavor. I prefer Hershey’s Special Dark for a richer taste.
- Baking soda , 1 teaspoon – This reacts with the buttermilk and vinegar to give the cupcakes their rise.
- Salt , ½ teaspoon – Balances the sweetness.
- Granulated sugar , 1 ½ cups (300g) – Adds sweetness and helps with the tender texture.
- Vegetable oil , 1 cup (240ml) – Keeps the cupcakes incredibly moist. Canola or sunflower oil works too.
- Large eggs , 2, room temperature – Room temperature eggs emulsify better into the batter.
- Buttermilk , 1 cup (240ml), room temperature – This is non-negotiable for the tangy flavor and tender crumb. If you don’t have buttermilk, add 1 tablespoon of lemon juice to regular milk and let it sit for 5 minutes.
- White vinegar , 1 teaspoon – Reacts with the baking soda for lift.
- Vanilla extract , 2 teaspoons – Use pure vanilla extract for the best flavor.
- Red gel food coloring , 2 tablespoons (30ml) – Gel coloring is much more concentrated than liquid. It gives you that vibrant red without thinning the batter. I recommend the AmeriColor brand.
- Unsalted butter , ½ cup (113g), softened – For the frosting. Let it sit out for at least an hour.
- Cream cheese , 8 oz (226g), softened – Full-fat is best for a stable, creamy frosting.
- Powdered sugar , 4 cups (480g) – Sift it if it’s lumpy to avoid a grainy frosting.
- Heavy cream , 2-3 tablespoons (30-45ml) – Helps thin the frosting to the perfect piping consistency.
- Pink or red sprinkles , for decoration (optional) – Adds a festive touch.
Equipment Needed
You don’t need a professional bakery setup for these, but having the right tools makes the process smoother. Here is what you will need.
- Muffin tin (standard 12-cup) – I use a non-stick one, and I still always line it with paper liners.
- Heart-shaped silicone baking cups or paper liners – These are widely available online or at craft stores around Valentine’s Day. They make the heart shape without any special pan.
- Large mixing bowls (one for dry, one for wet ingredients)
- Whisk and rubber spatula
- Electric hand mixer or stand mixer – For the frosting. You can whisk it by hand, but it takes some elbow grease.
- Piping bag with a star tip (like Wilton 1M) – For that beautiful swirled top. A zip-top bag with the corner snipped off works in a pinch.
- Cooling rack – Essential for letting the cupcakes cool completely before frosting. If you frost them while warm, the frosting will slide right off.
- Measuring cups and spoons
If you don’t have heart-shaped liners, you can use regular cupcake liners and top them with a heart-shaped stencil made of paper. I’ve done that before, and it’s a fun little hack.
Preparation Method
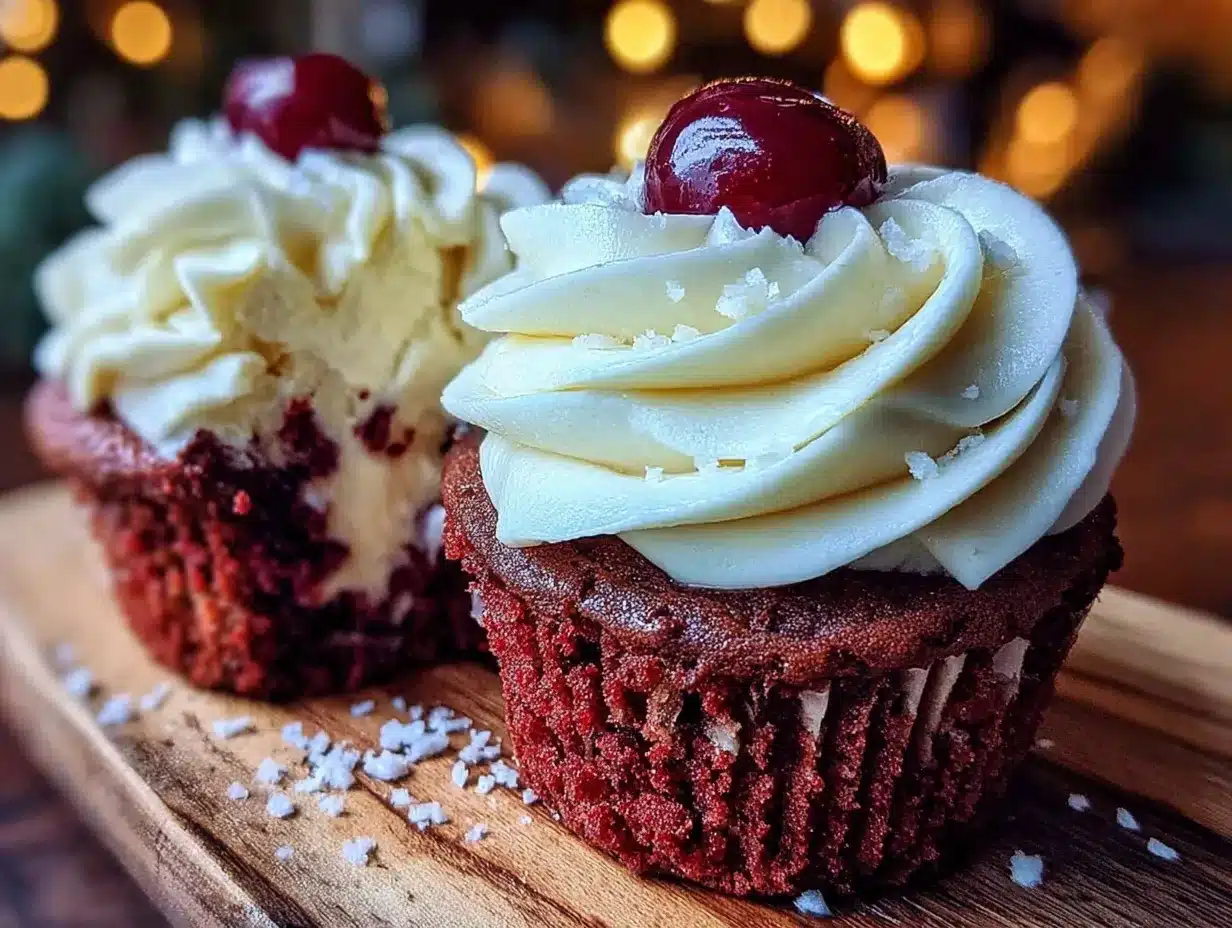
Follow these steps carefully, and you will have perfect red velvet heart cupcakes every time. I’ve included all the little tricks I’ve learned from making this recipe dozens of times.
Step 1: Preheat and Prep
Preheat your oven to 350°F (175°C). Line your muffin tin with the heart-shaped silicone baking cups or paper liners. If using silicone cups, place them on a baking sheet for stability.
Step 2: Mix the Dry Ingredients
In a medium bowl, whisk together the all-purpose flour, cocoa powder, baking soda, and salt. Whisking aerates the flour and ensures everything is evenly distributed. Set this aside.
Step 3: Combine the Wet Ingredients
In a large bowl, whisk the granulated sugar and vegetable oil together until well combined. It will look a bit grainy, and that’s okay. Add the room-temperature eggs one at a time, whisking well after each addition. Then, whisk in the buttermilk, white vinegar, and vanilla extract. The mixture should be smooth and slightly pale.
Step 4: Add the Color
Add the red gel food coloring to the wet mixture and whisk until the color is completely uniform. The batter will be a vibrant, deep red. Don’t be shy with the color here; it bakes up a bit darker.
Step 5: Combine Wet and Dry
Add the dry ingredients to the wet ingredients in two additions, folding gently with a rubber spatula after each addition. Stop mixing as soon as you no longer see streaks of flour. Overmixing at this stage will develop the gluten and make your cupcakes tough. The batter will be thin, almost like a pancake batter. That’s exactly what you want.
Step 6: Fill the Liners
Divide the batter evenly among the prepared liners, filling each about two-thirds full. I use a cookie scoop for this. It’s clean and ensures every cupcake is the same size. You should get exactly 12 cupcakes.
Step 7: Bake
Bake for 18-20 minutes, or until a toothpick inserted into the center of a cupcake comes out with just a few moist crumbs. The tops should spring back when lightly touched. Do not overbake! They go from perfect to dry very quickly. Let them cool in the pan for 5 minutes, then transfer them to a wire rack to cool completely. This is crucial. If you try to frost them while they are even slightly warm, your frosting will turn into a puddle.
Step 8: Make the Frosting
While the cupcakes are cooling, make the cream cheese frosting. In a large bowl, beat the softened butter and cream cheese together with an electric mixer until smooth and creamy, about 2 minutes. There should be no lumps. Gradually add the powdered sugar, one cup at a time, beating on low speed after each addition. Add the vanilla extract and 2 tablespoons of heavy cream. Beat on medium-high speed for 2-3 minutes until the frosting is light, fluffy, and spreadable. If it’s too thick, add the remaining tablespoon of heavy cream.
Step 9: Frost and Decorate
Once the cupcakes are completely cool, frost them. Fill a piping bag fitted with a star tip with the frosting. Starting from the outside edge, pipe a swirl of frosting around the top of each cupcake, working your way to the center. Alternatively, just spread it on with a knife. Top with pink or red sprinkles if you like.
Cooking Tips & Techniques
I have made my fair share of mistakes with red velvet cupcakes. I’ve had them come out dry, flat, and once, a weird shade of purple. Here is what I learned so you don’t have to repeat my failures.
Don’t overmix the batter. This is the number one mistake. Once you add the flour, mix just until it disappears. Overmixing develops gluten, and that makes the cupcakes tough and dense instead of tender and velvety. I speak from experience—I once mixed for a full minute because I got distracted, and the cupcakes were like little red hockey pucks.
Use room temperature ingredients. This is not just a suggestion. Cold eggs and cold buttermilk won’t emulsify properly into the oil and sugar. The batter will look curdled, and the cupcakes won’t rise as well. Take everything out of the fridge 30 minutes before you start baking.
Invest in gel food coloring. Liquid food coloring will make the batter too thin, and you will need half the bottle to get a decent shade of red. Gel coloring is concentrated, so a couple of tablespoons give you that gorgeous, deep crimson without messing with the liquid balance of the recipe.
Check your oven temperature. Ovens lie. Mine runs 25 degrees hot. An oven thermometer is a cheap tool that will save you from burnt edges and raw centers. Trust the thermometer, not the dial.
Let the cupcakes cool completely. I know it’s tempting to rush this step, especially when the kitchen smells amazing. But warm cupcakes will melt your cream cheese frosting into a sad, runny mess. Patience is a virtue here.
Variations & Adaptations
This recipe is wonderfully adaptable. Here are some ways I’ve tweaked it for different occasions and dietary needs.
Gluten-Free Version
Swap the all-purpose flour with a good quality 1:1 gluten-free baking flour blend that contains xanthan gum. I’ve used King Arthur Measure for Measure with great results. The texture is slightly more delicate, so handle the batter gently.
Dairy-Free Version
Use a dairy-free buttermilk substitute (unsweetened almond milk mixed with 1 tablespoon of lemon juice) and a plant-based cream cheese for the frosting. Miyoko’s brand works beautifully. The flavor is slightly different, but it’s still delicious.
Cupcake Cake
Instead of individual cupcakes, you can bake this batter in a 9-inch round cake pan for about 30-35 minutes. You will need to double the frosting recipe. It makes a stunning heart-shaped cake if you use a heart-shaped pan.
Chocolate Lovers Twist
Add ½ cup of mini chocolate chips to the batter before baking. It adds little pockets of melted chocolate that are incredible with the tangy cream cheese frosting. I did this for a friend’s birthday, and it was a huge hit.
Mini Cupcakes
For bite-sized treats, bake the batter in a mini muffin tin for 10-12 minutes. You will get about 36 mini cupcakes. They are perfect for a party platter.
Serving & Storage Suggestions
These red velvet heart cupcakes are best served at room temperature. The frosting is soft and creamy, and the cake is at its most tender. If you have stored them in the fridge, let them sit out for about 20 minutes before serving.
For a beautiful presentation, arrange the cupcakes on a tiered cake stand. A dusting of powdered sugar or a few fresh raspberries next to them on the plate adds a lovely pop of color. They pair perfectly with a hot cup of coffee, a glass of cold milk, or a sparkling rosé for a more grown-up Valentine’s treat.
Storing: Store leftover cupcakes in an airtight container in the refrigerator for up to 5 days. The cream cheese frosting needs to be kept cold. I find the flavor actually deepens and gets even better on the second day.
Freezing: You can freeze the unfrosted cupcakes for up to 3 months. Wrap each one tightly in plastic wrap, then place them in a freezer-safe bag. Thaw them at room temperature before frosting. You can also freeze the frosting in a piping bag for up to 3 months. Just thaw it in the fridge overnight and give it a quick whip before using.
Reheating: If you want a warm cupcake, microwave one for about 10-15 seconds. It won’t be piping hot, but it will be soft and comforting. Remove any sprinkles before microwaving, or they will get sticky.
Nutritional Information & Benefits
These are a treat, so I won’t pretend they are health food. But knowing what is in them helps you enjoy them mindfully. Here is the approximate nutritional breakdown for one frosted cupcake.
| Nutrient | Amount per Cupcake |
|---|---|
| Calories | 410 |
| Fat | 22g |
| Saturated Fat | 8g |
| Carbohydrates | 52g |
| Sugar | 40g |
| Protein | 5g |
The buttermilk provides a small amount of calcium and probiotics, and the cocoa powder is rich in antioxidants. The cream cheese adds a bit of protein. Honestly, the real benefit here is the joy they bring. Baking for someone is an act of love, and sharing these cupcakes is a way to connect. I think that has its own nutritional value.
For those watching their sugar intake, you can reduce the sugar in the frosting by a quarter cup, but it will change the consistency. This recipe is not low-carb or keto-friendly due to the flour and sugar.
Conclusion
These perfect red velvet heart cupcakes are more than just a dessert. They are a little piece of joy you can bake and share. They come together easily, look stunning on a plate, and taste like a hug from the inside. I love that this recipe came from the most unexpected source, and now it is a tradition in my kitchen every February. I hope it becomes one in yours too.
Don’t be afraid to make them your own. Add a little extra vanilla, swap the sprinkles for crushed candy canes, or make a giant heart-shaped cake instead. The best recipes are the ones that adapt to you. I would love to hear how yours turn out. Leave a comment below and tell me about your Valentine’s Day baking adventures. Did you add a twist? Did you make them for someone special? Share your story. And if you loved this recipe, please share it with a friend who needs a little sweetness in their life. Happy baking!
Frequently Asked Questions
Can I make these cupcakes ahead of time?
Absolutely. You can bake the cupcakes up to two days in advance and store them unfrosted in an airtight container at room temperature. Frost them the day you plan to serve them for the best presentation.
Why did my red velvet cupcakes turn out brown?
This usually happens for two reasons. The first is using too much cocoa powder. Stick to the 2 tablespoons. The second is using liquid food coloring instead of gel. Liquid coloring is less concentrated and can result in a more maroon or brown color once baked.
Can I use a different frosting?
You sure can. A classic vanilla buttercream or a chocolate ganache would be delicious. The tangy cream cheese frosting is the traditional pairing, but don’t let that stop you from experimenting. I have used a white chocolate buttercream before, and it was amazing.
How do I get the heart shape so perfect?
The secret is the heart-shaped silicone baking cups. They are flexible and non-stick, so the cupcakes pop right out with the shape intact. You can find them online or at baking supply stores. If you use paper liners, they will be round, but you can still cut the cupcakes into heart shapes with a cookie cutter.
My frosting turned out runny. What went wrong?
The most common cause is that the cream cheese or butter was too soft, almost melted. They should be softened to room temperature, not warm. Another cause is not beating the frosting long enough. Beat it for a full 2-3 minutes on medium-high speed to incorporate air and stabilize it. If it is still runny, add a few more tablespoons of powdered sugar.
Pin This Recipe!
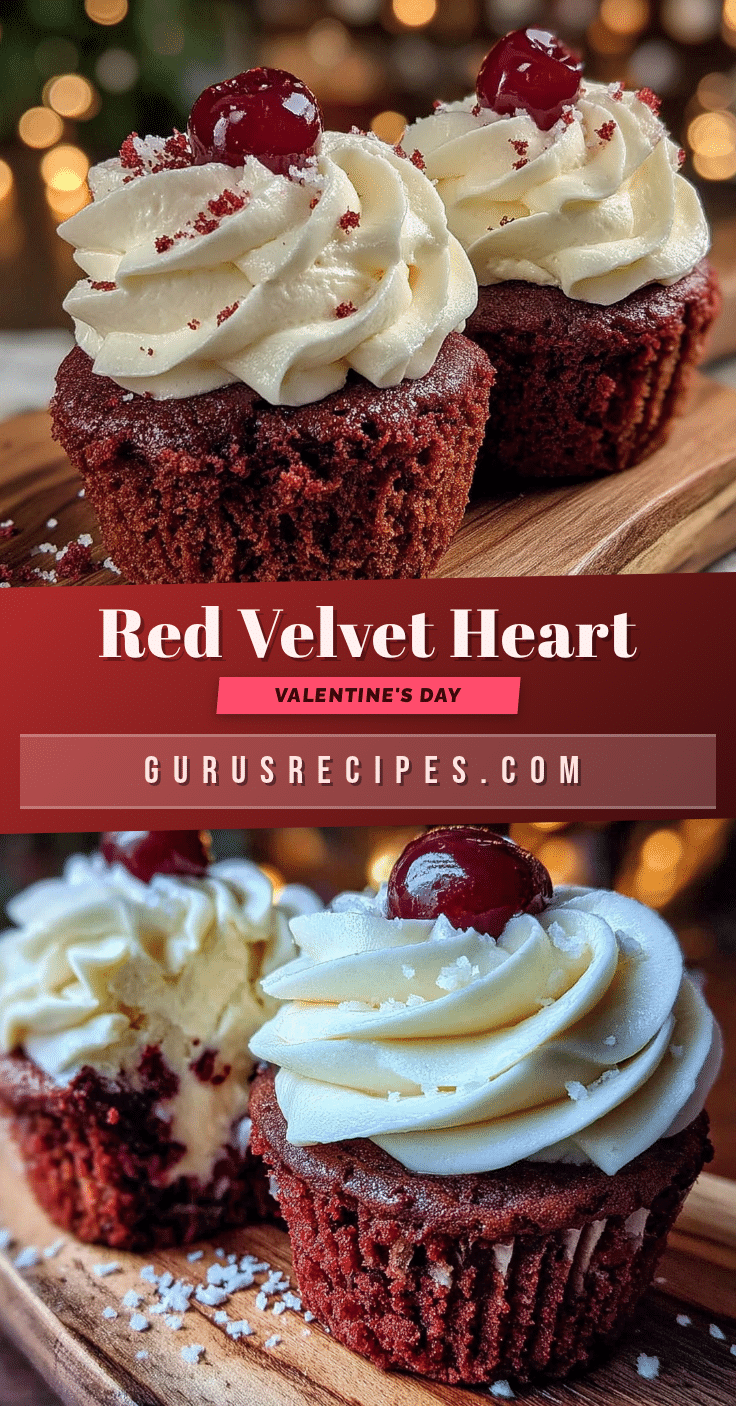

Perfect Red Velvet Heart Cupcakes: Easy Valentine’s Recipe
These moist, tender red velvet heart-shaped cupcakes are topped with a tangy cream cheese frosting. They come together in about 45 minutes and are perfect for Valentine’s Day or any special occasion.
- Total Time: 45 minutes
- Yield: 12 cupcakes 1x
Ingredients
- 2 ½ cups (310g) all-purpose flour
- 2 tablespoons (10g) unsweetened cocoa powder
- 1 teaspoon baking soda
- ½ teaspoon salt
- 1 ½ cups (300g) granulated sugar
- 1 cup (240ml) vegetable oil
- 2 large eggs, room temperature
- 1 cup (240ml) buttermilk, room temperature
- 1 teaspoon white vinegar
- 2 teaspoons vanilla extract
- 2 tablespoons (30ml) red gel food coloring
- ½ cup (113g) unsalted butter, softened
- 8 oz (226g) cream cheese, softened
- 4 cups (480g) powdered sugar
- 2–3 tablespoons (30-45ml) heavy cream
- Pink or red sprinkles for decoration (optional)
Instructions
- Preheat oven to 350°F (175°C). Line a muffin tin with heart-shaped silicone baking cups or paper liners.
- In a medium bowl, whisk together flour, cocoa powder, baking soda, and salt.
- In a large bowl, whisk sugar and vegetable oil until combined. Add eggs one at a time, whisking well. Whisk in buttermilk, vinegar, and vanilla extract.
- Add red gel food coloring and whisk until uniform.
- Add dry ingredients to wet in two additions, folding gently with a rubber spatula until just combined. Do not overmix.
- Divide batter evenly among prepared liners, filling each about two-thirds full.
- Bake for 18-20 minutes, until a toothpick inserted in center comes out with a few moist crumbs. Cool in pan 5 minutes, then transfer to wire rack to cool completely.
- For frosting: Beat softened butter and cream cheese until smooth. Gradually add powdered sugar, beating on low. Add vanilla and 2 tablespoons heavy cream. Beat on medium-high 2-3 minutes until fluffy. Add more cream if needed.
- Once cupcakes are completely cool, frost with piping bag and star tip, or spread with knife. Top with sprinkles if desired.
Notes
Do not overmix the batter to avoid tough cupcakes. Use room temperature ingredients for best results. Gel food coloring is recommended over liquid for vibrant color without thinning batter. Let cupcakes cool completely before frosting to prevent melting.
- Prep Time: 20 minutes
- Cook Time: 18-20 minutes
- Category: Dessert
- Cuisine: American
Nutrition
- Serving Size: 1 cupcake
- Calories: 410
- Sugar: 40
- Sodium: 280
- Fat: 22
- Saturated Fat: 8
- Carbohydrates: 52
- Fiber: 1
- Protein: 5
Keywords: red velvet cupcakes, heart cupcakes, Valentine's Day dessert, cream cheese frosting, easy cupcake recipe


