
The school bake sale was in twelve hours and I’d completely forgotten. My daughter had reminded me three times, and I’d nodded along while scrolling through emails. Now she was asleep, the kitchen was dark, and the little slip of paper taped to the fridge said “Mom’s Famous Cupcakes” in wobbly six-year-old handwriting. Famous. Right. I opened the pantry and stared at a bag of flour, a box of sprinkles, and a stick of butter that was still rock hard. No time to soften it. No time for a mixer. No time, honestly, for anything fancy.
I pulled out one big bowl and just started throwing things in. Sugar, oil instead of butter because it was already soft, an egg, some vanilla, flour, baking powder, milk. I stirred it with a wooden spoon like a madwoman, praying it wouldn’t turn into a hockey puck. I didn’t even sift the flour—just dumped it in and hoped for the best. The batter looked suspiciously smooth for something I’d thrown together in under five minutes. I poured it into a pan, threw it in the oven, and set the timer with shaky hands.
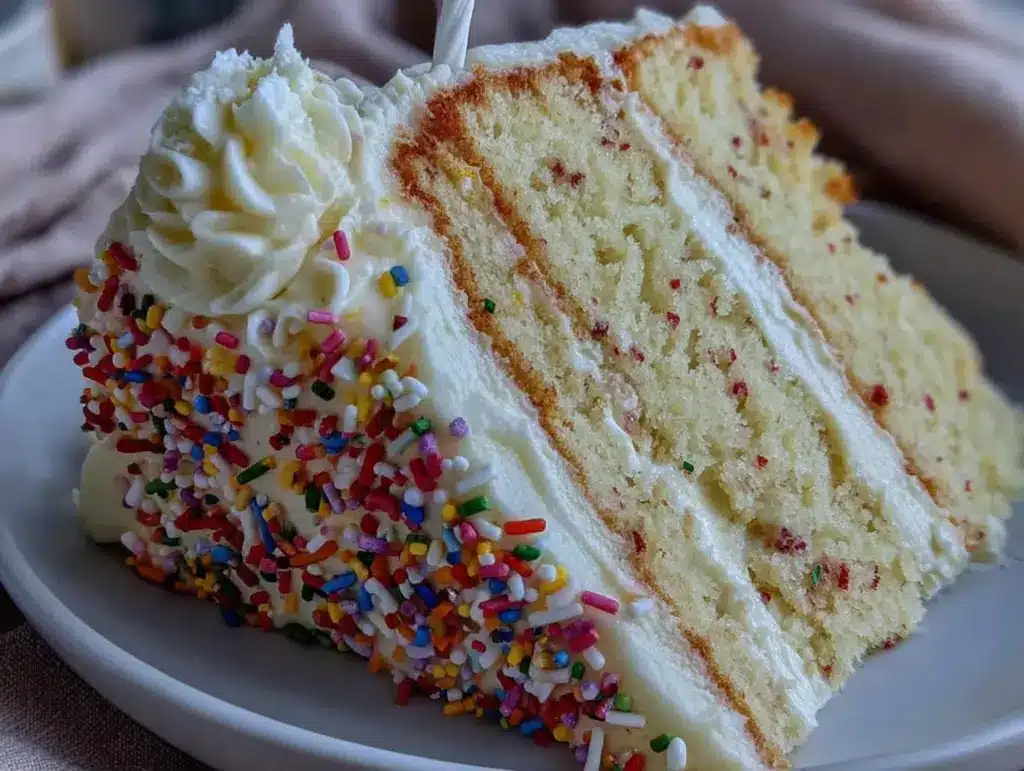
An hour later, I pulled out a cake that was—and I’m not exaggerating—perfect. Golden on top, fluffy in the middle, and it smelled like a real bakery. I let it cool while I mixed powdered sugar, milk, and vanilla into a quick frosting. My daughter had left a tube of rainbow sprinkles on the counter, so I dumped half of them on top. The next morning, she carried that cake into school like it was a trophy. It sold out in twenty minutes. Another mom asked me for the recipe, and I almost laughed. “It’s nothing special,” I said. But it was. It really was.
Maybe you’ve been there—the panic, the pantry raiding, the last-minute scramble. That cake became our go-to for every birthday, every class party, every “I forgot to tell you” moment. It’s the recipe I keep coming back to because it never lets me down. And now it’s yours too.
Why You’ll Love This Recipe
This isn’t just another vanilla cake recipe. This is the one that saves you on a Tuesday night when your kid announces they need a birthday treat for tomorrow’s class party. It’s the one that doesn’t require a stand mixer, a trip to the store, or any special skills. Let me tell you why this cake has earned a permanent spot in my rotation.
- One Bowl, No Mixer : Everything comes together in a single bowl with just a whisk or a wooden spoon. No creaming butter, no separate wet and dry bowls, no electric mixer to wash. It’s the kind of recipe you can make while holding a conversation or helping with homework.
- Pantry-Friendly Ingredients : You probably have everything you need right now. Oil instead of butter means you don’t need to remember to soften anything. No buttermilk, no sour cream, no fancy extracts. Just basics that work beautifully together.
- Perfect for Birthday Parties and School Events : This cake is sturdy enough to stack, moist enough to impress, and simple enough to decorate with kids. It holds up to sprinkles, frosting, and even those cartoon character candles that take forever to light.
- Crowd-Pleasing Flavor : It’s sweet but not too sweet, vanilla-forward but not artificial-tasting. Kids devour it, adults go back for seconds, and nobody ever guesses it came together in under ten minutes.
- Unbelievably Moist for Days : The oil-based batter keeps this cake soft and tender even on day three. I’ve wrapped a slice in plastic wrap and found it still delicious two days later. That’s not a brag—it’s just science.
What makes this recipe different from every other vanilla cake out there? It’s the texture. The combination of oil and a little extra liquid creates a crumb that’s almost velvety. It’s not dense, not crumbly, not dry. It’s the Goldilocks of birthday cakes, and it works every single time.
This is the kind of cake that makes you feel like a hero with minimal effort. It’s comfort food in cake form—nostalgic, familiar, and exactly what a birthday should taste like. No stress, no fuss, just a happy table with a cake that everyone loves.
What Ingredients You Will Need
This recipe uses simple, everyday ingredients to deliver a cake that tastes anything but basic. Here’s what you’ll need and why each one matters.
For the Cake
- All-Purpose Flour (2 cups / 250g) – The backbone of the cake. I use Gold Medal or King Arthur Flour for consistent results. No need to sift unless your flour is really clumpy.
- Granulated Sugar (1 ½ cups / 300g) – Adds sweetness and helps with browning. Regular white sugar works best here—don’t substitute brown sugar or the texture changes.
- Baking Powder (2 ½ teaspoons) – This is your leavening agent. Make sure it’s fresh—test it by dropping a teaspoon into hot water; if it bubbles vigorously, you’re good.
- Salt (½ teaspoon) – Balances the sweetness and enhances the vanilla flavor. I use fine sea salt, but table salt works fine too.
- Vegetable Oil (½ cup / 120ml) – Keeps the cake incredibly moist without the fuss of softened butter. Canola or avocado oil both work. Avoid olive oil—the flavor is too strong.
- Large Eggs (2, at room temperature) – Room temperature eggs mix more evenly into the batter. If you forgot to take them out, place them in a bowl of warm water for 5 minutes.
- Whole Milk (1 cup / 240ml) – Adds richness and moisture. You can substitute 2% or even oat milk in a pinch, but whole milk gives the best texture.
- Pure Vanilla Extract (2 teaspoons) – Real vanilla makes a noticeable difference. I prefer Nielsen-Massey or simply store brand—just make sure it’s pure, not imitation.
For the Sprinkle Frosting
- Unsalted Butter (½ cup / 113g, softened) – The base of the frosting. Let it sit out for at least 30 minutes before starting. If you’re in a rush, microwave it for 10 seconds at a time—but watch it closely.
- Powdered Sugar (3 cups / 360g) – Also called confectioners’ sugar. No substitutions here—it’s what gives frosting its smooth texture.
- Whole Milk (3–4 tablespoons) – Adjusts the consistency. Start with 3 tablespoons and add more if needed for spreading.
- Pure Vanilla Extract (1 teaspoon) – Because more vanilla is always a good idea.
- Rainbow Sprinkles (⅓ cup / 50g) – The star of the show! Use jimmies (the long, skinny ones) for the best texture. Avoid nonpareils—the tiny round ones can bleed color into the frosting.
That’s it. No weird ingredients, no special trips to the store. Everything is probably in your kitchen right now, which is exactly how a last-minute birthday cake should be.
Equipment Needed
You don’t need a fancy kitchen to make this cake. Here’s what you’ll need, along with some real-talk alternatives.
- One Large Mixing Bowl – Any bowl works, but a 4-quart size gives you room to whisk without splashing. I use a glass Pyrex bowl because I can see if the batter is lumpy.
- Whisk or Wooden Spoon – A whisk incorporates air better, but a wooden spoon gets the job done. I’ve used a fork in a pinch—it works, just takes longer.
- 9×13-inch Baking Pan – This is my go-to size for birthday cakes. It bakes evenly and gives you plenty of surface area for frosting. If you only have two 8-inch round pans, that works too—just reduce the baking time to 25-28 minutes.
- Measuring Cups and Spoons – For accuracy. I’ve eyeballed this recipe before and it still turned out fine, but measuring gives you consistent results.
- Cooling Rack – Essential for letting the cake cool completely before frosting. If you don’t have one, you can use the inverted lid of a plastic container—just make sure it’s clean and stable.
- Hand Mixer or Stand Mixer (for frosting) – You can make the frosting by hand with a whisk and some elbow grease, but a mixer makes it fluffier. I use a $20 hand mixer from Target and it works perfectly.
- Spatula or Butter Knife – For spreading the frosting. An offset spatula is nice but not necessary—I’ve used the back of a spoon more times than I can count.
One tip: if you’re making this with kids, let them do the whisking. It’s messy, it’s fun, and they feel proud when they see the cake come out of the oven.
Preparation Method
Let’s walk through this step by step. I’ve made this cake dozens of times, so I’ll share the little tricks I’ve picked up along the way. The whole process takes about 45 minutes from start to finish, including baking time.
- Preheat your oven to 350°F (175°C). Do this first so the oven is hot and ready. Meanwhile, grease your 9×13-inch pan with butter or cooking spray. I like to line the bottom with a piece of parchment paper—it guarantees the cake won’t stick, and cleanup is easier.
- Combine the dry ingredients. In your large mixing bowl, whisk together the flour, sugar, baking powder, and salt. Make sure the baking powder is evenly distributed—if you see any clumps, break them up with your fingers. This takes about 30 seconds.
- Add the wet ingredients. Make a well in the center of the dry ingredients. Pour in the vegetable oil, eggs, milk, and vanilla extract. Start whisking from the center, gradually incorporating the flour mixture into the liquid. Don’t overmix—stop as soon as the batter is smooth and no streaks of flour remain. Overmixing develops gluten and makes the cake tough. A few small lumps are totally fine.
- Pour the batter into the prepared pan. Use a spatula to scrape every last bit out of the bowl—that’s the best part. Gently tap the pan on the counter a few times to release any air bubbles. The batter will be thin, almost like a thick pancake batter. That’s normal.
- Bake for 30–35 minutes. Start checking at 28 minutes if your oven runs hot. The cake is done when a toothpick inserted into the center comes out clean or with a few moist crumbs. The top should be golden brown and spring back when lightly touched. My oven takes exactly 32 minutes—I set a timer and don’t open the door until it goes off.
- Cool the cake completely. Place the pan on a cooling rack and let it sit for 10 minutes. Then run a knife around the edges and invert the cake onto the rack to cool completely. This is crucial—if you frost a warm cake, the frosting will melt into a puddle. I’ve made that mistake once. It was still delicious, but it looked like a mess.
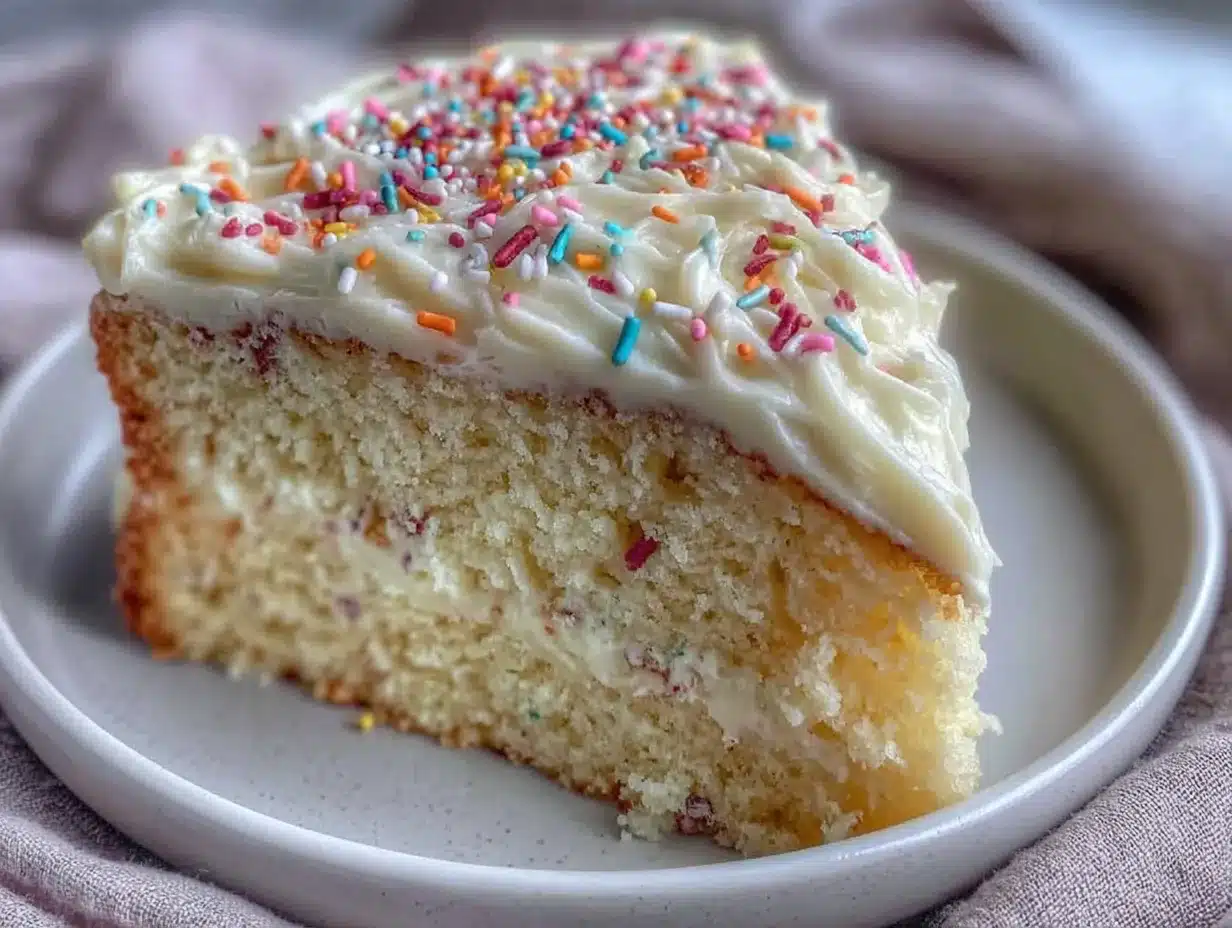
- Make the frosting. While the cake cools, beat the softened butter in a medium bowl with a hand mixer until smooth and creamy, about 1 minute. Gradually add the powdered sugar, 1 cup at a time, beating on low speed to avoid a sugar cloud. Add the vanilla and 3 tablespoons of milk, then beat on medium-high for 2 minutes until light and fluffy. If the frosting is too thick, add the remaining tablespoon of milk. Fold in the sprinkles gently with a spatula—don’t overmix or the colors will bleed.
- Frost the cooled cake. Spread the frosting evenly over the top of the cake. Use a spatula or butter knife to create swoops and swirls—it doesn’t have to be perfect. Add extra sprinkles on top for a festive look. Slice and serve!
One thing I’ve learned: if you’re making this for a kid’s birthday, let them help with the frosting. My daughter loves to “decorate” with extra sprinkles, and the cake always ends up looking wonderfully chaotic. That’s the whole point.
Cooking Tips & Techniques
I’ve made this cake enough times to know exactly where things can go wrong—and how to fix them. Here are my best tips for perfect results every time.
Don’t overmix the batter. This is the number one mistake I see. Mix just until the flour disappears. A few lumps are fine. Overmixing makes the cake dense and rubbery because it develops too much gluten. I learned this the hard way when I made a brick-like cake for my nephew’s first birthday. He didn’t care—he was one—but I sure did.
Use room temperature ingredients. Cold eggs and cold milk can make the batter seize up and create a lumpy texture. If you forgot to take them out of the fridge, place the eggs in a bowl of warm water for 5 minutes and microwave the milk for 15 seconds. It makes a real difference in how evenly the cake bakes.
Check your baking powder. Baking powder loses its potency over time. If your cake doesn’t rise properly, that’s usually the culprit. I test mine by dropping a teaspoon into hot water—if it fizzes vigorously, it’s good. If not, buy a new can. It’s cheap insurance.
Let the cake cool completely before frosting. I cannot stress this enough. Warm cake + buttercream frosting = a slippery, melty disaster. I once tried to speed things up by putting the cake in the freezer for 15 minutes, and the frosting still slid right off. Patience is a virtue, especially in baking.
For cleaner slices, use a serrated knife. A sharp bread knife cuts through the frosting without dragging it. Wipe the blade clean between cuts for picture-perfect slices. Or, you know, just cut big wedges and call it rustic. That’s my usual approach.
If you’re baking for a crowd, make two batches. This recipe fits perfectly in a 9×13 pan, but if you need a layer cake, double the ingredients and bake in two 8-inch round pans for 25-28 minutes. Stack them with frosting in between for a gorgeous double-decker birthday cake.
Variations & Adaptations
One of the best things about this cake is how easily it adapts. Here are some variations I’ve tried and loved.
Chocolate Birthday Cake : Replace ⅓ cup of the flour with ⅓ cup of unsweetened cocoa powder. Add an extra tablespoon of milk to keep the batter from getting too thick. The result is a moist, fudgy chocolate cake that pairs beautifully with the sprinkle frosting. My son requests this version for every single birthday.
Lemon Vanilla Cake : Add the zest of one lemon to the dry ingredients and replace 2 tablespoons of the milk with fresh lemon juice. The lemon brightens the vanilla flavor and makes the cake taste extra special. I made this for a spring baby shower and got three requests for the recipe.
Gluten-Free Version : Substitute the all-purpose flour with a 1:1 gluten-free baking flour blend (I like Bob’s Red Mill). Add an extra tablespoon of milk because gluten-free flours tend to absorb more liquid. The texture is slightly more delicate, but it’s still delicious. My gluten-free friend couldn’t tell the difference.
Cupcake Variation : Divide the batter evenly among 24 lined muffin tins. Bake at 350°F for 18-20 minutes, until a toothpick comes out clean. This is perfect for school parties or bake sales—just frost each cupcake individually and top with sprinkles.
Dairy-Free Option : Use unsweetened almond milk or oat milk in place of whole milk. For the frosting, use vegan butter sticks (like Country Crock Plant Butter) and an extra splash of non-dairy milk. The cake still turns out moist and tender—I’ve tested it twice to be sure.
Funfetti Style : Add ½ cup of rainbow sprinkles directly to the cake batter before baking. The sprinkles will dissolve slightly and create tiny bursts of color throughout the cake. Just fold them in gently to avoid streaking. This is my daughter’s absolute favorite version.
Serving & Storage Suggestions
This cake is best served at room temperature, which means you can make it ahead of time and let it sit out for a few hours before serving. The frosting stays firm and the cake stays moist—it’s practically designed for party planning.
How to Serve : Cut the cake into squares or rectangles, depending on your preference. For a birthday party, I like to cut it into 24 small squares so there’s enough for everyone. Serve with a scoop of vanilla ice cream or a glass of cold milk for the ultimate treat. The contrast of cold ice cream with the soft, fluffy cake is unbeatable.
What to Serve With : This cake is a star on its own, but it pairs beautifully with fresh berries, whipped cream, or a drizzle of chocolate sauce. For a brunch spread, serve it alongside fresh fruit salad and coffee. For a kid’s party, set out bowls of extra sprinkles, chocolate chips, and gummy bears for a DIY topping bar.
Storage Instructions : Store the cake in an airtight container at room temperature for up to 3 days. If your kitchen is warm, you can refrigerate it—just let it sit at room temperature for 20 minutes before serving to soften the frosting. The cake actually tastes better on day two as the flavors meld together. I’ve wrapped individual slices in plastic wrap and kept them in the fridge for up to a week, and they were still moist and delicious.
Freezing Instructions : You can freeze the unfrosted cake for up to 3 months. Wrap the cooled cake tightly in plastic wrap, then a layer of aluminum foil. When you’re ready to serve, thaw it in the refrigerator overnight, then bring to room temperature before frosting. I’ve done this for holiday parties and it works like a charm.
Reheating Tips : If you want that fresh-from-the-oven warmth, microwave individual slices for 10-15 seconds. The frosting will soften slightly, but the cake will taste like it just came out of the oven. Don’t microwave the whole cake—the frosting will melt unevenly.
One thing I love about this cake: the flavors actually improve after a day. The vanilla becomes more pronounced, the crumb gets even more tender, and the sprinkles soften just a little. It’s the perfect make-ahead dessert for busy families.
Nutritional Information & Benefits
Let’s be real—this is a birthday cake, not a health food. But knowing what’s in it can help you make informed choices, especially if you’re serving it to kids.
Estimated Nutritional Values (per serving, 1/24 of cake):
- Calories: 220
- Total Fat: 9g
- Saturated Fat: 3g
- Cholesterol: 25mg
- Sodium: 150mg
- Total Carbohydrates: 34g
- Sugar: 24g
- Protein: 2g
Health Benefits of Key Ingredients: The vegetable oil provides healthy unsaturated fats, and the eggs offer a good source of protein and vitamin D. The milk adds calcium for strong bones. The sprinkles? Well, they bring joy—and that counts for something.
Dietary Considerations: This recipe contains gluten, dairy, and eggs. For gluten-free, dairy-free, or vegan options, check the variations section above. The cake is nut-free as written, making it safe for school parties with nut-free policies.
Potential Allergens: Wheat (gluten), milk, eggs. Always check your sprinkles for any allergen warnings—some brands process them in facilities that handle nuts.
My Personal Perspective: I believe in balance. Birthday cake is a treat, and treats are meant to be enjoyed without guilt. This cake uses real ingredients—no artificial flavors, no preservatives, no weird chemicals. It’s the kind of dessert you can feel good about serving to your family, even if it’s not “healthy” in the traditional sense. Sometimes, happiness is the most important nutrient.
Conclusion
This one-bowl vanilla birthday cake with sprinkle frosting is more than just a recipe—it’s a solution. It’s the cake you make when you forget about the bake sale, when your kid wakes up and announces it’s “birthday treat day” at school, when you need something special but don’t have the time or energy for a complicated project. It’s reliable, forgiving, and always, always delicious.
I love this recipe because it reminds me that you don’t need fancy techniques or expensive ingredients to make something wonderful. You just need a bowl, a whisk, and a little bit of faith. The sprinkles on top are optional—but honestly, they make everything better.
I’d love to hear how this cake turns out for you. Did your kids help make it? Did you try one of the variations? Did it save you from a last-minute panic like it saved me? Drop a comment below and share your story. And if you loved this recipe, share it with a friend who needs a little baking confidence. Happy birthday to whoever you’re celebrating—even if it’s just a Tuesday that needed a little sweetness.
Frequently Asked Questions
Can I use butter instead of oil in this cake?
You can, but the texture will be slightly different. Oil makes the cake more moist and tender because it stays liquid at room temperature. If you substitute melted butter, use the same amount (½ cup) and expect a slightly denser crumb. The cake will still be delicious, just not as soft.
Why did my cake sink in the middle?
This usually happens if the oven door is opened too early or if the cake is underbaked. Avoid opening the oven for the first 25 minutes of baking. Also, make sure your baking powder is fresh—expired baking powder won’t give the cake enough lift.
Can I make this cake in advance?
Absolutely. You can bake the cake up to two days ahead and store it wrapped tightly at room temperature. Frost it the day you plan to serve it for the freshest look. You can also freeze the unfrosted cake for up to three months.
How do I make the frosting less sweet?
Add a pinch of salt to balance the sweetness, or use a cream cheese frosting instead. For a less sweet option, try a simple glaze made with powdered sugar and milk—it’s thinner but still delicious. You can also reduce the powdered sugar by ½ cup and add an extra tablespoon of milk.
What if I don’t have a 9×13 pan?
No problem! You can use two 8-inch round pans (bake for 25-28 minutes), a 10-inch bundt pan (bake for 35-40 minutes), or 24 cupcake liners (bake for 18-20 minutes). Just adjust the baking time and check for doneness with a toothpick.
Pin This Recipe!
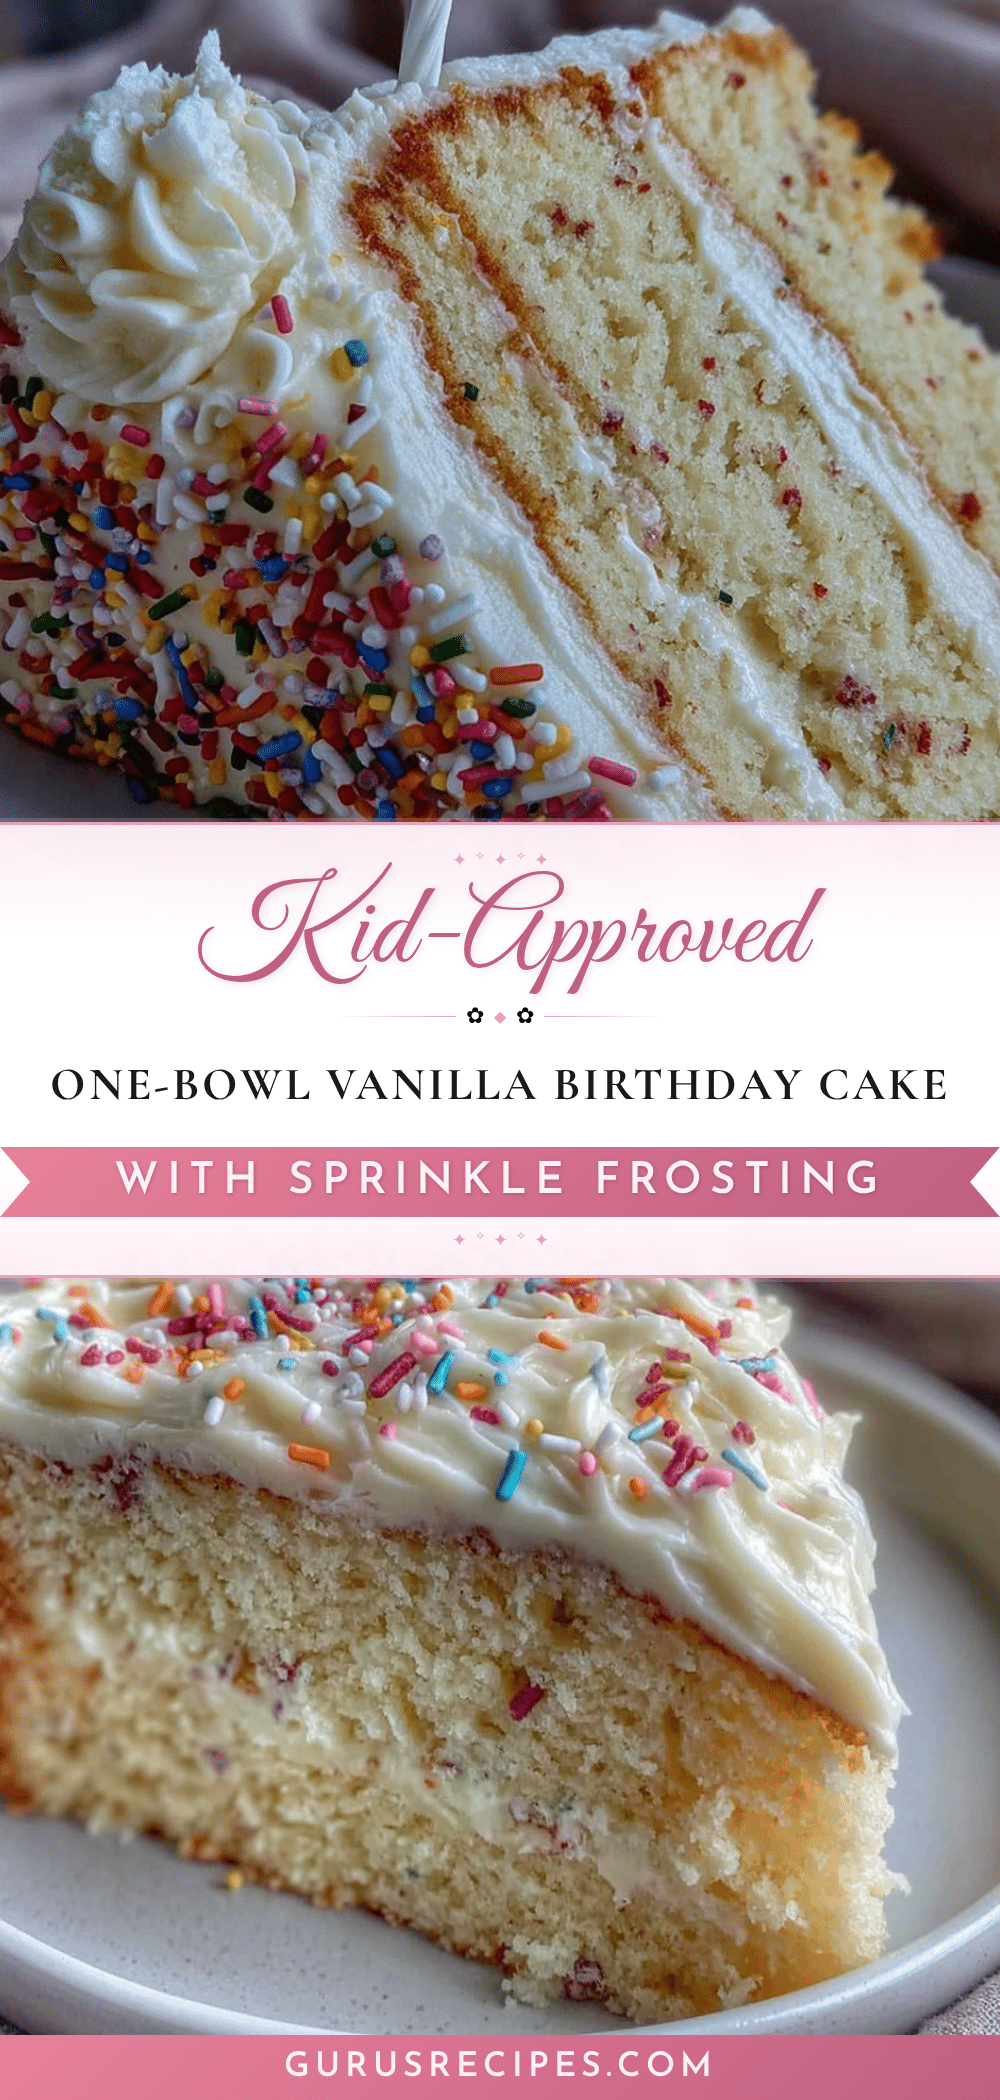

Easy 1-Bowl Vanilla Birthday Cake with Sprinkle Frosting
A simple, one-bowl vanilla birthday cake with sprinkle frosting that comes together in minutes with no mixer required. Perfect for last-minute celebrations, bake sales, and school parties.
- Total Time: 45 minutes
- Yield: 24 servings 1x
Ingredients
- 2 cups (250g) all-purpose flour
- 1 ½ cups (300g) granulated sugar
- 2 ½ teaspoons baking powder
- ½ teaspoon salt
- ½ cup (120ml) vegetable oil
- 2 large eggs, at room temperature
- 1 cup (240ml) whole milk
- 2 teaspoons pure vanilla extract
- ½ cup (113g) unsalted butter, softened
- 3 cups (360g) powdered sugar
- 3–4 tablespoons whole milk
- 1 teaspoon pure vanilla extract
- ⅓ cup (50g) rainbow sprinkles (jimmies)
Instructions
- Preheat your oven to 350°F (175°C). Grease a 9×13-inch baking pan with butter or cooking spray. Optionally, line the bottom with parchment paper.
- In a large mixing bowl, whisk together the flour, sugar, baking powder, and salt until evenly combined.
- Make a well in the center of the dry ingredients. Add the vegetable oil, eggs, milk, and vanilla extract. Whisk from the center outward until the batter is smooth and no streaks of flour remain. Do not overmix; a few small lumps are fine.
- Pour the batter into the prepared pan. Gently tap the pan on the counter a few times to release air bubbles.
- Bake for 30–35 minutes, or until a toothpick inserted into the center comes out clean or with a few moist crumbs. The top should be golden brown and spring back when lightly touched.
- Place the pan on a cooling rack and let it cool for 10 minutes. Then run a knife around the edges and invert the cake onto the rack to cool completely.
- While the cake cools, make the frosting: In a medium bowl, beat the softened butter with a hand mixer until smooth and creamy, about 1 minute. Gradually add the powdered sugar, 1 cup at a time, beating on low speed. Add the vanilla and 3 tablespoons of milk, then beat on medium-high for 2 minutes until light and fluffy. If too thick, add the remaining tablespoon of milk. Gently fold in the sprinkles with a spatula.
- Spread the frosting evenly over the cooled cake. Add extra sprinkles on top for a festive look. Slice and serve.
Notes
Don’t overmix the batter—mix just until the flour disappears. Use room temperature ingredients for best results. Check that your baking powder is fresh. Let the cake cool completely before frosting to prevent melting. For cleaner slices, use a serrated knife and wipe the blade clean between cuts. The cake tastes even better on day two as flavors meld.
- Prep Time: 10 minutes
- Cook Time: 32 minutes
- Category: Dessert
- Cuisine: American
Nutrition
- Serving Size: 1 square (1/24 of ca
- Calories: 220
- Sugar: 24
- Sodium: 150
- Fat: 9
- Saturated Fat: 3
- Carbohydrates: 34
- Protein: 2
Keywords: vanilla birthday cake, one bowl cake, sprinkle frosting, easy cake recipe, no mixer cake, birthday cake, school party cake, bake sale cake


