

The Halloween potluck was in twelve hours and I’d completely forgotten. I mean, I knew it was coming—the neighborhood group chat had been buzzing about it for weeks—but somehow it snuck up on me like a ghost in the dark. Everyone else would be bringing elaborate, Pinterest-perfect creations: graveyard dirt cakes with gummy worms, caramel apples dipped in black glitter, cookies shaped like mummies with perfect little icing bandages. And me? I had a bag of pretzel rods, some leftover almond bark from Christmas, and a vague sense of panic settling in my stomach like a stone.
I stood in my kitchen at 10 PM, staring at the pantry like it might magically produce a solution. The pretzel rods stared back. Honestly, I almost gave up and grabbed a bag of candy from the gas station. But then my eyes landed on a jar of sliced almonds I’d bought for a salad I never made, and something clicked. Witch fingers. Long, skinny, knobby witch fingers. I mean, it was obvious, right? The pretzel rods were the perfect shape, the almond slices would look exactly like creepy fingernails, and the melted chocolate would hold it all together. I started working frantically, convinced I was about to bring the saddest offering to the party.
Let me tell you—by the time I finished, I was actually laughing at how ridiculous they looked. Some of the almond nails were crooked. A few fingers had chocolate dripping in weird places. One of them looked more like a toe than a finger, honestly. But I tossed them in a container and figured at least I’d tried. The next night, I walked into that party with my humble little pretzel rods, ready to be outshone by everyone’s fancy creations. You know that feeling when you’re bracing for disappointment but trying to play it cool? That was me.
Well, the witch fingers disappeared in about twenty minutes. People couldn’t stop grabbing them. Kids loved them, adults thought they were hilarious, and someone actually asked me if I owned a bakery. I just laughed and said, “Nope, just a panicked brain and a bag of almonds.” That’s the thing about Halloween treats—they don’t need to be fancy. They just need to be fun. And these spooky witch finger pretzel rods? They’re the kind of easy Halloween treat that makes you look like you planned it all along, even when you totally didn’t. I’ve made them every year since, and honestly, I think I love them more each time.
Why You’ll Love This Recipe
Let me tell you why these spooky witch finger pretzel rods have become my go-to Halloween recipe, year after year. I’ve tested this recipe about six times now—tweaking the chocolate-to-almond ratio, trying different candy melts, even experimenting with how long to chill them—and I’ve got it down to a science. Here’s what makes them special:
- Quick & Easy: You can make these in under 20 minutes of active time. Seriously, the hardest part is waiting for the chocolate to set. Perfect for last-minute Halloween panic or planned-ahead prep.
- Simple Ingredients: Pretzel rods, candy melts or chocolate chips, and sliced almonds. That’s it. You probably have most of this in your pantry already, minus maybe the candy melts.
- Perfect for Parties: These are made for gatherings. They’re portable, they don’t get soggy, and they’re easy to grab and munch while chatting. No plates or forks needed.
- Crowd-Pleaser: Kids go bonkers for them, adults think they’re clever, and everyone eats at least two. I’ve seen people who “don’t like sweets” reach for a third one.
- Unbelievably Delicious: The salty crunch of the pretzel with the sweet chocolate coating and the nutty almond “nail” is a combination that just works. It’s simple but satisfying.
What makes this recipe different from all the other witch finger recipes out there? It’s the texture. Some versions use cookie dough or breadsticks, which take forever and can get dry. But pretzel rods give you that satisfying snap and salty contrast that makes each bite interesting. Plus, they hold up way better at room temperature, which is a lifesaver when you’re hosting. I’ve tried the cookie versions, and honestly, they get soft and weird after a few hours. These stay perfect.
This recipe isn’t just good—it’s the kind that makes people smile when they see it. It’s Halloween fun without the stress. Perfect for impressing guests without spending hours in the kitchen, or turning a simple snack into something memorable. Honestly, every time I bring these to a gathering, someone asks for the recipe. That’s the sign of a keeper.
What Ingredients You Will Need
This recipe uses simple, everyday ingredients to create something that looks way more complicated than it actually is. Most of these are pantry staples, especially if you do any kind of holiday baking. Here’s what you’ll need:
For the Witch Fingers
- Pretzel rods (about 24-30 rods, depending on how many you want to make) – Look for thick, sturdy pretzel rods that won’t break easily when you dip them. I prefer the store-brand ones honestly, they’re just as good as the name brands and way cheaper. You want them to be straight-ish, not too curved, so they look more like fingers.
- Green candy melts (12 ounces, about 2 cups) – These give the witch fingers that classic creepy green color. You can find them at most craft stores or online. Wilton brand works great, but any brand works. If you can’t find green, white chocolate with green food coloring works too, though the color might be a bit more pastel.
- Sliced almonds (about ½ cup) – These become the fingernails. Look for raw, unroasted, unsalted almonds so they don’t overpower the sweetness. You want them to be relatively flat and uniform in size. If some are broken, that’s fine—they still look creepy.
- Black or red gel food coloring (optional, for decoration) – A tiny dot at the base of the almond makes it look like a cuticle or blood. Totally optional but adds that extra creepy factor.
For the “Blood” Drip (Optional but Fun)
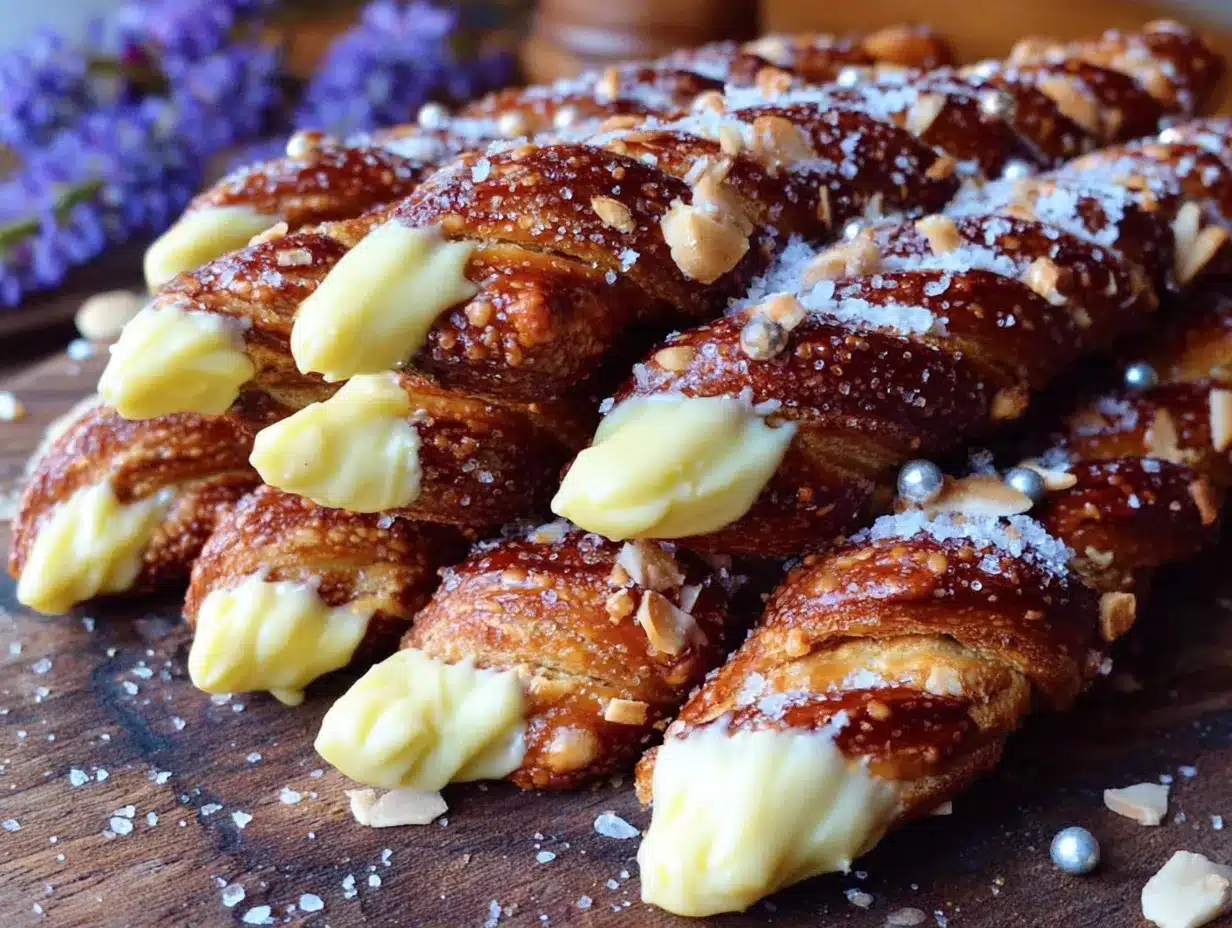
- Red candy melts (about ¼ cup) – Melt these and drizzle them over the finished fingers for a bloody effect. It’s extra but people love it.
- Coconut oil (1 teaspoon) – Helps thin out the candy melts for smoother dipping. If your candy melts are thick, this is a game-changer.
Ingredient Selection Tips: When buying candy melts, check the expiration date—old ones can get clumpy and weird when melted. I learned this the hard way when I tried to make these for a friend’s party and ended up with a lumpy mess. Also, if you’re using white chocolate chips instead of candy melts, add a tablespoon of shortening to help them melt smoothly. Chocolate chips have stabilizers that make them thick, so they need a little help.
Substitution Guidance: If you can’t find green candy melts, use white chocolate chips with green gel food coloring. Just be careful with the coloring—start with a tiny drop and add more until you get the shade you want. You can also use milk chocolate or dark chocolate for a different look, though they won’t be green. For a dairy-free version, use dairy-free chocolate chips and skip the candy melts. The texture will be slightly different but still delicious.
Equipment Needed
You don’t need anything fancy for this recipe, which is part of the beauty. Here’s what you’ll need:
- Microwave-safe bowl (medium size) – For melting the candy melts. Glass or ceramic works best. I use a Pyrex measuring cup because the spout makes dipping easier.
- Spatula or spoon – For stirring the melted chocolate. A silicone spatula is ideal because it doesn’t scratch your bowl and you can scrape every last bit.
- Baking sheet – Lined with parchment paper or wax paper. This is where the dipped pretzels will set. Make sure it fits in your fridge or freezer.
- Parchment paper or wax paper – To prevent sticking. Parchment is better because it’s non-stick and doesn’t get weird when cold.
- Tweezers or small tongs (optional) – For placing the almond “nails” precisely. Honestly, your fingers work fine, but tweezers are helpful if you want them perfectly placed.
- Small piping bag or zip-top bag – If you’re doing the blood drip or adding cuticle details. A zip-top bag with a tiny corner snipped off works perfectly.
- Toothpicks – For adding small details like cuticle lines or blood spots. Also helpful for moving almonds around if they shift.
Budget-Friendly Options: Don’t have parchment paper? Wax paper works fine, though it can sometimes stick a little if the chocolate is warm. You can also use aluminum foil, but the chocolate might leave a metallic taste if it sits too long. A regular dinner plate works for smaller batches if you don’t have a baking sheet. Honestly, I’ve made these with just a bowl, a spoon, and a plate, and they turned out great.
Preparation Method
Alright, let’s get to the fun part. Here’s how to make these spooky witch finger pretzel rods step by step. I’ve included all the little details I’ve learned from making these about a dozen times.
- Prep your workspace. Line a large baking sheet with parchment paper and set it aside. Make sure you have enough room in your fridge or freezer to fit the sheet flat. Clear a counter space where you can work without bumping into things. Trust me, melted chocolate and frantic movements don’t mix.
- Melt the green candy melts. Pour the candy melts into a microwave-safe bowl. Microwave in 30-second intervals, stirring well after each interval. It usually takes about 1-2 minutes total. Don’t overheat them—they’ll seize up and get grainy. You want them smooth and runny, like thick cream. If they’re too thick, add ½ teaspoon of coconut oil and stir. The consistency should be thin enough to coat the pretzel without clumping.
- Prep the almond “nails.” While the candy melts are cooling slightly, sort through your sliced almonds. Pick out the ones that are relatively flat and uniform. You want them to look like fingernails—slightly curved, not too tiny. Set them out on a small plate or napkin so they’re ready to grab. If you want them to look extra creepy, you can leave a few with the skin on for a “dirty nail” effect.
- Dip the pretzel rods. Hold a pretzel rod by one end and dip it into the melted candy melts. Rotate it to coat about two-thirds of the rod. Let the excess drip off back into the bowl. You want a nice even coating, not too thick. If it’s too thick, the chocolate will pool at the bottom and look messy. Gently tap the pretzel against the side of the bowl to help the excess drip off.
- Place on the baking sheet. Lay the coated pretzel rod on the parchment paper. Leave a little space between each one so they don’t stick together. If the chocolate starts to pool around the bottom, use a toothpick to spread it out or scoop it away. Don’t worry if they’re not perfect—the imperfections make them look more like real witch fingers.
- Add the almond fingernail. While the chocolate is still wet, press a sliced almond onto the tip of the pretzel rod. Gently press it down so it sticks, but don’t push so hard that the almond breaks. Position it so the pointed end is facing outward, like a fingernail. If the almond slides around, use a toothpick to hold it in place for a few seconds until the chocolate starts to set.
- Create the knuckle wrinkles. Use a toothpick to draw small lines or wrinkles on the chocolate coating to look like knuckles. Drag the toothpick gently across the chocolate to create creases. You can do 2-3 wrinkles per finger, spaced about an inch apart. This is where the magic happens—the wrinkles are what make them look like real witch fingers. Don’t overthink it, just make little lines.
- Chill to set. Place the baking sheet in the refrigerator for 15-20 minutes, or until the chocolate is completely firm. If you’re in a hurry, you can pop them in the freezer for 8-10 minutes, but watch them closely so they don’t get too cold and crack. The chocolate should be hard to the touch and not leave a fingerprint when you press it gently.
- Add details (optional). Once the chocolate is set, you can add extra details. Melt a small amount of red candy melts and drizzle it over the fingers for a bloody effect. Or use black gel food coloring to add a tiny dot at the base of each almond to look like a cuticle. You can also add a small dot of red at the tip of the almond for a “bloody nail” look. Let any additional details set for another 5-10 minutes.
- Serve or store. Once everything is set, the witch fingers are ready to serve. Arrange them on a platter with the almond nails facing outward for maximum creepiness. They can be stored in an airtight container at room temperature for up to a week, or in the fridge for up to two weeks.
Sensory Cues: When you dip the pretzel, you should hear a slight sizzle if the chocolate is the right temperature—it means it’s hot enough to coat smoothly but not burning. The chocolate should smell sweet and slightly vanilla-y. When you press the almond in, you want to feel it sink slightly into the chocolate but not disappear. The finished fingers should look glossy and smooth, with the almond standing out like a real nail.
Personal Tip: I always make extra because I inevitably eat a few while they’re setting. The warm chocolate and salty pretzel combination is dangerously good. Also, if you’re making these for a party, double the recipe. They disappear faster than you’d think.
Cooking Tips & Techniques
After making these spooky witch finger pretzel rods more times than I care to admit, I’ve picked up a few tricks that make the process smoother and the results creepier. Here’s what I’ve learned:
Temperature is everything. If your candy melts are too hot, they’ll be thin and runny, and the coating will be patchy. If they’re too cool, they’ll be thick and clumpy, and you’ll end up with lumpy fingers. The sweet spot is when the melted candy is warm to the touch but not hot—like a warm bath. I always test a small dip first. If the chocolate slides off the pretzel in a smooth, even layer, you’re good to go.
Don’t skip the coconut oil. Candy melts can be finicky. Adding a tiny bit of coconut oil (or shortening) makes them smoother and easier to work with. It also helps the chocolate set with a nice shine instead of a dull finish. I learned this after my first batch came out looking matte and sad. A little oil makes them look professional.
Work in small batches. Don’t try to dip all the pretzels at once. The chocolate will start to cool and thicken, and you’ll end up with a mess. Melt half the candy melts, dip 12-15 pretzels, then melt the rest and finish. It takes a little longer but the results are way better. Plus, you can focus on making each finger look good instead of rushing.
Common mistake: over-dipping. You don’t need to coat the entire pretzel. Two-thirds is perfect. Leaving the bottom third bare gives it a nice contrast and makes it easier to hold without getting chocolate all over your fingers. Plus, the exposed pretzel adds that salty crunch that balances the sweetness.
My biggest failure: The first time I made these, I used white chocolate chips instead of candy melts and didn’t add any shortening. The chocolate was so thick that it clumped up on the pretzels, and the almonds kept falling off. I ended up with a tray of sad, lumpy pretzels that looked nothing like fingers. I salvaged them by drizzling melted chocolate over the top and calling them “monster pretzels,” but it was a lesson learned. Use candy melts or add shortening to your chocolate chips. Trust me on this.
Timing strategy: If you’re making these for a party, do the dipping and chilling the night before. The details (blood drips, cuticle dots) can be added the morning of. This way you’re not rushed and you can enjoy the party without stressing about the food. These actually taste better after they’ve set overnight—the flavors meld together somehow.
Variations & Adaptations
One of the best things about this recipe is how easy it is to customize. Here are some variations I’ve tried and loved:
Dietary Variations
- Gluten-Free: Use gluten-free pretzel rods. They’re available at most grocery stores and work just as well. The texture might be slightly different, but the overall effect is the same.
- Dairy-Free: Use dairy-free chocolate chips or candy melts. Many brands offer vegan options. Coconut oil works great for thinning them out.
- Nut-Free: Skip the almonds and use small candy corn pieces or orange sprinkles for the fingernails. They won’t look as realistic, but they’ll still be cute and creepy.
Flavor Variations
- Dark Chocolate Witch Fingers: Use dark chocolate melts instead of green. They look like chocolate fingers, which is less creepy but still fun. Add a sprinkle of sea salt on top for a sweet-salty combo.
- Peanut Butter Fingers: Mix a tablespoon of peanut butter into the melted chocolate before dipping. It adds a rich, nutty flavor that pairs perfectly with the pretzel.
- White Chocolate Ghost Fingers: Use white chocolate melts and add a tiny dot of black gel for eyes. They look like little ghost fingers instead of witch fingers. Great for kids who might be scared of the green ones.
Seasonal Adaptations
- Christmas Version: Use red and green candy melts and add sprinkles. They look festive and fun, not scary at all.
- Valentine’s Day: Use pink or red candy melts and heart sprinkles. Call them “Cupid’s Fingers” or something silly.
- Easter: Use pastel-colored candy melts and add tiny bunny ear decorations. Perfect for spring parties.
Personal Variation: My favorite twist is adding a tiny drop of orange gel food coloring to the green candy melts to make them a slightly different shade—like a swampy, sickly green. It makes them look even more disgusting, which is perfect for Halloween. I also like to add a few drops of peppermint extract to the chocolate for a minty surprise. It sounds weird but it works.
Serving & Storage Suggestions
These spooky witch finger pretzel rods are best served at room temperature, which makes them perfect for parties. Here’s how to serve and store them:
Serving Temperature: Take them out of the fridge about 15 minutes before serving. They’re fine cold, but the chocolate has a better texture at room temperature—smooth and creamy instead of hard and brittle. If you’re serving them at a party, arrange them on a platter with the almond nails pointing outward. It looks creepier that way, like a hand reaching out.
Presentation Tips: For maximum Halloween effect, arrange the fingers in a fan pattern on a black platter or a tray lined with black tissue paper. Add some fake spider webs or plastic spiders around the edges. You can also stand them up in a jar or vase filled with candy corn or black beans—it looks like a hand reaching up from the ground. I’ve also seen people arrange them in a circle on a round platter with a small bowl of “blood” (raspberry sauce or strawberry syrup) in the center for dipping.
Complementary Dishes: These pair well with other Halloween treats like pumpkin cupcakes, caramel apples, or ghost-shaped cookies. For a savory balance, serve them alongside a cheese board or veggie platter. Drinks-wise, they go great with apple cider, hot chocolate, or a spooky punch. If you’re serving adults, a dark beer or a pumpkin ale complements the sweet-salty flavor nicely.
Storage Instructions: Store the witch fingers in an airtight container at room temperature for up to a week. If your kitchen is warm or humid, keep them in the fridge—they’ll last up to two weeks. Layer them between sheets of parchment paper so they don’t stick together. Don’t stack them too high or the almonds might break off.
Reheating Tips: These don’t really need reheating, but if you want the chocolate to be a little softer, microwave them for 5-10 seconds. Be careful not to overheat them or the chocolate will melt and the almonds will slide off. Honestly, they’re best at room temperature straight from the container.
Flavor Development: These actually taste better the next day. The flavors meld together and the chocolate sets perfectly. If you can resist eating them all right away, they’ll be even better for your party. I’ve made them three days ahead and they were still perfect.
Nutritional Information & Benefits
Let’s be real—these are a treat, not a health food. But here’s the breakdown if you’re curious:
Estimated Nutritional Values (per pretzel rod):
- Calories: 120-150
- Fat: 6-8g
- Carbohydrates: 15-18g
- Protein: 2-3g
- Sugar: 8-10g
- Sodium: 200-250mg
Health Benefits of Key Ingredients:
- Pretzels: Provide quick energy from carbohydrates. They’re low in fat and contain a small amount of iron and B vitamins.
- Almonds: Rich in healthy monounsaturated fats, vitamin E, magnesium, and fiber. They’re good for heart health and can help with blood sugar control.
- Dark chocolate (if used): Contains antioxidants called flavonoids that may help reduce inflammation and improve heart health. The darker the chocolate, the more benefits.
Dietary Considerations: These are not gluten-free unless you use gluten-free pretzels. They contain dairy (from the chocolate) and nuts (from the almonds). They’re vegetarian but not vegan unless you use dairy-free chocolate. They’re relatively low in calories compared to other Halloween treats like candy bars or cupcakes.
Allergen Warning: Contains wheat (pretzels), dairy (chocolate), and tree nuts (almonds). If you’re serving these at a party, make sure to label them so people with allergies know what’s in them. I always put a little sign next to mine that says “Contains nuts and dairy.”
Personal Wellness Perspective: I don’t make these every day, obviously. But for a holiday treat, they’re actually not the worst option. The pretzel gives you some substance, the almonds add protein and healthy fat, and you’re only eating one or two (or, okay, maybe three) instead of a whole bag of candy. They feel indulgent without being excessive. Plus, the fun factor makes them worth the splurge.
Conclusion
These spooky witch finger pretzel rods are the kind of recipe that makes you look like a Halloween hero without actually working that hard. They’re quick, they’re fun, and they always get a reaction. Whether you’re bringing them to a potluck, serving them at your own party, or just making them for a movie night with the family, they deliver every time.
I love that this recipe is so adaptable—you can make them as creepy or as cute as you want. Add blood drips, make them chocolate, change the colors for different holidays. The possibilities are endless, and that’s what makes it so fun. Every time I make these, I try something a little different, and it keeps the recipe feeling fresh.
So go ahead and give these a try. I promise they’re easier than they look, and way more fun than they have any right to be. If you make them, I’d love to hear how they turned out. Did you add the blood drip? Did you try a different color? Did anyone at your party actually believe they were real witch fingers? Drop a comment below and let me know. And hey, if you’re looking for more Halloween treats, check out my spiderweb dip recipe or these mummy meatball bites for a complete spooky spread.
Happy Halloween, and happy snacking!
Frequently Asked Questions
Can I make these ahead of time?
Absolutely! These witch finger pretzel rods are perfect for making ahead. Store them in an airtight container at room temperature for up to a week, or in the fridge for up to two weeks. They actually taste better after they’ve set overnight.
My candy melts are clumpy. What did I do wrong?
Candy melts can get clumpy if they’re overheated or if moisture gets into the bowl. Always microwave in short intervals and stir well. If they’re still clumpy, add a teaspoon of coconut oil or shortening and stir until smooth. If that doesn’t work, you might need to start over with fresh melts.
Can I use chocolate chips instead of candy melts?
Yes, but you’ll need to add a tablespoon of shortening or coconut oil to help them melt smoothly. Chocolate chips have stabilizers that make them thick, so they need a little help. White chocolate chips work best for the green color, but you can also use milk or dark chocolate.
How do I get the almonds to stay on?
Press the almond into the chocolate while it’s still wet. If the almond slides off, the chocolate might be too thin or too thick. Let the chocolate set for about 30 seconds after dipping, then press the almond in gently. You can also use a toothpick to hold it in place for a few seconds.
Can I freeze these?
I don’t recommend freezing them. The pretzel can get soft and the chocolate can develop condensation when thawed, which makes them look less appealing. They keep well at room temperature or in the fridge, so freezing isn’t necessary. If you must freeze them, wrap them individually in plastic wrap and store in an airtight container for up to a month.
Pin This Recipe!
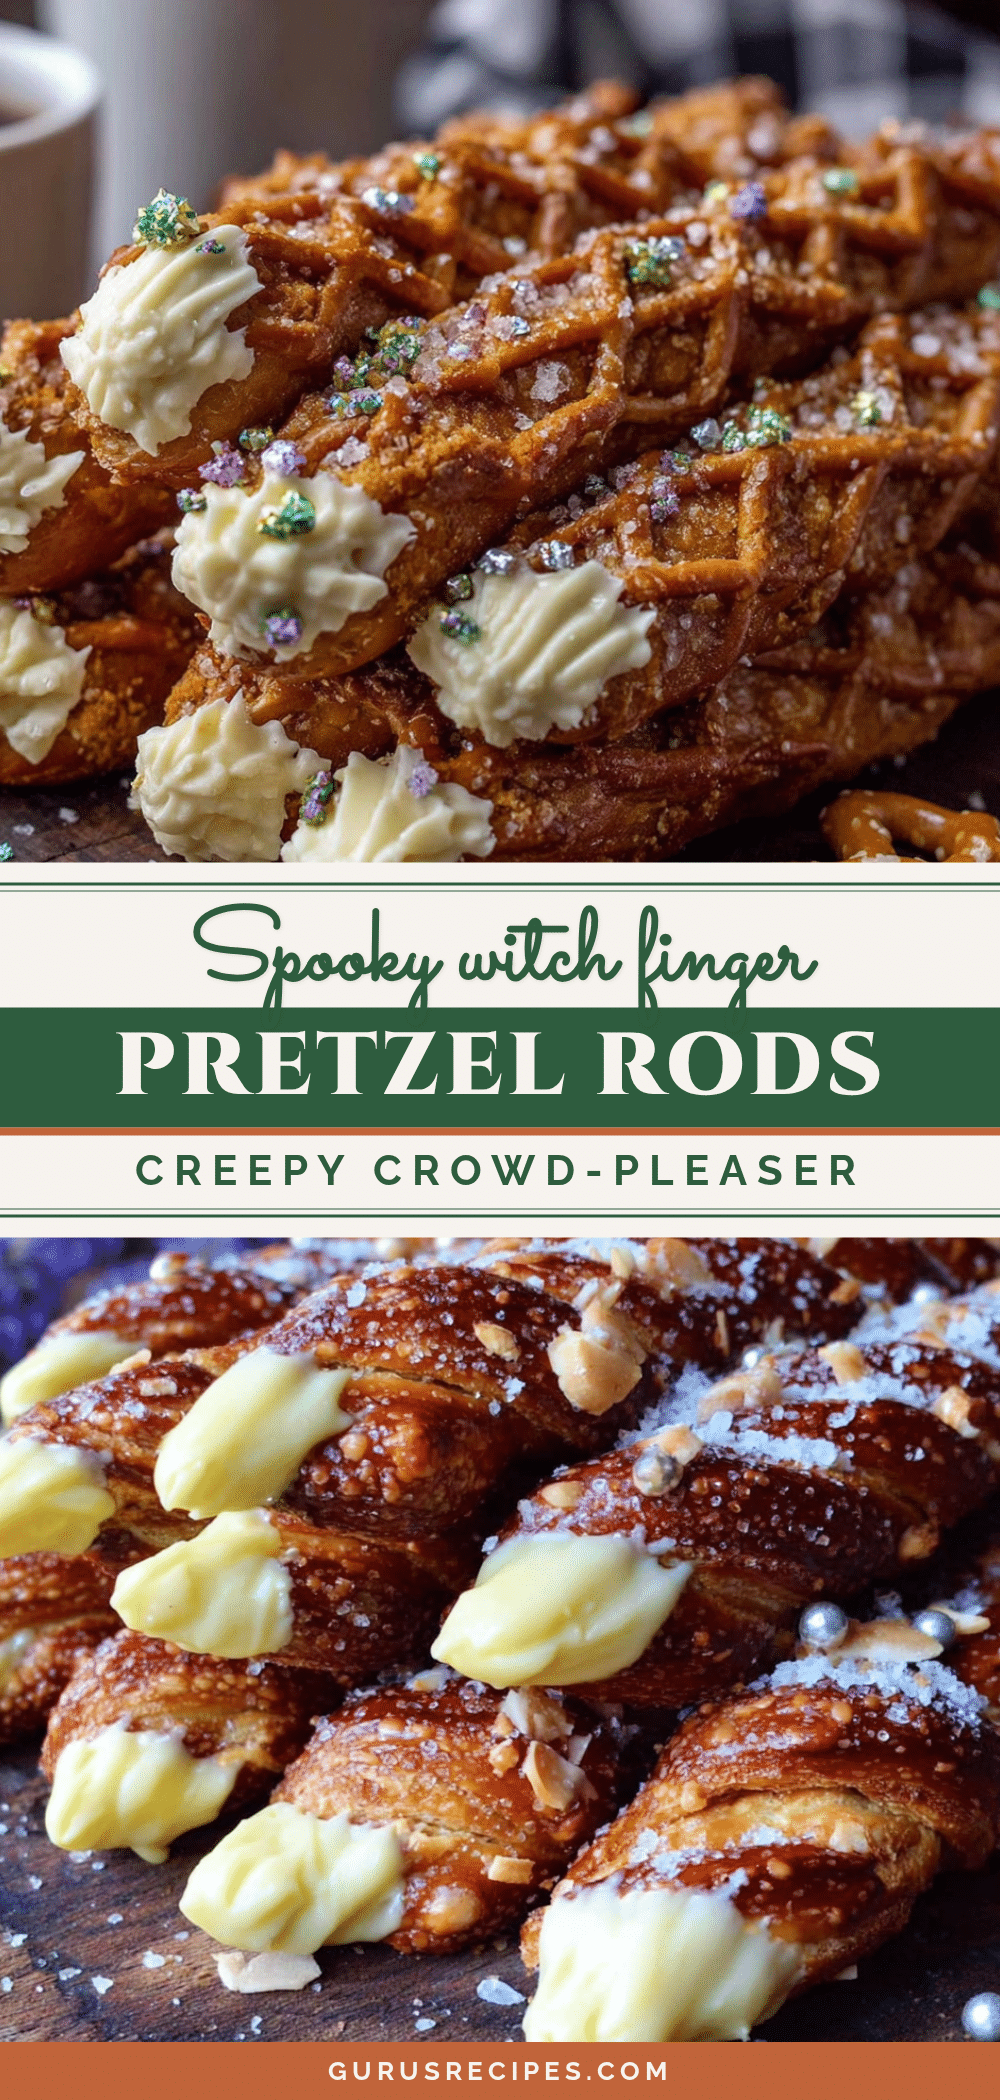

Spooky Witch Finger Pretzel Rods: Easy Halloween Treat
These spooky witch finger pretzel rods are the perfect last-minute Halloween treat. Made with pretzel rods, green candy melts, and sliced almonds, they look creepy but are incredibly easy to make and always a crowd-pleaser.
- Total Time: 35 minutes (including chilling time)
- Yield: 24-30 servings 1x
Ingredients
- 24–30 pretzel rods
- 12 ounces green candy melts (about 2 cups)
- ½ cup sliced almonds (raw, unroasted, unsalted)
- Black or red gel food coloring (optional, for decoration)
- ¼ cup red candy melts (optional, for blood drip)
- 1 teaspoon coconut oil (optional, for thinning candy melts)
Instructions
- Prep your workspace. Line a large baking sheet with parchment paper and set it aside. Make sure you have enough room in your fridge or freezer to fit the sheet flat.
- Melt the green candy melts. Pour the candy melts into a microwave-safe bowl. Microwave in 30-second intervals, stirring well after each interval, until smooth and runny (about 1-2 minutes total). If too thick, add ½ teaspoon of coconut oil and stir.
- Prep the almond ‘nails.’ Sort through sliced almonds and pick out relatively flat, uniform pieces. Set them out on a small plate or napkin.
- Dip the pretzel rods. Hold a pretzel rod by one end and dip it into the melted candy melts, rotating to coat about two-thirds of the rod. Let excess drip off back into the bowl.
- Place on the baking sheet. Lay the coated pretzel rod on the parchment paper, leaving space between each one.
- Add the almond fingernail. While the chocolate is still wet, press a sliced almond onto the tip of the pretzel rod with the pointed end facing outward. Use a toothpick to hold it in place if needed.
- Create the knuckle wrinkles. Use a toothpick to draw small lines or wrinkles on the chocolate coating to look like knuckles, spacing them about an inch apart.
- Chill to set. Place the baking sheet in the refrigerator for 15-20 minutes, or until the chocolate is completely firm. Alternatively, freeze for 8-10 minutes.
- Add details (optional). Once set, melt red candy melts and drizzle over fingers for a bloody effect, or use black gel food coloring to add a tiny dot at the base of each almond for a cuticle. Let additional details set for 5-10 minutes.
- Serve or store. Arrange on a platter with almond nails facing outward. Store in an airtight container at room temperature for up to a week, or in the fridge for up to two weeks.
Notes
Temperature is key: candy melts should be warm but not hot. Work in small batches to prevent chocolate from thickening. For best results, make the night before and add details the morning of serving. These taste better the next day as flavors meld.
- Prep Time: 20 minutes
- Cook Time: 0 minutes
- Category: Dessert
- Cuisine: American
Nutrition
- Serving Size: 1 pretzel rod
- Calories: 135
- Sugar: 9
- Sodium: 225
- Fat: 7
- Saturated Fat: 3.5
- Carbohydrates: 16
- Fiber: 1
- Protein: 2.5
Keywords: Halloween treats, witch fingers, pretzel rods, easy Halloween recipe, spooky snacks, no-bake dessert


