
Someone asked me last week why I always seem to have a batch of cupcakes tucked away in my freezer. “For emergencies,” I said, which got a laugh, but honestly? I wasn’t joking. Red velvet was never my thing, though. I know, I know—it’s practically un-American to admit that. All that red dye and the heavy cream cheese frosting always felt like too much, like a dessert trying too hard to impress you. I dodged it at bake sales, pushed it aside at birthday parties, and politely declined every single slice that came my way. For years.
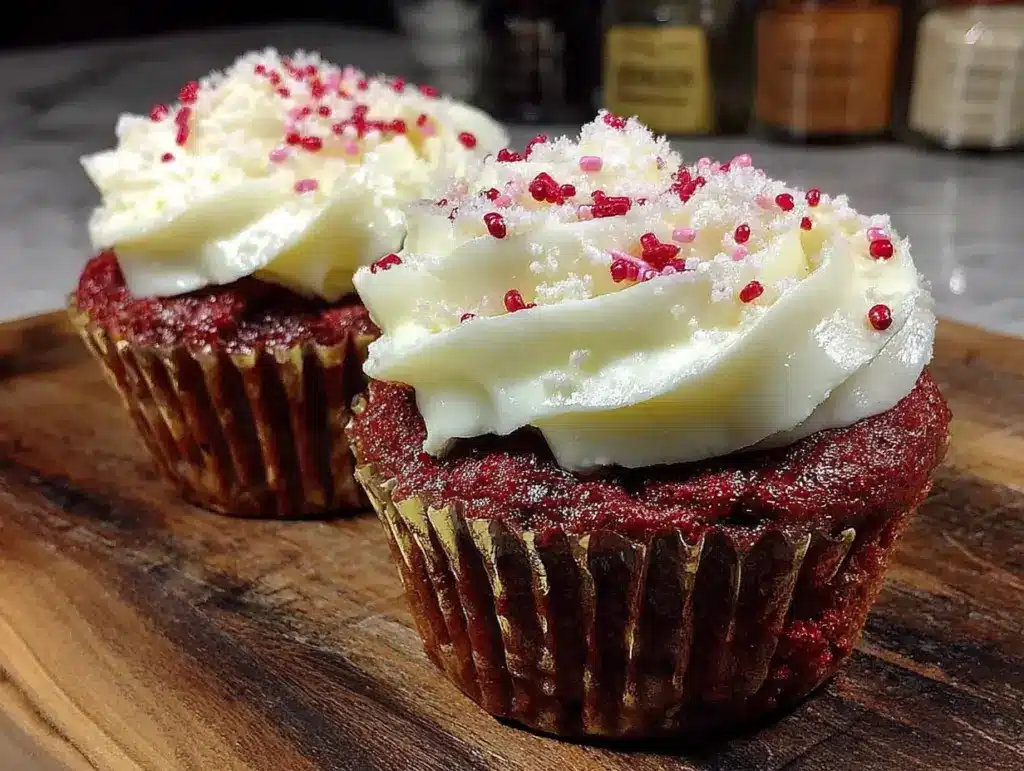
Then last Valentine’s Day, my friend Sarah showed up at my door holding a pink bakery box with a sheepish grin. “I know you hate these,” she said, “but I messed up the order and now I have twelve.” She thrust the box into my hands and practically ran back to her car. I opened it, fully prepared to roll my eyes, and there they were—perfect little heart-shaped cakes with the most delicate swirl of frosting on top. I took a bite just to be polite. And then I took another. And another. That box was empty by the time my husband got home, and I had crumbs on my shirt and frosting on my chin, and I had absolutely no explanation for either.
That was the moment I realized I didn’t hate red velvet. I just hated the heavy, greasy versions that leave you feeling sluggish after one bite. So I went home and started tinkering—less oil, a smarter swap for buttermilk, and just enough cocoa to give it that subtle chocolate backbone without turning it into a chocolate cake in disguise. These lighter red velvet heart-shaped cupcakes are what came out of that obsession. They’re the ones I keep in my freezer now. For emergencies.
Why You’ll Love This Recipe
These aren’t your typical red velvet cupcakes that weigh you down and leave you reaching for a glass of water. They’re lighter, fluffier, and actually make you feel good about eating dessert on a Tuesday night. Here’s what makes them so special:
- Under 200 calories per cupcake — You can absolutely have two without the guilt creeping in.
- No artificial red dye — We’re using natural beet powder for that gorgeous crimson color. Your body will thank you.
- Greek yogurt magic — It replaces most of the oil, giving you a tender crumb without all the fat.
- Perfect for Valentine’s Day — Heart-shaped and pink-hued, these are made for sharing with people you love.
- 30 minutes from start to finish — Quick enough for a last-minute celebration or a random Wednesday surprise.
What makes these different from every other red velvet recipe out there? It’s the balance. The cocoa is there, but it’s subtle. The tang from the buttermilk and yogurt cuts through the sweetness just enough. And the cream cheese frosting? It’s whipped, not dense, so it feels like a cloud on top of a cloud. I tested this recipe seven times before I got it right—the first batch was too dry, the second too sweet, the third looked more orange than red (don’t ask). But this version? This is the one that made my husband say, “Wait, these are healthy?” and then eat three in one sitting.
These cupcakes are comfort food reimagined. They’re for the person who wants dessert but doesn’t want to undo their whole day of eating well. They’re for the mom who wants to surprise her kids with something special on a school night. They’re for you, honestly, because you deserve a cupcake that tastes indulgent without making you feel like you need a nap afterwards.
What Ingredients You Will Need
This recipe uses simple, wholesome ingredients to deliver that classic red velvet flavor and tender texture without the heavy feeling. Most of these are pantry staples, and the few specialty items are easy to find or swap out.
For the Cupcakes
- 1 ½ cups all-purpose flour — Spoon and level it for accuracy. Too much flour makes dry cupcakes.
- 2 tablespoons unsweetened cocoa powder — Just enough for that signature red velvet flavor without overpowering the cake.
- 1 teaspoon baking soda — Helps the cupcakes rise nice and tall.
- ½ teaspoon salt — Balances the sweetness and enhances the chocolate notes.
- ¾ cup granulated sugar — You can reduce this to ½ cup if you prefer less sweet cupcakes.
- ¼ cup coconut oil, melted — Or any neutral oil like avocado or grapeseed. I’ve tested this with melted butter too, and it works beautifully.
- ⅓ cup plain Greek yogurt — Full-fat or 2% works best here. The yogurt adds moisture and a subtle tang without the extra oil.
- ½ cup buttermilk — Shake it well before measuring. No buttermilk? Add 1 tablespoon lemon juice to regular milk and let it sit for 5 minutes.
- 1 large egg, room temperature — Cold eggs can seize the coconut oil, so let yours sit out for 20 minutes first.
- 1 teaspoon vanilla extract — Pure vanilla makes a difference, but imitation works in a pinch.
- 1 tablespoon beet powder — This gives the cupcakes that beautiful red hue naturally. You can find it at Whole Foods or online. (I’ve also used 1 teaspoon of red gel food coloring in a pinch, but the beet powder is my go-to for keeping things clean.)
- 1 teaspoon white vinegar — This reacts with the baking soda for extra lift. Don’t skip it!
For the Whipped Cream Cheese Frosting
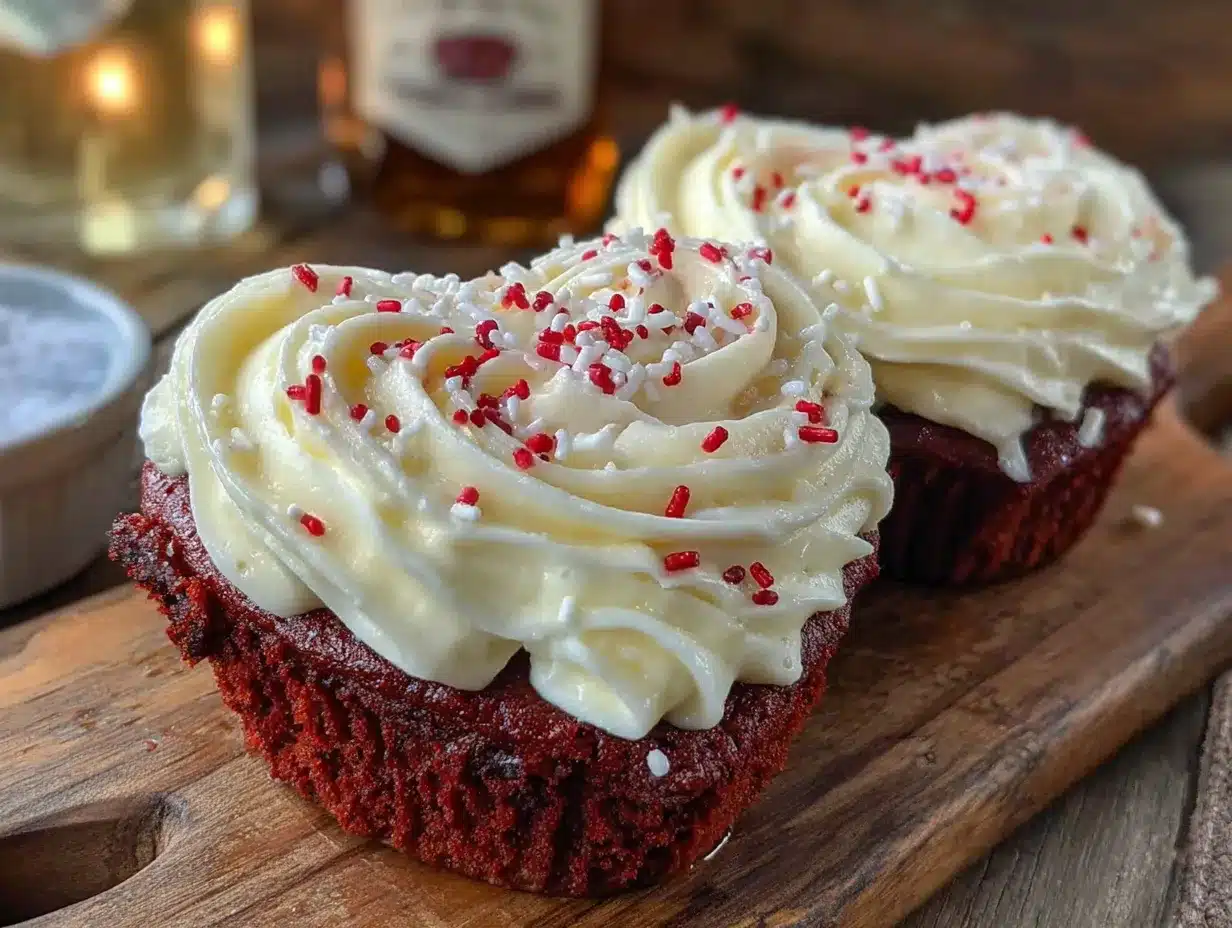
- 4 ounces cream cheese, softened — Let it sit out for at least 30 minutes. Cold cream cheese makes lumpy frosting.
- ¼ cup unsalted butter, softened — Same temperature rule applies here.
- 1 cup powdered sugar — Sift it if you want an ultra-smooth finish, but I’m usually too impatient for that step.
- ½ teaspoon vanilla extract — A little goes a long way in cream cheese frosting.
- 1 tablespoon heavy cream or milk — Adds fluffiness. Use dairy-free milk if needed.
Ingredient tip: I always buy the block-style cream cheese for frosting, not the spreadable tub kind. The tub version has added water and stabilizers that make the frosting too thin. Learned that one the hard way after a batch of frosting that looked more like soup than something you’d pipe onto a cupcake.
Equipment Needed
You don’t need a fancy bakery setup to pull these off, but a few key tools make the process smoother and the results more consistent.
- Heart-shaped silicone cupcake mold — I found mine at Target for $12, and it’s worth every penny. The silicone releases the cupcakes easily without greasing. If you don’t have one, a standard 12-cup muffin tin works fine—just use heart-shaped toppers or sprinkles for the same vibe.
- Electric hand mixer or stand mixer — You can whisk by hand, but your arm will thank you for using a mixer, especially for the frosting.
- Medium and large mixing bowls — One for dry ingredients, one for wet.
- Whisk and rubber spatula — The spatula is crucial for scraping down the sides of the bowl.
- Measuring cups and spoons — Accurate measurements matter in baking. I use the scoop-and-level method for flour.
- Cooling rack — Letting cupcakes cool completely before frosting prevents a melty mess.
- Piping bag with star tip — Optional, but it makes the frosting look bakery-worthy. A zip-top bag with the corner snipped off works in a pinch.
- Offset spatula — For smoothing frosting if you’re not piping.
Budget-friendly tip: If you’re new to baking, skip the piping bag and just use a butter knife to swirl the frosting on top. It’ll look rustic and charming, and nobody will complain about a perfectly imperfect cupcake.
Preparation Method
Let’s get baking! This recipe comes together in about 30 minutes, and the results are absolutely worth the effort. Follow these steps carefully, and you’ll have the fluffiest, most delicious lighter red velvet heart-shaped cupcakes you’ve ever tasted.
- Preheat your oven to 350°F (175°C). Position the rack in the center of the oven. If you’re using a silicone heart-shaped mold, place it on a baking sheet for stability. If using a standard muffin tin, lightly grease it or line with paper liners.
- Whisk the dry ingredients together. In a medium bowl, combine the flour, cocoa powder, baking soda, and salt. Whisk for about 20 seconds to evenly distribute everything. This step aerates the flour and ensures your cupcakes rise evenly.
- Mix the wet ingredients in a separate large bowl. Add the sugar, melted coconut oil, Greek yogurt, buttermilk, egg, vanilla extract, and beet powder. Whisk until smooth and well combined. The mixture will be a deep reddish-brown color at this point—don’t worry, it’ll lighten up as it bakes.
- Add the vinegar last. Pour the white vinegar into the wet mixture and stir it in gently. You’ll see tiny bubbles form immediately—that’s the reaction between the vinegar and baking soda that gives these cupcakes their light, airy texture. Work quickly here.
- Fold in the dry ingredients. Add the flour mixture to the wet ingredients in two additions, folding gently with a rubber spatula after each. Stop mixing as soon as you no longer see streaks of flour. Overmixing develops gluten and makes tough cupcakes. A few small lumps are totally fine.
- Fill the molds. Spoon the batter into your heart-shaped molds, filling each cavity about ⅔ full. I use a cookie scoop for consistent portions—it makes the process faster and ensures even baking. You should get about 10 to 12 cupcakes depending on the size of your mold.
- Bake for 14 to 16 minutes. Rotate the pan halfway through for even browning. The cupcakes are done when a toothpick inserted into the center comes out clean or with just a few moist crumbs. The tops should spring back when lightly touched.
- Cool completely. Let the cupcakes rest in the mold for 5 minutes, then transfer them to a wire rack to cool completely. This is the hardest part—I know you want to eat one right now—but frosting warm cupcakes is a recipe for a melted mess. Trust me, I’ve made that mistake more times than I’d like to admit.
- Make the frosting while the cupcakes cool. In a large bowl, beat the softened cream cheese and butter together with an electric mixer on medium speed until smooth and creamy, about 2 minutes. Add the powdered sugar and vanilla, then beat on low speed until combined. Increase to medium-high and beat for 2 more minutes until light and fluffy. Add the heavy cream and beat for another 30 seconds. The frosting should be spreadable but firm enough to hold its shape.
- Frost and decorate. Once the cupcakes are completely cool, pipe or spread the frosting on top. If you’re using a piping bag with a star tip, start from the outer edge and work your way inward in a spiral pattern. Top with heart-shaped sprinkles, a dusting of cocoa powder, or a few fresh raspberries for a pop of color.
Sensory cue: When these cupcakes are baking, your kitchen will smell like a cross between a chocolate factory and a bakery. The aroma is intoxicating—rich, slightly tangy from the buttermilk, and impossibly inviting.
Cooking Tips & Techniques
After seven rounds of testing this recipe, I’ve collected a few hard-won lessons that will save you time, frustration, and possibly a batch of sad, flat cupcakes.
Room temperature ingredients matter more than you think. I once tried to rush the process by using cold eggs and cold buttermilk straight from the fridge. The coconut oil seized up into tiny hard pieces, and my batter looked like curdled milk. The cupcakes still baked up okay, but they weren’t as tender as they could have been. Give your ingredients 20 to 30 minutes on the counter before you start mixing.
Don’t overmix the batter. This is the number one mistake I see home bakers make. Mix until the flour just disappears, then stop. Those few extra stirs might seem harmless, but they develop gluten and turn fluffy cupcakes into rubber pucks. Your batter should look slightly lumpy—that’s a good thing.
Use a cookie scoop for even portions. I learned this trick from a professional baker friend, and it changed my cupcake game completely. A #40 cookie scoop (about 1.5 tablespoons) gives you perfectly even portions every time. No more tiny cupcakes next to giant ones.
Check for doneness with your finger, not just a toothpick. The toothpick test is reliable, but I’ve found that lightly pressing the top of a cupcake is even more accurate. If it springs back, it’s done. If your finger leaves a dent, give it another minute or two. This method works especially well for heart-shaped molds where the toothpick might hit a thicker part of the cake.
Let the frosting soften naturally. I know the microwave seems faster, but softened cream cheese and butter should come to room temperature naturally. Microwaving them, even on low power, can melt the butter and create a greasy, separated frosting. Patience pays off here.
My biggest failure: Batch number four. I decided to double the beet powder for a more vibrant color, and the cupcakes came out tasting… earthy. Like I’d baked a garden. Stick to the measurements in the recipe, and if you want a deeper red, add a tiny drop of natural red food coloring instead of more beet powder.
Variations & Adaptations
This recipe is wonderfully flexible, and I’ve tested several variations that work beautifully. Here are some of my favorites:
- Gluten-free version: Swap the all-purpose flour for a 1:1 gluten-free baking blend. I’ve had great results with Bob’s Red Mill. Add ¼ teaspoon xanthan gum if your blend doesn’t already include it. The texture will be slightly more delicate, so handle the batter gently.
- Dairy-free adaptation: Use dairy-free yogurt (coconut or almond-based), dairy-free milk with 1 tablespoon lemon juice for the buttermilk, and a plant-based cream cheese for the frosting. Miyoko’s brand is my favorite for frosting—it’s tangy and creamy without being greasy.
- Chocolate lover’s twist: Increase the cocoa powder to 3 tablespoons for a deeper chocolate flavor. You’ll need to add 1 extra tablespoon of buttermilk to balance the dryness. These taste more like a red velvet-chocolate hybrid, and they’re absolutely divine.
- Mini cupcake version: Use a mini heart-shaped mold and bake for 8 to 10 minutes instead of 14 to 16. These are perfect for parties or lunchbox surprises. You’ll get about 24 mini cupcakes from this batter.
- Seasonal swap: Skip the heart shape and use a standard round pan to make a two-layer cake. Add a raspberry filling between the layers for a showstopping Valentine’s Day dessert. I did this for our anniversary last year, and my husband still talks about it.
- Lower sugar option: Reduce the granulated sugar to ½ cup and use a sugar substitute like monk fruit in the frosting. The cupcakes will be less sweet but still deliciously tender. I’ve tested this with Swerve, and it works well—just sift the powdered version to avoid clumps.
My personal favorite variation: I add ½ teaspoon of almond extract to the batter along with the vanilla. It gives the cupcakes a subtle nutty undertone that complements the cocoa and buttermilk beautifully. Try it once, and you might never go back.
Serving & Storage Suggestions
These lighter red velvet heart-shaped cupcakes are best served at room temperature, which lets the flavors shine and the frosting soften to the perfect creamy consistency. If you’ve refrigerated them, let them sit on the counter for about 20 minutes before serving.
Presentation ideas: Arrange the cupcakes on a white cake stand or a wooden board for a beautiful contrast. Sprinkle a few fresh raspberries and mint leaves around the base for a pop of color. For Valentine’s Day, add a few conversation hearts or rose petals for an extra romantic touch.
What to serve with them: A glass of cold milk is the classic pairing, but they’re also lovely with a cup of hot coffee or a fruity herbal tea. For a dessert spread, pair them with fresh strawberries dipped in dark chocolate or a light vanilla panna cotta.
Storage instructions: Store unfrosted cupcakes in an airtight container at room temperature for up to 3 days. Frosted cupcakes should be refrigerated in a single layer in an airtight container for up to 5 days. The frosting will firm up in the fridge, so let them sit out for 15 minutes before serving to soften.
Freezer-friendly: These cupcakes freeze beautifully! Wrap each unfrosted cupcake tightly in plastic wrap, then place them in a freezer-safe bag. They’ll keep for up to 3 months. When you’re ready to enjoy them, thaw at room temperature for about an hour, then frost as usual. I always keep a stash in my freezer for unexpected cravings or last-minute guests.
Reheating tip: If you want that just-baked warmth, microwave an unfrosted cupcake for 10 to 12 seconds. The texture will be soft and almost melty—perfect with a scoop of vanilla ice cream on top.
Flavor development note: These cupcakes actually taste better the day after baking. The flavors meld together overnight, and the crumb becomes even more tender. So don’t stress if you’re making them a day ahead—they’ll be even more delicious.
Nutritional Information & Benefits
Here’s the nutritional breakdown for one cupcake (with frosting), based on a yield of 12 cupcakes:
- Calories: 195
- Total Fat: 9g
- Saturated Fat: 5g
- Cholesterol: 32mg
- Sodium: 210mg
- Total Carbohydrates: 27g
- Dietary Fiber: 1g
- Sugars: 17g
- Protein: 4g
Health benefits of key ingredients: Greek yogurt adds protein and probiotics, which support gut health. Beet powder is rich in antioxidants and nitrates that may help lower blood pressure. Coconut oil provides medium-chain triglycerides (MCTs) that can boost metabolism. And the cocoa powder contains flavonoids that support heart health.
Dietary considerations: This recipe is vegetarian and can easily be made gluten-free or dairy-free using the substitutions mentioned above. It’s also free from artificial food dyes if you use the beet powder option. Note that it does contain dairy, eggs, and gluten in its standard form.
My wellness perspective: I believe dessert should be part of a balanced life, not something you feel guilty about. These cupcakes let you have your cake and eat it too—literally. They’re indulgent enough to satisfy a craving but light enough that you won’t regret having one (or two) after dinner. That’s the kind of balance I can get behind.
Conclusion
These lighter red velvet heart-shaped cupcakes are proof that you don’t have to sacrifice flavor for a healthier treat. They’re tender, moist, and topped with a cloud-like cream cheese frosting that’s absolutely irresistible. Whether you’re making them for Valentine’s Day, a birthday, or just because it’s Tuesday and you deserve something special, these cupcakes deliver every single time.
I love that this recipe lets me enjoy a classic dessert without the heavy feeling that usually comes with it. The Greek yogurt and beet powder are my secret weapons, and honestly, nobody ever guesses they’re eating a lighter version. They just know they’re eating something delicious.
Now I want to hear from you! Have you tried making these lighter red velvet heart-shaped cupcakes? Did you add your own twist? Drop a comment below and let me know how they turned out. And if you loved this recipe, share it with a friend who could use a little sweetness in their life. Happy baking!
Frequently Asked Questions
Can I use regular food coloring instead of beet powder?
Absolutely! If you prefer a more vibrant red color, use 1 teaspoon of red gel food coloring instead of the beet powder. Just add it along with the other wet ingredients. Liquid food coloring works too, but you’ll need about 1 tablespoon, and it may slightly thin the batter.
Why did my cupcakes turn out dry?
Dry cupcakes usually mean one of two things: too much flour or overbaking. Make sure you’re spooning and leveling your flour rather than scooping directly from the bag. And check your cupcakes at the 14-minute mark—ovens vary, and even one extra minute can make a difference.
Can I make these cupcakes without a heart-shaped mold?
Yes, definitely! A standard 12-cup muffin tin works perfectly. To keep the Valentine’s Day theme, use heart-shaped cupcake liners or top the finished cupcakes with heart-shaped sprinkles. The taste will be exactly the same.
How do I get my cream cheese frosting to be stiff enough for piping?
Make sure your cream cheese and butter are fully softened but not melted. Beat them together for a full 2 to 3 minutes until light and fluffy before adding the powdered sugar. If the frosting still seems too soft, refrigerate it for 15 to 20 minutes before piping.
Can I freeze these cupcakes with the frosting already on?
I don’t recommend it. The frosting can become watery when thawed, and the texture won’t be as nice. Instead, freeze the unfrosted cupcakes and make the frosting fresh when you’re ready to serve them. It only takes 5 minutes to whip up, and the results are much better.
Pin This Recipe!
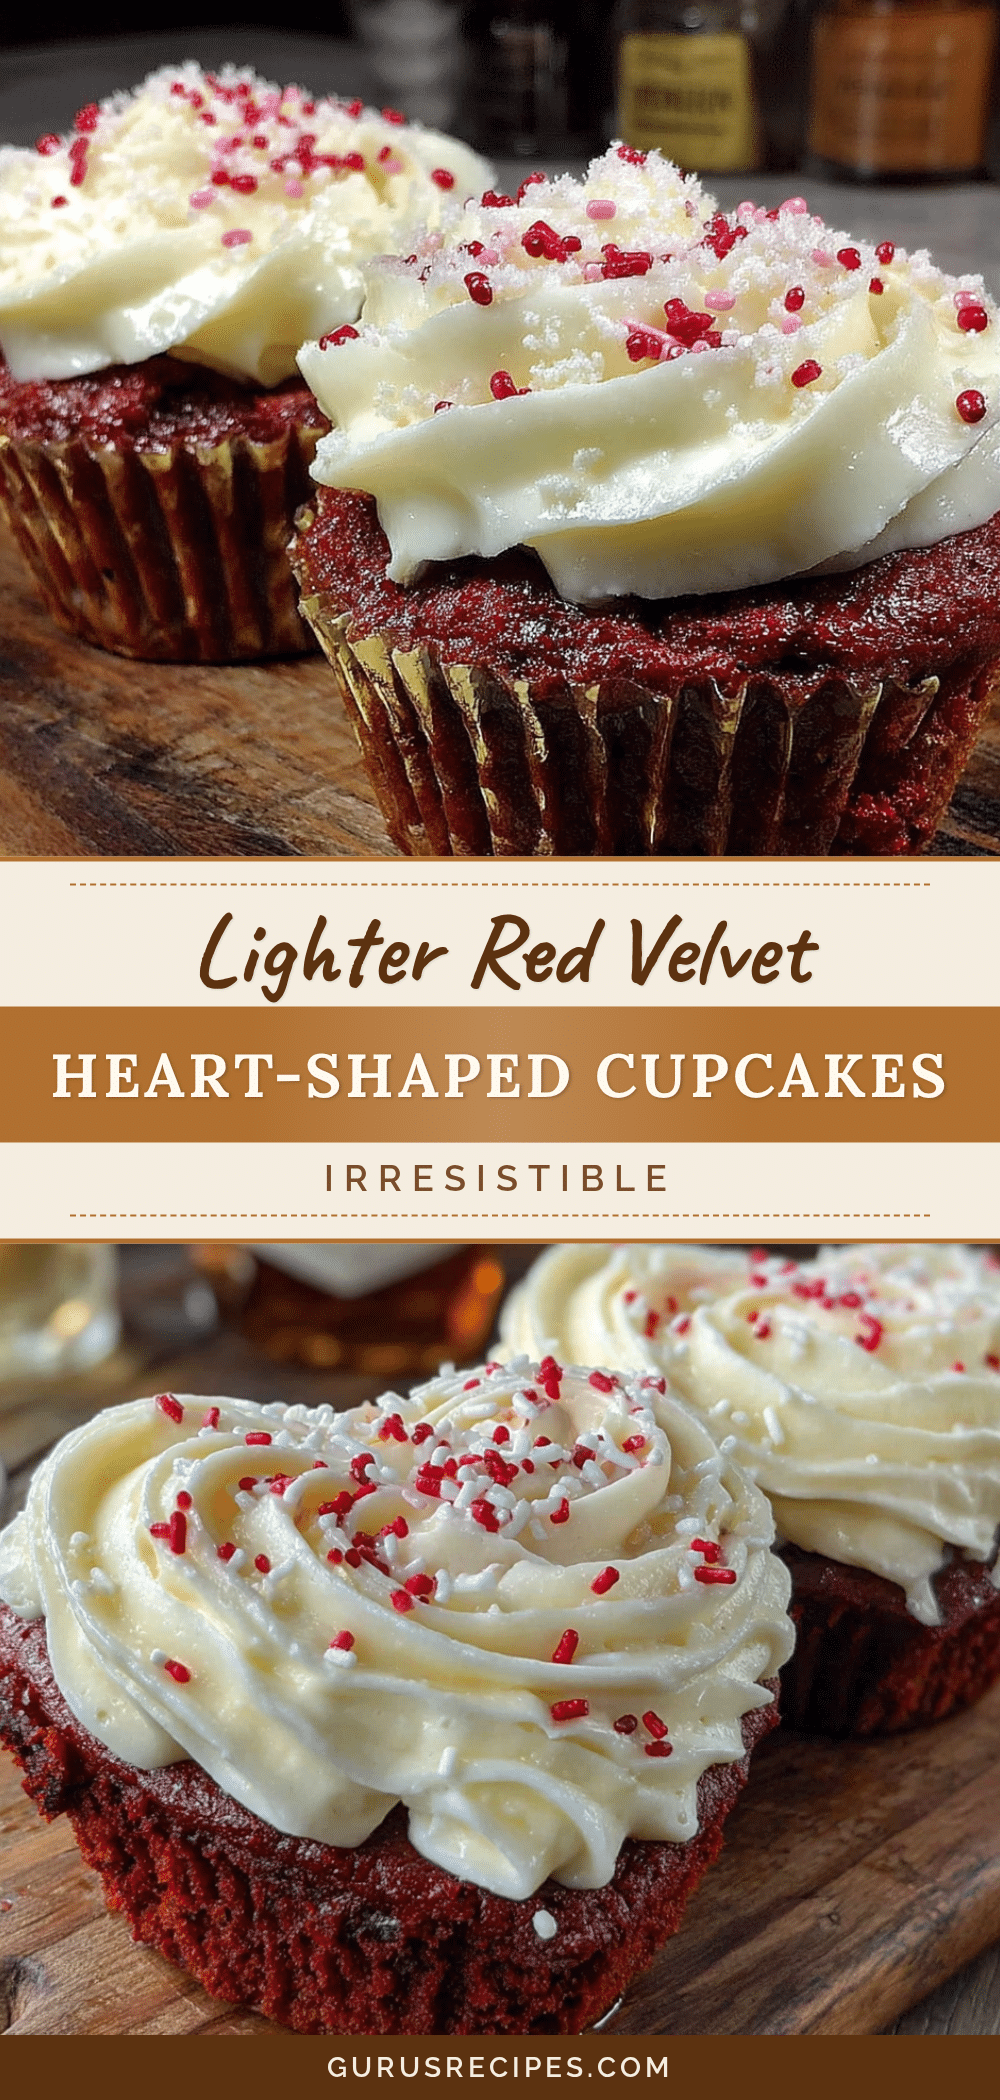

Lighter Red Velvet Heart Cupcakes: Easy Recipe
These lighter red velvet heart-shaped cupcakes are tender, moist, and topped with a cloud-like cream cheese frosting. Made with Greek yogurt and natural beet powder, they’re under 200 calories each and ready in 30 minutes.
- Total Time: 31 minutes
- Yield: 12 servings 1x
Ingredients
- 1 ½ cups all-purpose flour
- 2 tablespoons unsweetened cocoa powder
- 1 teaspoon baking soda
- ½ teaspoon salt
- ¾ cup granulated sugar
- ¼ cup coconut oil, melted
- ⅓ cup plain Greek yogurt
- ½ cup buttermilk
- 1 large egg, room temperature
- 1 teaspoon vanilla extract
- 1 tablespoon beet powder
- 1 teaspoon white vinegar
- 4 ounces cream cheese, softened
- ¼ cup unsalted butter, softened
- 1 cup powdered sugar
- ½ teaspoon vanilla extract
- 1 tablespoon heavy cream or milk
Instructions
- Preheat your oven to 350°F (175°C). Position the rack in the center of the oven. If using a silicone heart-shaped mold, place it on a baking sheet for stability. If using a standard muffin tin, lightly grease it or line with paper liners.
- Whisk the dry ingredients together. In a medium bowl, combine the flour, cocoa powder, baking soda, and salt. Whisk for about 20 seconds to evenly distribute everything.
- Mix the wet ingredients in a separate large bowl. Add the sugar, melted coconut oil, Greek yogurt, buttermilk, egg, vanilla extract, and beet powder. Whisk until smooth and well combined.
- Add the vinegar last. Pour the white vinegar into the wet mixture and stir it in gently. You’ll see tiny bubbles form immediately.
- Fold in the dry ingredients. Add the flour mixture to the wet ingredients in two additions, folding gently with a rubber spatula after each. Stop mixing as soon as you no longer see streaks of flour.
- Fill the molds. Spoon the batter into your heart-shaped molds, filling each cavity about ⅔ full. You should get about 10 to 12 cupcakes.
- Bake for 14 to 16 minutes. Rotate the pan halfway through for even browning. The cupcakes are done when a toothpick inserted into the center comes out clean or with just a few moist crumbs.
- Cool completely. Let the cupcakes rest in the mold for 5 minutes, then transfer them to a wire rack to cool completely.
- Make the frosting while the cupcakes cool. In a large bowl, beat the softened cream cheese and butter together with an electric mixer on medium speed until smooth and creamy, about 2 minutes. Add the powdered sugar and vanilla, then beat on low speed until combined. Increase to medium-high and beat for 2 more minutes until light and fluffy. Add the heavy cream and beat for another 30 seconds.
- Frost and decorate. Once the cupcakes are completely cool, pipe or spread the frosting on top. Top with heart-shaped sprinkles, a dusting of cocoa powder, or a few fresh raspberries.
Notes
Room temperature ingredients matter. Don’t overmix the batter. Use a cookie scoop for even portions. Check for doneness with your finger. Let the frosting soften naturally. These cupcakes taste even better the day after baking.
- Prep Time: 15 minutes
- Cook Time: 16 minutes
- Category: Dessert
- Cuisine: American
Nutrition
- Serving Size: 1 cupcake with frost
- Calories: 195
- Sugar: 17
- Sodium: 210
- Fat: 9
- Saturated Fat: 5
- Carbohydrates: 27
- Fiber: 1
- Protein: 4
Keywords: red velvet cupcakes, heart-shaped cupcakes, lighter red velvet, healthy red velvet, Valentine's Day cupcakes, beet powder cupcakes, Greek yogurt cupcakes


