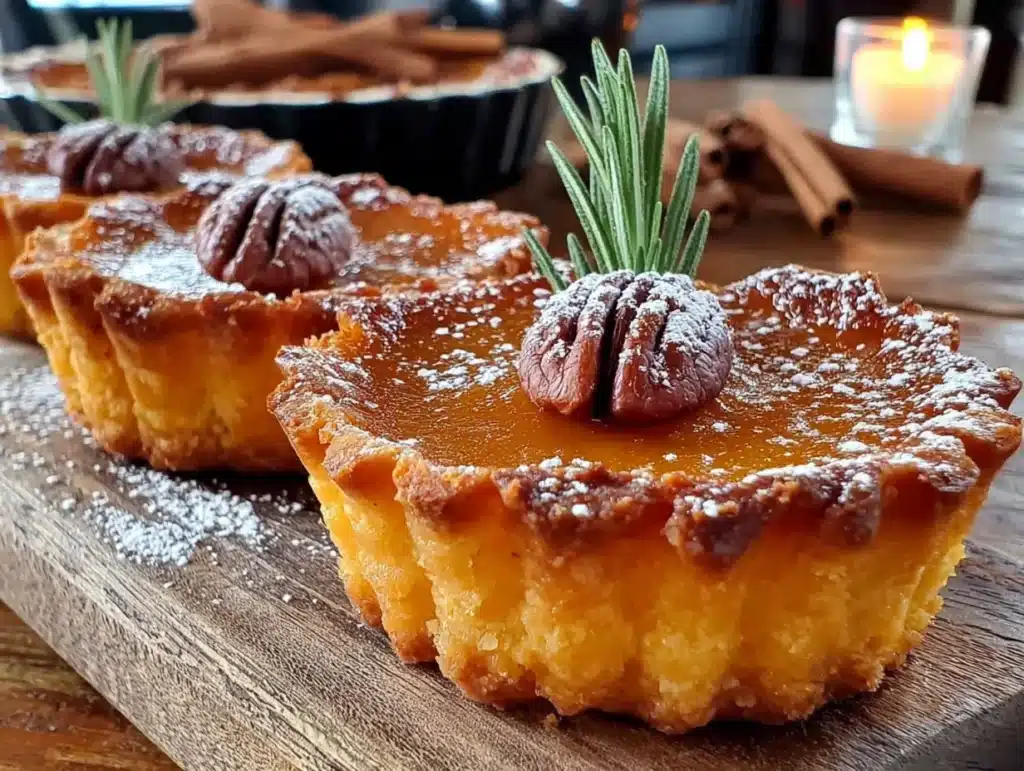
There used to be a tiny, ivy-covered bakery on a side street in Portland, called The Gilded Tart, that made the most incredible miniature desserts. They had these mini pumpkin pie tarts that were absolute perfection—a buttery, crumbly crust filled with a silky, spiced pumpkin custard that was somehow both light and deeply satisfying. When they closed their doors three years ago—the owner retired to open a bed-and-breakfast in the Hudson Valley, I heard—I felt a genuine pang of loss. I mean, I actually drove by the shuttered storefront twice, hoping it was a mistake.
After twelve tries—and let me tell you, there were some sad, soggy bottoms and a few curdled custards in the early days—I finally cracked the code. The secret, I discovered, wasn’t just in the filling (though that’s important), but in the crust. It needs to be pre-baked just right, and the filling needs a specific ratio of egg to pumpkin to cream to get that almost-mousse-like texture. This recipe is the result of that obsession. It’s my love letter to a bakery that’s no longer there, and honestly, it might be even better than I remember. Maybe you’ve been there, chasing a ghost of a flavor from a trip or a favorite spot that’s gone. This is that recipe.
Why You’ll Love These Mini Pumpkin Pie Tarts
Let’s be real—Thanksgiving dessert can be a battlefield. You’ve got the classic big pie, which is great, but then everyone’s cutting slices, someone wants the corner piece, and the whole thing can feel a bit… much. These mini pumpkin pie tarts solve all of that. They’re the perfect little individual desserts that make everyone feel special, and they’re surprisingly easy to pull off, even when you’re juggling a full turkey and all the sides.
- Perfect for a Crowd: No more slicing and serving. Each guest gets their own gorgeous, perfectly portioned tart. It’s a game-changer for hosting.
- Make-Ahead Magic: You can make the crusts and the filling a day or two ahead, then just bake them off on the big day. Less stress, more time with your people.
- Crazy Delicious: The combination of the tender, buttery crust and that smooth, spiced pumpkin filling is just next-level. It’s the kind of dessert that makes people close their eyes after the first bite.
- Simple Ingredients: You probably already have most of what you need in your pantry. No weird, hard-to-find items here.
- Totally Impressive: Honestly, when you bring out a tray of these little beauties, you will look like a rockstar. They have that “wow” factor without the “wow” amount of work.
This recipe isn’t just another version of pumpkin pie. The technique of pre-baking the crust and using a touch of cream cheese in the filling creates a texture that’s richer and more stable than your average pie. It’s comfort food, reimagined for a modern Thanksgiving table. Perfect for impressing your guests without a lick of stress.
What Ingredients You Will Need
This recipe uses simple, wholesome ingredients to deliver that big, bold Thanksgiving flavor. Most of these are pantry staples, especially if you do a lot of fall baking.
For the Tart Crust
- 1 ½ cups all-purpose flour (spooned and leveled) – This gives the crust its structure.
- ½ cup cold unsalted butter, cubed – I prefer Kerrygold for its rich flavor, but any good quality butter works. The key is it must be very cold.
- ¼ cup granulated sugar – Adds a touch of sweetness to balance the savory notes.
- ¼ teaspoon salt – Enhances the flavor of the butter.
- 1 large egg yolk – Adds richness and helps bind the dough.
- 2-3 tablespoons ice water – Just enough to bring the dough together.
For the Pumpkin Filling
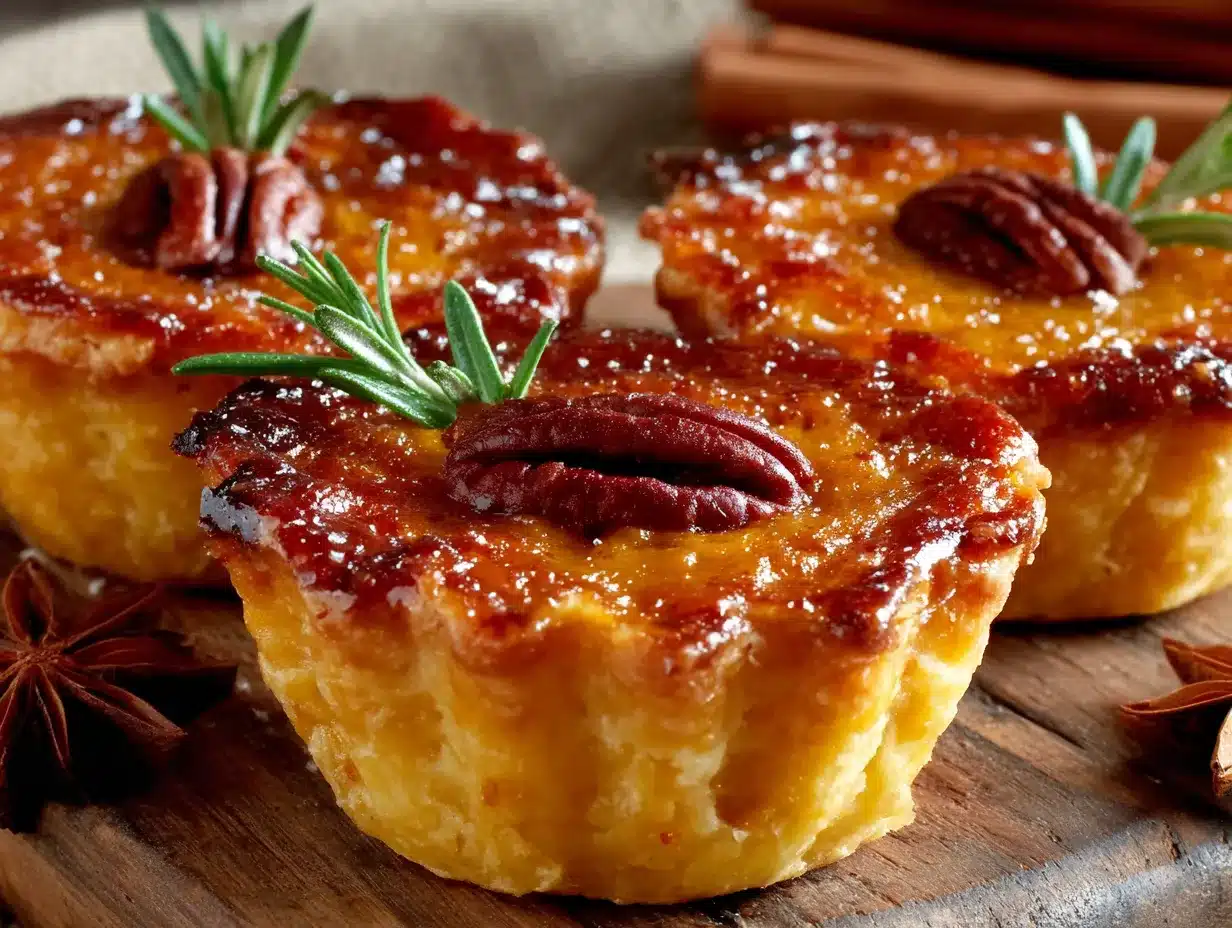
- 1 (15-ounce) can pumpkin purée – Not pumpkin pie filling! Make sure it’s 100% pure pumpkin. Libby’s is my go-to for consistent texture.
- ¾ cup packed brown sugar – Adds a deep, molasses-like sweetness.
- 2 large eggs – For structure and richness.
- 1 cup heavy cream – This is the secret to that luscious, silky texture. You can swap in half-and-half for a slightly lighter version.
- 2 ounces cream cheese, softened – A little trick I picked up. It adds a subtle tang and makes the filling incredibly smooth.
- 1 teaspoon vanilla extract – Enhances all the warm spices.
- 1 ½ teaspoons pumpkin pie spice – You can use a store-bought blend, or make your own with cinnamon, ginger, nutmeg, and cloves. I like to use a little extra cinnamon.
- ½ teaspoon ground cinnamon – For that essential fall flavor.
- ¼ teaspoon salt – Balances the sweetness.
For a gluten-free option, you can substitute the all-purpose flour with a 1:1 gluten-free baking blend. I’ve had great success with King Arthur’s Measure for Measure flour. Just know the crust will be a bit more delicate.
Equipment Needed
You don’t need a ton of fancy gear for these, which is part of their charm. Here’s what you’ll need to get the job done.
- Mini Tart Pans (12-cavity pan or individual pans): This is the star of the show. I use a standard 12-cavity mini tart pan with removable bottoms for easy release. If you don’t have one, a regular muffin tin works in a pinch—just line the cups with strips of parchment paper to help lift the tarts out.
- Food Processor: This makes the crust a breeze. You can also make it by hand using a pastry blender or two forks, but the food processor is faster and keeps the butter colder.
- Rolling Pin: For rolling out the dough evenly.
- Plastic Wrap: For chilling the dough.
- Pie Weights or Dried Beans: Essential for blind-baking the crusts so they don’t puff up. I keep a jar of old dried chickpeas just for this purpose.
- Parchment Paper: To line the crusts before adding the weights.
- Large Mixing Bowls and Whisk: For the filling.
- Cooling Rack: For letting the tarts cool completely.
Preparation Method
Alright, let’s get to the fun part. Making these tarts is a two-part process, but I promise it’s totally doable. I like to make the dough and the filling the day before, so all I have to do on Thanksgiving is bake them.
Step 1: Make the Tart Crust
In the bowl of your food processor, combine the flour, sugar, and salt. Pulse a few times to mix. Add the cold, cubed butter and pulse until the mixture looks like coarse meal, with some pea-sized butter pieces remaining. This is key—those little butter chunks are what create a flaky crust.
In a small bowl, whisk the egg yolk with 2 tablespoons of ice water. Add this to the flour mixture and pulse just until the dough starts to clump together. If it seems dry, add the remaining tablespoon of water, one teaspoon at a time. Don’t over-process it. You want a shaggy dough.
Turn the dough out onto a piece of plastic wrap. Flatten it into a disc, wrap it tightly, and refrigerate for at least 30 minutes. You can keep it in the fridge for up to 3 days.
Step 2: Blind-Bake the Crusts
Preheat your oven to 375°F (190°C). On a lightly floured surface, roll out the chilled dough to about ⅛-inch thickness. Use a round cutter (about 3 ½ to 4 inches) to cut out circles. Gently press each circle into the cavities of your mini tart pan. Prick the bottoms all over with a fork—this prevents air bubbles.
Line each crust with a small square of parchment paper and fill with pie weights or dried beans. Bake for 10 minutes. Carefully remove the parchment and weights, and bake for another 5-7 minutes, until the crusts are just lightly golden. Set aside to cool while you make the filling. Don’t skip this blind-baking step, or you’ll end up with soggy bottoms.
Step 3: Make the Pumpkin Filling
In a large bowl, beat the softened cream cheese with a whisk until smooth. Add the brown sugar and whisk until combined. Then, whisk in the eggs one at a time, followed by the pumpkin purée, heavy cream, and vanilla extract. Finally, add the pumpkin pie spice, cinnamon, and salt. Whisk until everything is smooth and well combined. The mixture should be thick but pourable.
Step 4: Fill and Bake
Reduce your oven temperature to 350°F (175°C). Place your pre-baked tart shells on a baking sheet (this makes them easier to move). Carefully spoon or pour the pumpkin filling into each shell, filling them almost to the top—about ¾ full is perfect. They will puff up a little, but not too much.
Bake for 18-22 minutes, or until the filling is set around the edges but still has a slight jiggle in the center. They will continue to set as they cool. A toothpick inserted near the center should come out mostly clean, with a few moist crumbs.
Let the tarts cool completely on a wire rack. The filling will sink slightly as it cools, which is totally normal. Once cool, you can refrigerate them until you’re ready to serve.
Cooking Tips & Techniques
I’ve made these tarts more times than I can count, and I’ve learned a few things the hard way. Here are my best tips to ensure your tarts turn out perfectly every single time.
- Cold Butter is Non-Negotiable: For the flakiest crust, your butter has to be straight from the fridge. If it starts to soften while you’re working, pop the dough back in the fridge for 10 minutes.
- Don’t Overwork the Dough: This is the number one mistake people make with pastry. Overworking develops the gluten, which makes the crust tough. Just pulse until it comes together, and no more.
- The Jiggle Test: When you’re checking for doneness, don’t rely solely on a toothpick. Gently shake the pan. The center of the tart should jiggle slightly, like firm Jell-O. It will set as it cools.
- Prevent Cracking: Overbaking is the main cause of cracks in your pumpkin filling. Pull them out when they still have that slight jiggle. Also, letting them cool slowly in the turned-off oven with the door ajar for 10 minutes can help.
- Room Temperature Ingredients: For the filling, it’s important that your eggs and cream cheese are at room temperature. This ensures they blend together smoothly, without lumps. I take mine out about 30 minutes before I start.
Variations & Adaptations
One of the best things about this recipe is how easy it is to customize. Here are a few of my favorite ways to change it up.
- Spiced Up: Add a pinch of cayenne pepper or a teaspoon of finely chopped crystallized ginger to the filling for a little unexpected warmth. It’s fantastic with the pumpkin.
- Nutty Crust: Substitute ¼ cup of the all-purpose flour with finely ground pecans or walnuts for a nutty, more flavorful crust. Toast the nuts first for an even deeper flavor.
- Dairy-Free Version: Use a high-quality vegan butter stick (like Miyoko’s) for the crust and full-fat canned coconut milk in place of the heavy cream. Omit the cream cheese, or use a vegan version. The texture will be slightly different, but still delicious.
- Chocolate Twist: Melt 2 ounces of dark chocolate and drizzle it over the cooled tarts. A sprinkle of flaky sea salt on top takes it over the edge. I tried this last year for a friend who claimed not to like pumpkin pie—she ate three.
- Maple Pecan Topping: Before serving, top each tart with a small dollop of whipped cream, a drizzle of maple syrup, and a candied pecan. It adds a gorgeous crunch and a touch of elegance.
Serving & Storage Suggestions
These mini pumpkin pie tarts are best served at room temperature or slightly chilled. I think the flavor is actually better after they’ve had a few hours to meld in the fridge.
For presentation, arrange them on a beautiful platter or a wooden board. A dollop of freshly whipped cream on each one is a must—it adds a lovely lightness. You can also dust them with a little extra cinnamon or nutmeg. They pair beautifully with a cup of strong coffee, a glass of bourbon, or even a late-harvest Riesling.
Storage: Store any leftover tarts in an airtight container in the refrigerator for up to 4 days. The crust will soften slightly over time, but they’ll still be delicious.
To Freeze: You can freeze the baked, cooled tarts. Place them on a baking sheet in the freezer until solid, then transfer them to a freezer-safe bag or container. They’ll keep for up to 2 months. Thaw them in the refrigerator overnight before serving.
Reheating: If you want to serve them warm, pop them in a 300°F (150°C) oven for about 5-7 minutes. Don’t microwave them, or the crust will get soggy.
Nutritional Information & Benefits
Let’s be honest—these are a Thanksgiving treat, so they’re not health food. But pumpkin itself is a nutritional powerhouse. It’s packed with Vitamin A, fiber, and antioxidants. The eggs and cream provide protein and calcium, and the warm spices like cinnamon and ginger have anti-inflammatory properties.
Here are the approximate nutritional values per tart (based on 12 tarts):
- Calories: 285
- Fat: 18g
- Carbohydrates: 28g
- Protein: 4g
- Fiber: 2g
- Sugar: 16g
For a lighter version, you can use half-and-half instead of heavy cream and reduce the sugar by a couple of tablespoons. This recipe is naturally vegetarian and can be made gluten-free and dairy-free with the substitutions mentioned above. It does contain gluten, dairy, and eggs, so please be mindful of any allergies.
Conclusion
There’s something incredibly satisfying about pulling a tray of these perfect, golden mini tarts out of the oven. They’re a little piece of nostalgia, a tribute to a bakery that’s gone, but more than that, they’re a new tradition waiting to happen. They are the kind of dessert that says, “I put thought into this,” without making you feel like you spent all day in the kitchen.
I really hope you give these a try for your Thanksgiving table. Don’t be afraid to make them your own—swap the spices, add a topping, whatever feels right. The best recipes are the ones that get passed around and tweaked. I’d love to hear how they turn out for you! Drop a comment below and let me know if your guests loved them as much as mine do. Happy baking, and have the most wonderful Thanksgiving!
Frequently Asked Questions
Can I use a store-bought pie crust for these tarts?
Absolutely! If you’re short on time, a refrigerated pie crust from the store works perfectly. Just roll it out a little thinner and cut it into rounds. The homemade crust is better, but store-bought is a great shortcut.
How do I prevent the tart crust from shrinking?
Make sure you let the dough chill for at least 30 minutes before rolling it out. Also, when you press the dough into the tart pans, don’t stretch it. Stretching causes it to snap back and shrink during baking.
Can I make the filling without a food processor?
Yes, you can make the entire filling by hand with a whisk or a hand mixer. Just make sure your cream cheese is very soft so you can get it smooth.
My filling cracked. What did I do wrong?
Cracks usually mean the tarts were overbaked. Next time, pull them out of the oven when the centers are still slightly jiggly. Also, try not to open the oven door too often while they’re baking.
Can I double this recipe?
Yes, this recipe doubles beautifully. Just make sure you have enough tart pans, or bake them in batches. You can also keep the extra filling in the fridge for a day or two.
Pin This Recipe!
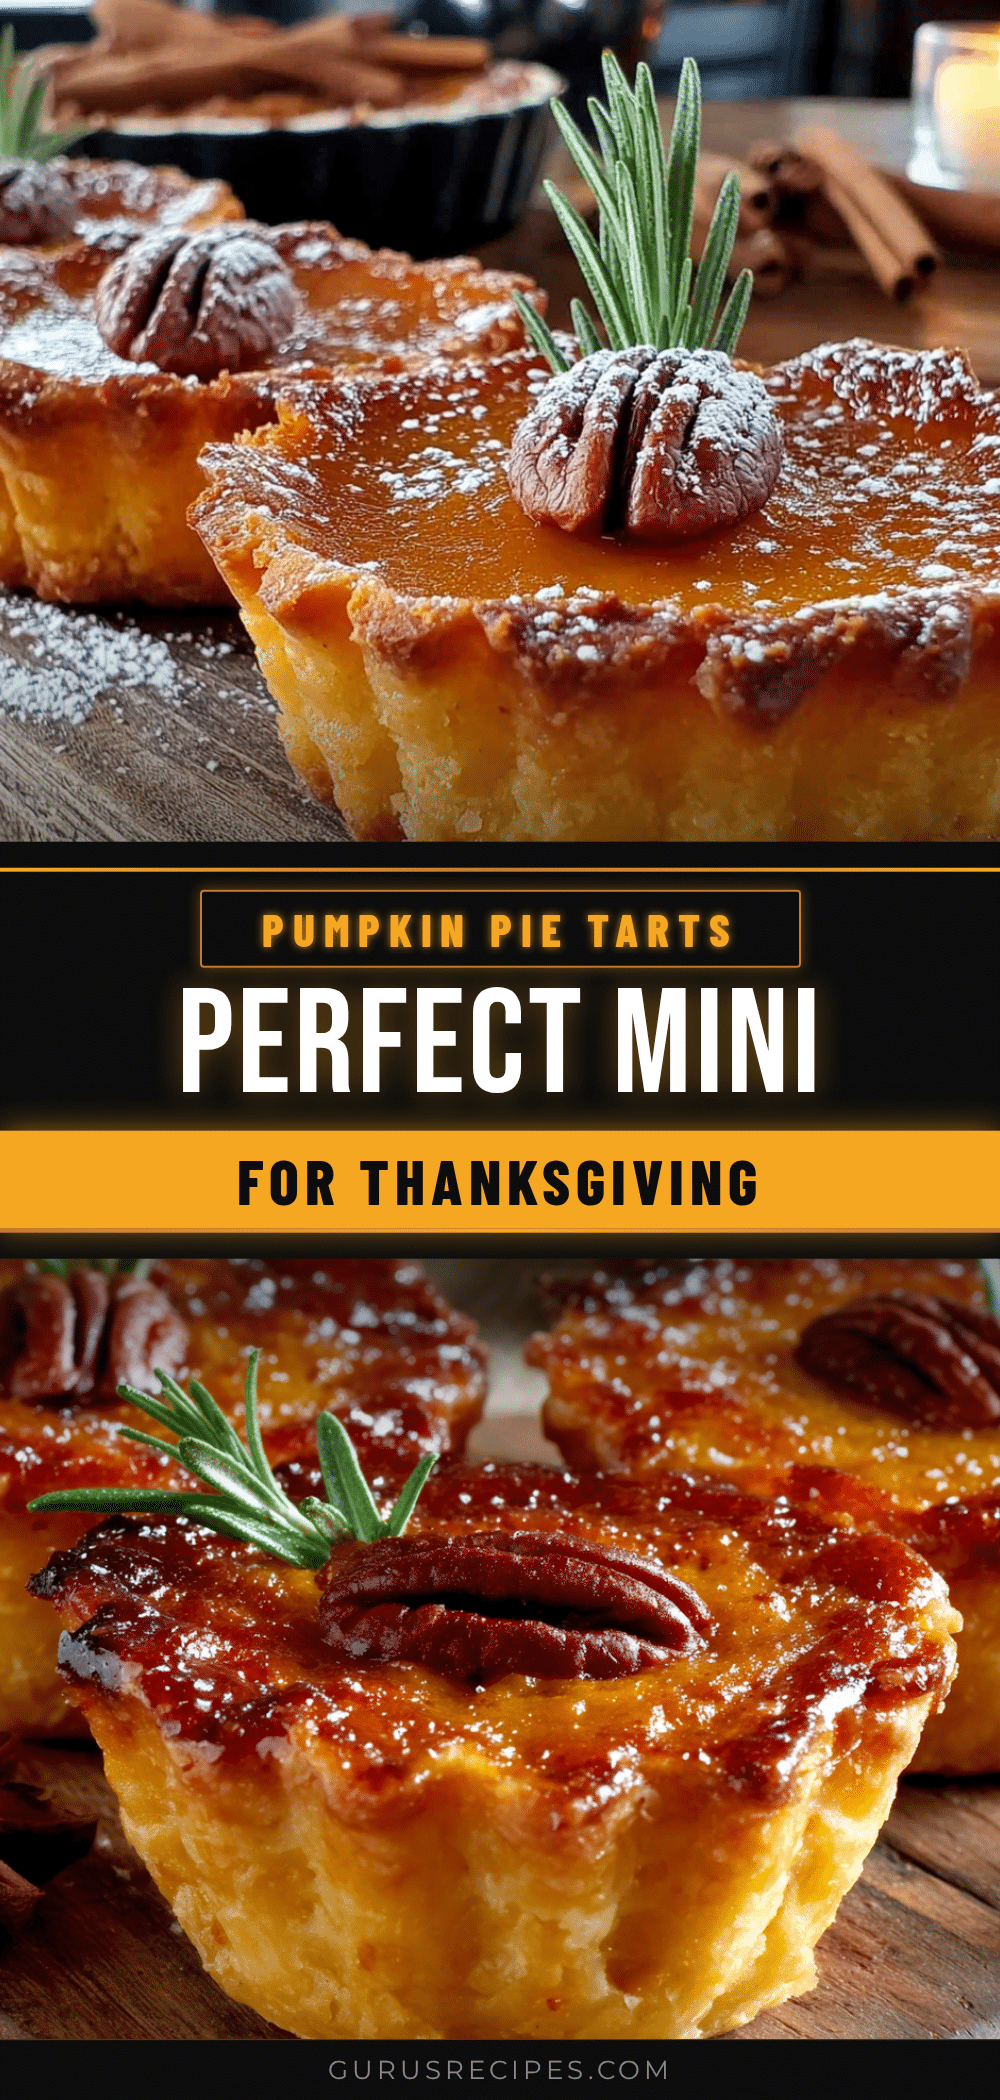

Perfect Mini Pumpkin Pie Tarts for Thanksgiving
These mini pumpkin pie tarts feature a buttery, crumbly crust filled with a silky, spiced pumpkin custard. They are perfect for a crowd, make-ahead friendly, and sure to impress your Thanksgiving guests.
- Total Time: 1 hour
- Yield: 12 servings 1x
Ingredients
- 1 ½ cups all-purpose flour (spooned and leveled)
- ½ cup cold unsalted butter, cubed
- ¼ cup granulated sugar
- ¼ teaspoon salt
- 1 large egg yolk
- 2–3 tablespoons ice water
- 1 (15-ounce) can pumpkin purée (not pumpkin pie filling)
- ¾ cup packed brown sugar
- 2 large eggs
- 1 cup heavy cream
- 2 ounces cream cheese, softened
- 1 teaspoon vanilla extract
- 1 ½ teaspoons pumpkin pie spice
- ½ teaspoon ground cinnamon
- ¼ teaspoon salt
Instructions
- In a food processor, combine flour, sugar, and salt. Pulse to mix. Add cold cubed butter and pulse until mixture resembles coarse meal with some pea-sized butter pieces.
- Whisk egg yolk with 2 tablespoons ice water. Add to flour mixture and pulse until dough starts to clump. Add more water if needed, one teaspoon at a time. Do not over-process.
- Turn dough onto plastic wrap, flatten into a disc, wrap tightly, and refrigerate for at least 30 minutes (up to 3 days).
- Preheat oven to 375°F (190°C). On a floured surface, roll dough to ⅛-inch thickness. Cut circles (about 3½ to 4 inches) and press into mini tart pan cavities. Prick bottoms with a fork.
- Line each crust with parchment paper and fill with pie weights or dried beans. Bake for 10 minutes. Remove parchment and weights, bake 5-7 minutes more until lightly golden. Cool.
- Reduce oven to 350°F (175°C). In a large bowl, beat softened cream cheese until smooth. Add brown sugar and whisk. Whisk in eggs one at a time, then pumpkin purée, heavy cream, and vanilla. Add pumpkin pie spice, cinnamon, and salt; whisk until smooth.
- Place pre-baked tart shells on a baking sheet. Fill each shell about ¾ full with pumpkin filling.
- Bake for 18-22 minutes, until edges are set but center still jiggles slightly. Cool completely on a wire rack. Refrigerate until ready to serve.
Notes
For a gluten-free option, substitute all-purpose flour with a 1:1 gluten-free baking blend. For a dairy-free version, use vegan butter and full-fat canned coconut milk instead of heavy cream, and omit cream cheese or use a vegan version. To prevent cracking, do not overbake; remove when centers are still slightly jiggly. Let cool slowly in turned-off oven with door ajar for 10 minutes if needed.
- Prep Time: 30 minutes
- Cook Time: 30 minutes
- Category: Dessert
- Cuisine: American
Nutrition
- Serving Size: 1 tart
- Calories: 285
- Sugar: 16
- Sodium: 180
- Fat: 18
- Saturated Fat: 10
- Carbohydrates: 28
- Fiber: 2
- Protein: 4
Keywords: mini pumpkin pie tarts, Thanksgiving dessert, pumpkin tarts, individual pumpkin pie, mini tarts