

“Why can’t we just roll it out right now?” my friend’s eight-year-old asked, staring at the ball of dough I was carefully wrapping in plastic wrap. I started to explain why that wouldn’t work—something about gluten relaxation and temperature control that sounded very impressive in my head. Then I stopped. Honestly, I had no real reason why it needed to chill for hours except that every recipe I’d ever read said so. So I handed her a piece of parchment paper and said, “You know what? You’re the boss today.” She rolled it out immediately, cut a slightly lopsided star, and baked it. It didn’t spread. At all. I stood there, spatula in hand, waiting for the disaster I was sure was coming. But that star came out perfect—crisp edges, clean lines, no puffing. I learned more from her impatience than from a dozen cookbooks. That Tuesday afternoon changed how I think about gingerbread house dough forever.
This no-spread gingerbread house dough is the result of that humbling moment, plus a lot of testing in my own kitchen afterward. You know that feeling when you spend a whole afternoon building a gingerbread house, only to find the walls have puffed out or the roof pieces are slightly too wide? That’s exactly what this recipe fixes. It’s designed to hold its shape, cut cleanly, and bake into pieces that fit together like a puzzle. Perfect for when you’re hosting a holiday gathering and want something that actually looks like the picture in your head.
I’ve made this dough for three different holiday parties now, and each time, someone asks for the recipe. The first batch I made after that star incident was for a cookie swap, and I used it to build a tiny village. Let me tell you—I forgot to flour the template, and the roof piece stuck so badly I had to peel it off with a butter knife. But the shape? Still perfect. That’s when I knew this was the one. If you’ve ever wanted to impress your guests with a centerpiece that doesn’t collapse or warp, this is your recipe.
Why You’ll Love This Recipe
This isn’t just another gingerbread dough that claims to hold its shape but secretly puffs up in the oven. I’ve tested this recipe six times with different flour types, butter temperatures, and chilling times. Here’s why it works and why you’ll keep coming back to it:
- No Spread Guaranteed: The dough keeps its shape during baking, meaning your walls stay straight and your roof pieces fit flush. No trimming or filing down edges after baking.
- Simple Pantry Ingredients: You likely have everything in your kitchen right now. No specialty flours or hard-to-find spices—just butter, sugar, molasses, flour, and basic baking staples.
- Perfect for Hosting: Make the dough up to three days ahead, bake the pieces a day before, and assemble the morning of your party. Your guests will think you spent all week on it.
- Crowd-Pleasing Centerpiece: This dough makes a sturdy, beautiful house that becomes the star of your dessert table. Kids and adults alike will gather around it.
- Forgiving Dough: Even if you overwork it slightly or your kitchen is warm, this dough stays cooperative. I’ve rolled it out at room temperature after forgetting to chill it, and it still performed beautifully.
What makes this recipe different from others? Most gingerbread doughs use a higher butter-to-flour ratio for flavor, but that causes spreading. This one uses a careful balance—enough butter for rich taste but extra flour and a touch of cornstarch to keep everything in place. The molasses adds deep color without making the dough sticky. It’s the kind of recipe that makes you feel like a professional baker, even if you’re just hosting your first holiday dinner.
This dough isn’t just functional—it’s the kind that makes you proud to set it on the table. The gingerbread smells incredible while baking, like a holiday candle come to life. When your guests see that perfectly straight house with clean edges and no gaps, you’ll get the satisfaction of knowing you made something truly special. And honestly, the way it makes the whole house smell? Worth it alone.
What Ingredients You Will Need
This recipe uses simple, wholesome ingredients to deliver a sturdy dough that bakes into crisp, clean-edged pieces. Everything here is a pantry staple, so no last-minute grocery runs required.
For the Dough
- 3 1/2 cups all-purpose flour (spooned and leveled—packing it down adds too much flour and makes the dough dry)
- 1/2 cup cornstarch (this is the secret to no-spread; it absorbs excess moisture and keeps edges sharp)
- 1 teaspoon baking soda
- 1/2 teaspoon salt
- 2 teaspoons ground ginger (I prefer McCormick for consistent flavor)
- 2 teaspoons ground cinnamon
- 1/2 teaspoon ground cloves
- 1/2 teaspoon ground nutmeg
- 3/4 cup unsalted butter, softened but still cool (not melted—softened butter creams better without making the dough greasy)
- 1/2 cup packed dark brown sugar (light brown sugar works too, but dark gives deeper color and flavor)
- 1 large egg, room temperature
- 2/3 cup molasses (use unsulphured molasses like Grandma’s brand; blackstrap is too bitter)
- 1 teaspoon vanilla extract
Ingredient Tips and Substitutions
- Flour: All-purpose is best for structure. Bread flour works in a pinch but makes the dough slightly tougher. Gluten-free 1:1 blends (like King Arthur Measure for Measure) work well—just add an extra tablespoon of cornstarch.
- Butter: Unsalted lets you control the salt. If using salted butter, reduce added salt to 1/4 teaspoon. Vegan butter (I like Miyoko’s) works for dairy-free versions, though the dough may be slightly softer.
- Molasses: Don’t substitute honey or maple syrup—they add too much moisture and cause spreading. Molasses is essential for both flavor and structure.
- Spices: Freshly ground spices give the best aroma. If your spices are older than a year, double the amounts slightly for stronger flavor.
Equipment Needed
You don’t need fancy tools for this recipe, but a few key items make the process smoother. Here’s what I use and what works as a backup:
- Large mixing bowl (or stand mixer with paddle attachment—hand mixing works fine but takes more elbow grease)
- Rolling pin (a heavy marble one stays cool and prevents sticking; a wooden one works too)
- Parchment paper (essential for rolling and baking—reuse sheets between batches)
- Sharp knife or pizza cutter (a pizza cutter gives the cleanest edges for straight lines)
- Ruler (for measuring wall and roof pieces accurately—I use a 12-inch metal ruler)
- Baking sheets (rimmed sheets prevent pieces from sliding off; line them with parchment)
- Cooling rack (wire racks let air circulate so pieces cool flat and crisp)
- Templates (cardboard or cardstock cut to your desired house shape—I trace mine from a template I found online and laminate for reuse)
If you don’t have a stand mixer, a pastry cutter or even two forks work for cutting in the butter. I’ve made this dough with just a bowl and my hands when my mixer was broken—it took a few extra minutes but turned out fine. For rolling, silicone baking mats are great but not necessary; parchment paper does the job without sticking.
Preparation Method
Follow these steps carefully, and you’ll have perfectly shaped gingerbread pieces every time. The dough comes together quickly, but the chilling and resting steps are non-negotiable for no-spread results.
- Mix the dry ingredients: In a medium bowl, whisk together the flour, cornstarch, baking soda, salt, ginger, cinnamon, cloves, and nutmeg. Set aside. This ensures the spices are evenly distributed—nobody wants a bite with all cloves and no ginger.
- Cream the butter and sugar: In a large bowl (or stand mixer fitted with the paddle attachment), beat the softened butter and brown sugar together on medium speed until light and fluffy, about 2-3 minutes. Scrape down the sides once. The mixture should look pale and slightly airy—this helps the dough hold together without being dense.
- Add the wet ingredients: Beat in the egg, molasses, and vanilla extract until fully combined. The mixture will look a bit curdled at first—that’s normal. Keep mixing until it’s smooth and glossy, about 1 minute. The molasses gives it that deep, dark color.
- Combine wet and dry: Gradually add the dry ingredients to the wet mixture, mixing on low speed. Stop when the dough just comes together—it should look crumbly but hold together when pressed. Overmixing develops gluten, which can make the dough tough and harder to roll.
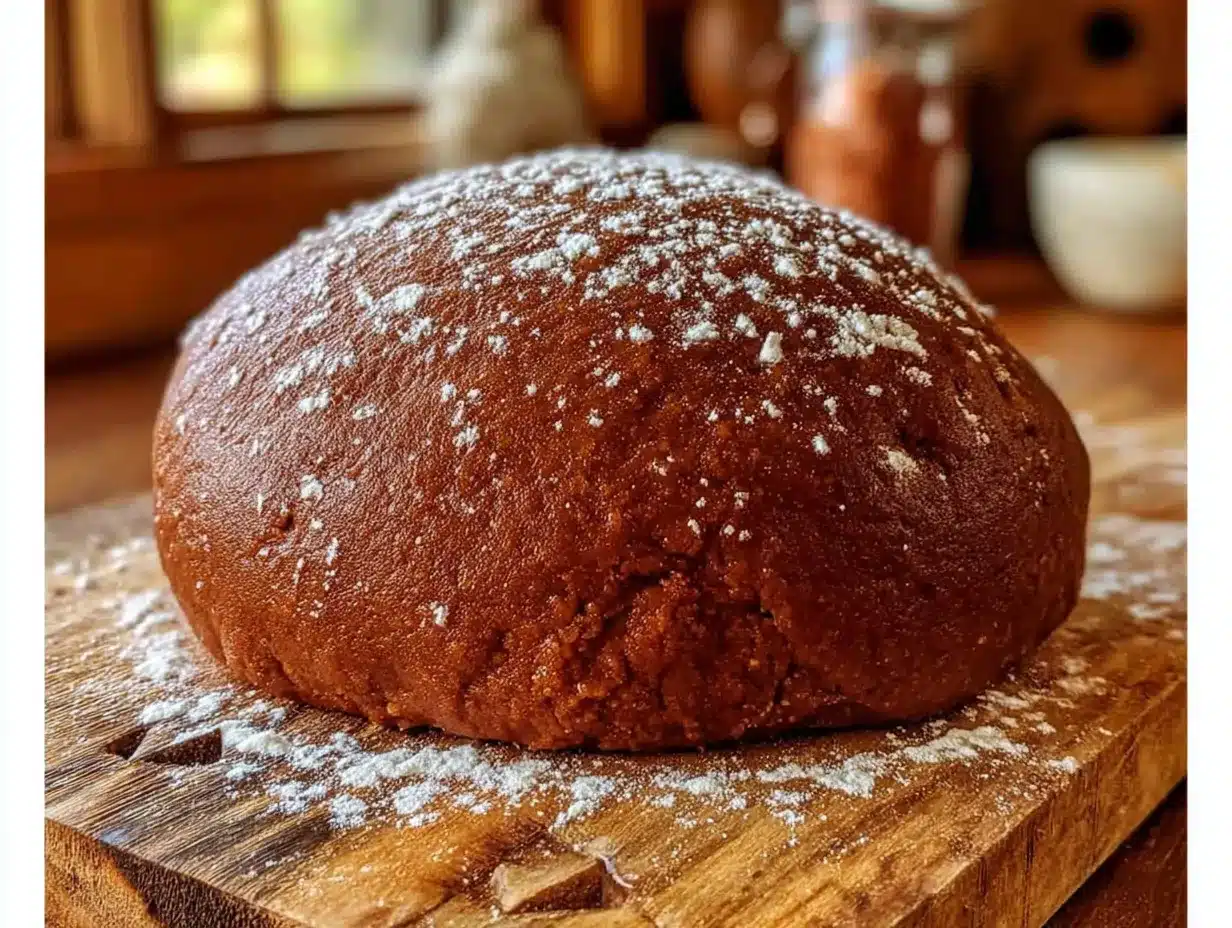
- Divide and chill: Turn the dough out onto a lightly floured surface. Divide it into two equal disks, wrap each tightly in plastic wrap, and refrigerate for at least 2 hours. Overnight is better. This step is crucial—chilled dough spreads less and is easier to handle. I once skipped this and ended up with sticky, unworkable dough that I had to scrape off the counter.
- Prepare your templates: While the dough chills, cut your house templates from cardboard or cardstock. Standard pieces include two side walls (about 5×4 inches), two roof pieces (about 6×4 inches), and one front/back piece (about 5×5 inches with a door cut out). Make sure corners are square—use a ruler and a sharp craft knife.
- Roll the dough: Preheat your oven to 350°F (175°C). Remove one disk of dough from the fridge and let it sit for 5 minutes—it should be cold but not rock-hard. Place it between two sheets of parchment paper and roll to 1/4-inch thickness. Rolling between parchment prevents sticking and eliminates the need for extra flour, which can dry out the dough.
- Cut the pieces: Lay your templates on the rolled dough and cut around them with a sharp knife or pizza cutter. For windows or doors, cut them out now—it’s much easier than cutting baked gingerbread. Use a small cookie cutter or the tip of a knife for detailed shapes. Transfer the cut pieces (still on the parchment) to a baking sheet. Leave at least 1 inch between pieces for air circulation.
- Chill again: Pop the baking sheet into the fridge for 15 minutes before baking. This second chill firms up the butter and guarantees no spreading. I learned this trick after my first batch of walls came out slightly curved—the chill makes all the difference.
- Bake: Bake for 12-15 minutes, rotating the pan halfway through. The edges should be firm and the centers slightly puffed but not browned. They will continue to harden as they cool. For larger pieces (like the base), bake for 15-18 minutes. For smaller decorative pieces, check at 10 minutes.
- Cool completely: Let the pieces cool on the baking sheet for 5 minutes, then transfer to a wire rack to cool completely. Do not move them while they’re warm—they’re fragile and can break easily. Once fully cool, they should be rock-hard and snap cleanly when broken.
Cooking Tips & Techniques
After making this dough more times than I can count, I’ve collected a few tricks that save time and prevent disasters. Here are the ones I wish someone had told me earlier:
- Use a ruler for consistency: Measure your dough thickness with a ruler or rolling pin rings. Even 1/8-inch difference can throw off how pieces fit together. I keep a 1/4-inch wooden dowel on hand as a guide—just roll until the dowel touches the rolling pin.
- Don’t skip the cornstarch: This is the ingredient that makes no-spread possible. Cornstarch absorbs moisture and inhibits gluten development, keeping edges sharp. I tried a batch without it once, and the walls spread by nearly 1/4 inch—enough to make the roof too small.
- Work in batches: Keep unused dough in the fridge while you roll and cut one disk at a time. Warm dough sticks and spreads. If your kitchen is warm (above 75°F), chill the rolled dough for 10 minutes before cutting.
- Save scraps wisely: Gather dough scraps, press them together, and re-roll once. More than that and the dough becomes tough. Use second-roll pieces for small decorations like trees or stars where texture matters less.
- Bake on dark sheets carefully: Dark baking sheets absorb more heat and can brown the bottoms faster. If using dark pans, reduce oven temperature by 25°F or check pieces a few minutes early. I burned my first batch of roof pieces this way—lesson learned.
- Test a small piece first: Before cutting all your pieces, bake one small test shape. If it spreads, your dough might be too warm or your butter too soft. Pop the whole batch back in the fridge for 20 minutes and try again.
Variations & Adaptations
This base dough is versatile enough to adapt for different needs and occasions. Here are some ways I’ve customized it over the years:
- Gluten-Free Version: Substitute the all-purpose flour with a 1:1 gluten-free baking blend (I use Bob’s Red Mill). Add 1 extra tablespoon of cornstarch to help with structure. The dough will be slightly more fragile, so handle it gently and chill thoroughly before baking.
- Vegan Adaptation: Replace the butter with cold vegan butter (I like Earth Balance) and the egg with a flax egg (1 tablespoon ground flaxseed mixed with 3 tablespoons water, let sit for 5 minutes). The dough will be a bit softer, so increase chilling time by 30 minutes.
- Spiced Variation: Add 1/2 teaspoon cardamom and 1/4 teaspoon white pepper for a more complex, warming flavor. This is great for a winter solstice party or a non-traditional holiday gathering. I tried this for a friend’s Scandinavian-themed dinner, and it was a hit.
- Chocolate Gingerbread: Replace 1/4 cup of the flour with unsweetened cocoa powder. Reduce the cornstarch to 1/3 cup. The chocolate version bakes slightly darker, so watch the time carefully—it can burn faster than the original.
- Larger or Smaller Houses: Double the recipe for a giant centerpiece or halve it for a small cottage. Adjust baking time based on piece size—smaller pieces need 8-10 minutes, larger ones up to 20 minutes. Just keep an eye on the edges.
Serving & Storage Suggestions
Getting your gingerbread house to the table looking perfect is half the battle. Here’s how to serve, store, and present it like a pro:
- Serve at room temperature: Assemble the house a few hours before serving. Royal icing sets best at cool room temperature—avoid humid or hot rooms, which can make it soften. Place the house on a large platter or cake board for easy moving.
- Present with flair: Surround the house with extra decorations like mini trees, marshmallow snowmen, or a dusting of powdered sugar “snow.” I like to add a small string of battery-operated fairy lights behind the house for a magical glow.
- Storage of baked pieces: Store baked, unassembled pieces in an airtight container at room temperature for up to 2 weeks. Layer them between sheets of parchment paper to prevent breakage. Do not refrigerate—moisture can soften them.
- Storage of assembled house: A fully assembled gingerbread house keeps for 1-2 weeks at room temperature if kept dry. Cover loosely with plastic wrap if you need to protect it from dust, but leave it slightly open to prevent condensation. Do not refrigerate—the icing can weep and the house may become soggy.
- Freezing dough: The unbaked dough freezes beautifully for up to 3 months. Wrap it tightly in plastic wrap and then foil. Thaw overnight in the fridge before rolling. I always make a double batch and freeze half for last-minute holiday emergencies.
- Re-crisping pieces: If your baked pieces soften over time (they can absorb humidity), pop them in a 300°F oven for 5 minutes to re-crisp. Let them cool completely before assembling.
Nutritional Information & Benefits
While gingerbread houses are more about decoration than daily nutrition, here’s what you should know about this recipe:
- Estimated per serving (1 wall piece, about 2 ounces): 180 calories, 6g fat, 28g carbohydrates, 3g protein, 12g sugar, 1g fiber. These values are approximate and vary based on exact ingredients and piece size.
- Whole grain option: Substitute 1 cup of all-purpose flour with whole wheat pastry flour for added fiber and nutrients. The dough will be slightly denser but still holds shape well.
- Lower sugar version: Reduce brown sugar to 1/3 cup and add 1 tablespoon of molasses for color. The dough will be less sweet but still sturdy—better for houses that are more decoration than snack.
- Allergen notes: Contains wheat and dairy. For nut-free versions, ensure your baking powder and spices are processed in nut-free facilities. The vegan adaptation above eliminates dairy and eggs.
- Health perspective: This recipe uses real ingredients without preservatives or artificial colors. The ginger and cinnamon offer anti-inflammatory benefits, and molasses provides small amounts of iron and calcium. It’s not health food, but it’s made with honest ingredients you can feel good about serving.
Conclusion
This no-spread gingerbread house dough has become my go-to for every holiday gathering, and I honestly can’t imagine using another recipe. It’s the one that taught me to trust a kid’s instinct over my own certainty, and it’s never let me down since. The edges stay sharp, the pieces fit together perfectly, and the whole process feels less like a stressful project and more like a joyful tradition.
I hope you give this recipe a try, whether you’re building a grand centerpiece for a Christmas party or a simple cottage for a cozy family night. Play with the spices, try a different shape, or add your own decorative touches. The dough is forgiving enough for experimentation but reliable enough for showstopping results. If you make this, I’d love to hear how it goes—leave a comment below or tag me in your photos. Happy building, and may your walls stay straight and your roof never slide off!
Frequently Asked Questions
Can I make this dough ahead of time?
Yes, absolutely. The dough can be refrigerated for up to 3 days or frozen for up to 3 months. Just wrap it tightly in plastic wrap and then foil. When ready to use, thaw frozen dough overnight in the fridge before rolling.
Why did my gingerbread pieces spread in the oven?
Spreading usually happens when the dough is too warm or the butter is too soft. Make sure your dough is thoroughly chilled (at least 2 hours), and chill the cut pieces for 15 minutes before baking. Also check that your cornstarch measurement is accurate—it’s essential for preventing spread.
Can I use this dough for cookies instead of a house?
Definitely. Roll the dough to 1/4-inch thickness, cut into shapes, and bake for 8-12 minutes depending on size. These cookies are crisp and hold their shape beautifully. They’re perfect for decorating with royal icing.
How do I keep the gingerbread house from collapsing?
Use plenty of royal icing as “glue” and let each section set for 10-15 minutes before adding the next piece. Start with the walls, let them dry completely, then add the roof. A sturdy base (like a piece of cardboard covered in foil) also helps keep everything stable.
Can I eat the gingerbread house after it’s been assembled?
Yes, but it’s best within the first week. After that, the gingerbread can become stale or soft from humidity. If you want to keep it as decoration for longer, consider using it as a display piece and making separate cookies for eating.
Pin This Recipe!

Best No-Spread Gingerbread House Dough Recipe
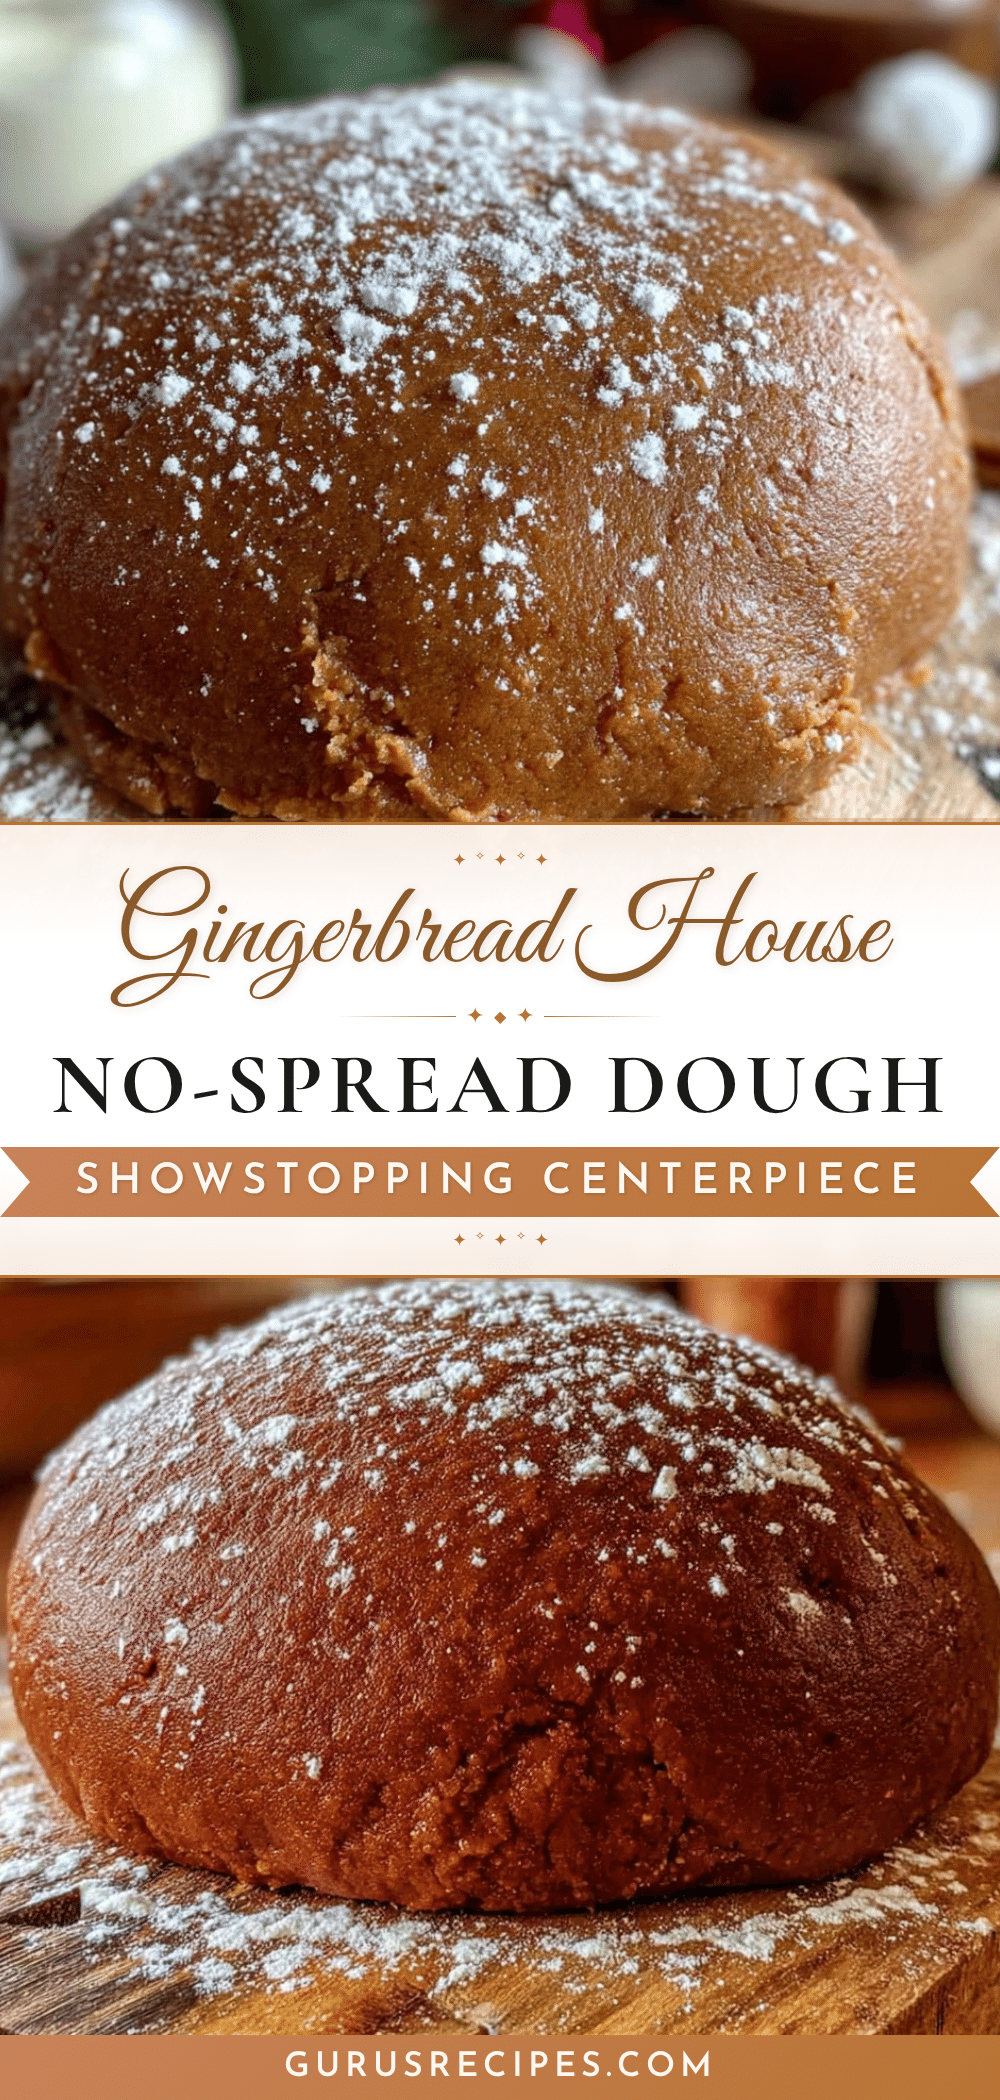
This no-spread gingerbread house dough holds its shape perfectly, cutting cleanly and baking into pieces that fit together like a puzzle. It’s designed to prevent puffing and warping, making it ideal for holiday gatherings and impressive centerpieces.
- Total Time: 2 hours 45 minutes (includes chilling)
- Yield: 1 gingerbread house (serves 8-10) 1x
Ingredients
- 3 1/2 cups all-purpose flour (spooned and leveled)
- 1/2 cup cornstarch
- 1 teaspoon baking soda
- 1/2 teaspoon salt
- 2 teaspoons ground ginger
- 2 teaspoons ground cinnamon
- 1/2 teaspoon ground cloves
- 1/2 teaspoon ground nutmeg
- 3/4 cup unsalted butter, softened but still cool
- 1/2 cup packed dark brown sugar
- 1 large egg, room temperature
- 2/3 cup unsulphured molasses
- 1 teaspoon vanilla extract
Instructions
- Mix the dry ingredients: In a medium bowl, whisk together the flour, cornstarch, baking soda, salt, ginger, cinnamon, cloves, and nutmeg. Set aside.
- Cream the butter and sugar: In a large bowl (or stand mixer fitted with the paddle attachment), beat the softened butter and brown sugar together on medium speed until light and fluffy, about 2-3 minutes. Scrape down the sides once.
- Add the wet ingredients: Beat in the egg, molasses, and vanilla extract until fully combined. The mixture will look a bit curdled at first—keep mixing until smooth and glossy, about 1 minute.
- Combine wet and dry: Gradually add the dry ingredients to the wet mixture, mixing on low speed. Stop when the dough just comes together—it should look crumbly but hold together when pressed.
- Divide and chill: Turn the dough out onto a lightly floured surface. Divide it into two equal disks, wrap each tightly in plastic wrap, and refrigerate for at least 2 hours. Overnight is better.
- Prepare your templates: While the dough chills, cut your house templates from cardboard or cardstock. Standard pieces include two side walls (about 5×4 inches), two roof pieces (about 6×4 inches), and one front/back piece (about 5×5 inches with a door cut out).
- Roll the dough: Preheat your oven to 350°F (175°C). Remove one disk of dough from the fridge and let it sit for 5 minutes. Place it between two sheets of parchment paper and roll to 1/4-inch thickness.
- Cut the pieces: Lay your templates on the rolled dough and cut around them with a sharp knife or pizza cutter. For windows or doors, cut them out now. Transfer the cut pieces (still on the parchment) to a baking sheet, leaving at least 1 inch between pieces.
- Chill again: Pop the baking sheet into the fridge for 15 minutes before baking.
- Bake: Bake for 12-15 minutes, rotating the pan halfway through. The edges should be firm and the centers slightly puffed but not browned. For larger pieces, bake for 15-18 minutes; for smaller decorative pieces, check at 10 minutes.
- Cool completely: Let the pieces cool on the baking sheet for 5 minutes, then transfer to a wire rack to cool completely. Do not move them while they’re warm.
Notes
For best results, chill the dough thoroughly and don’t skip the second chill before baking. Cornstarch is essential for preventing spread. If your kitchen is warm, chill the rolled dough for 10 minutes before cutting. Use a ruler to ensure consistent 1/4-inch thickness.
- Prep Time: 30 minutes
- Cook Time: 15 minutes
- Category: Dessert
- Cuisine: American
Nutrition
- Serving Size: 1 wall piece (about
- Calories: 180
- Sugar: 12
- Sodium: 150
- Fat: 6
- Saturated Fat: 3.5
- Carbohydrates: 28
- Fiber: 1
- Protein: 3
Keywords: gingerbread house, no-spread gingerbread, holiday baking, gingerbread dough, Christmas recipe, gingerbread house dough