
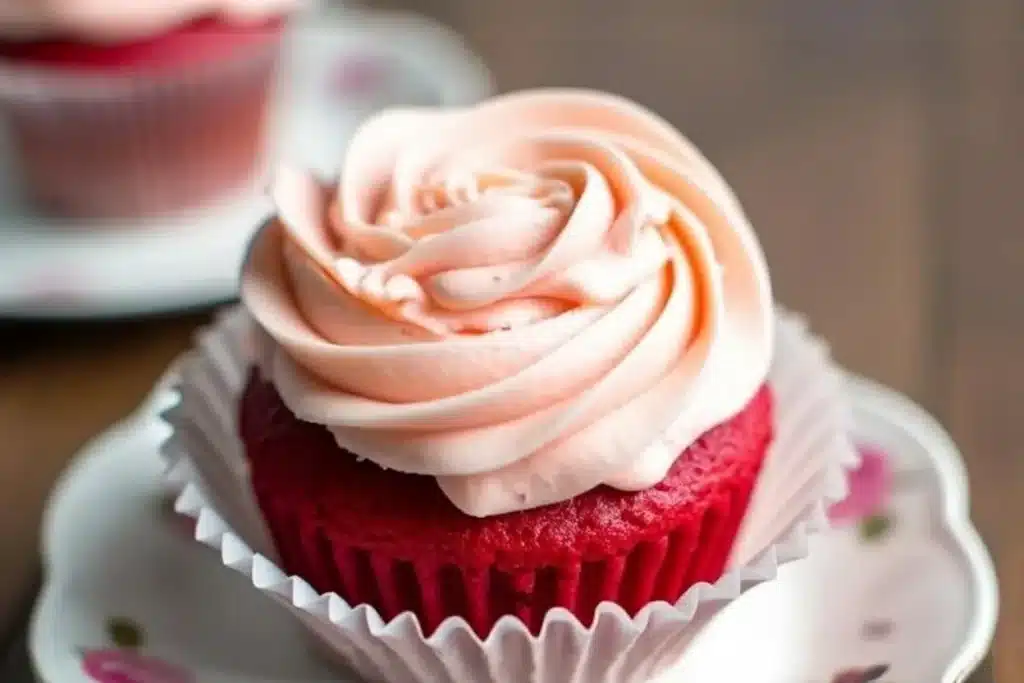
There’s just something magical about pink velvet cupcakes, isn’t there? The vibrant color, the soft crumb, and that luscious vanilla bean frosting—it’s like biting into a little cloud of happiness. If you’ve been searching for the perfect recipe to wow your friends and family, you’ve landed in the right spot. These cupcakes aren’t just pretty; they’re packed with flavor and ridiculously easy to make. Trust me, once you’ve tried this recipe, you’ll never look back.
Pink velvet cupcakes have always held a special place in my heart. I remember making them for a friend’s baby shower years ago, and they were the hit of the party. Their rosy hue and creamy frosting stole the show—so much so that I had people emailing me for the recipe the next day! Now, I’m sharing all my secrets with you so you can create these beauties in your own kitchen.
The Story Behind Pink Velvet Cupcakes
Pink velvet cupcakes are like the cheerful cousin of the classic red velvet cake. While red velvet has a bold, dramatic vibe, pink velvet feels lighter, brighter, and oh-so-charming. The origins of velvet cakes date back to the 19th century, when bakers discovered that adding acidic ingredients to cocoa created a soft, velvety texture. Red food coloring eventually became the signature of red velvet, but pink velvet is a modern twist that swaps the bold red for a playful blush hue.
Personally, I think pink velvet cupcakes are perfect for celebrations like baby showers, Valentine’s Day, or even a spring picnic. But, let’s be honest—they’re also great for random Tuesday dessert cravings. Over time, I’ve tweaked this recipe to make sure the cupcakes stay moist, flavorful, and vibrant without being overly sweet. The addition of vanilla bean frosting takes them to an entirely new level of decadence.
Seasonally speaking, these cupcakes are a hit year-round. In summer, pair them with fresh berries for a fruity twist. In winter, they bring a cheerful pop of color to dreary days. Whenever you make them, they’re guaranteed to brighten the mood!
Ingredients for Pink Velvet Cupcakes
Let’s talk ingredients. Each element in this recipe serves a purpose, so choosing the right ones can make all the difference. Here’s what you’ll need and why:
- All-purpose flour: The base of the cupcakes, providing structure and a soft crumb.
- Cocoa powder: Just a hint of cocoa enhances the flavor without overpowering the pink hue.
- Baking powder and baking soda: These are your leavening agents for a fluffy texture.
- Salt: A pinch of salt balances the sweetness.
- Butter: Use unsalted butter for full control over the flavor. Room temperature is key for proper creaming.
- Granulated sugar: Provides sweetness and helps create that light texture.
- Eggs: Room-temperature eggs blend more smoothly into the batter.
- Buttermilk: The secret to moist cupcakes with a slight tang. If you don’t have buttermilk, you can make your own by adding 1 tablespoon of vinegar or lemon juice to 1 cup of milk.
- Vanilla extract: Essential for flavor depth. Opt for pure vanilla for the best results.
- Pink gel food coloring: Gel coloring gives a vibrant hue without affecting the batter’s consistency.
For the frosting:
- Butter: Room temperature unsalted butter is the star of the frosting.
- Powdered sugar: Sifted powdered sugar ensures a smooth, lump-free frosting.
- Vanilla bean paste: Adds real vanilla specks and an intense flavor. You can substitute with pure vanilla extract if needed.
- Heavy cream: Helps achieve a fluffy, spreadable texture.
Equipment Needed
You don’t need a fancy setup to make these cupcakes, but having the right tools can make the process smoother:
- Muffin tin: For baking perfectly shaped cupcakes.
- Paper cupcake liners: Keeps the cupcakes from sticking and adds a decorative touch.
- Electric mixer: A hand or stand mixer works well for creaming the butter and sugar.
- Spatula: For folding ingredients and scraping the bowl clean.
- Piping bag and tip: Optional, but ideal for creating swirls with the frosting.
- Cooling rack: Helps cool the cupcakes evenly.
Preparation Method
- Preheat your oven: Set it to 350°F (175°C). Line your muffin tin with cupcake liners.
- Mix dry ingredients: In a medium bowl, whisk together 2 cups (240g) flour, 2 tablespoons (10g) cocoa powder, 1 teaspoon baking powder, ½ teaspoon baking soda, and ¼ teaspoon salt.
- Cream butter and sugar: Using an electric mixer, beat ½ cup (115g) butter and 1 cup (200g) sugar on medium speed until light and fluffy, about 3 minutes.
- Add eggs: Beat in 2 large eggs, one at a time, ensuring each is fully incorporated.
- Combine wet ingredients: Mix ½ cup (120ml) buttermilk, 1 teaspoon vanilla extract, and a few drops of pink gel food coloring in a small bowl.
- Combine wet and dry: Gradually add the dry mixture and wet mixture to the butter mixture in three alternating additions, starting and ending with the dry ingredients. Mix just until combined.
- Fill liners: Divide the batter evenly among the cupcake liners, filling each about ¾ full.
- Bake: Bake for 18–22 minutes or until a toothpick inserted into the center comes out clean. Let them cool in the tin for 5 minutes, then transfer to a cooling rack.
- Prepare frosting: Beat ½ cup (115g) butter on medium speed until creamy. Gradually add 2 cups (240g) powdered sugar, 1 teaspoon vanilla bean paste, and 2 tablespoons (30ml) heavy cream. Beat until fluffy and pipeable.
- Frost: Once the cupcakes are completely cool, frost them using a piping bag or spatula.
Cooking Tips & Techniques
Let’s make sure your cupcakes turn out perfect:
- Room temperature ingredients: Cold eggs or butter can lead to uneven mixing. Let ingredients sit out for 30 minutes before starting.
- Don’t overmix: Overmixing the batter can make your cupcakes dense. Stop mixing as soon as the ingredients are combined.
- Use gel food coloring: Liquid food coloring can make the batter too runny. Gel coloring is more concentrated and works better.
- Sift powdered sugar: For a smooth frosting, always sift your powdered sugar before adding it to the mixer.
- Cool completely: Frosting warm cupcakes will cause the frosting to melt. Be patient and let them cool entirely.
Variations & Adaptations
Here are some fun ways to tweak this recipe:
- Gluten-free: Substitute all-purpose flour with a 1:1 gluten-free baking blend.
- Seasonal flavors: Add a hint of almond extract or lemon zest for a spring-inspired twist.
- Dairy-free: Replace butter with a dairy-free alternative and use almond milk with a splash of vinegar in place of buttermilk.
- Chocolate frosting: Swap the vanilla bean frosting for a rich chocolate buttercream to complement the subtle cocoa flavor in the cupcakes.
Serving & Storage Suggestions
These cupcakes are best served at room temperature with a cup of coffee or tea. For presentation, I love topping them with sprinkles or a fresh raspberry for a pop of color.
If you have leftovers (unlikely!), store them in an airtight container at room temperature for up to 2 days or in the fridge for up to 5 days. To freeze, wrap each cupcake individually and place in a freezer-safe container for up to 3 months. Thaw in the fridge overnight and let them come to room temperature before serving.
Nutritional Information & Benefits
Here’s a rough estimate per cupcake (based on 12 cupcakes):
- Calories: 320
- Fat: 15g
- Carbohydrates: 45g
- Protein: 3g
Key benefits include the use of buttermilk, which adds a slight tang and tenderness. Vanilla bean paste brings an antioxidant boost, and the recipe can easily be adapted to meet dietary needs.
Conclusion
Pink velvet cupcakes are a delightful treat that’s perfect for any occasion. Their vibrant color, moist texture, and creamy vanilla bean frosting make them a showstopper. Whether you’re baking them for a party or just because, this recipe is one you’ll return to again and again.
I’d love to hear how your cupcakes turn out! Drop a comment below with your thoughts, or share a photo on social media and tag me. Happy baking!
FAQs
Can I use liquid food coloring instead of gel?
Gel food coloring is recommended for vibrant color without affecting the batter’s consistency.
How do I make buttermilk at home?
Mix 1 tablespoon of vinegar or lemon juice with 1 cup of milk. Let it sit for 5–10 minutes before using.
Can I freeze these cupcakes?
Absolutely! Wrap each cupcake individually and store in a freezer-safe container for up to 3 months.
What piping tip should I use for the frosting?
A star tip works great for creating swirls, but any tip will do based on your design preference.
How do I prevent my cupcakes from sticking to the liners?
Use high-quality liners and avoid overbaking. Lightly spray the liners with cooking spray for extra insurance.


