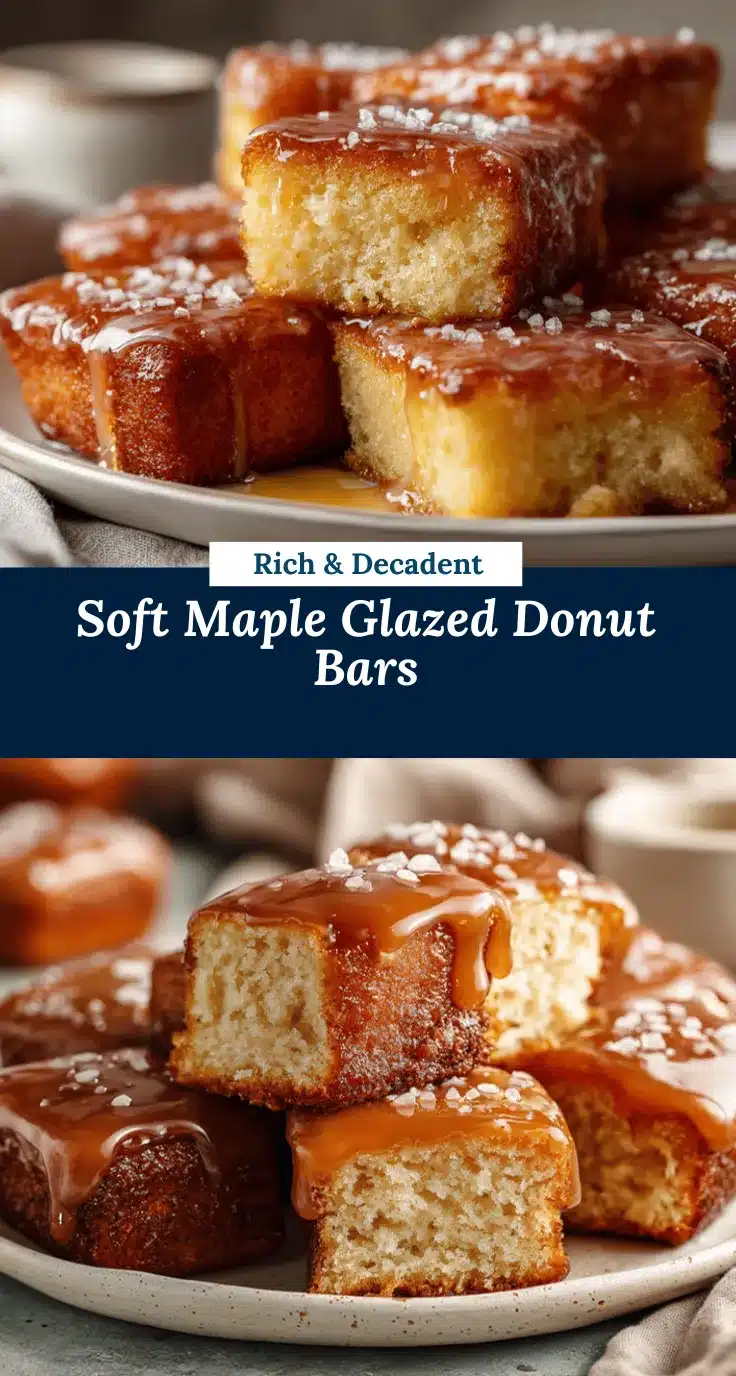
The first time I bit into one of these maple donut bars, I had to pause and close my eyes. You know that moment when something is so good, you can’t even process it? That’s exactly what happened. The soft, fluffy texture paired with the rich sweetness of maple glaze—it’s downright addictive. These bars remind me of the classic donuts I’d grab at the local bakery as a kid, only better because they’re homemade. You don’t need any fancy tools or deep-frying skills. Just a love for sweet treats and a little time in the kitchen. Trust me, this recipe will quickly become your go-to for weekend baking or when you’re craving something comforting with a touch of nostalgia.
Whether it’s for a cozy breakfast treat, an afternoon indulgence, or a dessert to impress your friends, these maple donut bars check all the boxes. They’re easy to whip up, perfectly balanced in sweetness, and have the kind of glaze that makes you want to lick your fingers unapologetically. Let’s get baking—you’re about to discover your new favorite treat.
Why You’ll Love This Recipe
- Quick and Simple: Forget long, complicated recipes—these donut bars come together in under an hour, including baking time.
- Perfectly Maple: The glaze is infused with pure maple syrup, delivering a warm, comforting sweetness that’s so satisfying.
- No Deep Frying: Skip the mess and hassle of frying. These bars bake beautifully in the oven, making them much easier to prepare.
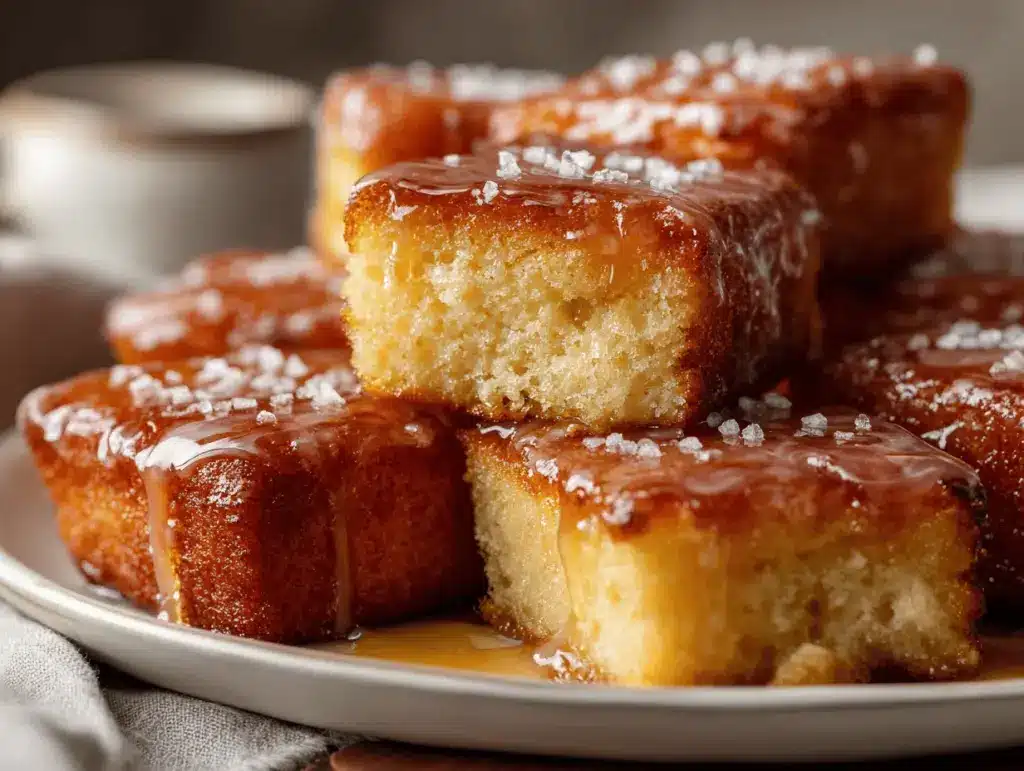
- Soft and Fluffy Texture: The dough is light and airy, but still rich and indulgent—just like the best donuts should be.
- Versatile Treat: They’re perfect for breakfast, brunch, dessert, or even a midday snack with coffee or tea.
- Kid-Approved: These bars are always a hit with the little ones (and adults too!).
What really sets this recipe apart is the maple glaze. It’s not the overly sugary kind you find on store-bought donuts. Instead, it’s smooth, perfectly balanced, and bursting with maple flavor. Plus, since these bars are baked, they have that homemade feel that makes every bite extra special.
Ingredients You’ll Need
This recipe uses simple, pantry-friendly ingredients to create the ultimate sweet treat. Here’s what you’ll need:
For the Donut Bars:
- 2 ½ cups (310g) all-purpose flour
- 1 tsp baking powder
- ½ tsp baking soda
- ¼ tsp salt
- ½ cup (115g) unsalted butter, softened
- ¾ cup (150g) granulated sugar
- 2 large eggs, room temperature
- ½ cup (120ml) buttermilk, room temperature
- 1 tsp vanilla extract
For the Maple Glaze:
- 1 cup (120g) powdered sugar
- 2 tbsp (30ml) pure maple syrup
- 2 tbsp (30ml) milk (adjust for consistency)
- 1 tsp vanilla extract
If you don’t have buttermilk on hand, a quick substitute is to mix ½ cup of milk with 1 tsp of lemon juice or vinegar—let it sit for a few minutes to curdle. And for the maple syrup, I always recommend using the real stuff for the best flavor!
Equipment You’ll Need
You don’t need much to make these maple donut bars, but having the right tools can make the process smoother:
- Mixing Bowls: One for dry ingredients and another for wet ingredients.
- Hand Mixer or Stand Mixer: To cream the butter and sugar effortlessly.
- Spatula: For folding the batter and scraping the bowl clean.
- 9×13-inch Baking Pan: Perfect for baking these bars evenly.
- Wire Rack: Essential for cooling the bars before glazing.
If you don’t have a 9×13-inch pan, you can use two smaller pans and adjust the baking time slightly. Just keep an eye on them!
Preparation Method
- Preheat Your Oven: Set your oven to 350°F (175°C). Grease and line a 9×13-inch baking pan with parchment paper for easy removal.
- Mix Dry Ingredients: In a medium bowl, whisk together the flour, baking powder, baking soda, and salt. Set aside.
- Cream Butter and Sugar: Using a hand mixer or stand mixer, beat the softened butter and sugar until light and fluffy—about 2-3 minutes.
- Add Wet Ingredients: Mix in the eggs one at a time, followed by the buttermilk and vanilla extract. The batter should be smooth.
- Combine Dry and Wet Mixtures: Gradually add the dry ingredients to the wet mixture, folding gently with a spatula until just combined. Avoid overmixing.
- Transfer to Pan: Pour the batter into the prepared baking pan, smoothing it out evenly.
- Bake: Bake for 25-30 minutes, or until a toothpick inserted in the center comes out clean. Let the bars cool in the pan for 10 minutes, then transfer to a wire rack to cool completely.
- Prepare the Glaze: In a small bowl, whisk together powdered sugar, maple syrup, milk, and vanilla extract until smooth. Adjust the milk for your desired glaze thickness.
- Glaze the Bars: Once the bars are completely cool, drizzle the glaze generously over the top. Let it set for 10 minutes before slicing and serving.
Pro tip: If your glaze is too runny, add a bit more powdered sugar. If it’s too thick, add a splash of milk. It’s all about finding that perfect drizzling consistency.
Cooking Tips & Techniques
- Room Temperature Ingredients: Allow your butter, eggs, and buttermilk to come to room temperature for a smoother batter.
- Avoid Overmixing: Overmixing can lead to dense bars instead of light, fluffy ones—fold gently!
- Test for Doneness: Use a toothpick to check if the bars are baked through. If it comes out clean, they’re ready!
- Cool Completely Before Glazing: Warm bars will cause the glaze to melt and slide off, so patience is key.
- Customize Your Glaze: Add a pinch of cinnamon or even a drop of maple extract for an extra flavor boost.
Variations & Adaptations
- Gluten-Free Option: Swap the all-purpose flour with a 1:1 gluten-free baking flour blend.
- Dairy-Free: Use dairy-free butter and almond milk in place of the regular versions. Coconut milk also works well for the glaze.
- Seasonal Twist: Add a sprinkle of nutmeg or pumpkin spice to the batter for an autumn-inspired flavor.
- Chocolate Maple Bars: Mix in mini chocolate chips to the batter for a decadent twist.
- Nutty Topping: Sprinkle crushed pecans or walnuts over the glaze for added crunch.
Personally, I love adding a pinch of sea salt to the glaze for that sweet-and-salty combo. It’s subtle but makes a big difference!
Serving & Storage Suggestions
These maple donut bars are best served slightly warm or at room temperature. Pair them with a hot cup of coffee or tea for the ultimate treat. For presentation, cut them into neat rectangles and arrange them on a serving platter. If you’re feeling fancy, garnish with a sprinkle of powdered sugar or a few crushed nuts.
To store, place the bars in an airtight container at room temperature for up to 2 days. For longer storage, refrigerate them for up to 5 days—just let them come to room temperature before serving. You can also freeze them (without glaze) for up to 2 months. Thaw and glaze once ready to eat!
Nutritional Information & Benefits
Here’s an estimate per serving (based on 12 bars):
- Calories: 210
- Fat: 8g
- Carbohydrates: 32g
- Protein: 3g
- Sugar: 20g
The real star here is the pure maple syrup, which is a natural sweetener packed with antioxidants. Plus, since these bars are baked and not fried, they’re lighter than traditional donuts while still delivering all the indulgence you crave.
Conclusion
There’s something magical about homemade baked goods, and these maple donut bars prove it. They’re soft, fluffy, and glazed to perfection—a true comfort food that’s easy to make and impossible to resist. Whether you’re baking for your family, friends, or just yourself, this recipe is guaranteed to delight.
Give these bars a try and let me know what you think! I’d love to hear your variations or see your creations—leave a comment below or tag me on social media. Happy baking!
FAQs
Can I use pancake syrup instead of pure maple syrup?
While you can use pancake syrup, I highly recommend using pure maple syrup for the best flavor.
What if I don’t have a 9×13-inch pan?
You can use two smaller pans, but you’ll need to adjust the baking time. Check for doneness with a toothpick.
Can I make these bars ahead of time?
Yes! You can bake the bars a day ahead and glaze them right before serving for the freshest look and taste.
How do I keep the glaze from running off?
Make sure your bars are completely cool before glazing and adjust the glaze’s thickness by adding more powdered sugar or milk as needed.
Can I freeze these donut bars?
Absolutely! Freeze the unglazed bars for up to 2 months. Thaw, glaze, and enjoy when ready.
Pin This Recipe!