

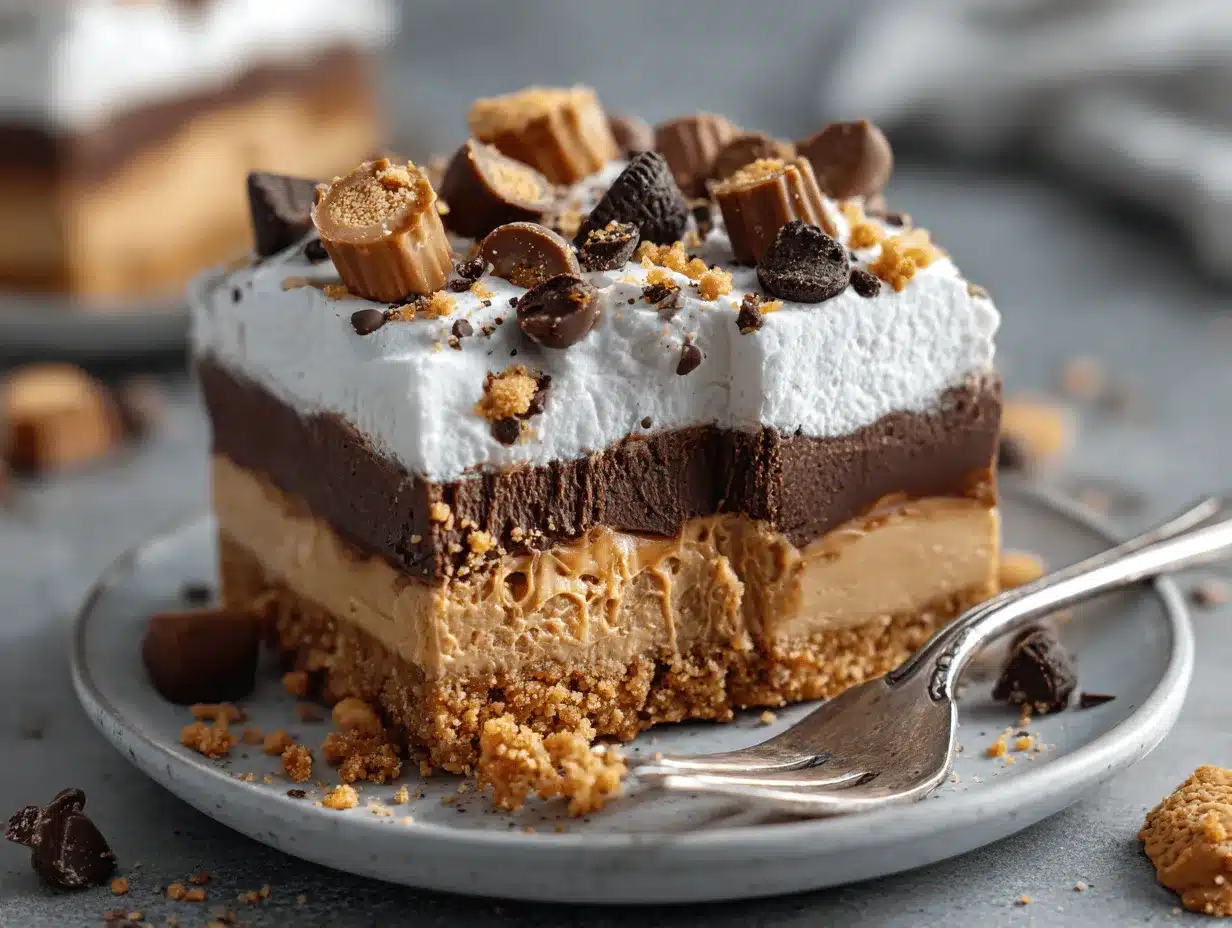
The perfect marriage of chocolate and peanut butter—what could be better? These Blissful Chocolate Peanut Butter Dream Bars are the ultimate no-bake dessert that delivers rich, creamy, and indulgent flavors without turning on the oven. Whether you’re craving a sweet treat for yourself or need a show-stopping dessert for a party, this recipe has you covered. Trust me, once you try these, they’ll become a staple in your dessert rotation!
I stumbled upon the idea for these bars when I needed a quick dessert for a last-minute gathering. I wanted something decadent but easy to whip up, and boy, did these deliver. Not only are they ridiculously simple to make, but they also have layers of texture and flavor—smooth peanut butter, crunchy graham crackers, and velvety chocolate. You’ll fall in love after the first bite!
Why You’ll Love This Recipe
- No-Bake Convenience: You don’t need an oven, which makes this recipe perfect for hot summer days or when you’re short on time.
- Simple Ingredients: Most of the ingredients are pantry staples, meaning you won’t have to run to the store.
- Kid-Friendly: Kids absolutely love the combination of chocolate and peanut butter, making this a family favorite.
- Customizable: You can tweak the layers to suit your taste, from adding a sprinkle of sea salt to swapping out graham crackers for crushed pretzels.
- Impressive Presentation: These bars look stunning and are always a hit at parties, potlucks, or holiday gatherings.
- Rich and Decadent: The creamy peanut butter layer paired with the smooth chocolate topping makes every bite pure bliss.
Unlike traditional desserts, these bars are effortless yet sophisticated. Plus, they hold up beautifully when chilled, making them a reliable choice for any occasion. You’ll love how quickly they come together and how satisfying they are to eat.
What Ingredients You Will Need
This recipe uses simple ingredients to create magical layers of flavor and texture. Here’s what you’ll need:
- Crushed Graham Crackers: About 1 ½ cups, finely crushed (you can use a food processor or place them in a zip-top bag and crush with a rolling pin).
- Unsalted Butter: ½ cup, melted (adds richness and helps bind the crust).
- Powdered Sugar: 1 cup (for sweetness and smooth texture).
- Peanut Butter: 1 cup, creamy (use natural peanut butter if you prefer a less sweet version).
- Chocolate Chips: 1 cup, semi-sweet or dark (choose your favorite for the topping).
- Heavy Cream: ¼ cup (helps create a smooth chocolate ganache).
- Vanilla Extract: 1 teaspoon (optional, but it adds depth to the peanut butter layer).
- Sea Salt: A pinch (optional, for sprinkling on top).
These ingredients make up the perfect layers of crunch, creaminess, and chocolatey goodness. Feel free to substitute or customize based on your preferences—this recipe is forgiving and versatile!
Equipment Needed
You don’t need anything fancy to whip up these dream bars. Here’s the equipment list:
- 9×9-inch Baking Pan: Ideal for layering and chilling your bars.
- Parchment Paper: Makes it easy to lift the bars out of the pan without sticking.
- Mixing Bowls: At least two, for the crust and the peanut butter layer.
- Spatula: For spreading and smoothing the layers evenly.
- Microwave-Safe Bowl: Useful for melting chocolate and butter.
- Rolling Pin: If crushing graham crackers manually.
If you don’t have a rolling pin, a heavy glass works just as well for crushing crackers. And while a microwave makes melting chocolate easy, you can use a double boiler for a more controlled melt.
Preparation Method
- Prepare the Pan: Line a 9×9-inch baking pan with parchment paper, leaving overhangs on the sides for easy lifting later.
- Make the Crust: Combine the crushed graham crackers and melted butter in a mixing bowl. Stir until the mixture resembles wet sand, then press it firmly into the bottom of the prepared pan. Chill in the refrigerator while you prepare the next layer.
- Prepare the Peanut Butter Layer: In another bowl, mix the peanut butter, powdered sugar, and vanilla extract (if using) until smooth. Spread this mixture evenly over the chilled crust using a spatula.
- Make the Chocolate Ganache: In a microwave-safe bowl, combine the chocolate chips and heavy cream. Microwave in 15-second intervals, stirring after each, until the chocolate is completely melted and smooth.
- Add the Chocolate Layer: Pour the melted chocolate ganache over the peanut butter layer and spread evenly with a spatula or the back of a spoon.
- Optional: Sprinkle Sea Salt: For a gourmet touch, sprinkle a pinch of sea salt over the chocolate layer.
- Chill: Place the bars in the refrigerator for at least 2 hours or until fully set.
- Slice and Serve: Use the parchment overhangs to lift the bars out of the pan. Slice into squares or rectangles and enjoy!
Pro Tip: Use a warm knife (dip it in hot water, then dry) to get clean slices without cracking the chocolate layer.
Cooking Tips & Techniques
- Room Temperature Ingredients: Bring peanut butter and heavy cream to room temperature before mixing for smoother layers.
- Chill Between Layers: Always chill the crust before adding the peanut butter layer, and the peanut butter layer before adding the chocolate. This ensures clean layers and prevents mixing.
- Avoid Overheating Chocolate: When melting chocolate, heat it in short intervals to avoid burning. If using a double boiler, stir constantly.
- Press Crust Firmly: Use the bottom of a measuring cup or glass to press the crust firmly into the pan for a sturdy base.
- Custom Garnishes: Add toppings like crushed peanuts, shredded coconut, or mini chocolate chips for extra flair.
Following these tips will guarantee picture-perfect bars every single time!
Variations & Adaptations
- Gluten-Free Option: Swap regular graham crackers for gluten-free ones.
- Dairy-Free Version: Use dairy-free chocolate chips and replace heavy cream with coconut cream.
- Nut-Free Alternative: Replace peanut butter with sunflower seed butter for a safe option.
- Seasonal Twist: Add a layer of jam between the peanut butter and chocolate for a PB&J-inspired dessert.
- Crunchy Base: Replace graham crackers with crushed pretzels for a salty-sweet combo.
I’ve tried the jam variation, and it’s a game-changer! Feel free to experiment and make these bars uniquely yours.
Serving & Storage Suggestions
These bars are best served chilled, straight from the fridge. Here are some tips:
- Serving: Serve them cold or slightly softened at room temperature for 5-10 minutes. Pair with a hot cup of coffee or a cold glass of milk.
- Storage: Store leftovers in an airtight container in the refrigerator for up to 5 days.
- Freezing: Wrap individual bars in plastic wrap and freeze for up to 2 months. Thaw in the refrigerator overnight before serving.
- Reheating: Skip reheating—these bars are meant to be enjoyed cold!
The flavors actually deepen over time, making them even more irresistible after a day or two in the fridge.
Nutritional Information & Benefits
Here’s an approximate breakdown for one serving (based on a 9-bar yield):
- Calories: 320
- Protein: 6g
- Carbs: 30g
- Fat: 22g
- Fiber: 2g
The peanut butter provides a good source of protein and healthy fats, while the chocolate offers antioxidants. Keep portion sizes in mind, as these bars are rich and indulgent!
Conclusion
These Blissful Chocolate Peanut Butter Dream Bars are a no-bake masterpiece that will impress everyone who tries them. With their creamy peanut butter layer, crunchy base, and decadent chocolate topping, they strike the perfect balance of flavor and texture. Plus, they’re easy to make and customizable to suit your taste preferences.
If you’re looking for a dessert that’s indulgent but simple, this recipe is your answer. Try it out and let me know how it goes in the comments below. Don’t forget to share pictures of your creations—I love seeing how others make this recipe their own!
Go ahead—grab your mixing bowls and make these dream bars today. They’re sure to become a household favorite!
FAQs
Can I use crunchy peanut butter instead of creamy?
Yes, crunchy peanut butter works perfectly if you prefer a bit of texture in the peanut butter layer.
What’s the best way to crush graham crackers?
If you don’t have a food processor, place the crackers in a zip-top bag and crush them with a rolling pin until fine.
Can I make these bars ahead of time?
Absolutely! These bars can be made a day or two in advance and stored in the fridge until you’re ready to serve.
How do I prevent the chocolate layer from cracking when slicing?
Use a warm knife to slice the bars—dip the blade in hot water, then dry before cutting.
Can I double this recipe for a larger batch?
Yes, simply use a larger pan (like a 9×13) and double all the ingredients. The layers and process remain the same.
Pin This Recipe!
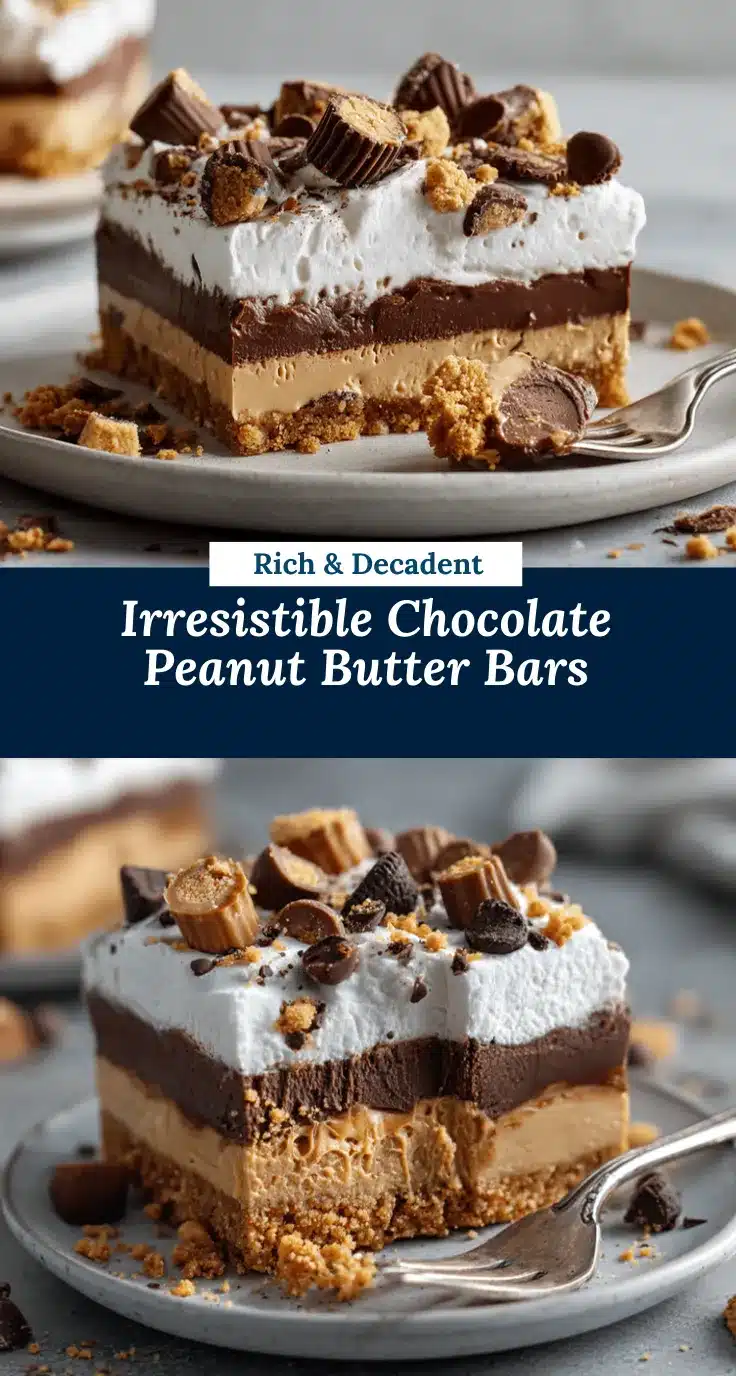

Blissful Chocolate Peanut Butter Dream Bars
These no-bake dessert bars combine creamy peanut butter, crunchy graham crackers, and velvety chocolate for a rich and indulgent treat perfect for any occasion.
- Total Time: 2 hours 15 minutes
- Yield: 9 servings 1x
Ingredients
- 1 ½ cups crushed graham crackers
- ½ cup unsalted butter, melted
- 1 cup powdered sugar
- 1 cup creamy peanut butter
- 1 cup semi-sweet or dark chocolate chips
- ¼ cup heavy cream
- 1 teaspoon vanilla extract (optional)
- A pinch of sea salt (optional)
Instructions
- Line a 9×9-inch baking pan with parchment paper, leaving overhangs on the sides for easy lifting later.
- Combine the crushed graham crackers and melted butter in a mixing bowl. Stir until the mixture resembles wet sand, then press it firmly into the bottom of the prepared pan. Chill in the refrigerator while you prepare the next layer.
- In another bowl, mix the peanut butter, powdered sugar, and vanilla extract (if using) until smooth. Spread this mixture evenly over the chilled crust using a spatula.
- In a microwave-safe bowl, combine the chocolate chips and heavy cream. Microwave in 15-second intervals, stirring after each, until the chocolate is completely melted and smooth.
- Pour the melted chocolate ganache over the peanut butter layer and spread evenly with a spatula or the back of a spoon.
- Optional: Sprinkle a pinch of sea salt over the chocolate layer for a gourmet touch.
- Place the bars in the refrigerator for at least 2 hours or until fully set.
- Use the parchment overhangs to lift the bars out of the pan. Slice into squares or rectangles and enjoy!
Notes
Use a warm knife to slice the bars cleanly without cracking the chocolate layer. Customize the recipe by adding toppings like crushed peanuts or shredded coconut.
- Prep Time: 15 minutes
- Cook Time: 0 minutes
- Category: Dessert
- Cuisine: American
Nutrition
- Serving Size: 1 bar
- Calories: 320
- Fat: 22
- Carbohydrates: 30
- Fiber: 2
- Protein: 6
Keywords: no-bake, chocolate, peanut butter, dessert, easy recipe, party dessert


