
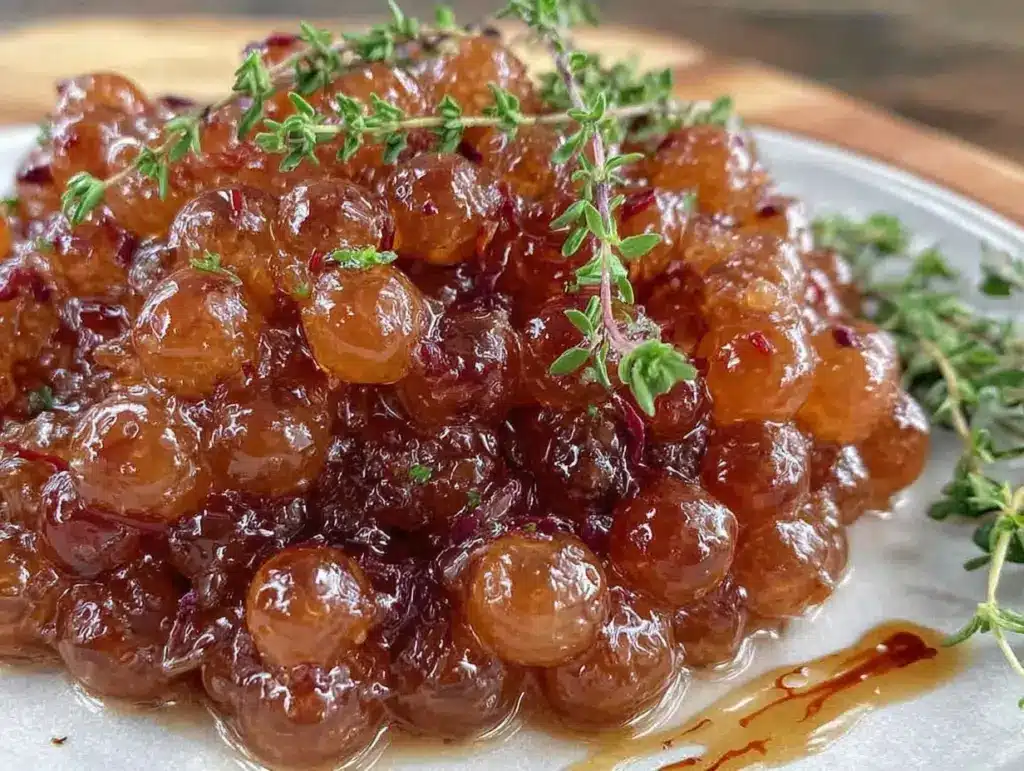
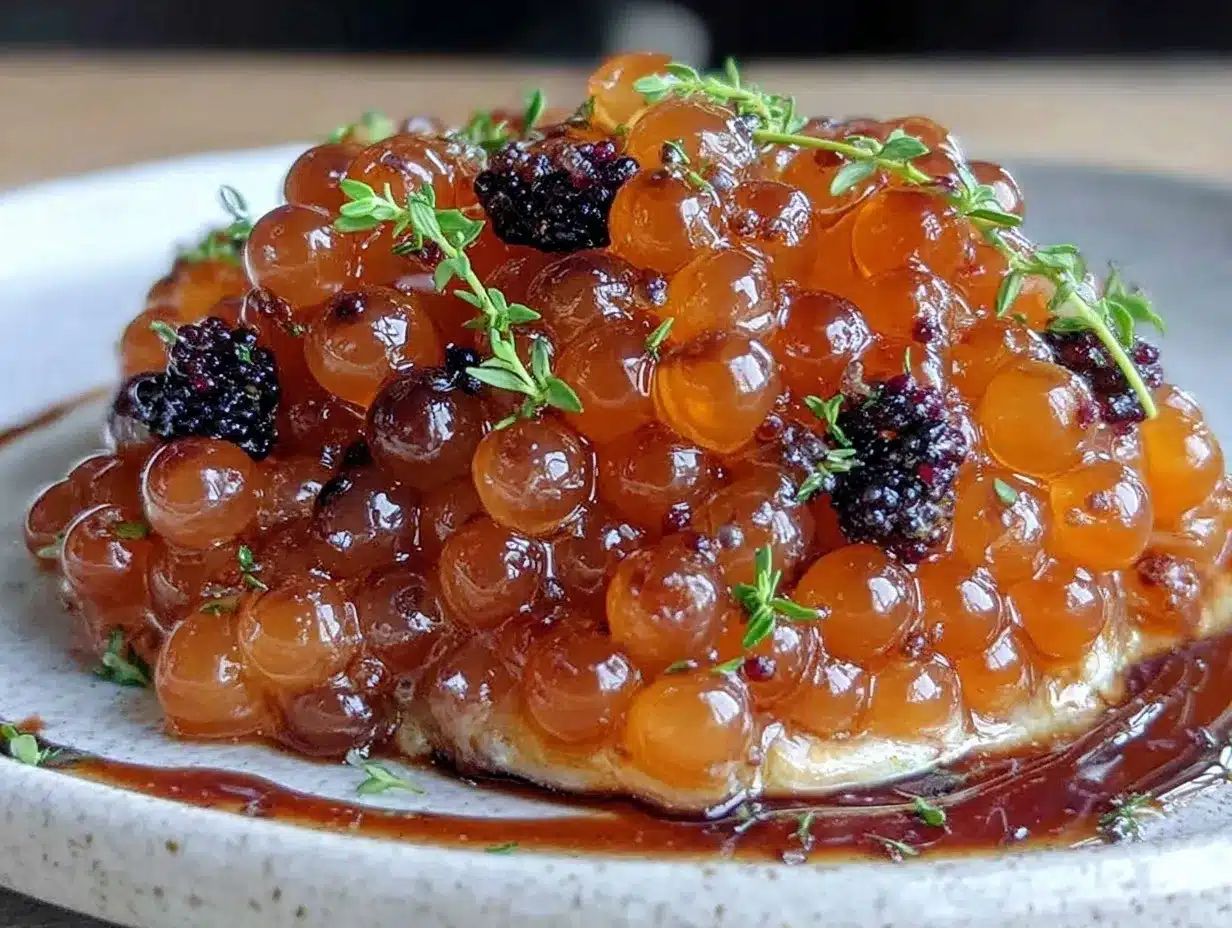
The first time I saw apple cider caviar pearls, I was mesmerized. Tiny, jewel-like spheres with the tangy sweetness of apple cider, bursting in your mouth with every bite. They look like something out of a high-end restaurant menu but are surprisingly easy to make at home. Trust me, once you master this recipe, you’ll have everyone asking for your secret to creating such a gourmet treat!
This recipe is perfect for impressing guests, adding flair to desserts, or simply indulging in the joy of culinary creativity. Whether you’re a seasoned home cook or trying something new, these apple cider caviar pearls are guaranteed to bring a smile to your face. Let’s dive into the delicious details!
Why You’ll Love This Recipe
- Easy to Make: Despite how fancy and complicated they look, apple cider caviar pearls come together with minimal effort. With just a few tools and some simple steps, you’ll have something truly unique.
- Show-Stopping Presentation: These pearls are visually stunning. Perfect for decorating desserts, cocktails, or even charcuterie boards, they’ll elevate (oops—make!) any dish look professional.
- Fun and Interactive: Making caviar pearls feels like a science experiment, and watching them form is as satisfying as popping bubble wrap. Great for cooking with kids or impressing friends.
- Deliciously Tangy: With the warm and cozy flavors of apple cider, these pearls are perfect for fall or holiday recipes. They taste as good as they look!
- Customizable: Not a fan of apple cider? You can swap it out for other juices like cranberry, orange, or pomegranate to suit your taste or the season.
This recipe isn’t just about flavor—it’s about delivering a memorable experience. Your guests will marvel at your creativity, and you’ll love how little effort it takes to achieve such impressive results!
What Ingredients You Will Need
Creating apple cider caviar pearls requires just a handful of ingredients, many of which you might already have at home. Let’s break it down:
- Apple cider: The star of the show! Choose a high-quality apple cider for the best flavor. For a less sweet option, you can use unsweetened cider.
- Agar-agar powder: This plant-based gelling agent is what makes the magic happen. You can find it at health food stores or online.
- Vegetable oil: Cold, neutral-flavored oil like canola or sunflower is ideal. It needs to be chilled before use to help the pearls form properly.
- Water: Used to prepare the agar-agar mixture.
- Optional flavor enhancers: A pinch of cinnamon or nutmeg can add a warm, autumnal touch to the pearls.
That’s it—no fancy ingredients required! Once you’ve gathered everything, you’re ready to turn simple components into a gourmet treat.
Equipment Needed
Here’s the list of kitchen tools you’ll need to make apple cider caviar pearls:
- Medium saucepan: For heating the apple cider and agar-agar mixture.
- Dropper or syringe: The key tool for creating those perfect little pearls.
- Large glass or bowl: Filled with chilled vegetable oil to drop the mixture into.
- Slotted spoon: Helps scoop out the formed pearls from the oil.
- Fine mesh strainer: For rinsing off excess oil from the pearls.
If you don’t have a dropper, you can use a small spoon or pipette, but a dropper will give you the most uniform pearls. For the chilled oil, I recommend placing it in the freezer for about 15 minutes before starting.
Preparation Method
- Chill the oil: Pour your vegetable oil into a large glass or bowl and place it in the freezer for at least 15 minutes. The oil needs to be cold but not frozen solid.
- Prepare the apple cider mixture: In a medium saucepan, combine 1 cup (240 ml) of apple cider with 1 teaspoon (5 g) of agar-agar powder. Whisk well to dissolve the powder.
- Heat the mixture: Place the saucepan over medium heat and bring the mixture to a gentle boil, stirring continuously. This activates the agar-agar, allowing the mixture to gel properly.
- Cool slightly: Let the apple cider mixture cool for about 5 minutes. It should still be warm but not too hot, as excessive heat can affect the formation of the pearls.
- Form the pearls: Using a dropper or syringe, slowly drop small amounts of the apple cider mixture into the chilled oil. The droplets will immediately solidify into round pearls as they hit the cold oil.
- Collect the pearls: Use a slotted spoon to remove the pearls from the oil. Place them in a fine mesh strainer.
- Rinse and drain: Rinse the pearls gently under cold water to remove any residual oil. Shake off excess water and transfer the pearls to a plate or container.
The pearls are ready to use! You can store them in the refrigerator for up to three days, but they’re best enjoyed fresh.
Cooking Tips & Techniques
Here are some tips to ensure your apple cider caviar pearls turn out perfectly every time:
- Chilling the oil: Make sure the oil is sufficiently cold, as this is crucial for the pearls to form properly. If the oil isn’t cold enough, the mixture might not solidify as expected.
- Dropping technique: Hold the dropper close to the oil when releasing the apple cider mixture to ensure round, uniform pearls.
- Avoid overheating: Don’t overheat the apple cider mixture—it should simmer gently but not boil aggressively. Too much heat can affect the agar-agar’s gelling properties.
- Experiment with flavors: Add a splash of vanilla extract or a sprinkle of spices like cinnamon or cloves to the apple cider mixture for a unique twist.
- Clean the pearls gently: Be gentle when rinsing the pearls to avoid damaging their delicate texture.
Practice makes perfect, so don’t worry if your first batch isn’t flawless. These tips will help you refine your technique and create beautiful pearls every time.
Variations & Adaptations
One of the best things about apple cider caviar pearls is how versatile they are. Here are a few ways to adapt this recipe:
- Dietary adjustments: Use organic apple cider and a plant-based oil if you’re aiming for a vegan-friendly recipe.
- Seasonal swaps: In the summer, try making pearls with lemonade or watermelon juice for a refreshing twist. In winter, opt for spiced cranberry juice for a festive vibe.
- Flavor customizations: Add a splash of bourbon or rum to the apple cider for an adult version that pairs beautifully with desserts.
- Allergy-friendly substitutions: If you or your guests are allergic to certain oils, use avocado or grapeseed oil instead.
- Personal twist: I once made these with maple syrup and apple cider mixed together—it was heavenly! Feel free to experiment with your own combinations.
Serving & Storage Suggestions
These apple cider caviar pearls are as versatile as they are delicious. Here’s how to serve and store them:
- Serving suggestions: Use them to garnish cakes, cupcakes, panna cotta, or yogurt parfaits. They’re also fantastic in cocktails or sparkling water for a pop of flavor.
- Presentation tips: Serve the pearls in small glass bowls or use them to decorate your dish for a touch of elegance.
- Storage instructions: Store the pearls in an airtight container in the refrigerator for up to three days. Make sure they are fully submerged in a small amount of water to keep them from drying out.
- Reheating tips: These pearls are best served cold, so there’s no need to reheat. However, if you must warm them slightly, do so gently in a bowl of warm water.
Their flavor and texture remain delightful for days, making them perfect for prepping ahead of time for parties or events.
Nutritional Information & Benefits
Apple cider caviar pearls are not just beautiful; they’re also a healthier way to add flavor to your dishes. Here’s a quick breakdown:
- Estimated calories: Approximately 15 calories per tablespoon of pearls.
- Health benefits: Apple cider is packed with antioxidants and vitamins, making these pearls a flavorful and nutritious addition to your meals.
- Dietary considerations: The recipe is vegan, gluten-free, and dairy-free, making it suitable for many diets.
- Allergy notes: Be mindful of the type of oil used, especially for guests with allergies. Choose neutral oils that suit their dietary needs.
Enjoy these pearls guilt-free, knowing they’re made from wholesome ingredients that are good for you!
Conclusion
If you’re looking for a simple yet sophisticated recipe that will wow your guests, these irresistible apple cider caviar pearls are just the ticket. They’re fun to make and even more fun to eat—little bursts of flavor that will have everyone talking.
Feel free to customize the recipe to suit your palate or the season. Add your own personal touch and share your creations in the comments below. I’d love to hear how you’ve made this recipe your own!
So grab your dropper and get ready to create something truly magical. You’ve got this—happy cooking!
FAQs
Can I use a different juice instead of apple cider?
Yes! You can substitute apple cider with any juice you like—cranberry, orange, or pomegranate work beautifully.
Do I need a special type of agar-agar?
Not really! Most powdered agar-agar available at stores will work fine. Just ensure you measure it accurately.
How long do the pearls last?
They can be stored in the refrigerator for up to three days. Make sure they’re submerged in water to maintain their texture.
Why isn’t my mixture forming pearls?
This usually happens if the oil isn’t cold enough. Make sure to chill it in the freezer before starting.
What if I don’t have a dropper or syringe?
You can use a small spoon to drop the mixture into the oil, though the pearls may be less uniform in size.
Pin This Recipe!
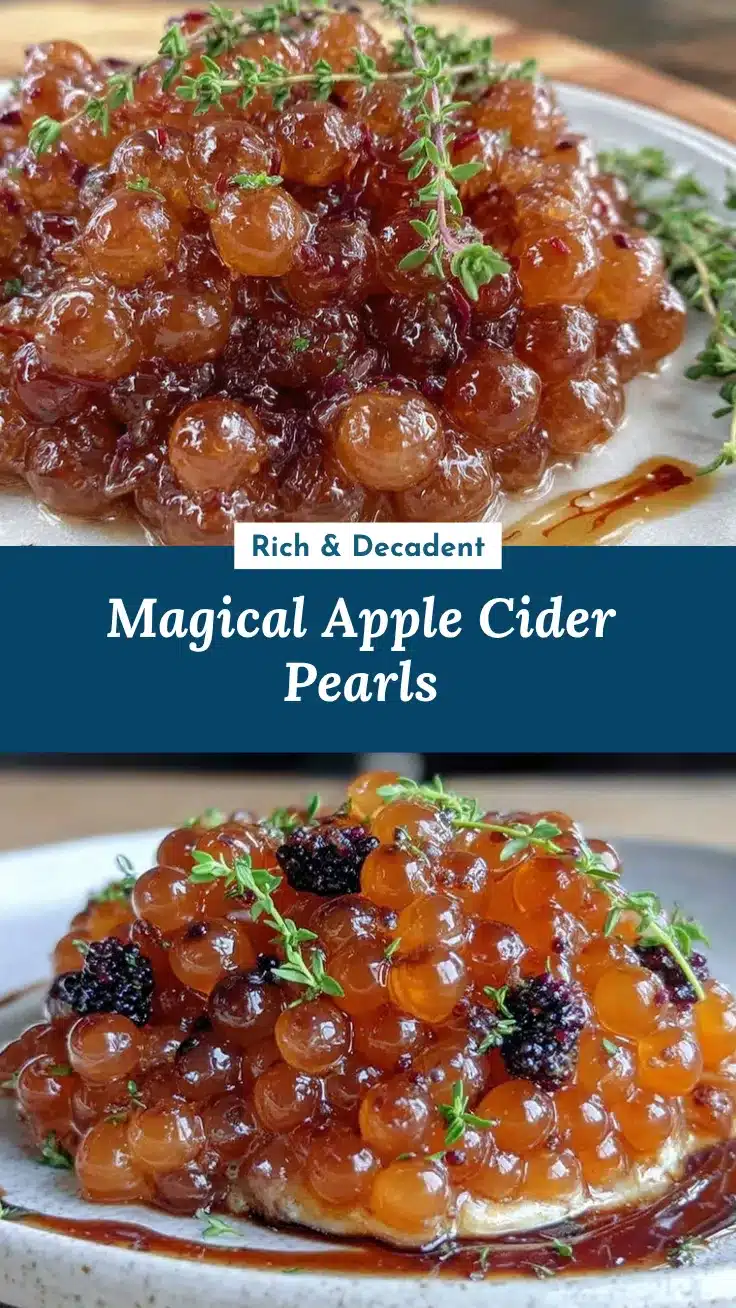

Apple Cider Caviar Pearls Recipe Easy Gourmet Treat
Tiny, jewel-like spheres with the tangy sweetness of apple cider, bursting in your mouth with every bite. Perfect for impressing guests or adding flair to desserts.
- Total Time: 30 minutes
- Yield: Approximately 1 cup of pearls 1x
Ingredients
- 1 cup (240 ml) apple cider
- 1 teaspoon (5 g) agar-agar powder
- Cold vegetable oil (e.g., canola or sunflower)
- Water
- Optional: pinch of cinnamon or nutmeg
Instructions
- Chill the oil: Pour vegetable oil into a large glass or bowl and place it in the freezer for at least 15 minutes.
- Prepare the apple cider mixture: Combine 1 cup of apple cider with 1 teaspoon of agar-agar powder in a medium saucepan. Whisk well to dissolve the powder.
- Heat the mixture: Place the saucepan over medium heat and bring the mixture to a gentle boil, stirring continuously.
- Cool slightly: Let the apple cider mixture cool for about 5 minutes until warm but not too hot.
- Form the pearls: Using a dropper or syringe, drop small amounts of the apple cider mixture into the chilled oil. The droplets will solidify into round pearls.
- Collect the pearls: Use a slotted spoon to remove the pearls from the oil and place them in a fine mesh strainer.
- Rinse and drain: Rinse the pearls gently under cold water to remove residual oil. Shake off excess water and transfer the pearls to a plate or container.
Notes
[‘Ensure the oil is sufficiently cold to form pearls properly.’, ‘Hold the dropper close to the oil for uniform pearls.’, “Avoid overheating the apple cider mixture to preserve agar-agar’s gelling properties.”, ‘Experiment with flavors like vanilla extract or spices for a unique twist.’, ‘Be gentle when rinsing the pearls to avoid damaging their texture.’]
- Prep Time: 20 minutes
- Cook Time: 10 minutes
- Category: Dessert
- Cuisine: American
Nutrition
- Serving Size: 1 tablespoon of pear
- Calories: 15
- Sugar: 3
- Carbohydrates: 4
Keywords: apple cider, caviar pearls, agar-agar, gourmet treat, vegan dessert, fall recipe


