
There’s something magical about caramel, isn’t there? The way it melts in your mouth, offering that perfect balance of sweet and buttery richness. If you’re a caramel lover like me, you’re in for a treat because today we’re making Caramel Crush Bars. This recipe is easy, indulgent, and guaranteed to make your taste buds dance! Whether you’re hosting a party or just craving a decadent homemade dessert, these bars are the answer. Trust me—once you try them, they’ll become a staple in your dessert rotation.
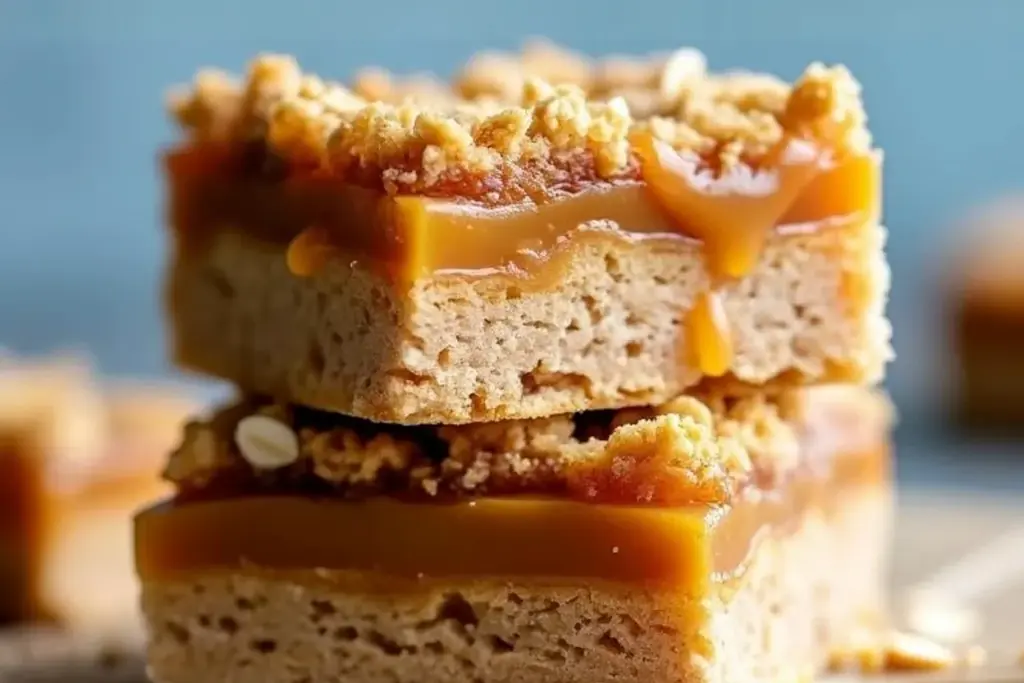
These bars combine layers of chewy caramel, buttery cookie base, and a touch of chocolate for pure bliss in every bite. The best part? They’re surprisingly easy to make, yet they look and taste like a bakery masterpiece. Ready to dive in?
The Story Behind Caramel Crush Bars
Caramel Crush Bars have a special place in my heart. I first came across a similar recipe in my grandmother’s tattered cookbook, filled with notes and splatters from decades of baking. She called them “Magic Bars,” and they were a hit at every family gathering. Over time, I tweaked the recipe to amp up the caramel flavor and added my own twists—like a sprinkle of sea salt and a chocolate drizzle.
This dessert feels like a hug in food form. It’s comforting, indulgent, and perfect for sharing (or not—no judgment here!). While caramel desserts are popular year-round, I think these bars are especially perfect for fall and winter, when you’re looking for something warm and cozy to enjoy with a cup of tea or coffee.
And let’s not forget the versatility: these bars are perfect for potlucks, holiday parties, or even a simple Wednesday night treat. They’re also a great way to show off your baking skills without spending hours in the kitchen. So, whether you’re new to caramel-based desserts or a seasoned baker, this recipe is right up your alley!
Ingredients for Caramel Crush Bars
Let’s talk ingredients! Each one plays a crucial role in making these bars rich and irresistible. Here’s what you’ll need:
- Butter: Unsalted butter works best here. It forms the base of the cookie layer and adds that melt-in-your-mouth texture.
- Brown Sugar: Gives the cookie base depth and a slight molasses flavor. If you don’t have brown sugar, you can use granulated sugar, but the flavor won’t be as rich.
- All-Purpose Flour: The foundation of the cookie crust. For a gluten-free option, you can substitute with a gluten-free all-purpose blend.
- Caramel Sauce: You can use store-bought or homemade caramel sauce. If you’re up for it, making your own caramel sauce adds an extra layer of flavor!
- Sweetened Condensed Milk: This is the secret to that ooey-gooey caramel layer. It combines with the caramel sauce for ultimate decadence.
- Chocolate Chips: Semi-sweet or dark chocolate chips work best, but feel free to experiment with milk chocolate or white chocolate for a different twist.
- Sea Salt: A sprinkle of flaky sea salt balances the sweetness and adds a gourmet touch.
- Optional Add-Ins: Chopped nuts (like pecans or walnuts) or shredded coconut for extra texture.
Pro Tip: For the best results, use high-quality caramel sauce and chocolate. It really makes a difference in the final flavor!
Equipment Needed
The best part about this recipe? You don’t need fancy equipment! Here’s what you’ll need:
- Mixing Bowls: A few medium-sized bowls for preparing the cookie layer and caramel topping.
- Whisk and Spatula: A whisk for mixing dry ingredients and a spatula for spreading the layers evenly.
- Baking Pan: A 9×13-inch pan works perfectly for this recipe. If you don’t have one, you can use an 8×8-inch pan for thicker bars.
- Parchment Paper: Lining the pan makes removing the bars a breeze.
- Cooling Rack: For cooling the bars before slicing.
Tip: If you’re using a glass or ceramic baking dish, reduce the oven temperature by 25°F to prevent overbrowning.
How to Make Caramel Crush Bars
- Preheat the Oven: Set your oven to 350°F (175°C). Line your baking pan with parchment paper, leaving some overhang for easy removal.
- Prepare the Cookie Base: In a mixing bowl, cream together 1 cup (226g) of unsalted butter and 1 cup (200g) of brown sugar until light and fluffy. Gradually add 2 cups (250g) of all-purpose flour and mix until combined. Press the mixture evenly into the lined pan.
- Bake the Base: Bake the crust for 10-12 minutes or until it’s lightly golden. Let it cool slightly.
- Make the Caramel Layer: In a saucepan, combine 1 cup (240ml) of caramel sauce with 1 can (14 oz/400ml) of sweetened condensed milk. Heat over medium-low, stirring constantly until smooth and bubbly.
- Add the Caramel: Pour the caramel mixture over the cooled cookie base, spreading it evenly with a spatula.
- Top with Chocolate Chips: Sprinkle 1 cup (175g) of chocolate chips evenly over the caramel layer. If desired, add a sprinkle of chopped nuts or shredded coconut.
- Bake Again: Return the pan to the oven and bake for another 15 minutes, or until the caramel is set and the chocolate is melted.
- Cool and Slice: Let the bars cool completely on a wire rack, then refrigerate for at least 1 hour to firm up. Use the parchment paper to lift them out of the pan and slice into squares.
Note: If the caramel seems too sticky when slicing, run your knife under hot water and wipe it dry between cuts.
Cooking Tips & Techniques
Here are some tips to make sure your Caramel Crush Bars turn out perfectly:
- Don’t Overbake: The cookie base should be just lightly golden before adding the caramel layer. Overbaking can make it too hard.
- Chill for Clean Slices: Refrigerating the bars before slicing helps firm up the caramel and chocolate layers for cleaner cuts.
- Use Room-Temperature Butter: Cold butter can make the crust mix unevenly. Let it soften for about 30 minutes before starting.
- Customize the Topping: Don’t be afraid to get creative! Add a drizzle of white chocolate or sprinkle crushed pretzels on top for a salty-sweet combo.
Variations & Adaptations
There’s no limit to how you can adapt this recipe! Here are some ideas:
- Nut-Free Version: Skip the optional nuts and replace them with mini marshmallows or extra chocolate chips.
- Gluten-Free Option: Use a gluten-free flour blend for the cookie base. Make sure your caramel sauce is gluten-free too!
- Seasonal Twist: Add a pinch of cinnamon or nutmeg to the cookie crust for a festive holiday flavor.
My personal favorite variation? Adding crushed pretzels to the caramel layer for a salty crunch. It’s a game-changer!
Serving & Storage Suggestions
These bars are best served at room temperature, but they’re equally delicious chilled. Here’s how to serve and store them:
- Serving Suggestions: Pair these bars with coffee, tea, or a scoop of vanilla ice cream. The contrast between warm caramel and cold ice cream is divine!
- Storage: Store the bars in an airtight container at room temperature for up to 3 days or in the refrigerator for up to 1 week.
- Freezing: Wrap individual bars in plastic wrap and freeze for up to 3 months. Thaw at room temperature before serving.
Nutritional Information & Benefits
While these bars are definitely a treat, here’s a quick breakdown of their nutritional profile (per serving, based on 16 bars):
- Calories: Approx. 250
- Fat: 12g
- Carbohydrates: 30g
- Protein: 2g
Key benefits? The caramel layer provides energy-boosting sugars, while the chocolate offers antioxidants. Just enjoy in moderation!
Conclusion
There you have it—Rich, Delicious Caramel Crush Bars, your new go-to dessert recipe. Whether you’re a caramel fanatic or just looking for a crowd-pleasing treat, these bars deliver on every level. They’re easy to make, irresistibly tasty, and perfect for any occasion.
I hope you give this recipe a try and share your thoughts! Do you have your own twist on caramel desserts? Let me know in the comments below. And don’t forget to share this recipe with your friends—it might just become their favorite too. Happy baking!
FAQs
Can I use margarine instead of butter?
Yes, but keep in mind that the flavor won’t be as rich. Unsalted butter is the best choice for this recipe.
Do I need to refrigerate the bars?
Refrigerating helps the layers firm up for cleaner slicing, but you can serve them at room temperature.
Can I make these bars ahead of time?
Absolutely! They store well in the fridge or freezer, making them perfect for prepping ahead of an event.
What’s the best way to cut these bars?
Use a sharp knife, run it under hot water, and wipe it dry between slices for clean cuts.
Can I use homemade caramel sauce?
Yes! Homemade caramel sauce adds incredible flavor, but store-bought works just fine too.


