
Introduction
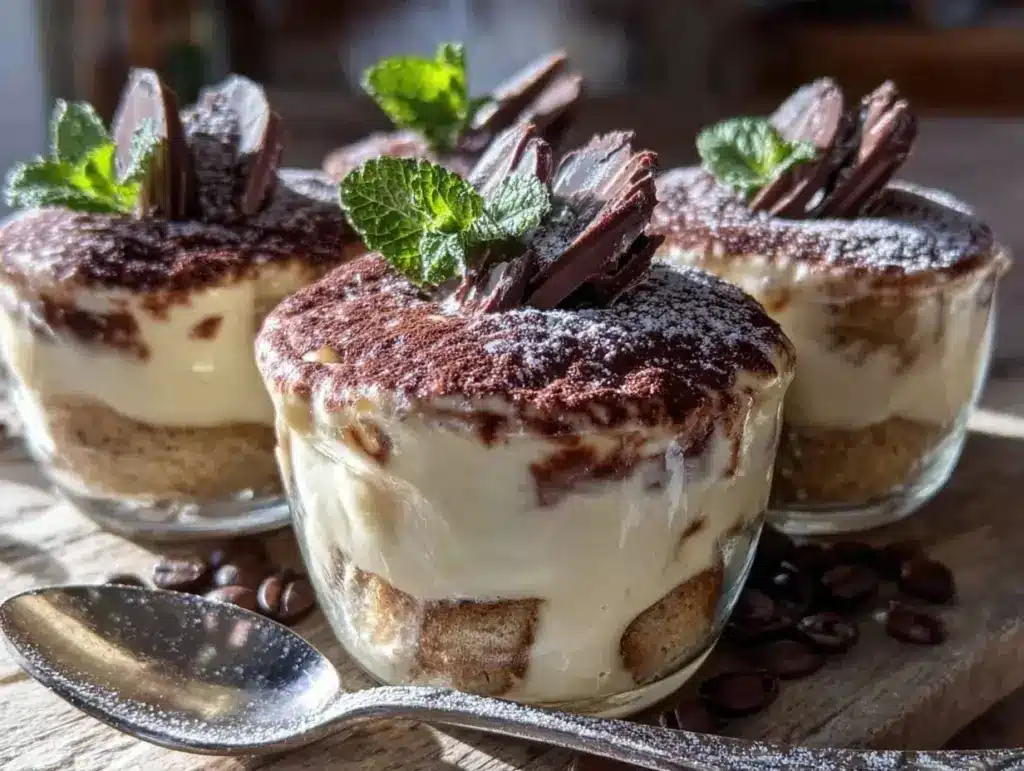
There was this one rainy afternoon when I found myself craving something sweet but didn’t want to wrestle with a complicated dessert. Honestly, the idea of firing up the oven felt like too much effort, and I had zero patience for waiting. That’s when I stumbled upon the idea of these creamy no-bake tiramisu cups. At first, I was skeptical—how could a no-bake version of such a classic Italian dessert really hold up? But as I layered those soft ladyfingers soaked in espresso with the luscious mascarpone mixture, something magic happened.
It wasn’t just convenience that hooked me; it was that smooth, dreamy texture paired with that subtle coffee kick. I remember sitting by the window, spoon in hand, watching the drizzle outside, and realizing this simple dessert had turned a slightly gloomy day into a cozy little celebration. Since then, I’ve made these tiramisu cups more times than I can count—each time with slight tweaks, but always with the same creamy, indulgent heart. They’re perfect when you want a fuss-free treat that feels fancy but comes together in a snap.
There’s something quietly satisfying about this recipe—no oven, no stress, just a few ingredients coming together into something that feels like a hug in a cup. It’s become my go-to when I want to impress without the usual kitchen chaos. And honestly? That’s why these creamy no-bake tiramisu cups have stuck around in my rotation, reminding me that indulgence doesn’t have to be complicated.
Why You’ll Love This Recipe
- Quick & Easy: Ready in about 20 minutes, making it perfect for busy evenings or spontaneous dessert cravings.
- Simple Ingredients: Uses pantry staples like espresso, ladyfingers, mascarpone, and a few others—no hunting for rare items.
- Perfect for Gatherings: These individual cups are great for parties, dinner guests, or even a sweet treat for yourself.
- Crowd-Pleaser: The balance of creamy, coffee-soaked layers never fails to impress both kids and adults alike.
- Unbelievably Delicious: The texture is silky and luscious, with just the right hint of cocoa and coffee bitterness to keep it interesting.
This isn’t just another tiramisu recipe floating around. I’ve tested blending the mascarpone with a touch of whipped cream for that ultra-smooth and light texture that feels indulgent but not heavy. The espresso soak is just enough to give a bold coffee flavor without overpowering. Plus, making it in cups means you get that perfect portion every time—no slicing, no mess.
It’s that kind of dessert you can whip up when you want to impress quietly, without a big production. The kind that nails that sweet spot between rich indulgence and effortless preparation. Honestly, these tiramisu cups make me want to slow down and savor the moment—something rare these days.
What Ingredients You Will Need
This recipe relies on simple, wholesome ingredients that come together to create that classic tiramisu flavor and texture without fuss. You’ll find most of these are pantry staples, and substitutions are easy if needed.
- Ladyfingers: about 24 pieces (store-bought is fine; I like Savoiardi for their crispness)
- Espresso or Strong Coffee: 1 cup (240 ml), cooled (freshly brewed is best for that robust flavor)
- Mascarpone Cheese: 8 ounces (225 g), softened (look for full-fat mascarpone for the creamiest texture)
- Heavy Whipping Cream: 1 cup (240 ml), chilled (helps lighten the mascarpone for a fluffy finish)
- Granulated Sugar: ⅓ cup (65 g) (feel free to adjust sweetness based on your taste)
- Vanilla Extract: 1 teaspoon (adds a warm note to the cream mixture)
- Cocoa Powder: for dusting (unsweetened, for that classic bittersweet finish)
- Optional: Coffee liqueur such as Kahlúa, 2 tablespoons (for an adult twist)
If you want to make it dairy-free, swapping mascarpone for a blend of coconut cream and vegan cream cheese works surprisingly well (just keep the ratios similar). For a gluten-free option, look for gluten-free ladyfingers or substitute with thin almond cookies. When it comes to espresso, I usually use a medium roast freshly brewed in my espresso machine, but strong brewed coffee works just fine too.
Equipment Needed
- Mixing bowls (one large for cream mixture, one medium for espresso soak)
- Electric mixer or whisk (to whip the cream smoothly)
- Measuring cups and spoons (for accuracy)
- Small dessert cups or glasses (about 6 to 8, depending on serving size)
- Sifter or fine mesh strainer (for dusting cocoa powder evenly)
- Spoon or small spatula (for layering the tiramisu)
If you don’t have an electric mixer, a sturdy whisk and some elbow grease will do the trick—just whip the cream until soft peaks form. For dessert cups, I’ve used everything from small mason jars to stemless wine glasses—whatever you have on hand, really. I recommend washing the sifter immediately after use to prevent cocoa powder clumping, which can be a pain to clean once dry.
Preparation Method
- Prepare the espresso soak: Brew one cup (240 ml) of espresso or strong coffee and let it cool completely. If you’re using coffee liqueur, mix it into the cooled espresso now. This step usually takes about 10 minutes if you brew fresh.
- Whip the cream: In a large bowl, pour 1 cup (240 ml) of chilled heavy whipping cream. Using an electric mixer or whisk, whip on medium-high speed until soft peaks begin to form—this should take about 3-5 minutes. The cream should be fluffy but not too stiff.
- Mix mascarpone and sugar: In a separate bowl, combine 8 ounces (225 g) softened mascarpone cheese with ⅓ cup (65 g) granulated sugar and 1 teaspoon vanilla extract. Stir gently until smooth and creamy. Avoid overmixing to keep it light.
- Fold whipped cream into mascarpone: Carefully fold the whipped cream into the mascarpone mixture using a spatula. This helps keep the mixture airy and smooth—try not to deflate it.
- Soak the ladyfingers: Quickly dip each ladyfinger into the cooled espresso mixture—just a second or two per side. They should be moist but not soggy, or they’ll fall apart when layered.
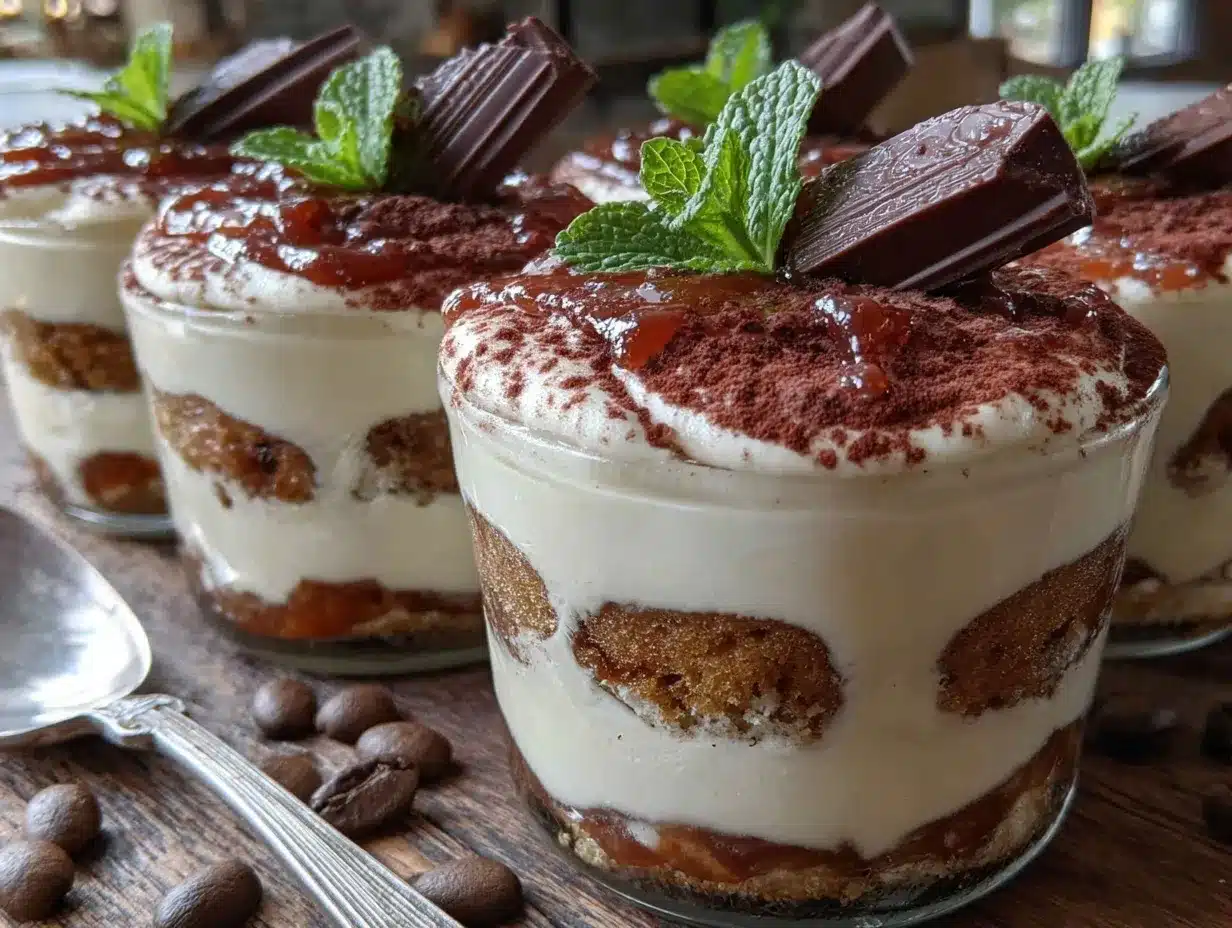
- Assemble the cups: Start with a layer of soaked ladyfingers at the bottom of each cup (about 3-4 pieces depending on cup size). Spoon a generous layer of the mascarpone cream on top. Repeat layering once more, finishing with a mascarpone layer.
- Chill the tiramisu cups: Cover the cups with plastic wrap and refrigerate for at least 4 hours, ideally overnight. This allows the flavors to meld, and the texture to set perfectly.
- Serve and dust: Just before serving, dust the tops generously with unsweetened cocoa powder using a sifter. This final touch adds that classic tiramisu look and a slight bitterness to balance the sweet cream.
Be patient with the soaking step—too long and the ladyfingers get mushy, too short and they stay dry. You can tell you’ve got it right when they’re soft but still hold their shape. Also, folding the whipped cream gently makes a huge difference in the final texture, so take your time there.
Cooking Tips & Techniques
One thing I learned early on is to never rush chilling. The tiramisu cups need at least 4 hours in the fridge for the flavors to marry and the cream to firm up nicely. I’ve tried serving them right after assembling, and it just doesn’t have the same luscious texture.
When dipping ladyfingers, remember they soak up espresso fast. I usually dip for just 1-2 seconds per side, then place them on a plate briefly to drain excess liquid. This keeps the layers from becoming overly wet.
Whipping the cream to soft peaks—not too soft, not too stiff—is key. If it’s under-whipped, the mascarpone mix can feel heavy and dense. Over-whipped cream can turn buttery and separate, which ruins that silky mouthfeel. I learned this the hard way after a few batches!
If you want to save time, you can prepare the cream mix the day before and refrigerate it. Just fold in the whipped cream fresh before layering to keep things light. Also, if you don’t have an espresso machine, strong brewed coffee or instant espresso powder mixed with hot water works fine.
Don’t skimp on the cocoa powder dusting. It’s the finishing touch that balances the sweetness and adds a classic tiramisu look. I often sift a little extra on top just before serving for that delicate bitterness.
Variations & Adaptations
- Berry Tiramisu Cups: Add a layer of fresh raspberries or strawberries between the mascarpone and ladyfinger layers for a fruity twist.
- Chocolate Lover’s Version: Mix a tablespoon of cocoa powder into the mascarpone cream and sprinkle mini chocolate chips between layers.
- Dairy-Free Alternative: Swap mascarpone with blended silken tofu and coconut cream, and use dairy-free ladyfingers or gluten-free cookies.
- Matcha Tiramisu: Replace espresso soak with cooled matcha green tea, and dust with matcha powder instead of cocoa for a fresh, earthy flavor.
- Adult Twist: Add coffee liqueur or a splash of rum to the espresso soak for a boozy kick.
Once, I tried mixing in a bit of orange zest into the mascarpone cream for a subtle citrus note. It was surprisingly refreshing and added a bright contrast to the rich coffee flavor. Feel free to experiment with extracts like almond or hazelnut to customize your cups.
Serving & Storage Suggestions
Serve these tiramisu cups chilled—straight from the fridge for that perfect creamy texture. They look lovely in clear glass cups so the layers show through, which always gets compliments. I like pairing them with a strong espresso or a creamy latte for a complete coffee-infused experience.
If you have leftovers, cover tightly and keep refrigerated for up to 3 days. The flavors actually deepen over time, making the texture even more luscious. Just avoid freezing, as it can change the cream’s consistency.
When reheating, it’s best to enjoy them cold, but if you must warm slightly, let the cup sit at room temperature for 10 minutes. Avoid microwaving or the cream can separate. The dusted cocoa powder will soften a bit but still tastes great.
Nutritional Information & Benefits
Each serving of these creamy no-bake tiramisu cups contains roughly 350-400 calories, mostly from the mascarpone and cream. They’re moderate in carbs and sugars, making them a reasonable treat when enjoyed in moderation.
Mascarpone cheese provides a good amount of calcium and vitamin A, while the espresso adds a natural caffeine boost without added sugars. Using fresh ingredients and controlling the sugar content helps keep this dessert from feeling overly heavy or artificial.
For those watching gluten intake, using gluten-free ladyfingers or cookies makes this recipe accessible. The recipe is naturally vegetarian but not vegan unless substitutions are made.
I find this dessert a satisfying way to indulge without going overboard—especially when shared with friends or family, it feels like a little moment of joy and connection.
Conclusion
The creamy no-bake tiramisu cups are proof that indulgence can be simple, quick, and utterly delicious. Whether you’re short on time or just want to skip the oven, this recipe fits the bill with its silky layers and classic flavors. I love how it feels like a special treat without the usual fuss or mess.
Feel free to tweak the coffee strength, sweetness, or add your own spin with berries or chocolate. That’s what makes it so fun and approachable. For me, it’s more than just dessert—it’s a small ritual that turns a regular day into something a bit sweeter.
Give it a try, and I’d love to hear how you make it your own. Share your twists, questions, or favorite moments enjoying these cups. Here’s to creamy, easy indulgence that never disappoints.
FAQs
Can I make these tiramisu cups ahead of time?
Absolutely! They actually taste better after chilling for 4 hours or overnight, which helps the flavors meld and the texture set perfectly.
What can I use if I don’t have mascarpone cheese?
You can substitute with a mix of cream cheese and heavy cream, or for a lighter option, blend ricotta with a bit of yogurt, but the texture will be slightly different.
How long do tiramisu cups last in the fridge?
Store them covered in the refrigerator for up to 3 days. Avoid freezing, as it can affect the creamy texture.
Can I use regular cookies instead of ladyfingers?
Yes, thin butter cookies or sponge cake slices can work. Just make sure they’re not too dense or they might not absorb the espresso well.
Is there a way to make this recipe vegan?
Yes! Use dairy-free cream alternatives like coconut cream, a vegan cream cheese substitute, and gluten-free vegan cookies or ladyfingers. Adjust sweetness as needed.
Pin This Recipe!
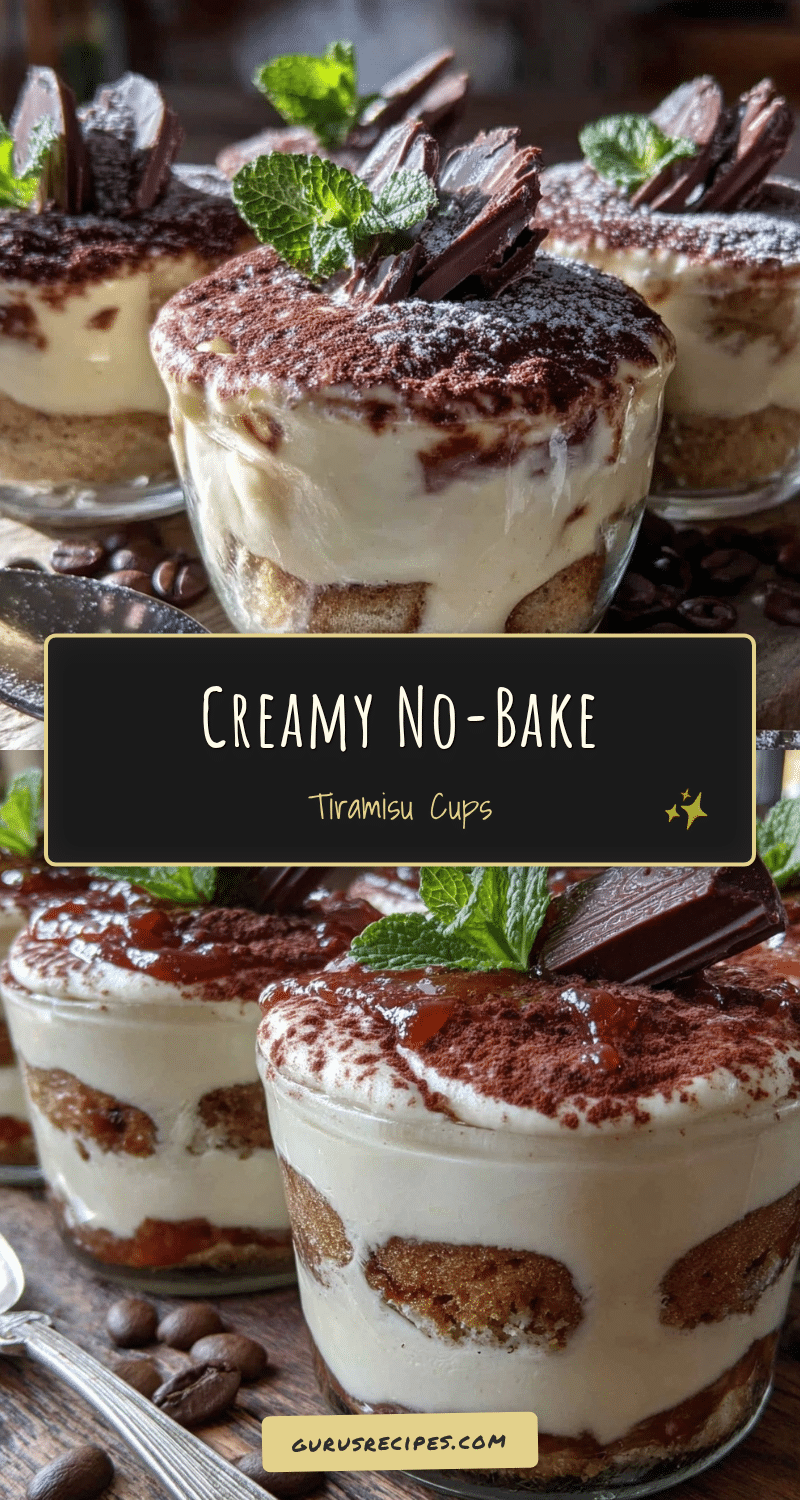

Creamy No-Bake Tiramisu Cups
A quick and easy no-bake tiramisu dessert featuring layers of espresso-soaked ladyfingers and a luscious mascarpone cream, perfect for a fuss-free indulgence.
- Total Time: 4 hours 15 minutes
- Yield: 6 to 8 servings 1x
Ingredients
- 24 ladyfingers (store-bought, Savoiardi preferred)
- 1 cup (240 ml) espresso or strong coffee, cooled
- 8 ounces (225 g) mascarpone cheese, softened
- 1 cup (240 ml) heavy whipping cream, chilled
- ⅓ cup (65 g) granulated sugar
- 1 teaspoon vanilla extract
- Unsweetened cocoa powder, for dusting
- Optional: 2 tablespoons coffee liqueur such as Kahlúa
Instructions
- Prepare the espresso soak: Brew 1 cup (240 ml) of espresso or strong coffee and let it cool completely. Mix in coffee liqueur if using.
- Whip the cream: In a large bowl, whip 1 cup (240 ml) of chilled heavy whipping cream until soft peaks form (3-5 minutes).
- Mix mascarpone and sugar: In a separate bowl, combine 8 ounces (225 g) softened mascarpone cheese, ⅓ cup (65 g) granulated sugar, and 1 teaspoon vanilla extract until smooth.
- Fold whipped cream into mascarpone mixture gently to keep it airy.
- Soak ladyfingers quickly in the cooled espresso mixture for 1-2 seconds per side; they should be moist but not soggy.
- Assemble cups: Layer 3-4 soaked ladyfingers at the bottom of each cup, spoon mascarpone cream on top, then repeat layering once more, finishing with mascarpone cream.
- Chill the tiramisu cups covered in the refrigerator for at least 4 hours or overnight.
- Before serving, dust the tops generously with unsweetened cocoa powder.
Notes
Do not soak ladyfingers too long to avoid sogginess. Whip cream to soft peaks for best texture. Chill at least 4 hours for flavors to meld and texture to set. Cocoa powder dusting adds classic bitterness and appearance. Can substitute mascarpone and ladyfingers for dairy-free or gluten-free versions.
- Prep Time: 15 minutes
- Cook Time: 0 minutes
- Category: Dessert
- Cuisine: Italian
Nutrition
- Serving Size: 1 cup serving
- Calories: 375
- Sugar: 16
- Sodium: 70
- Fat: 28
- Saturated Fat: 17
- Carbohydrates: 22
- Fiber: 1
- Protein: 5
Keywords: no-bake tiramisu, tiramisu cups, easy tiramisu, quick dessert, mascarpone dessert, coffee dessert, no oven dessert


