
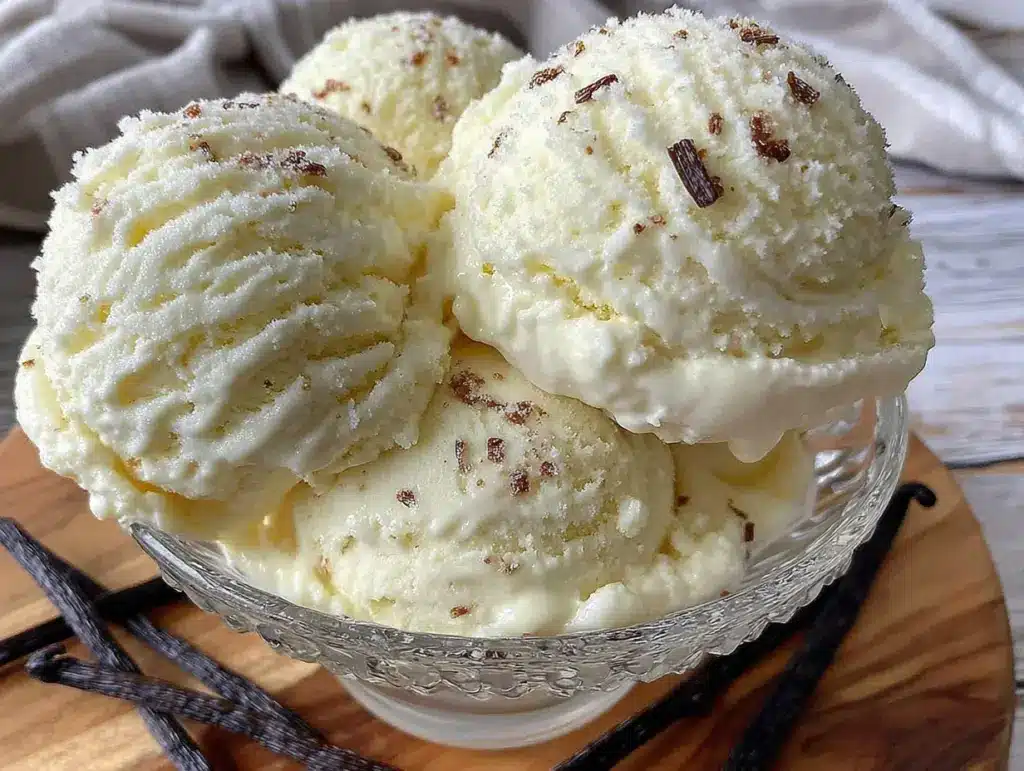
It was one of those late spring evenings when the heat just lingers stubbornly, and honestly, the last thing I wanted was to crank up the oven or fuss with complicated recipes. I remember standing in my kitchen, staring at the freezer, thinking, “Wouldn’t it be great if I could whip up some ice cream without all the usual hassle?” That’s how this creamy no-churn vanilla ice cream with 3 simple ingredients came to be a bit of an obsession for me. I was skeptical at first—no fancy ice cream maker, no tempering eggs, just a few staples from my pantry and fridge.
The first time I made it, I barely let it freeze fully before sneaking a spoonful. The texture was shockingly smooth—like the good stuff you’d find in a gelato shop, but way easier and faster. Honestly, it felt a little like a magic trick that I couldn’t stop repeating all week. The simplicity of just three ingredients somehow made it feel approachable but still indulgent, which is a rare combo.
Since then, it’s become my go-to recipe whenever I need a quick, satisfying treat that doesn’t require much brainpower or prep time. That quiet realization—that sometimes the best things come from the simplest ideas—keeps me coming back. It’s comforting, reliable, and perfect for those evenings when you want something homemade but fuss-free.
Why You’ll Love This Recipe
- Quick & Easy: Ready in under 10 minutes of prep time, perfect for busy schedules or last-minute dessert cravings.
- Simple Ingredients: Only three pantry staples—no need for specialty ingredients or extra shopping trips.
- Perfect for Summer: Ideal for cooling off on hot days or serving at casual get-togethers.
- Crowd-Pleaser: Loved by kids and adults alike because it’s creamy, sweet, and utterly satisfying.
- Unbelievably Delicious: The rich vanilla flavor combined with the luscious texture feels like a treat but without the fuss.
- This recipe stands out because it skips the churning and eggs but delivers that smooth, creamy mouthfeel you expect from classic ice cream.
- The magic lies in folding whipped cream into sweetened condensed milk infused with vanilla—simple, yet so effective.
- It’s the kind of recipe that turns a handful of everyday ingredients into a moment of genuine indulgence, without any stress.
What Ingredients You Will Need
This recipe uses simple, wholesome ingredients to deliver bold flavor and satisfying texture without the fuss. These are pantry and fridge staples that most people have on hand, making it super convenient for spontaneous ice cream cravings.
- Heavy Whipping Cream (2 cups / 480 ml) – For that airy, creamy base. I like using organic cream for the best texture and flavor.
- Sweetened Condensed Milk (1 can / 14 oz / 396 g) – This adds sweetness and richness, acting as the sweetener and binder. Brands like Eagle Brand work well here.
- Pure Vanilla Extract (1 tablespoon) – The soul of the recipe. Use a good-quality vanilla extract (not imitation) for the best aroma and taste.
Substitution tips: For a dairy-free option, swap heavy cream with full-fat coconut cream and use sweetened condensed coconut milk. You can also experiment with adding a pinch of salt to balance the sweetness, but it’s optional. If you want a stronger vanilla punch, a vanilla bean scraped into the mixture works like a charm, though it’s not necessary.
Equipment Needed
- Mixing Bowl: A large, chilled bowl is best for whipping the cream; it helps it hold its volume.
- Electric Hand Mixer or Stand Mixer: Essential for whipping the cream to stiff peaks quickly and evenly.
- Spatula: Use a rubber or silicone spatula for gently folding the condensed milk into the whipped cream without deflating it.
- Freezer-Safe Container: Any airtight container will do; I prefer glass for better cold retention and easy cleanup.
If you don’t have an electric mixer, a whisk can work, but it’ll require some serious arm power and patience. Also, a chilled bowl and beaters make a big difference in whipping success, so keep them in the fridge if you can.
Preparation Method
- Chill your mixing bowl and beaters: Pop them in the fridge or freezer for about 15 minutes before starting. This helps the cream whip faster and fluffier.
- Pour the heavy whipping cream into the chilled bowl: Using your electric mixer, beat the cream on medium-high speed until soft peaks form (about 3-4 minutes). It should look billowy and hold shape but still be slightly soft to the touch.
- Add the vanilla extract to the sweetened condensed milk: Stir gently to combine, ensuring the vanilla is evenly distributed throughout the milk.
- Fold the condensed milk mixture into the whipped cream: Using your spatula, carefully fold the two together in gentle motions—think of folding a souffle—until well combined but without deflating the cream. This usually takes about 1-2 minutes.
- Transfer the mixture into a freezer-safe container: Smooth the top with the spatula, cover tightly with a lid or plastic wrap.
- Freeze for at least 6 hours or overnight: The ice cream will firm up beautifully, developing a creamy texture without ice crystals. For best results, let it sit at room temperature for 5-10 minutes before scooping.
Tip: If your whipped cream starts to look grainy or separated, stop immediately—you’ve overwhipped. Just start over or gently fold in a bit more fresh cream to fix it.
Cooking Tips & Techniques
One of the secrets to this recipe’s creamy texture is the gentle folding technique. You want to mix the condensed milk and whipped cream just enough to combine but not so much that you lose all the air trapped in the whipped cream. That air is what makes the ice cream light and fluffy, despite having no churning.
Another tip: chilling your mixing bowl and beaters before whipping cream really does make a difference—warm tools can turn your cream into a sad, runny mess. Also, be patient when whipping the cream; it might take a few minutes but keep an eye on the texture to avoid overwhipping, which can turn your cream into butter.
When freezing, use an airtight container to prevent ice crystals and freezer burn. I’ve learned the hard way that loosely covered ice cream develops a grainy texture that ruins the experience. Lastly, a little patience before scooping allows the ice cream to soften just enough for perfect scoops instead of rock-hard chunks.
Variations & Adaptations
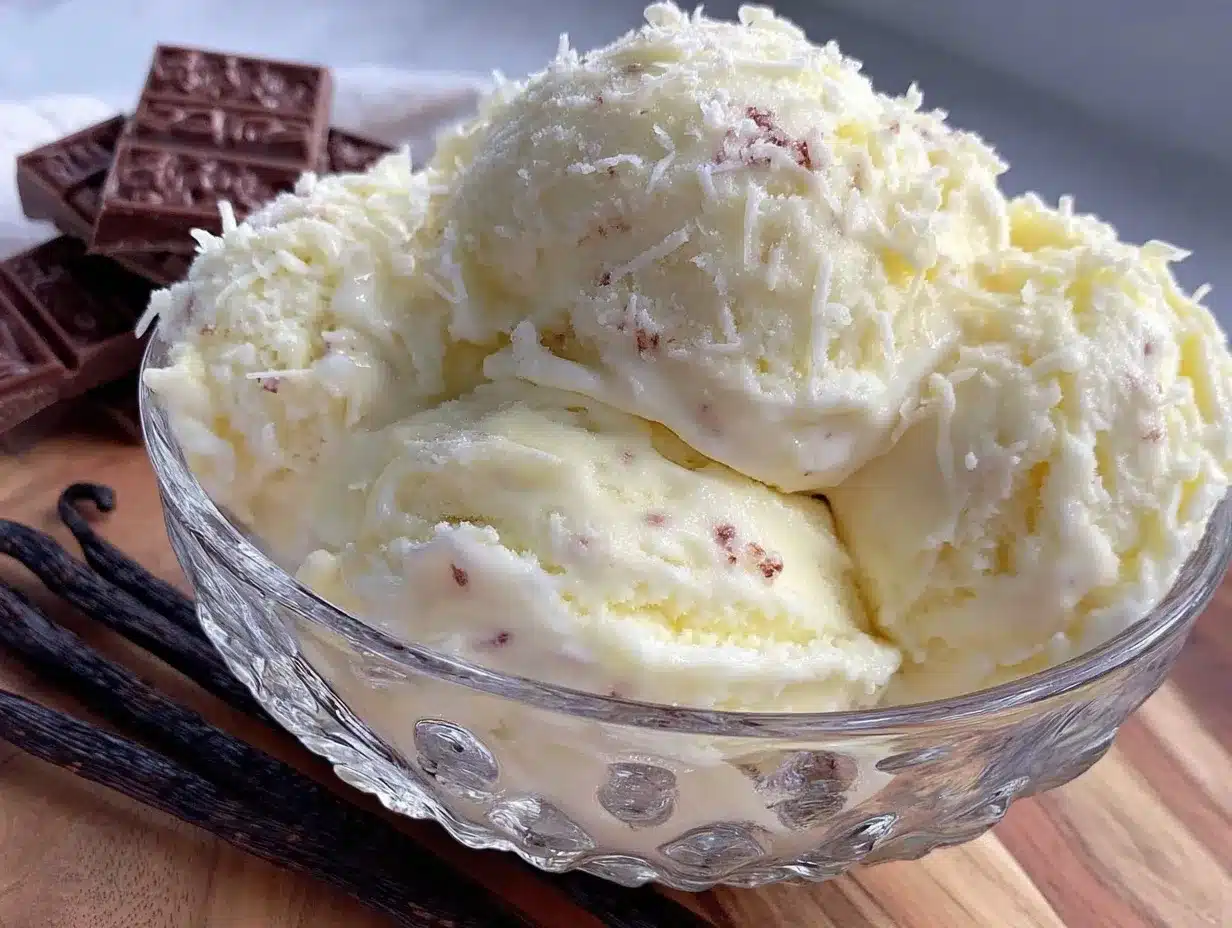
- Chocolate Swirl: Gently fold in ¼ cup (60 ml) of melted dark chocolate or chocolate syrup before freezing for a marbled effect.
- Berry Bliss: Fold in ½ cup (75 g) of fresh or frozen berries (blueberries, raspberries) for a fruity twist. You can also puree the berries and swirl them in.
- Dairy-Free Version: Use full-fat coconut cream instead of heavy cream and sweetened condensed coconut milk as a substitute. The result is delightfully tropical and creamy.
- Try adding a pinch of cinnamon or nutmeg to the vanilla for a warming spice note that’s subtle but inviting.
- For a boozy touch, add a tablespoon of bourbon or rum to the condensed milk mixture before folding.
I once experimented with folding in crushed toasted almonds and a drizzle of honey for a crunchy, sweet surprise that was a hit at a summer picnic. Feel free to get creative!
Serving & Storage Suggestions
This creamy no-churn vanilla ice cream is best served straight from the freezer after a brief 5-10 minute thaw at room temperature. It scoops beautifully and pairs well with fresh fruit, warm pies, or simply on its own.
If you want to get fancy, a drizzle of caramel sauce or a handful of chocolate chips on top adds a nice contrast in texture and flavor. For a classic combo, serve alongside a warm apple crisp or brownies.
Store leftovers in an airtight container in the freezer for up to 2 weeks. Over time, the flavors mellow and deepen, making it even more satisfying. When reheating, avoid microwaving; instead, let it soften naturally for the best texture.
Nutritional Information & Benefits
Per ½ cup serving, this ice cream contains approximately 250 calories, with 18 grams of fat, 22 grams of carbohydrates (mostly from sugars), and 3 grams of protein. It’s a treat best enjoyed in moderation.
The heavy cream provides rich fats that make the texture luxurious, while the sweetened condensed milk contributes concentrated sweetness and creaminess without the need for added sugar.
For those watching carbs or dairy, the dairy-free adaptation with coconut cream offers a lower-carb alternative and is suitable for lactose-intolerant individuals.
While indulgent, this recipe offers a straightforward ingredient list without preservatives or artificial additives, which many store-bought ice creams contain.
Conclusion
This creamy no-churn vanilla ice cream with 3 simple ingredients is one of those recipes that proves you don’t need complexity to make something truly delicious. It’s fast, fuss-free, and consistently hits that sweet spot of creamy comfort that everyone loves.
Whether you’re tailoring it with add-ins or keeping it classic, this recipe invites you to make it your own. I love how it takes mere minutes to prepare yet feels like a special, homemade treat that brightens any day.
Give it a try—you might find yourself making it as often as I do, especially when the craving strikes late at night or you need a quick dessert fix without the drama.
Feel free to share your twists or questions; I’m always excited to hear how this simple recipe finds a place in your kitchen.
FAQs
Can I use milk instead of heavy cream?
Milk won’t whip up properly like heavy cream, so the texture will be less creamy and more icy. Heavy whipping cream is key for the fluffy texture.
How long can I store this ice cream in the freezer?
It keeps well for up to two weeks in an airtight container without losing its creamy texture.
Can I add mix-ins like chocolate chips or nuts?
Absolutely! Fold in your favorite mix-ins right before freezing for a fun twist.
Is it possible to make this recipe vegan?
Yes, swap heavy cream for coconut cream and use sweetened condensed coconut milk. It won’t be exactly the same but still delicious.
Do I need to stir the ice cream while freezing?
No churning or stirring required! The whipped cream keeps it light and creamy without ice crystals forming.
Pin This Recipe!
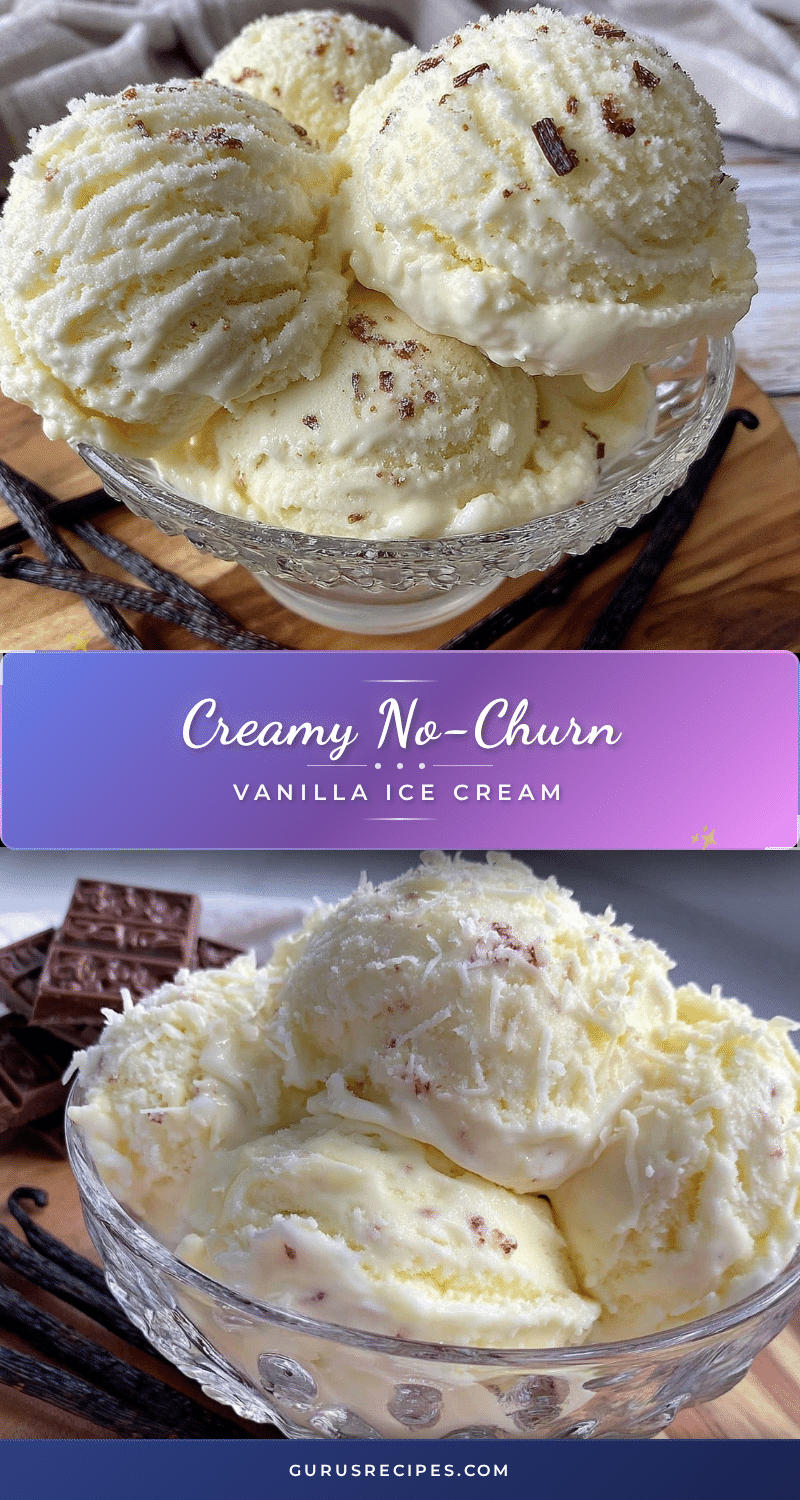

Creamy No-Churn Vanilla Ice Cream Recipe with 3 Easy Ingredients
A quick and easy no-churn vanilla ice cream made with just three simple ingredients, delivering a creamy, smooth texture without the need for an ice cream maker.
- Total Time: 6 hours 10 minutes
- Yield: 8 servings 1x
Ingredients
- 2 cups (480 ml) heavy whipping cream
- 1 can (14 oz / 396 g) sweetened condensed milk
- 1 tablespoon pure vanilla extract
Instructions
- Chill your mixing bowl and beaters in the fridge or freezer for about 15 minutes.
- Pour the heavy whipping cream into the chilled bowl and beat on medium-high speed with an electric mixer until soft peaks form, about 3-4 minutes.
- Add the vanilla extract to the sweetened condensed milk and stir gently to combine.
- Fold the condensed milk mixture into the whipped cream gently using a spatula until well combined without deflating the cream, about 1-2 minutes.
- Transfer the mixture into a freezer-safe airtight container and smooth the top.
- Freeze for at least 6 hours or overnight until firm. Let sit at room temperature for 5-10 minutes before scooping.
Notes
Chill the mixing bowl and beaters before whipping cream for better volume. Fold gently to keep the whipped cream airy. Use an airtight container to prevent ice crystals. Let ice cream soften 5-10 minutes before scooping for best texture. Avoid overwhipping cream to prevent it turning into butter.
- Prep Time: 10 minutes
- Cook Time: 0 minutes
- Category: Dessert
- Cuisine: American
Nutrition
- Serving Size: ½ cup
- Calories: 250
- Fat: 18
- Carbohydrates: 22
- Protein: 3
Keywords: no churn ice cream, vanilla ice cream, easy ice cream recipe, 3 ingredient ice cream, homemade ice cream, no ice cream maker, summer dessert


