
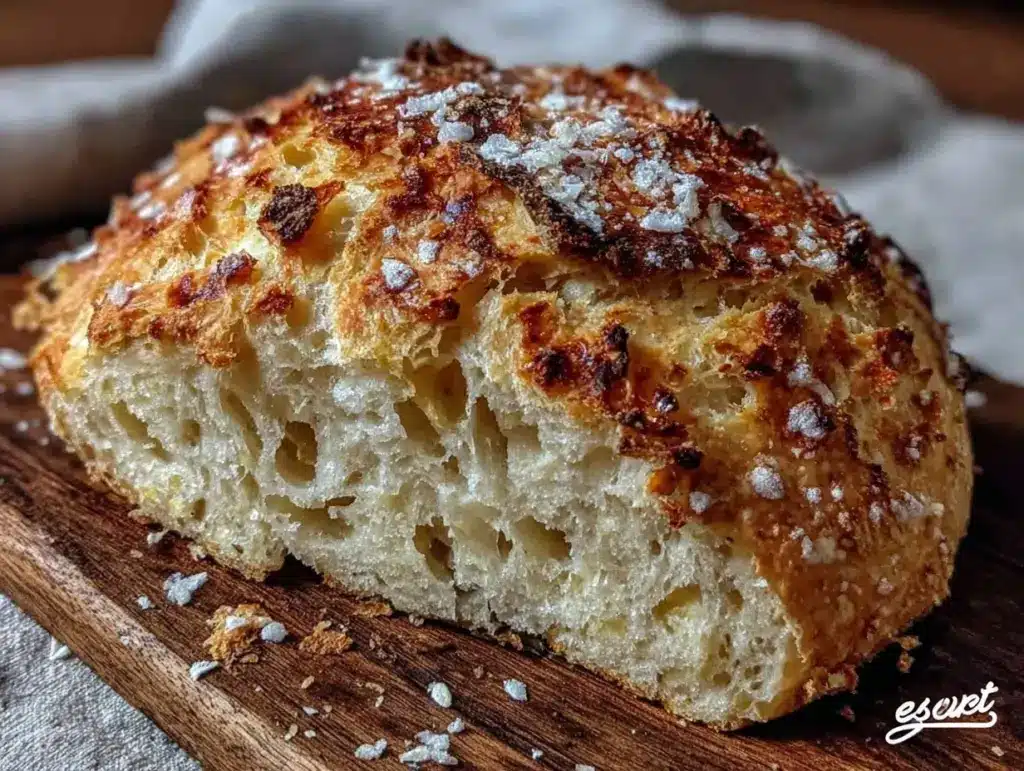
I remember that evening vividly—after a long day juggling work calls and dinner prep, I just wanted something warm and comforting without more fuss. Honestly, the idea of kneading dough felt like a mountain I just didn’t have the energy to climb. So, when I stumbled on this easy crispy no knead bread recipe, it was like a little miracle in my kitchen. The dough was so simple—just a few ingredients tossed together—and I barely had to touch it. I let it sit, almost forgotten, while I cleaned up. Then, when the smell of freshly baked bread filled the room, I realized this was going to be a new staple. The crust came out perfectly crisp, the inside tender and fresh, like bakery bread but without the sweat and sore arms. It felt like homemade freshness in every bite, and the best part? No kneading involved at all. That quiet moment, sitting with a warm slice and a pat of butter, made all the chaos of the day fade away. It’s funny how sometimes the simplest things bring the biggest comfort—and this easy crispy no knead bread recipe stuck with me because it’s just that kind of magic.
Why You’ll Love This Recipe
- Quick & Easy: Comes together in under 15 minutes of hands-on time, perfect for busy weeknights or those spontaneous baking urges.
- Simple Ingredients: Uses pantry staples like flour, yeast, salt, and water—no fancy or hard-to-find items needed.
- Perfect for All Occasions: Whether it’s a cozy breakfast, a casual dinner side, or a last-minute snack, this bread fits right in.
- Crowd-Pleaser: The crunchy crust and soft crumb always get compliments from both kids and adults.
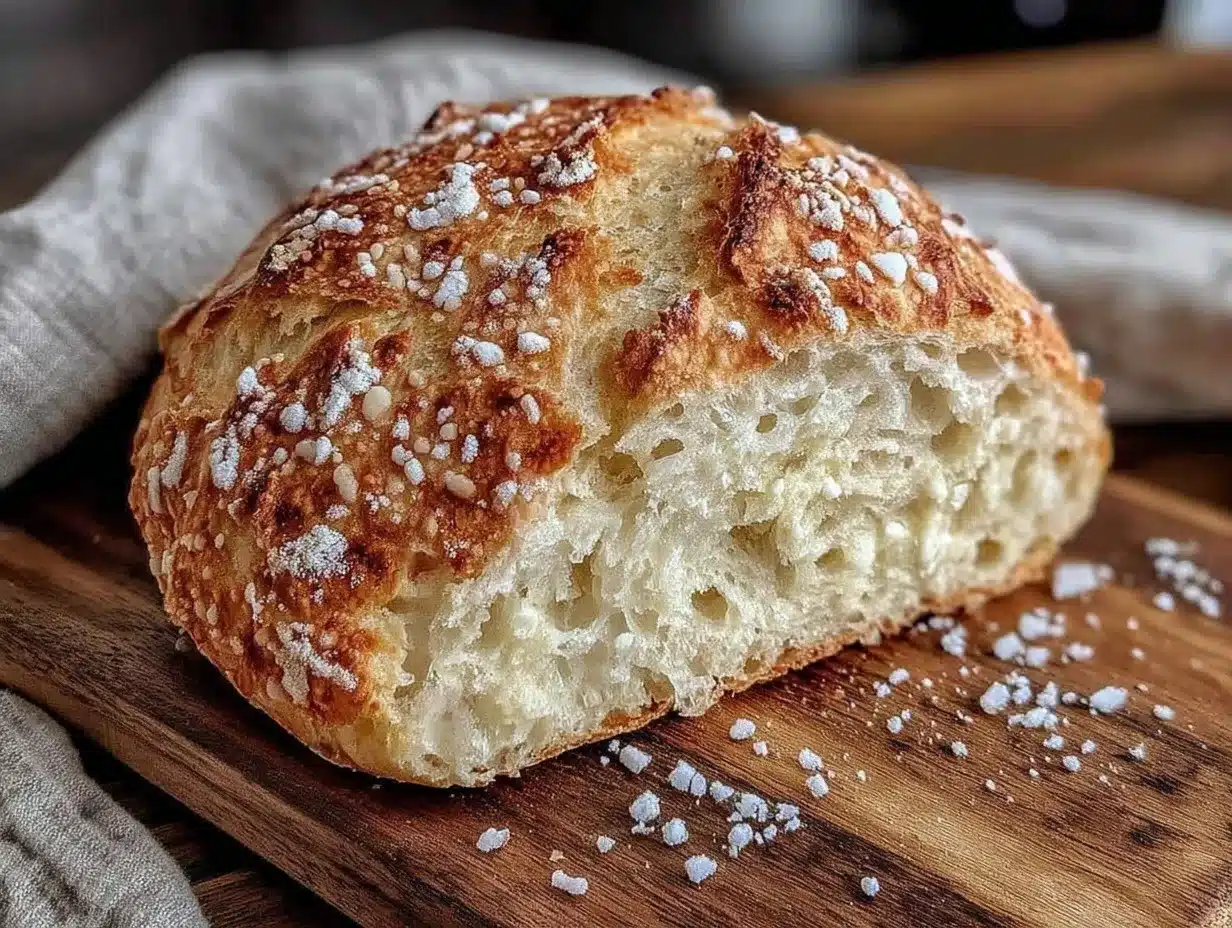
- Unbelievably Delicious: The texture is that perfect contrast—crispy outside with a chewy, airy inside that feels fresh from the bakery.
- This isn’t just another bread recipe; the no knead method means less hassle but still that satisfying homemade freshness. I love how the long rest time develops flavor naturally—kind of like magic happening while you go about your day.
- It’s comfort food without the fuss, making you feel like a pro baker without breaking a sweat.
What Ingredients You Will Need
This recipe uses simple, wholesome ingredients to deliver bold flavor and satisfying texture without the fuss. Most items are pantry staples, so you probably already have everything on hand.
- All-purpose flour: 3 cups (360g) – I recommend King Arthur for consistent results.
- Active dry yeast: 1/4 teaspoon – a small amount goes a long way here.
- Salt: 1 1/4 teaspoons – enhances flavor without overpowering.
- Lukewarm water: 1 1/2 cups (355ml) – helps activate the yeast gently.
- Optional: Olive oil: 1 tablespoon – for a subtle richness and softer crumb (not necessary but nice).
If you want to make it gluten-free, you can swap all-purpose flour with a gluten-free blend, but baking times might vary. For a dairy-free version, this recipe is naturally free of dairy, so no swaps needed. If you want to experiment, trying bread flour instead of all-purpose can give a chewier texture.
Equipment Needed
- Large mixing bowl: For combining ingredients comfortably.
- Wooden spoon or spatula: For mixing (no kneading needed, so no dough hook or stand mixer required).
- Kitchen scale: Optional but helpful for precise measurements.
- Dutch oven or heavy oven-safe pot with lid: This helps create the steamy environment for that crispy crust.
- Measuring cups and spoons: For accuracy.
- Bench scraper or sharp knife: To score the dough before baking.
If you don’t have a Dutch oven, you can use a cast-iron skillet covered with foil, but results might vary. I’ve found that a heavy lid really locks in steam and gives that bakery-style crust. Keeping your equipment clean and dry makes the process smoother and helps dough release easily.
Preparation Method
- Mix dry ingredients: In a large bowl, whisk together 3 cups (360g) all-purpose flour, 1/4 teaspoon active dry yeast, and 1 1/4 teaspoons salt. This ensures even distribution—no clumps, no surprises. (~2 minutes)
- Add water: Pour in 1 1/2 cups (355ml) lukewarm water and optional 1 tablespoon olive oil. Stir with a wooden spoon or spatula until a shaggy, sticky dough forms. Don’t worry if it looks rough; that’s exactly what you want. (~2 minutes)
- First rest: Cover the bowl loosely with plastic wrap or a kitchen towel and let it rest at room temperature for 12 to 18 hours. This long, slow fermentation is what develops flavor and texture. You’ll know it’s ready when the surface is dotted with bubbles and the dough has doubled. (~12–18 hours)
- Shape the dough: Generously flour a clean surface and your hands. Scrape the dough out onto the counter (it’ll be sticky—flour helps). Fold it over on itself a few times gently to shape into a ball. Let it rest uncovered for 15 minutes. (~15 minutes)
- Preheat oven: Place your Dutch oven (or heavy pot with lid) inside and preheat oven to 450°F (232°C). This step is key for that crispy crust. (~30 minutes)
- Second rise: After shaping, let the dough rest for another 30 to 45 minutes while the oven heats. It should puff slightly but won’t double again. (~30–45 minutes)
- Score the dough: Carefully remove the hot pot from the oven. Place dough inside, use a sharp knife or bench scraper to make a couple of slashes on top (this lets steam escape and helps bread expand). (~5 minutes)
- Bake covered: Put the lid on and bake for 30 minutes. The trapped steam crisps the crust beautifully. (~30 minutes)
- Bake uncovered: Remove the lid and bake another 15 to 20 minutes until the crust is deep golden and crackly. Tap the bottom of the loaf—it should sound hollow. (~15–20 minutes)
- Cool: Transfer bread to a wire rack and cool for at least 1 hour before slicing. The crumb sets during this time, so patience pays off. (~1 hour)
If the dough feels too sticky to handle, just flour your hands more instead of adding extra flour to the dough. Trust me, the sticky dough is a good thing—it means a moist crumb. Also, avoid skipping the long rest; that’s where the magic happens.
Cooking Tips & Techniques
- Patience is key: The no knead method relies on time, not effort. Don’t rush the overnight fermentation—it builds flavor and texture.
- Use the right water temperature: Lukewarm water (about 100°F or 38°C) activates yeast without killing it. Too hot, and your dough won’t rise properly.
- Don’t skip the preheated Dutch oven: This creates steam essential for crust crispiness. If your oven-safe pot isn’t heavy, results may vary.
- Handle dough gently: No kneading means less gluten developing by hand, so be delicate when shaping. Rough handling can deflate all those lovely bubbles.
- Common mistake: Adding too much flour to make the dough less sticky. It reduces moisture and makes the crumb dense—flour your hands instead!
- Multitasking tip: Mix the dough before bed and bake the next day—easy hands-off prep for fresh bread without disrupting your day.
- For consistency: Always weigh flour if possible. Different flours absorb water differently, so measurements by weight are more reliable.
Variations & Adaptations
- Herb-infused bread: Add 1-2 teaspoons of dried herbs like rosemary or thyme to the dry ingredients for an earthy twist.
- Whole wheat version: Replace up to half the all-purpose flour with whole wheat flour for a nuttier flavor and denser crumb. You might need to increase water by 1-2 tablespoons.
- Seeded loaf: Sprinkle sesame, poppy, or sunflower seeds on top before baking for extra crunch and flavor.
- Gluten-free option: Use a gluten-free flour blend with xanthan gum. Note: dough will be stickier and baking time may vary.
- Personal try: I once swapped olive oil with melted butter and added a teaspoon of honey. The crust was crisp but the crumb had a lovely subtle sweetness—great for breakfast toast.
Serving & Storage Suggestions
This easy crispy no knead bread is best served warm or at room temperature. A pat of butter or a drizzle of olive oil brings out the fresh flavors. It pairs beautifully with soups, salads, or simply your favorite jam. For a cozy meal, slice thick and toast it gently—honestly, that crunch is addictive.
Store leftover bread wrapped loosely in a clean kitchen towel at room temperature for up to 2 days. For longer storage, slice and freeze in an airtight bag. Toast slices straight from the freezer for a fresh-baked feel.
Reheat whole loaves in a 350°F (175°C) oven for 10-15 minutes, uncovered, to restore crispness. Over time, the flavors deepen, so leftover bread often tastes even better the next day.
Nutritional Information & Benefits
This no knead bread recipe provides roughly 150-170 calories per slice (assuming 12 slices per loaf). It’s low in fat and contains about 5 grams of protein per slice. The simple ingredients mean no added sugars or preservatives.
Using all-purpose flour offers moderate fiber and essential nutrients, while the long fermentation improves digestibility. Salt is minimal, and olive oil (if used) adds heart-healthy fats. This bread fits nicely into balanced diets and can be adapted for gluten-free or whole grain options.
From a wellness perspective, this homemade bread avoids additives found in store-bought loaves, giving you fresh, wholesome goodness with every bite.
Conclusion
This easy crispy no knead bread recipe is a game-changer if you want homemade freshness without the hassle. It’s simple, forgiving, and the results are consistently delicious with that perfect crust and airy crumb. I love how it fits into busy days and still lets me impress guests with minimal effort. Feel free to make it your own—tweak herbs, flours, or add-ins to suit your taste. Baking bread doesn’t have to be intimidating, and this recipe proves it.
If you try it, I’d love to hear your twists and tricks. Sharing bread stories always feels like passing along a little warmth from my kitchen to yours.
Here’s to many fresh loaves ahead—happy baking!
FAQs
Can I use instant yeast instead of active dry yeast?
Yes, you can swap instant yeast in equal amounts. It usually works faster, so you might want to reduce the fermentation time slightly.
Why is the dough so sticky? Is that normal?
Yes, sticky dough is normal for no knead bread. It means the dough is hydrated enough to create a light, airy crumb. Use plenty of flour on your hands and surface instead of adding more flour to the dough.
Can I skip the Dutch oven and bake on a baking sheet?
You can, but the crust won’t be as crispy since the steam created by the covered pot is essential. To mimic steam, try placing a pan of water in the oven or spritzing water before baking.
How long can I store the bread after baking?
Store at room temperature wrapped in a towel for up to 2 days. For longer storage, slice and freeze. Toast slices directly from the freezer for best results.
Is this recipe suitable for gluten-free diets?
The original recipe uses wheat flour, but you can substitute a gluten-free flour blend with xanthan gum. Expect a different texture and possibly adjusted baking times.
Pin This Recipe!
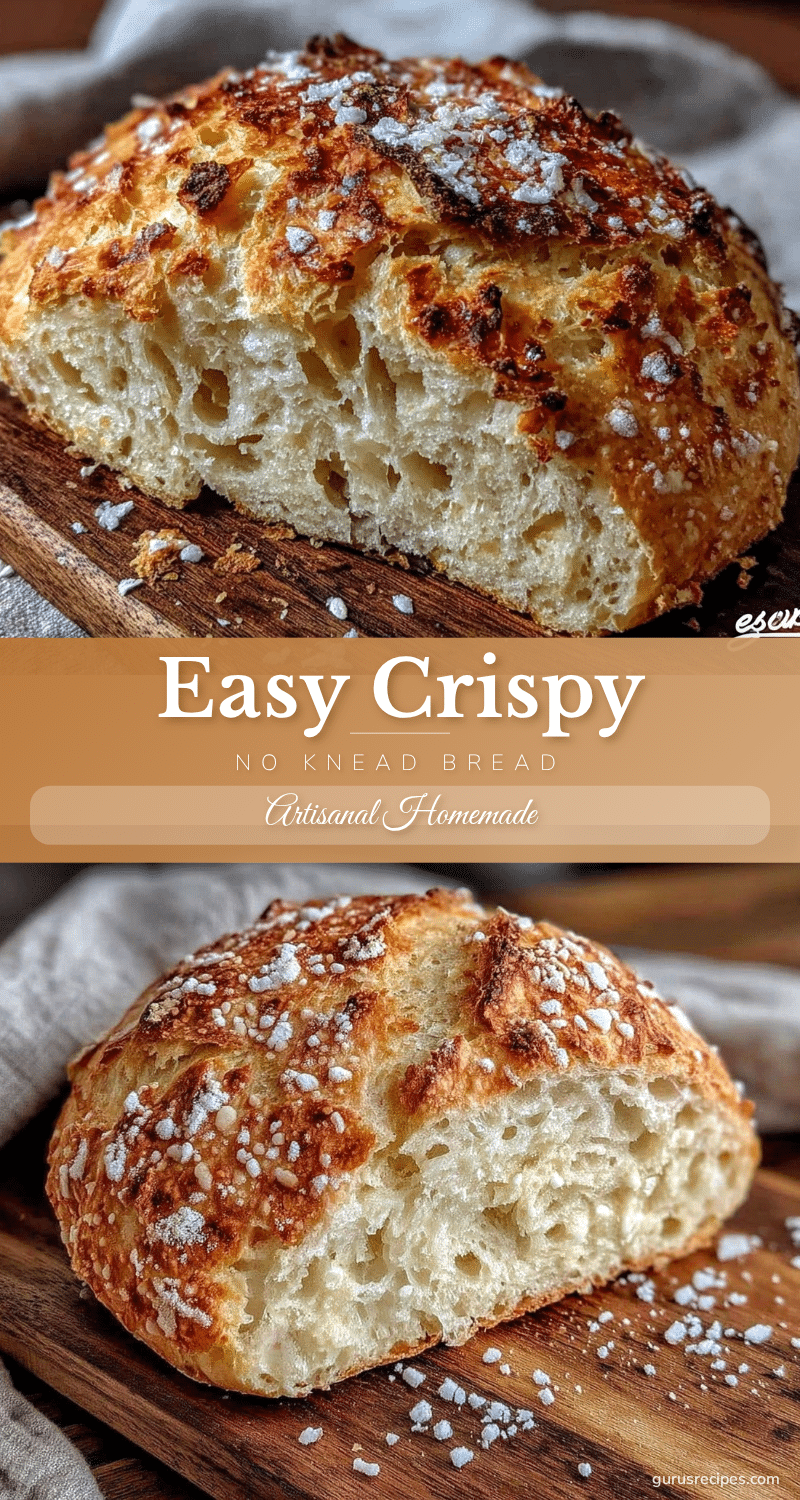

Easy Crispy No Knead Bread Recipe Perfect for Homemade Freshness
A simple no knead bread recipe that delivers a crispy crust and tender, airy crumb with minimal effort and common pantry ingredients.
- Total Time: 13 hours
- Yield: 12 slices 1x
Ingredients
- 3 cups (360g) all-purpose flour
- 1/4 teaspoon active dry yeast
- 1 1/4 teaspoons salt
- 1 1/2 cups (355ml) lukewarm water
- Optional: 1 tablespoon olive oil
Instructions
- Mix dry ingredients: In a large bowl, whisk together 3 cups (360g) all-purpose flour, 1/4 teaspoon active dry yeast, and 1 1/4 teaspoons salt.
- Add water: Pour in 1 1/2 cups (355ml) lukewarm water and optional 1 tablespoon olive oil. Stir with a wooden spoon or spatula until a shaggy, sticky dough forms.
- First rest: Cover the bowl loosely and let it rest at room temperature for 12 to 18 hours until the dough doubles and bubbles appear.
- Shape the dough: Flour a clean surface and hands, scrape dough onto counter, fold over itself a few times to form a ball, and let rest uncovered for 15 minutes.
- Preheat oven: Place Dutch oven or heavy pot with lid inside and preheat oven to 450°F (232°C) for about 30 minutes.
- Second rise: Let dough rest for another 30 to 45 minutes while oven heats until it puffs slightly.
- Score the dough: Remove hot pot from oven, place dough inside, and make a couple of slashes on top with a sharp knife or bench scraper.
- Bake covered: Put lid on and bake for 30 minutes to create steam and crisp crust.
- Bake uncovered: Remove lid and bake another 15 to 20 minutes until crust is deep golden and crackly.
- Cool: Transfer bread to wire rack and cool for at least 1 hour before slicing.
Notes
Do not add extra flour to the dough; flour your hands instead to handle sticky dough. The long rest time is essential for flavor and texture development. Use lukewarm water to activate yeast properly. Preheating the Dutch oven is key for a crispy crust. If no Dutch oven, use a heavy pot or cast-iron skillet covered with foil, but crust may be less crispy.
- Prep Time: 15 minutes
- Cook Time: 45 minutes
- Category: Bread
- Cuisine: American
Nutrition
- Serving Size: 1 slice
- Calories: 160
- Sodium: 290
- Fat: 1.5
- Saturated Fat: 0.2
- Carbohydrates: 32
- Fiber: 1.5
- Protein: 5
Keywords: no knead bread, easy bread recipe, crispy crust bread, homemade bread, simple bread recipe, no kneading, artisan bread


