
It was one of those nights when I realized I had zero energy left for anything fancy, but the craving for fresh bread was shouting louder than my exhaustion. Honestly, I was skeptical—bread seemed like a project for dedicated weekends, not a sleepy weekday evening. But with just a few pantry staples and zero kneading, I tossed together this easy no-knead bread recipe with a crispy golden crust. The magic? Leaving the dough to do its thing while I caught some much-needed zzz’s. When I pulled it out of the oven the next morning, the smell alone was enough to make me forget how tired I was. The crust crackled perfectly, and the inside was soft and airy—like a bakery loaf without the fuss. I now find myself making this bread almost weekly, sometimes even twice, because it feels like a little miracle that anyone can pull off. There’s something quietly satisfying about this recipe: the kind that turns a simple slice of bread into a moment of calm in the morning chaos.
Why You’ll Love This Recipe
Having tested this recipe countless times, I can honestly say it’s one of my kitchen favorites for so many reasons. Here’s what makes this easy no-knead bread with crispy golden crust stand out:
- Quick & Easy: It requires just 10 minutes of active prep, then you let the dough rest overnight—perfect for busy schedules or sleepyheads like me.
- Simple Ingredients: Flour, yeast, salt, and water—nothing fancy or expensive. Most people have these staples already.
- Perfect for Beginners: No need to worry about kneading or shaping—this recipe removes the intimidation factor entirely.
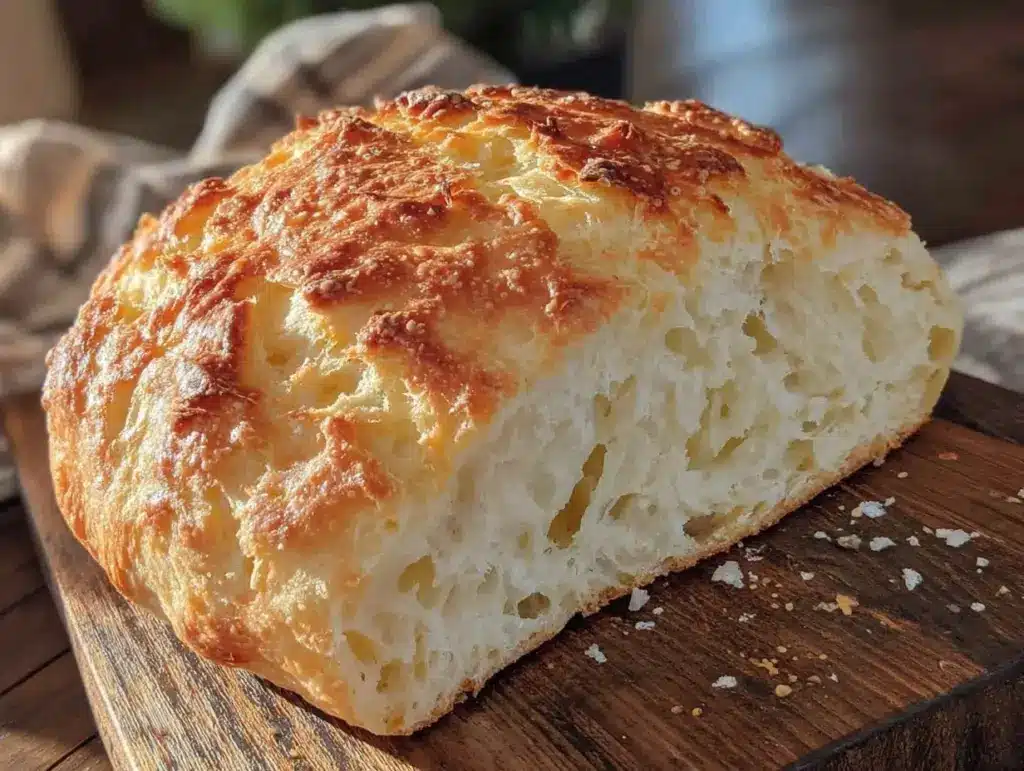
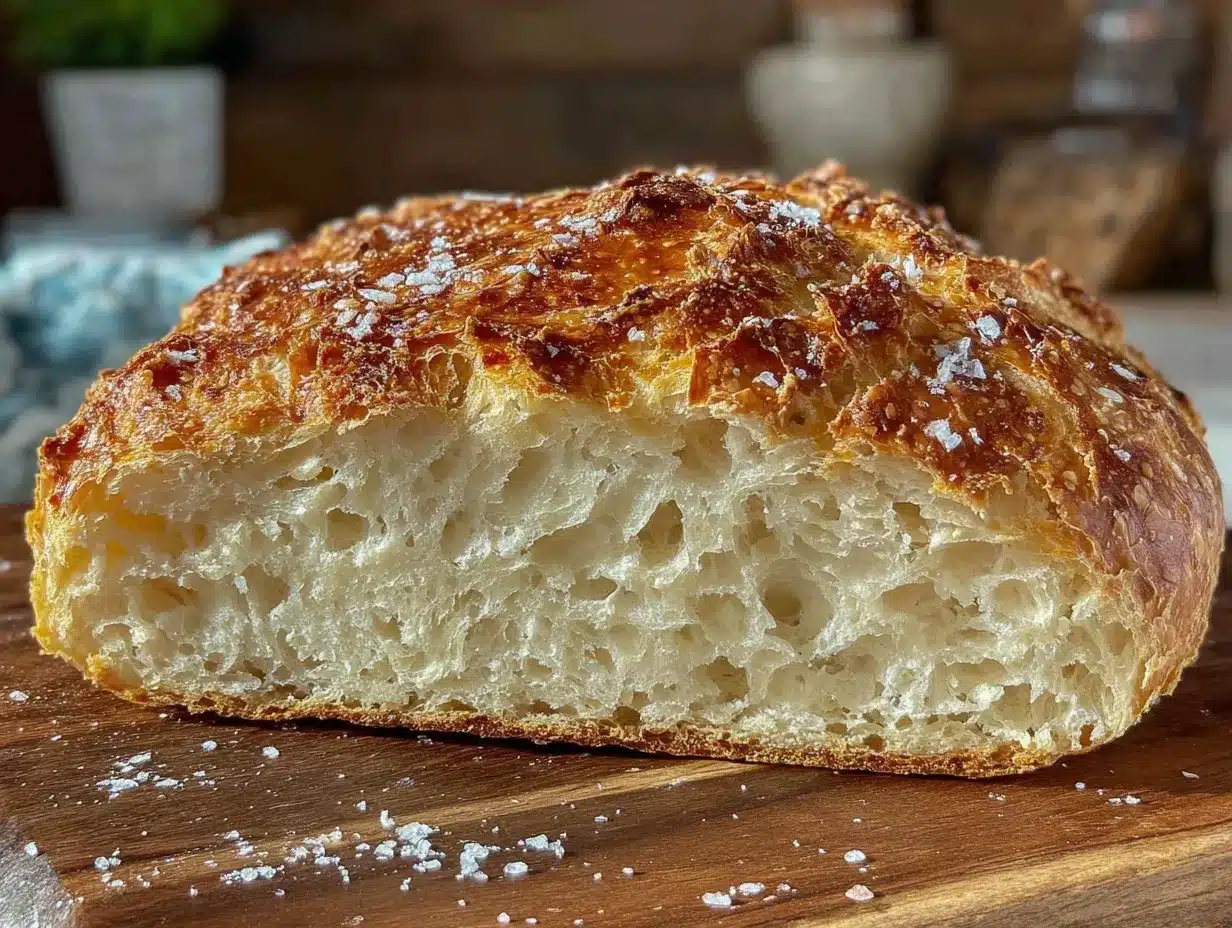
- Crispy Golden Crust: Thanks to baking in a preheated Dutch oven or covered pot, you get that crackly crust that feels like a special treat.
- Soft, Airy Crumb: The long fermentation gives the inside a wonderful open texture, making it ideal for sandwiches or just butter and jam.
- Crowd-Pleaser: I’ve brought this bread to potlucks and family dinners, and it always disappears fast—no complaints, just smiles.
This isn’t just another bread recipe floating around. It’s the best version of no-knead bread I’ve found, with a perfectly balanced crust and crumb that feels both rustic and refined. It’s the kind of bread that invites you to slow down, savor, and maybe even share a moment with someone over a simple slice.
What Ingredients You Will Need
This recipe uses simple, wholesome ingredients to deliver bold flavor and satisfying texture without the fuss. You likely have most of these in your pantry already!
- All-purpose flour (3 cups / 360 grams) – I prefer unbleached for better texture, but plain works fine.
- Active dry yeast (1/4 teaspoon) – A tiny amount goes a long way; make sure it’s fresh for best rise.
- Salt (1 1/4 teaspoons) – Use fine sea salt or kosher salt for a clean flavor.
- Lukewarm water (1 1/2 cups / 360 ml) – Not hot, just comfortably warm to activate the yeast without killing it.
Optional but recommended:
- Extra flour for dusting – Helps prevent sticking when shaping the dough.
- Olive oil or butter (for greasing the pot, if not using a non-stick Dutch oven)
Substitution tips:
- Use bread flour instead of all-purpose for a chewier texture.
- For gluten-free, try a 1:1 gluten-free flour blend, but expect a different crumb.
- If you prefer a dairy-free crust, skip greasing or use plant-based oils.
Equipment Needed
- Large mixing bowl: For combining the dough; glass or plastic works well.
- Wooden spoon or spatula: To mix the sticky dough without fuss.
- Plastic wrap or kitchen towel: For covering the dough during fermentation.
- Dutch oven with lid: This is key for the crispy golden crust. Cast iron is ideal, but any heavy, oven-safe pot with a lid works.
- Oven mitts: Because that pot gets seriously hot!
If you don’t have a Dutch oven, a heavy casserole dish with a tight-fitting lid can substitute. Just be sure it’s oven-safe up to 450°F (230°C). For budget options, some silicone baking mats and parchment paper can help prevent sticking during baking.
Preparation Method
- Combine dry ingredients: In a large bowl, whisk together 3 cups (360 g) of all-purpose flour, 1/4 teaspoon active dry yeast, and 1 1/4 teaspoons salt. This helps evenly distribute the yeast and salt.
Time: 2 minutes - Add water: Pour in 1 1/2 cups (360 ml) lukewarm water. Stir with a wooden spoon or spatula until the mixture forms a shaggy, sticky dough. It will look rough and wet—that’s perfect.
Time: 3 minutes - Cover and ferment: Cover the bowl tightly with plastic wrap or a damp kitchen towel. Let it rest at room temperature for 12 to 18 hours. You’ll know it’s ready when the surface is dotted with bubbles and the dough has doubled in size.
Tip: If your kitchen is cold, place the bowl inside a turned-off oven with the light on to keep it cozy. - Preheat oven and pot: About 30 minutes before baking, place your Dutch oven with its lid into the oven and preheat to 450°F (230°C). This step is crucial for that crispy crust.
Warning: Be careful removing the hot pot—use oven mitts! - Shape the dough: While the pot heats, lightly flour a work surface and your hands. Gently scrape the dough out of the bowl—it will be sticky, so don’t overwork it. Fold it over itself once or twice to create a rough ball.
Time: 5 minutes - Transfer and bake: Carefully place the dough ball on a piece of parchment paper. Using oven mitts, lift the hot Dutch oven from the oven and place the dough inside, still on the parchment. Cover with the lid.
Tip: The parchment paper helps in easy removal after baking. - Bake covered: Bake for 30 minutes with the lid on. This traps steam and helps develop the crust.
Time: 30 minutes - Finish baking uncovered: Remove the lid and bake for an additional 15-20 minutes, until the crust is deep golden and crackly.
Look for a rich color and listen for that satisfying crackle when you tap the loaf. - Cool completely: Transfer the bread to a wire rack and let it cool for at least 1 hour before slicing. This step allows the crumb to set properly.
Patience is key here—cutting too soon can make the bread gummy.
Cooking Tips & Techniques
From my many attempts, here are some nuggets to help you nail this easy no-knead bread:
- Don’t skip the preheating: Getting your Dutch oven screaming hot before adding dough is what creates that bakery-quality crust.
- Use parchment paper: It makes handling sticky dough way easier and prevents burning on the bottom.
- Resist the urge to knead: This dough is wetter and looser than traditional bread dough. Folding it lightly during shaping is enough.
- Be patient with fermentation: The long rest time is what develops flavor and texture, so don’t rush it.
- Watch your oven temperature: Ovens vary, so if your bread is browning too fast, tent with foil after 20 minutes uncovered.
- Practice safe handling: The Dutch oven is hot enough to burn—always use thick oven mitts and place it on a heat-safe surface.
One time, I left my dough fermenting for nearly 20 hours because life got hectic. The bread turned out even better with a tangier flavor and more open crumb. Sometimes little deviations surprise you!
Variations & Adaptations
It’s easy to put your own spin on this recipe to suit different tastes or dietary needs:
- Whole wheat version: Swap half the all-purpose flour for whole wheat to add nuttiness and fiber. You might need a touch more water.
- Herbed crust: Sprinkle dried rosemary, thyme, or garlic powder on top of the dough before baking for an aromatic twist.
- Gluten-free attempt: Use a gluten-free flour blend labeled for baking, but expect a denser crumb. Adding xanthan gum helps with texture.
- Seeded loaf: Fold in sunflower seeds, flaxseeds, or chia seeds for extra crunch and nutrition.
- Different cooking vessel: If no Dutch oven, bake the dough on a preheated baking stone and mist the oven with water for steam.
Once, I tossed in a handful of caramelized onions and some sharp cheddar during shaping—resulting in a savory loaf that disappeared within hours. Feel free to experiment!
Serving & Storage Suggestions
I love serving this easy no-knead bread warm but not hot, so the crumb is tender yet firm. Slicing it thick with butter or avocado is a perfect morning treat. It pairs beautifully with soups, stews, or salads for lunch or dinner.
To store, wrap the cooled loaf in a clean tea towel or place it in a paper bag to keep the crust crisp for up to 2 days. For longer storage, slice and freeze it in a zip-top bag—toast slices directly from frozen for a fresh-baked feel.
Reheating in a 350°F (175°C) oven for 10 minutes restores crispness nicely. Avoid microwaving, as it softens the crust.
Interestingly, the flavor deepens after a day or two, so sometimes waiting a little makes it taste even better.
Nutritional Information & Benefits
Each slice of this no-knead bread (about 60g) roughly contains:
| Nutrient | Amount |
|---|---|
| Calories | 160 |
| Carbohydrates | 32g |
| Protein | 5g |
| Fat | 1g |
| Fiber | 1g |
This bread is free from added sugars and fats, making it a wholesome base for any meal. The slow fermentation improves digestibility and flavor complexity. If you use whole wheat or seeds, you bump up the fiber and nutrients further.
Keep in mind, it contains gluten and yeast, so it’s not suitable for those with allergies or sensitivities. However, it’s a fantastic choice for anyone wanting a no-fuss homemade bread with minimal ingredients.
Conclusion
This easy no-knead bread with crispy golden crust is a reliable kitchen companion for anyone who loves fresh bread without the stress. Whether you’re a beginner or just short on time, this recipe lets you enjoy the smell and taste of homemade bread with minimal effort.
I love how forgiving it is—each loaf feels like a small win and a comforting ritual. Feel free to tweak the ingredients or baking times to suit your taste, and don’t be shy about sharing your own twists.
Give it a try, and you might just find yourself baking this bread on repeat, like I do. It’s that kind of simple joy worth having in your kitchen.
FAQs
Can I make this bread without a Dutch oven?
Yes! Use a heavy, oven-safe pot with a lid or bake on a preheated baking stone with a pan of water below to create steam. The crust won’t be quite as crispy but still delicious.
How long can I store the bread at room temperature?
Store it wrapped in a tea towel or paper bag for up to 2 days to keep the crust crisp. Beyond that, freezing is best.
What if my dough doesn’t rise much overnight?
Make sure your yeast is fresh and water is warm, not hot. If your kitchen is cold, try fermenting in a warmer spot or for a longer time.
Can I add seeds or herbs to the dough?
Definitely! Fold in seeds or sprinkle herbs on top before baking for extra flavor and texture.
Is this bread gluten-free?
The standard recipe is not, but you can try gluten-free flour blends. The texture will differ, so expect a denser loaf.
Pin This Recipe!
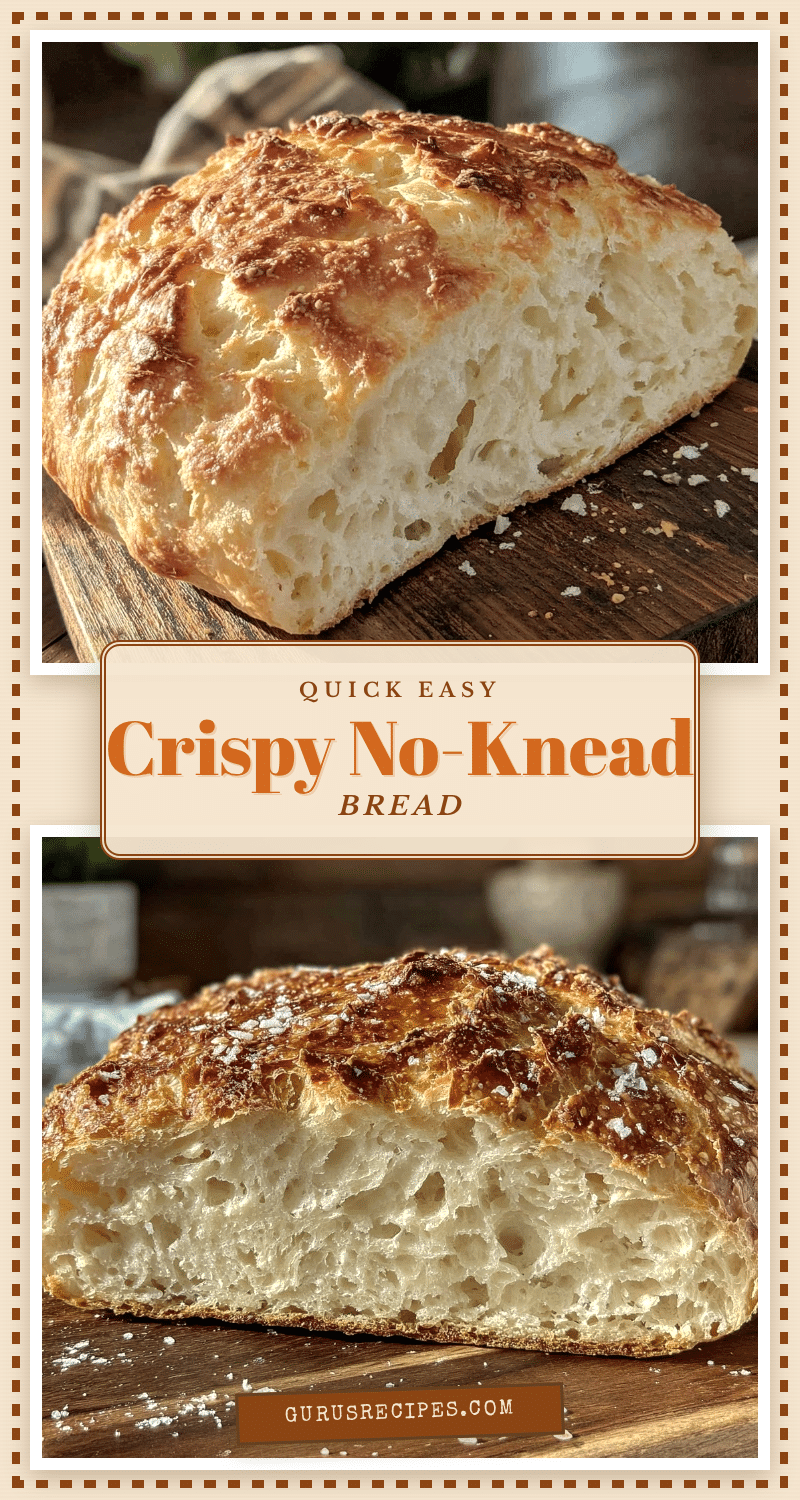

Easy No-Knead Bread Recipe with Crispy Golden Crust Perfect for Beginners
A simple no-knead bread recipe that requires minimal active prep time and yields a crispy golden crust with a soft, airy crumb. Perfect for beginners and busy schedules.
- Total Time: 12 hours 55 minutes to 18 hours 55 minutes
- Yield: 1 loaf (about 8-10 servings) 1x
Ingredients
- 3 cups (360 grams) all-purpose flour
- 1/4 teaspoon active dry yeast
- 1 1/4 teaspoons salt
- 1 1/2 cups (360 ml) lukewarm water
- Extra flour for dusting (optional)
- Olive oil or butter for greasing the pot (optional)
Instructions
- In a large bowl, whisk together 3 cups (360 g) of all-purpose flour, 1/4 teaspoon active dry yeast, and 1 1/4 teaspoons salt.
- Pour in 1 1/2 cups (360 ml) lukewarm water. Stir with a wooden spoon or spatula until the mixture forms a shaggy, sticky dough.
- Cover the bowl tightly with plastic wrap or a damp kitchen towel. Let it rest at room temperature for 12 to 18 hours until the surface is dotted with bubbles and the dough has doubled in size.
- About 30 minutes before baking, place your Dutch oven with its lid into the oven and preheat to 450°F (230°C).
- Lightly flour a work surface and your hands. Gently scrape the dough out of the bowl and fold it over itself once or twice to create a rough ball.
- Place the dough ball on a piece of parchment paper. Using oven mitts, lift the hot Dutch oven from the oven and place the dough inside, still on the parchment. Cover with the lid.
- Bake for 30 minutes with the lid on.
- Remove the lid and bake for an additional 15-20 minutes until the crust is deep golden and crackly.
- Transfer the bread to a wire rack and let it cool for at least 1 hour before slicing.
Notes
Do not skip preheating the Dutch oven to achieve a crispy crust. Use parchment paper to handle sticky dough easily. Be patient with the long fermentation for best flavor and texture. If the bread browns too fast, tent with foil after 20 minutes uncovered. Use oven mitts carefully when handling the hot Dutch oven.
- Prep Time: 10 minutes
- Cook Time: 45 minutes
- Category: Bread
- Cuisine: American
Nutrition
- Serving Size: 1 slice (about 60 gr
- Calories: 160
- Fat: 1
- Carbohydrates: 32
- Fiber: 1
- Protein: 5
Keywords: no-knead bread, easy bread recipe, crispy crust bread, beginner bread recipe, homemade bread, Dutch oven bread


