
Introduction
There I was, standing in a quiet kitchen just as the sun was beginning to peek through the curtains, flour dusting the countertop and my hands covered in sticky dough. Honestly, I never imagined that making sourdough bread could be so calming—let alone simple. It all started one chilly weekend when I decided to try my hand at baking bread from scratch, armed with nothing but a vague recipe and a sourdough starter I’d been nurturing for weeks. I was skeptical at first. I mean, rustic sourdough bread? That crusty, chewy loaf felt like it belonged in a bakery, not my tiny apartment kitchen.
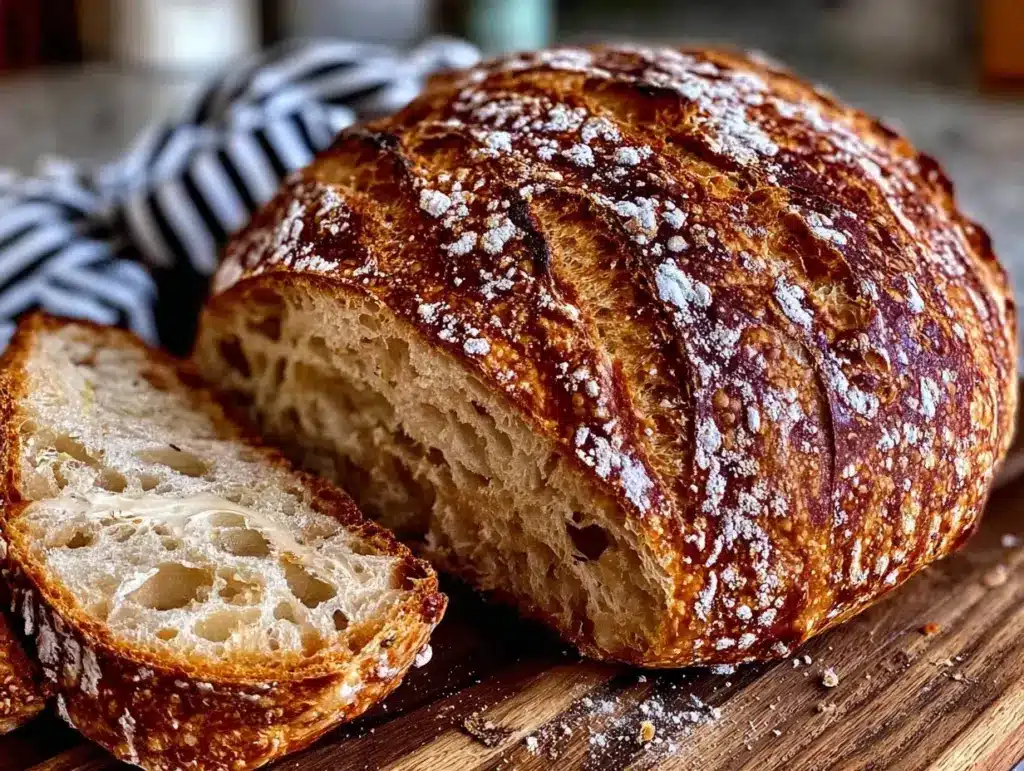
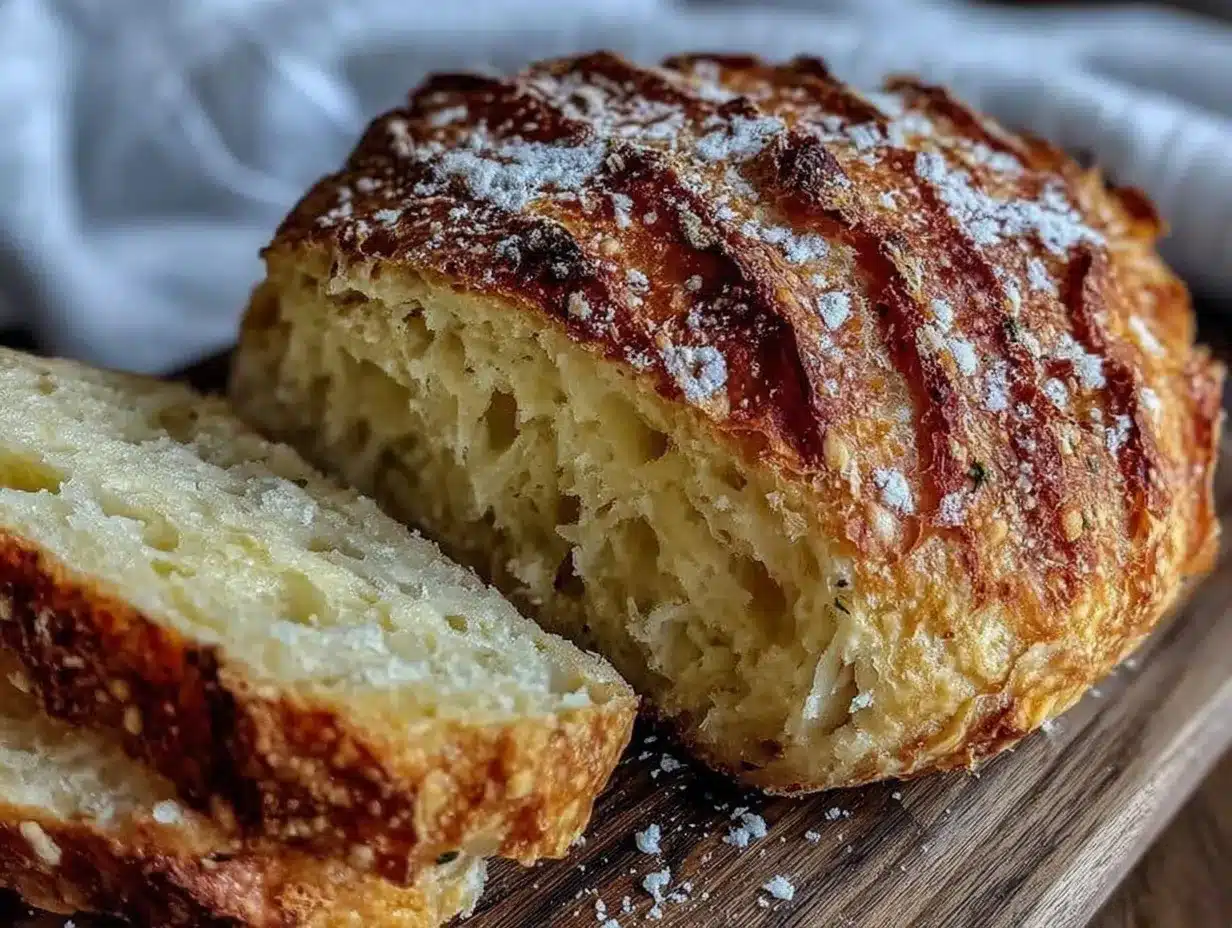
But after a couple of tries, some floury messes, and a few moments of just watching the dough rise (which, let’s be honest, felt like magic), I found a rhythm. The crust crisped just right, the crumb was airy but hearty, and the flavor had that tangy depth that only real sourdough can boast. There’s a quiet satisfaction in slicing into a loaf you made yourself, especially when it’s rustic and imperfect in all the best ways. This easy rustic beginner’s sourdough bread recipe stuck with me because it feels like a little accomplishment every time—and it tastes like a warm hug on a plate.
It’s the kind of recipe that doesn’t demand fancy gear or hours of fuss. Instead, it invites you into a slow, thoughtful process that fits perfectly into a busy life. And honestly, once you get this down, you’ll find yourself making it again and again, not because you have to, but because you want to. That’s the quiet promise this recipe holds.
Why You’ll Love This Recipe
- Quick & Easy: This rustic sourdough bread comes together with simple steps you can follow without feeling overwhelmed, perfect for beginners and busy folks alike.
- Simple Ingredients: No weird additives or fancy flours—just flour, water, salt, and a living sourdough starter you can feed yourself.
- Perfect for Cozy Meals: Whether it’s breakfast toast or a comforting soup companion, this bread fits right into your everyday moments.
- Crowd-Pleaser: Friends and family will ask for seconds—trust me, I’ve seen it happen more than once at my kitchen table.
- Unbelievably Delicious: The crust has that satisfying crunch, while the inside stays tender and full of tangy flavor that only good sourdough can bring.
- Unique Technique: This recipe includes a simple folding method that builds strength in the dough without complicated kneading—making it perfect for those new to bread baking.
- Emotionally Grounding: Making this bread feels like pressing pause—a hands-on way to slow down and enjoy a quiet moment in the midst of a busy day.
What Ingredients You Will Need
This recipe uses simple, wholesome ingredients that come together to create bold flavor and a satisfying texture without fuss. Most are pantry staples, and if you don’t have a sourdough starter yet, no worries—I include tips on that below.
- Active Sourdough Starter (100g / ⅓ cup plus 1 tablespoon) – bubbly and ready to go; feeds your bread’s distinctive tang and rise
- Unbleached Bread Flour (400g / 3 ⅓ cups) – I recommend King Arthur for consistent quality and great texture
- Whole Wheat Flour (50g / ⅓ cup) – adds rustic flavor and a bit of chewiness
- Water (325g / 1 ⅓ cups), lukewarm – helps hydrate the flour and activate the starter (filtered or spring water is best)
- Sea Salt (10g / 2 teaspoons) – balances flavor and strengthens the dough
If you want to try alternatives:
- Swap bread flour with all-purpose flour for a softer crumb (though less chewy)
- Use rye flour instead of whole wheat for a deeper, earthier taste
- For gluten-free options, this recipe isn’t ideal, but you can experiment with gluten-free sourdough starters and flours
Equipment Needed
- Mixing Bowl: A large, sturdy bowl for mixing and fermenting the dough. I like glass or stainless steel for easy cleanup.
- Dough Scraper: Handy for folding and transferring sticky dough without too much mess. A plastic or metal scraper works well.
- Kitchen Scale: Essential for accurate measurements, especially with flour and water. It’s a game-changer for consistent bread.
- Proofing Basket or Bowl: For the final rise, a banneton basket is ideal, but a bowl lined with a well-floured tea towel works perfectly.
- Dutch Oven or Heavy Pot with Lid: This helps create steam for that beautiful crust. If you don’t have one, a baking sheet with a pan of water in the oven can mimic the effect.
- Oven Thermometer: Optional but useful to check your oven’s real temperature—many ovens run hotter or cooler than the dial shows.
If you’re on a budget, simple tools like a mixing bowl and baking sheet will get you started. I’ve baked plenty of loaves with just what’s around the kitchen, and it still turns out great!
Preparation Method
- Mix the Dough (10 minutes): In your large mixing bowl, combine 100g (⅓ cup plus 1 tbsp) of active sourdough starter with 325g (1 ⅓ cups) lukewarm water. Stir until the starter dissolves. Add 400g (3 ⅓ cups) bread flour and 50g (⅓ cup) whole wheat flour. Mix with a spoon or your hands until just combined—no dry spots. Cover the bowl with a damp towel and let it rest for 30 minutes. (This autolyse period helps the flour absorb water and jumpstarts gluten development.)
- Add Salt and Fold (5 minutes): Sprinkle 10g (2 tsp) sea salt over the dough, add a splash of water if needed, and gently fold the dough inside the bowl using wet hands. Pinch and fold the dough over itself 4-5 times to incorporate the salt evenly. Cover again.
- Bulk Fermentation and Folding (3 to 4 hours): Every 30 minutes for the next 2 hours, perform a series of stretch and folds: reach under the dough, stretch it up gently, and fold it over itself. Repeat this 4 times per session. This builds strength without heavy kneading. After the last fold, let the dough rest undisturbed for 1 to 2 hours until it has roughly doubled in size. It should feel airy and slightly jiggly.
- Shape the Loaf (10 minutes): Lightly flour your work surface and turn the dough out onto it. Shape it into a tight round by folding edges into the center, then use your hands to create surface tension by pulling the dough towards you. Place the shaped dough seam-side up into a well-floured proofing basket or bowl lined with a floured towel.
- Final Proof (2 to 3 hours or overnight): Cover and let the dough rise at room temperature until it springs back slowly when poked. Alternatively, refrigerate overnight for a slow, cold fermentation that deepens flavor. If refrigerated, bring to room temperature for 1 hour before baking.
- Preheat Oven and Bake (45 minutes): Place a Dutch oven with lid into your oven and preheat to 475°F (245°C) for 30 minutes. Carefully transfer the dough onto parchment paper, score the top with a sharp knife or lame, then place it into the hot Dutch oven. Cover and bake for 20 minutes. Remove the lid and bake another 20-25 minutes until the crust is deep golden brown and crisp. (The steam created inside the pot is what gives you that classic sourdough crust.)
- Cool Completely (at least 1 hour): Let your bread cool on a wire rack before slicing. This step is crucial—cutting too soon makes the crumb gummy.
Cooking Tips & Techniques
One of the biggest challenges with sourdough bread is timing—letting your dough ferment just right can feel like a guessing game. I’ve learned that watching for visual cues, like a jiggly dough that’s about doubled, beats the clock every time. Don’t rush the bulk fermentation; patience pays off with flavor and texture.
When folding, be gentle—you’re building gluten strands without tearing the dough. I once pressed too hard and ended up with a denser loaf, so treat the dough like a living thing. If your kitchen is cold, fermentation slows down; try placing your dough near a warm spot, like atop the fridge or inside an oven with just the light on.
Investing in a Dutch oven makes a huge difference. The enclosed steam helps develop a crunchy crust that’s the hallmark of rustic sourdough. If you don’t have one, putting a pan of hot water in the oven works as a decent substitute, though results vary.
Lastly, scoring the dough before baking isn’t just decorative—it controls how the bread expands in the oven, preventing unwanted cracks. A sharp blade or razor makes clean cuts; a serrated knife tends to drag and deflate the dough.
Variations & Adaptations
- Whole Wheat Sourdough: Increase whole wheat flour to 100g (⅔ cup) for a nuttier, denser loaf. Expect a slightly shorter rise time.
- Seeded Rustic Loaf: Add 2 tablespoons each of sunflower, pumpkin, and flax seeds during mixing for texture and flavor.
- Overnight Cold Proof: For a deeper tang, shape your dough and refrigerate it overnight (8–12 hours). This slow fermentation enriches flavor and makes slicing easier.
- Gluten-Free Alternative: Though traditional sourdough uses wheat, you can experiment with gluten-free starters and flours, but expect a different texture and crumb.
- Personal Variation: I like to swap half the water for cooled brewed chamomile tea sometimes—it adds a gentle floral note that surprises guests.
Serving & Storage Suggestions
This rustic sourdough bread is best served fresh, at room temperature, with butter or your favorite spread. It pairs beautifully with soups, stews, and cheeses. Toasting slices the next day can bring back that fresh-baked feel, especially if you sprinkle a little water on the crust before warming.
Store leftover bread wrapped loosely in a clean kitchen towel to keep the crust crisp while preventing it from drying out. For longer storage, slice and freeze in airtight bags; toast or warm slices directly from the freezer.
Flavors deepen if you let the bread sit wrapped overnight, so sometimes I prefer to bake in the evening and enjoy slices the next day with breakfast coffee. It’s a simple ritual that turns an everyday moment into something special.
Nutritional Information & Benefits
This sourdough bread provides an excellent source of complex carbohydrates and natural probiotics from the fermentation process, which can aid digestion. The use of whole wheat flour adds fiber and nutrients, making it a healthier choice compared to many store-bought breads.
Each serving (about 2 slices) contains roughly 150 calories, 5 grams of protein, and 1 gram of fat. It’s naturally free from added sugars and preservatives.
Note that while sourdough is generally easier to digest than regular bread, it still contains gluten and isn’t suitable for those with celiac disease. For those watching carbs, the fermentation lowers glycemic index slightly, making it a better option than many white breads.
Conclusion
This easy rustic beginner’s sourdough bread recipe isn’t just a loaf—it’s a little journey of patience, hands-on care, and rewarding results. I love it because it fits into my busy life while giving me a moment to slow down and create something delicious from simple beginnings. It’s far from perfect every time, but that’s part of the charm.
Feel free to tweak the flours, hydration, or fermentation times to make it truly yours. And when you do, I’d love to hear how your bread turns out—sharing those experiences makes this whole baking adventure even sweeter. So grab your starter, dust off your mixing bowl, and enjoy the quiet joy of baking your own rustic sourdough bread.
FAQs
How do I know if my sourdough starter is ready to use?
Your starter should be bubbly, have a pleasant tangy smell, and double in size within 4 to 6 hours after feeding. If it floats in water, that’s a good sign it’s active enough for baking.
Can I make this bread without a Dutch oven?
Yes! Use a baking sheet and place a pan of hot water on the oven’s bottom rack to create steam. Results won’t be quite the same, but you’ll still get a tasty loaf.
Why is my bread dense instead of airy?
Dense bread often means under-proofing or not enough gluten development. Make sure your dough nearly doubles during bulk fermentation and try the stretch-and-fold technique to build strength.
How long can I store sourdough bread?
At room temperature, it’s best eaten within 2 to 3 days. For longer storage, freeze sliced bread for up to a month and toast slices as needed.
Can I add herbs or other flavorings to this recipe?
Absolutely! Mix in fresh rosemary, thyme, olives, or garlic during the initial mixing for a flavorful twist. Just be sure not to overload the dough, or it might affect rising.
Pin This Recipe!
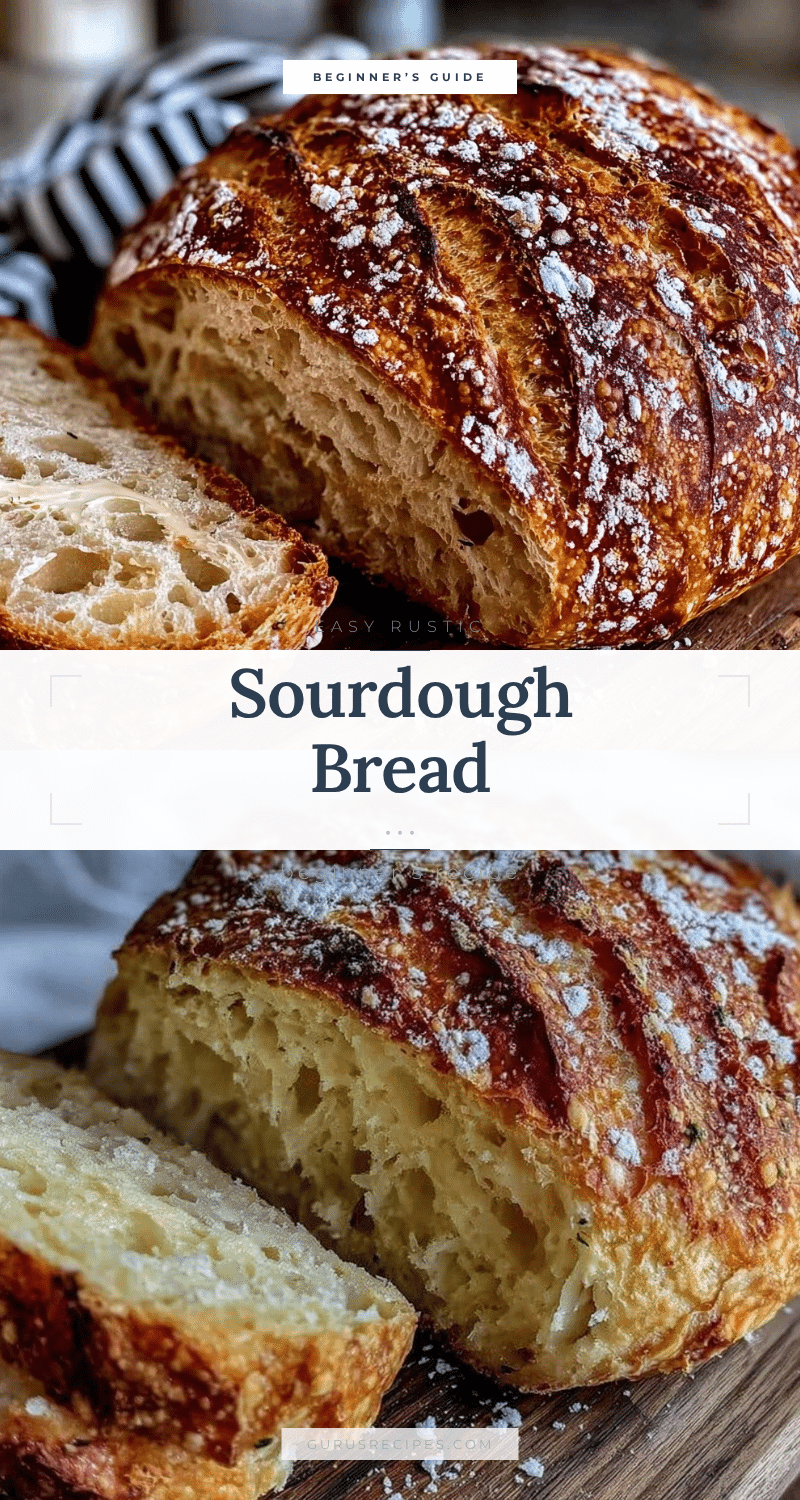

Easy Rustic Sourdough Bread Recipe for Beginners
A simple and calming sourdough bread recipe perfect for beginners, featuring a rustic crust and airy crumb with a tangy flavor. This recipe uses basic ingredients and a unique folding method to build dough strength without complicated kneading.
- Total Time: 4 to 6 hours (including fermentation and proofing time)
- Yield: 1 loaf (about 8-10 servings) 1x
Ingredients
- 100g (⅓ cup plus 1 tablespoon) active sourdough starter
- 400g (3 ⅓ cups) unbleached bread flour
- 50g (⅓ cup) whole wheat flour
- 325g (1 ⅓ cups) lukewarm water (filtered or spring water preferred)
- 10g (2 teaspoons) sea salt
Instructions
- Mix the Dough (10 minutes): In a large mixing bowl, combine 100g (⅓ cup plus 1 tbsp) active sourdough starter with 325g (1 ⅓ cups) lukewarm water. Stir until the starter dissolves. Add 400g (3 ⅓ cups) bread flour and 50g (⅓ cup) whole wheat flour. Mix until just combined with no dry spots. Cover with a damp towel and rest for 30 minutes.
- Add Salt and Fold (5 minutes): Sprinkle 10g (2 tsp) sea salt over the dough, add a splash of water if needed, and gently fold the dough inside the bowl using wet hands. Pinch and fold the dough over itself 4-5 times to incorporate the salt evenly. Cover again.
- Bulk Fermentation and Folding (3 to 4 hours): Every 30 minutes for 2 hours, perform stretch and folds by gently stretching and folding the dough over itself 4 times per session. After the last fold, let the dough rest undisturbed for 1 to 2 hours until roughly doubled in size and slightly jiggly.
- Shape the Loaf (10 minutes): Lightly flour your work surface and turn the dough out. Shape into a tight round by folding edges into the center and pulling the dough towards you to create surface tension. Place seam-side up into a well-floured proofing basket or bowl lined with a floured towel.
- Final Proof (2 to 3 hours or overnight): Cover and let rise at room temperature until it springs back slowly when poked. Alternatively, refrigerate overnight for slow fermentation and bring to room temperature for 1 hour before baking.
- Preheat Oven and Bake (45 minutes): Preheat a Dutch oven with lid to 475°F (245°C) for 30 minutes. Transfer dough onto parchment paper, score the top, place into the hot Dutch oven, cover and bake for 20 minutes. Remove lid and bake another 20-25 minutes until crust is deep golden brown and crisp.
- Cool Completely (at least 1 hour): Let bread cool on a wire rack before slicing to avoid gummy crumb.
Notes
Watch for visual cues like a jiggly dough that has doubled in size rather than relying solely on time. Be gentle when folding to avoid tearing the dough. Using a Dutch oven creates steam for a crunchy crust; if unavailable, use a baking sheet with a pan of hot water in the oven. Score the dough before baking to control expansion and prevent cracks.
- Prep Time: 15 minutes
- Cook Time: 45 minutes
- Category: Bread
- Cuisine: American
Nutrition
- Serving Size: About 2 slices (appr
- Calories: 150
- Sodium: 400
- Fat: 1
- Carbohydrates: 30
- Fiber: 2
- Protein: 5
Keywords: sourdough bread, rustic bread, beginner bread recipe, easy sourdough, homemade bread, bread baking, no knead bread


