
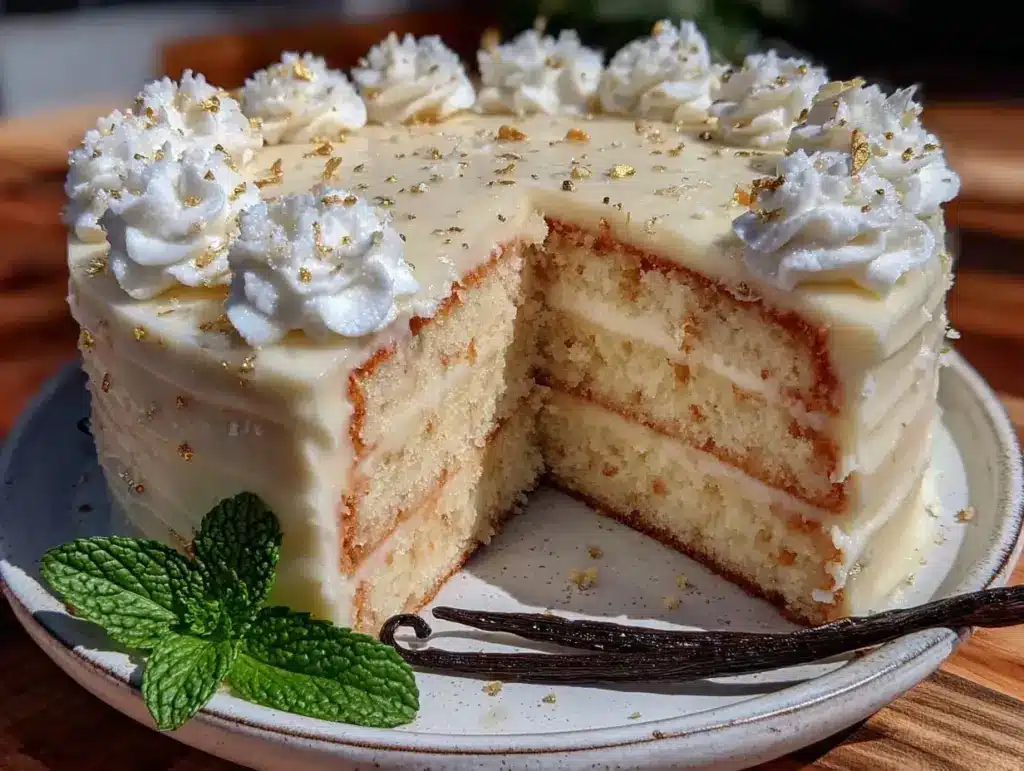
There was this one graduation party a few years back when I realized just how much a cake could pull a celebration together. Honestly, I wasn’t aiming for perfection—just something quick to whip up last minute. But the moment I cut into that fluffy three-layer vanilla graduation cake, I knew it was no ordinary dessert. The layers weren’t just tall; they were light and airy, almost melting in your mouth. The vanilla felt nostalgic—like your favorite childhood bakery treat—but with a homemade touch that made it special. I remember the chatter bubbling around the cake table, friends debating if it was store-bought or not, and the graduate’s eyes lighting up as they tasted it.
It wasn’t planned, and it definitely wasn’t fancy, but that cake became the quiet hero of the day. Since then, I’ve made it countless times, tweaking little things here and there. And every time, it brings that same cozy vibe of accomplishment and joy. That’s why this recipe stuck with me—because it’s more than just a cake. It’s a celebration in three soft, sweet layers, perfect for marking big moments like graduations or any special milestone.
So, if you’re looking for a cake that’s simple, reliable, and just downright comforting, this fluffy three-layer vanilla graduation cake might just be the one you’ll come back to again and again. It’s the kind of recipe that feels like a warm hug—made even better when shared.
Why You’ll Love This Recipe
- Quick & Easy: Comes together in under 90 minutes, which is a lifesaver on busy celebration days.
- Simple Ingredients: No complicated pantry raid needed—you probably have everything on hand already.
- Perfect for Celebrations: Whether it’s graduation, birthdays, or just a sweet get-together, this cake fits the bill.
- Crowd-Pleaser: Soft, fluffy, and just sweet enough to satisfy kids, teens, and adults alike.
- Unbelievably Delicious: The secret is in the light crumb and that classic vanilla aroma that fills the kitchen as it bakes.
- What Makes This Cake Different: Unlike dense vanilla cakes, this one uses a simple folding technique and precise baking temps that keeps it airy but sturdy enough for stacking three tall layers without sinking or cracking.
- Emotional Connection: It’s that comforting flavor that makes you smile with every bite—the kind you remember from celebrations past and feel good about serving again.
What Ingredients You Will Need
This fluffy three-layer vanilla graduation cake uses simple, wholesome ingredients to deliver bold flavor and satisfying texture without the fuss. Most are pantry staples, with room for easy swaps if you need them.
- For the Cake Batter:
- All-purpose flour (2 ¾ cups / 345g) – sifted for lightness
- Baking powder (3 teaspoons) – the lift agent to keep layers fluffy
- Salt (½ teaspoon) – balances sweetness
- Unsalted butter (1 cup / 227g), softened – I prefer Kerrygold for creaminess
- Granulated sugar (2 cups / 400g) – sweet but not overpowering
- Large eggs (4), room temperature – adds richness and structure
- Pure vanilla extract (1 tablespoon) – don’t skimp, use a good-quality brand like Nielsen-Massey
- Whole milk (1 cup / 240ml), room temperature – keeps the crumb tender and moist
- For the Vanilla Buttercream Frosting:
- Unsalted butter (1 cup / 227g), softened
- Powdered sugar (4 cups / 480g), sifted to avoid lumps
- Pure vanilla extract (2 teaspoons)
- Heavy cream or whole milk (2-3 tablespoons) – for smooth spreading
- Pinch of salt – to cut sweetness
Ingredient Tips: If you want a lighter, dairy-free version, swap the butter and milk with coconut oil and almond milk, but keep in mind the texture will shift slightly. For gluten-free, a 1:1 baking flour blend works well here. And if it’s summertime, fresh vanilla beans can add an incredible aromatic punch, but vanilla extract is perfectly fine (and easier!).
Equipment Needed
- Three 8-inch round cake pans – non-stick or lined with parchment paper works best
- Stand mixer or hand mixer – a stand mixer makes creaming butter and sugar effortless, but a good hand mixer does the job too
- Mixing bowls – one large for batter, and one for frosting
- Measuring cups and spoons – precise measurement is key here
- Rubber spatula – for folding and scraping sides cleanly
- Cooling racks – to cool cakes evenly without sogginess
- Offset spatula or butter knife – for smooth frosting application
- Toothpicks or cake tester – to check doneness
Personally, I’ve found that silicone baking mats or parchment paper liners make cleanup a breeze and help with cake removal. You don’t need fancy tools; even a sturdy bowl and a wooden spoon can work if you’re in a pinch. Just be patient with the folding step—it’s where the magic happens!
Preparation Method
- Prep Your Pans and Oven (10 minutes): Preheat the oven to 350°F (175°C). Grease the three 8-inch pans generously with butter and lightly dust with flour, or line them with parchment circles. This keeps the cakes from sticking while baking.
- Sift Dry Ingredients (5 minutes): In a large bowl, sift together the flour, baking powder, and salt. This ensures even distribution and prevents lumps, which can mess with the cake’s fluffiness.
- Cream Butter and Sugar (7-8 minutes): Using a stand or hand mixer, beat the softened butter and granulated sugar on medium-high speed until pale and fluffy. You’ll see the volume increase—this aeration is key for that light texture.
- Add Eggs One at a Time (3-4 minutes): Beat in eggs one by one, scraping down the bowl after each addition. This prevents curdling and helps the mixture stay smooth.
- Mix in Vanilla Extract (30 seconds): Stir in the vanilla extract for that classic aroma that sets this cake apart.
- Alternate Adding Dry Ingredients and Milk (5 minutes): Reduce mixer speed to low. Add the dry ingredients in three parts, alternating with the milk in two parts—start and end with the dry. Mix just until combined after each addition; overmixing can toughen the cake.
- Distribute Batter Evenly (3 minutes): Divide the batter evenly among the three pans (about 2 cups / 475ml per pan). I like to weigh the batter with a kitchen scale for perfect layers.
- Bake (25-30 minutes): Bake in the preheated oven until a toothpick inserted in the center comes out clean and the tops spring back when touched. Rotate pans halfway through baking for even color.
- Cool Completely (1 hour): Let cakes rest in the pans for 10 minutes before transferring to wire racks to cool completely. Frosting warm cakes melts the buttercream—patience here pays off.
- Prepare Buttercream Frosting (10 minutes): Beat softened butter until creamy, gradually add powdered sugar, then vanilla extract and cream. Adjust consistency with more cream or sugar as needed for spreading.
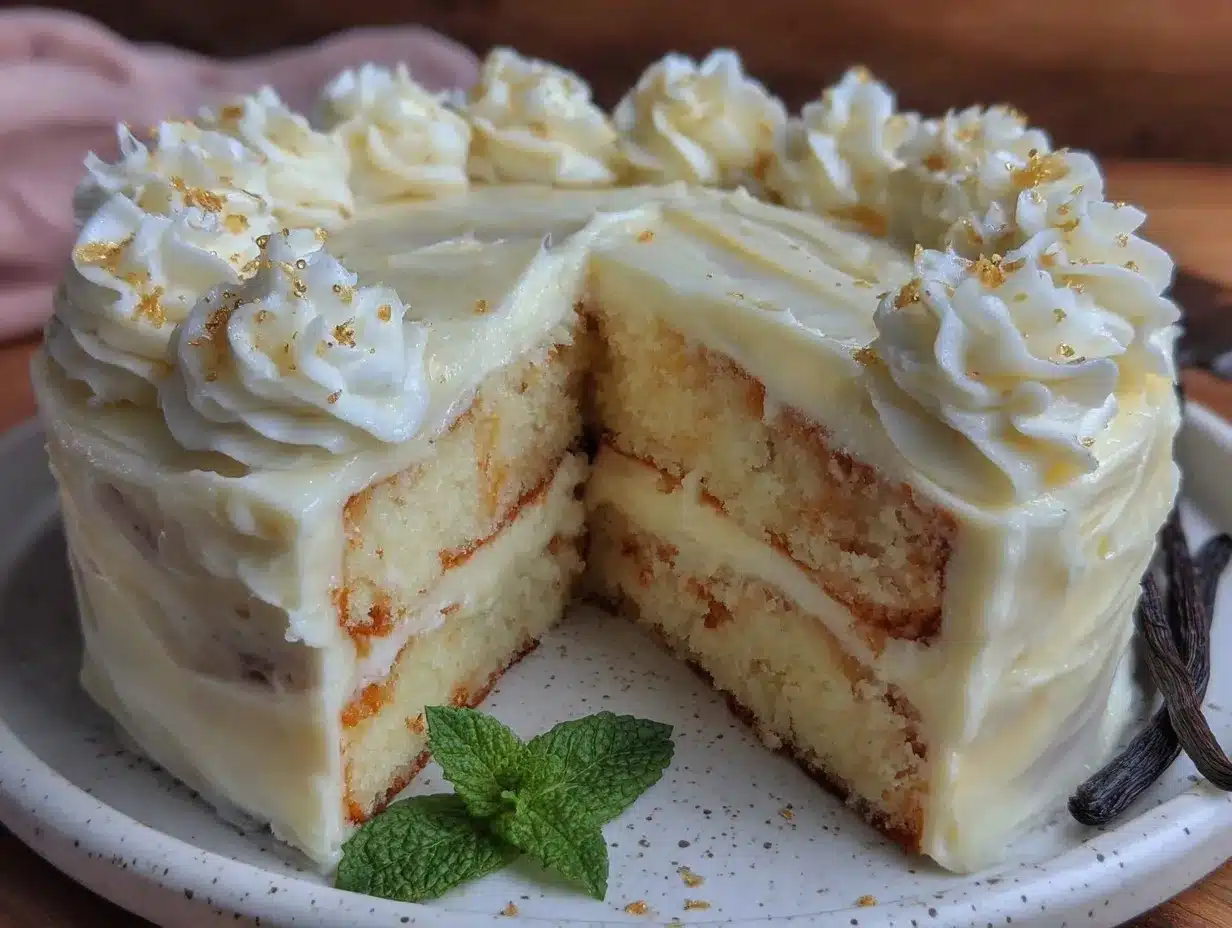
- Assemble the Cake (15 minutes): Place one cake layer on your serving plate, spread a thick layer of frosting on top, repeat for second layer, then top with the third. Finish by frosting the top and sides smoothly.
- Chill Before Serving (Optional, 30 minutes): Refrigerate the assembled cake to let the frosting set, making slicing easier and cleaner.
Quick tip: If you notice your batter feels too thick, a splash more milk helps. And if your layers bake unevenly, try reducing oven temperature by 10 degrees and baking a bit longer next time.
Cooking Tips & Techniques
- Cream Butter and Sugar Thoroughly: Don’t rush this step. Proper creaming traps air, which puffs up the cake beautifully.
- Room Temperature Ingredients: Eggs and milk at room temp blend easier and prevent batter from curdling.
- Gentle Folding: When adding flour, fold carefully to avoid knocking out air. Use a spatula and turn the bowl slowly.
- Don’t Overbake: Pull the cakes out as soon as a toothpick comes out mostly clean. Overbaking dries them out.
- Even Layer Distribution: Weighing batter ensures each layer is the same size, making stacking easier and more professional-looking.
- Chill Frosting: If the buttercream feels too soft, pop it in the fridge briefly but don’t let it harden completely before spreading.
- Use an Offset Spatula: It’s a game-changer for smooth frosting application and neat edges.
- Practice Makes Perfect: I once had a layer collapse because I rushed cooling—lesson learned to cool fully before assembling.
Variations & Adaptations
- Flavor Twists: Swap vanilla extract for almond or lemon extract for a fresh twist. Adding a teaspoon of lemon zest brightens the cake beautifully.
- Filling Ideas: Layer raspberry jam or fresh strawberries between the cake layers for a fruity surprise.
- Dietary Adjustments: Use gluten-free flour blend for gluten-free needs, or coconut oil and a plant-based milk to make it dairy-free. The texture changes a bit but still delicious.
- Frosting Variations: Try cream cheese frosting instead of buttercream for a tangy contrast, or whipped cream for a lighter finish.
- Baking Method: If you don’t have three pans, bake layers one at a time or bake in a larger pan and slice horizontally once cooled.
- Personal Favorite: I once added a pinch of cinnamon and nutmeg to the batter—unexpected but surprisingly delicious for a fall-themed graduation.
Serving & Storage Suggestions
This cake shines served at room temperature, where the buttercream is smooth and the crumb tender. I usually slice it modestly thick so each bite is satisfying but not overwhelming.
Pair it with a simple cup of coffee or a sparkling fruit punch to complement its sweet vanilla notes. Fresh berries or edible flowers on top add a festive touch without fuss.
Store leftover cake covered tightly with plastic wrap or in an airtight container in the refrigerator for up to 4 days. To freeze, wrap layers separately in plastic and foil, then thaw overnight in the fridge before assembling.
Reheat slices gently in the microwave for 10-15 seconds if you prefer warm bites, but honestly, it’s just as good cold. Over time, the flavors meld, making the cake taste even more harmonious the next day.
Nutritional Information & Benefits
Each slice of this fluffy three-layer vanilla graduation cake provides roughly 350-400 calories, with moderate fat and sugar content. The use of real butter and whole milk adds richness but also supplies essential fat-soluble vitamins.
Vanilla extract is more than flavor; it has soothing aromatic properties that enhance the eating experience. Using fresh eggs offers protein and nutrients, making this indulgence a bit more balanced.
While not low-carb or sugar-free, it fits well within a balanced diet when enjoyed in moderation. Gluten-free and dairy-free variations make it accessible to many dietary needs.
From a wellness perspective, sharing a homemade cake like this can nourish not just the body but also social connection and celebration—something that’s just as important.
Conclusion
This fluffy three-layer vanilla graduation cake has carved a little spot in my kitchen repertoire for good reason. It’s reliable, charmingly simple, and carries that special vanilla warmth that feels like a celebration every time. I love how it transforms ordinary ingredients into a centerpiece that invites smiles and second helpings.
Feel free to tweak the layers, flavors, or frostings to suit your own style—this recipe is a flexible canvas. Whether you’re baking for a graduation, birthday, or just because, it’s a sweet way to make any moment feel a bit brighter.
If you do try it, I’d love to hear how it turned out or what variations you made. Sharing those little kitchen adventures is what makes this baking journey even sweeter.
Here’s to many joyful celebrations—one fluffy slice at a time!
FAQs
Can I make this cake a day ahead?
Absolutely! Bake and frost the cake a day before your event, then keep it refrigerated. Bring it to room temperature before serving for the best texture.
What if I don’t have three cake pans?
No worries. Bake one or two layers at a time in the same pan, letting the batter rest in the fridge between bakes. Alternatively, bake in a larger pan and slice horizontally once cooled.
How do I keep the cake layers from drying out?
Don’t overbake and cool layers properly. Wrapping layers in plastic wrap once cooled helps retain moisture if you’re not frosting immediately.
Can I substitute butter with oil?
You can, but the texture and flavor will change. Butter gives richness and structure, while oil makes cakes more moist but less fluffy.
Is this recipe suitable for beginner bakers?
Definitely! The steps are straightforward, and with a bit of patience in mixing and baking times, beginners can achieve a beautiful, fluffy cake.
Pin This Recipe!
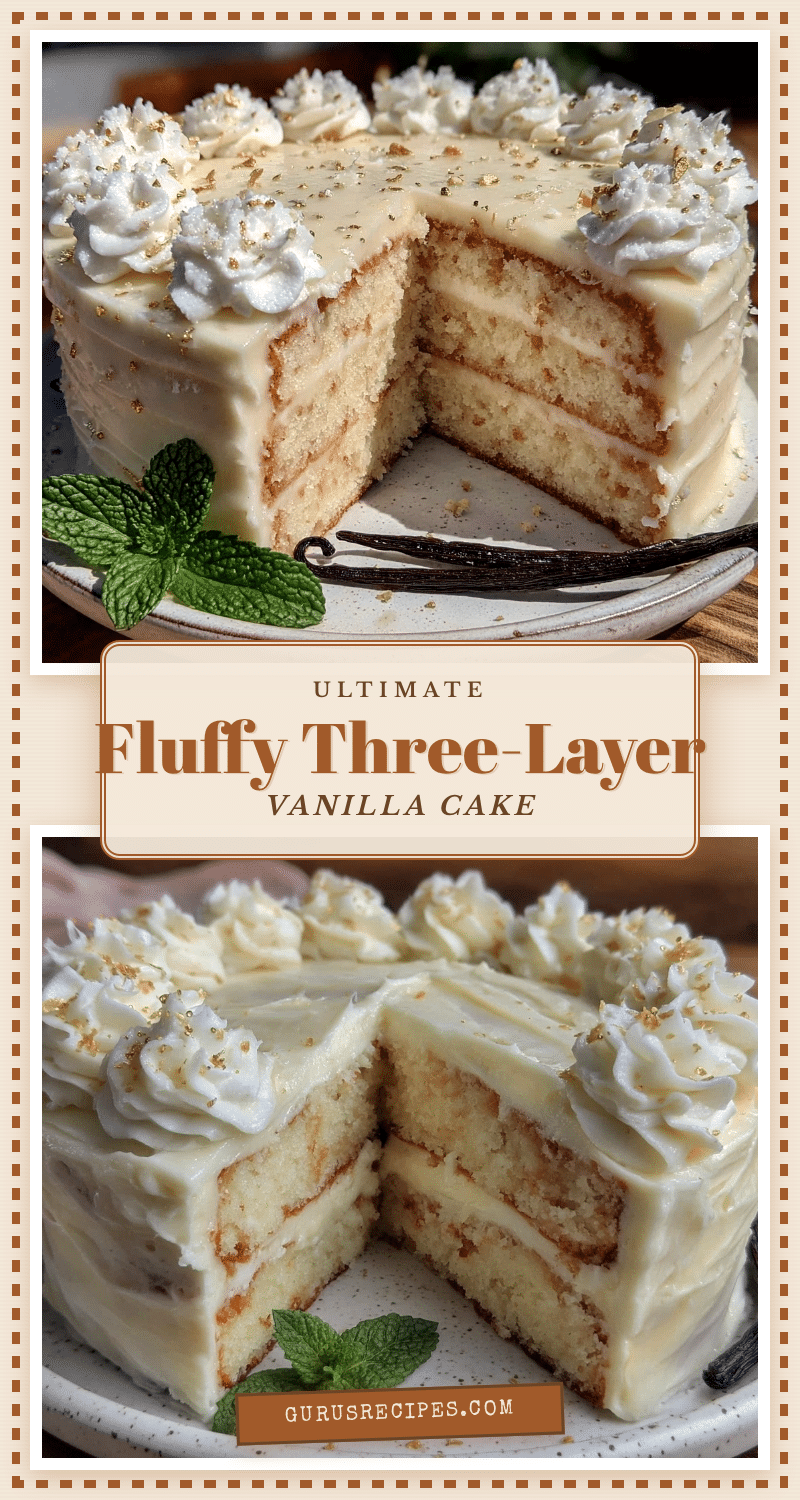

Fluffy Three-Layer Vanilla Graduation Cake
A light and airy three-layer vanilla cake perfect for celebrations like graduations, birthdays, or any special milestone. This easy homemade recipe delivers soft, fluffy layers with a nostalgic vanilla flavor and smooth buttercream frosting.
- Total Time: 1 hour
- Yield: 12 servings 1x
Ingredients
- 2 ¾ cups (345g) all-purpose flour, sifted
- 3 teaspoons baking powder
- ½ teaspoon salt
- 1 cup (227g) unsalted butter, softened
- 2 cups (400g) granulated sugar
- 4 large eggs, room temperature
- 1 tablespoon pure vanilla extract
- 1 cup (240ml) whole milk, room temperature
- For the frosting:
- 1 cup (227g) unsalted butter, softened
- 4 cups (480g) powdered sugar, sifted
- 2 teaspoons pure vanilla extract
- 2–3 tablespoons heavy cream or whole milk
- Pinch of salt
Instructions
- Preheat the oven to 350°F (175°C). Grease three 8-inch round cake pans with butter and lightly dust with flour or line with parchment paper.
- In a large bowl, sift together the flour, baking powder, and salt.
- Using a stand or hand mixer, beat the softened butter and granulated sugar on medium-high speed until pale and fluffy, about 7-8 minutes.
- Add eggs one at a time, beating well after each addition and scraping down the bowl to keep the mixture smooth.
- Stir in the vanilla extract.
- Reduce mixer speed to low. Add the dry ingredients in three parts, alternating with the milk in two parts, starting and ending with the dry ingredients. Mix just until combined after each addition to avoid overmixing.
- Divide the batter evenly among the three pans (about 2 cups or 475ml per pan).
- Bake for 25-30 minutes, rotating pans halfway through, until a toothpick inserted in the center comes out clean and the tops spring back when touched.
- Let cakes rest in the pans for 10 minutes, then transfer to wire racks to cool completely.
- To make the frosting, beat softened butter until creamy. Gradually add powdered sugar, then vanilla extract and cream. Adjust consistency with more cream or sugar as needed.
- Assemble the cake by placing one layer on a serving plate, spreading a thick layer of frosting on top. Repeat with the second layer and top with the third. Frost the top and sides smoothly.
- Optional: Refrigerate the assembled cake for 30 minutes to let the frosting set for easier slicing.
Notes
Use room temperature eggs and milk for better blending. Be gentle when folding in dry ingredients to keep the batter airy. Avoid overbaking to keep the cake moist. Weigh batter for even layers. Chill frosting if too soft before spreading. Use an offset spatula for smooth frosting application. Variations include swapping vanilla extract for almond or lemon extract, adding lemon zest, or using gluten-free flour and dairy-free substitutes.
- Prep Time: 30 minutes
- Cook Time: 30 minutes
- Category: Dessert
- Cuisine: American
Nutrition
- Serving Size: One slice (1/12th of
- Calories: 375
- Sugar: 38
- Sodium: 220
- Fat: 18
- Saturated Fat: 11
- Carbohydrates: 52
- Fiber: 1
- Protein: 4
Keywords: vanilla cake, three-layer cake, graduation cake, celebration cake, fluffy cake, homemade cake, easy cake recipe, buttercream frosting


