
The first time I made this no-bake peanut butter chocolate cheesecake, my kitchen was a mess—crumbs everywhere, chocolate smudges on my shirt, and a spoon sneaked right into the peanut butter jar. The aroma of creamy peanut butter swirling with rich chocolate just hit me smack in the face, and suddenly, my willpower was, well, nowhere to be found. Honestly, this dessert is the kind that makes you forget you ever questioned your sweet tooth. It’s got that perfect mix of salty and sweet, velvety cheesecake filling with a chocolatey crunch, and the best part—no oven required.
I stumbled onto this recipe during a summer heatwave when the thought of turning on the oven was just a hard ‘no.’ My family loves a classic cheesecake, but let’s face it, waiting hours for it to bake (and cool!) is not my style. So I started playing with no-bake versions, and this peanut butter chocolate cheesecake was the hands-down winner. It’s become my go-to for birthdays, backyard parties, and those random Tuesday nights when we just want something special.
There’s something magical about combining peanut butter and chocolate—like they were meant to be together. The layers are decadent but surprisingly simple, and you can whip it up with pantry staples. If you’ve got kids, they’ll love helping with the crushed cookie crust and licking the beaters. If you’re into high-protein snacks, the creamy peanut butter adds a little nutrition to all the indulgence. And if you need a dessert for a crowd, this one always disappears fast.
As someone who’s tested dozens of cheesecakes (with a few flops along the way), I promise this no-bake peanut butter chocolate cheesecake is as foolproof as it gets. It’s easy to customize, forgiving if you make a little mess, and guaranteed to wow anyone who takes a bite.
Why You’ll Love This Recipe
- Quick & Easy: You’ll have this cheesecake chilling in the fridge in under 30 minutes. No oven, no water bath, no stress.
- Simple Ingredients: Everything here is a pantry classic—think cream cheese, peanut butter, chocolate chips, and cookies. No fancy stuff needed.
- Perfect for Parties: It slices beautifully and stands up to a busy dessert table. I’ve served it at birthday parties, potlucks, and even holiday brunches—always a hit.
- Crowd-Pleaser: Kids, parents, picky eaters, peanut butter lovers—everyone asks for seconds. My neighbor still texts me for the recipe every time I bring it over.
- Unbelievably Delicious: The texture is lush and creamy, with layers of chocolate crunch and silky peanut butter. It’s the kind of dessert that makes you close your eyes after the first bite—no kidding.
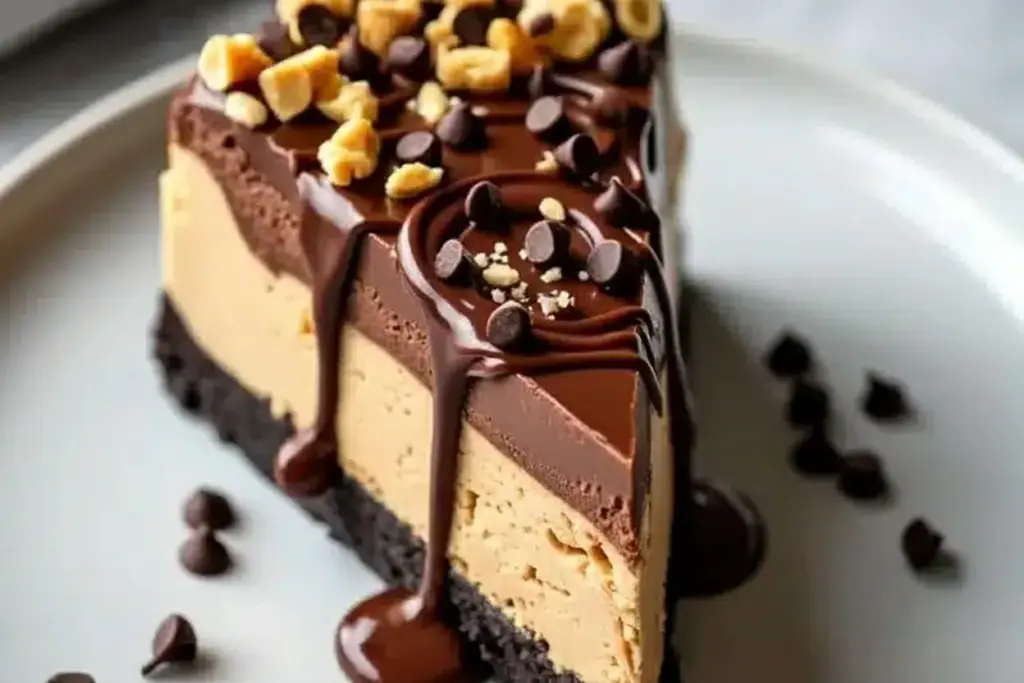
What sets this no-bake peanut butter chocolate cheesecake apart is the way the flavors and textures come together. Blending peanut butter right into the cheesecake filling adds this rich, nutty flavor you can’t get from just a chocolate layer. Plus, the cookie crust stays crisp without baking—thanks to a little butter magic. I’ve tried a ton of no-bake cheesecakes, but this one’s unique because the layers are distinct yet perfectly balanced.
Honestly, it’s comfort food at its best: nostalgic flavors, a touch of salty goodness, and enough chocolate to keep you hooked. Whether you’re looking to impress guests or just treat yourself, this cheesecake is the kind of dessert people remember. I’ve made it for family movie nights, office celebrations, and even as a midnight snack (not judging). It’s versatile, forgiving, and absolutely irresistible.
What Ingredients You Will Need
This recipe uses simple, wholesome ingredients to deliver bold flavor and satisfying texture without any fuss. Most are pantry staples, and a few can be swapped out for dietary needs or fun twists.
- For the Crust:
- Chocolate sandwich cookies (Oreos or similar), crushed (about 24 cookies or 250g)
- Unsalted butter, melted (6 tbsp / 85g)
- Pinch of salt (optional, if using unsalted cookies)
- For the Peanut Butter Cheesecake Layer:
- Cream cheese, full-fat, softened (16 oz / 450g)
- Peanut butter, creamy (1 cup / 240g) – I love using Skippy for the classic flavor
- Powdered sugar (1 cup / 120g)
- Vanilla extract (1 tsp / 5ml)
- Heavy cream (1 cup / 240ml), whipped to soft peaks
- Pinch of salt (balances the sweetness)
- For the Chocolate Layer:
- Semi-sweet chocolate chips (1 cup / 175g)
- Heavy cream (1/2 cup / 120ml)
- Butter (2 tbsp / 28g), for shine and smoothness
- For Topping (Optional):
- Mini peanut butter cups, chopped (for garnish)
- Chocolate shavings or curls
- Crushed peanuts (unsalted or lightly salted)
Ingredient Notes:
- Cookies: Any chocolate sandwich cookie works; gluten-free or vegan varieties do the trick if needed.
- Cream Cheese: Use full-fat for best texture—low-fat versions can get watery.
- Peanut Butter: Natural peanut butter makes the filling a bit softer, but works. If you want firmer slices, stick with classic creamy brands.
- Heavy Cream: Whipping it separately before folding in helps give the cheesecake a light, mousse-like texture.
- Chocolate Chips: Dark, milk, or even white chocolate chips are all fair game depending on your taste.
- Substitutions: Swap almond butter for peanut butter if you have allergies, or use coconut milk for the chocolate layer if avoiding dairy.
- I’ve tried adding a layer of sliced bananas between the crust and filling—super tasty if you love a PB&Banana vibe!
Equipment Needed
- 9-inch (23cm) springform pan (for easy removal and pretty layers)
- Alternatives: Deep pie plate or 8×8-inch (20x20cm) square pan works; just line with parchment for easy slicing.
- Food processor or blender (for cookie crust)
- Alternatives: Place cookies in a zip-top bag and crush with a rolling pin—super satisfying, honestly.
- Mixing bowls (at least two: one for crust, one for filling)
- Electric mixer or stand mixer (for whipping cream and blending filling)
- Hand whisk works for the cream if you’re feeling strong-armed. I’ve done it—takes a bit more time.
- Rubber spatula (for folding and scraping)
- Measuring cups and spoons (precision matters for cheesecake!)
- Parchment paper (for lining the pan, optional but makes life easier)
Quick tip: If you’re using a springform pan, check the seal before pouring in your crust—sometimes older pans leak a little. For budget-friendly options, get mixing bowls and spatulas at dollar stores; they do the job just fine. Keep your electric mixer’s beaters clean between layers for best results (I learned this the messy way).
Preparation Method
- Prepare the Crust:
- Crush 24 chocolate sandwich cookies (about 250g) in a food processor until fine crumbs form. If you don’t have a processor, use a zip-top bag and rolling pin.
- Pour in 6 tbsp (85g) melted unsalted butter and a pinch of salt if cookies are unsalted. Pulse or mix until the crumbs look like wet sand.
- Press the mixture firmly into the bottom of a 9-inch (23cm) springform pan. Use the bottom of a glass for an even layer. Chill in the fridge while you make the filling (about 10 minutes).
- Make the Peanut Butter Cheesecake Layer:
- Beat 16 oz (450g) softened cream cheese in a large bowl until smooth and fluffy, about 2 minutes. Add 1 cup (240g) creamy peanut butter and beat until fully combined.
- Add 1 cup (120g) powdered sugar, 1 tsp (5ml) vanilla extract, and a pinch of salt. Mix until smooth.
- In a separate bowl, whip 1 cup (240ml) heavy cream to soft peaks (about 2-3 minutes with mixer).
- Gently fold whipped cream into peanut butter mixture using a rubber spatula. The filling should be light and creamy; don’t overmix.
- Spoon the cheesecake mixture onto the chilled crust, smoothing the top with a spatula. Chill in the fridge for 30 minutes to set slightly.
- Prepare Chocolate Layer:
- Heat 1/2 cup (120ml) heavy cream in a small saucepan until steaming but not boiling. Remove from heat and pour over 1 cup (175g) semi-sweet chocolate chips and 2 tbsp (28g) butter in a bowl.
- Let sit for 2 minutes, then stir until smooth and glossy. If the chocolate looks grainy, microwave in short 10-second bursts, stirring each time.
- Cool slightly, then pour over cheesecake layer, tilting pan for even coverage.
- Chill the entire cheesecake for at least 4 hours, or overnight for best results.
- Decorate and Serve:
- Once set, run a thin knife around the edge before unlocking the springform pan.
- Top with chopped mini peanut butter cups, chocolate shavings, or crushed peanuts as desired.
- Slice with a hot knife for clean edges—wipe between slices for a neat finish.
Preparation Notes:
- If your cheesecake filling seems too runny, chill it longer before adding the chocolate layer.
- For extra crunch, add a layer of crushed peanuts between crust and filling.
- Texture cues: The crust should feel firm, the filling light and creamy, the chocolate layer glossy and set but not hard.
- I’ve learned to always taste the filling before chilling—sometimes a little extra vanilla or pinch of salt makes all the difference.
Cooking Tips & Techniques
Making a no-bake peanut butter chocolate cheesecake sounds easy, but there are a few tricks I’ve picked up (usually from making mistakes!). Here’s what I wish I’d known from the start:
- Room Temperature Ingredients: Let cream cheese and peanut butter sit out for 30 minutes before mixing. Cold ingredients make the filling lumpy.
- Crust Consistency: Don’t skimp on the butter in the crust—otherwise, it’ll crumble when you slice. If it looks too dry, add another tablespoon of melted butter.
- Whipped Cream Folding: Use a gentle hand when folding in whipped cream. Overmixing deflates the filling, making it dense instead of airy.
- Chocolate Layer: If your chocolate is too thick to pour, add a splash more cream. If it’s too thin, let it cool for a few minutes before pouring.
- Timing: Make this cheesecake a day ahead for best flavor and texture. The layers meld and slice perfectly after an overnight chill.
- Multitasking: While the crust chills, whip up your filling. I usually prep the chocolate layer last while the cheesecake sets in the fridge.
I once tried to rush the chilling process by popping the cheesecake in the freezer—bad move. The chocolate layer cracked, and the filling got icy. Lesson learned: patience pays off. For consistent results, always measure your ingredients (especially the cream cheese and peanut butter). And if your kitchen gets warm, work quickly, or the filling may get soft.
Variations & Adaptations
One of the best things about this no-bake peanut butter chocolate cheesecake is how easy it is to tweak. Here are my favorite ways to mix it up:
- Dietary Variation: Use gluten-free chocolate sandwich cookies for the crust and dairy-free cream cheese and coconut cream for the filling. Works just as well!
- Flavor Twist: Swirl in 1/2 cup (120g) raspberry or strawberry jam on top of the peanut butter layer before adding chocolate. Adds a fruity punch that’s amazing.
- Seasonal Swap: In fall, sprinkle cinnamon into the cheesecake filling and top with chopped roasted pecans for a cozy vibe.
- Cooking Method: If you’re short on time, make mini cheesecakes in muffin tins—just divide the crust and filling, and chill as usual.
- Allergen Substitutions: Almond butter or sunflower seed butter in place of peanut butter for nut allergies. Vegan butter and coconut cream work for dairy-free needs.
- Personal Favorite: I tried adding crushed pretzels to the crust once—gave it a salty crunch that’s absolutely addictive.
Feel free to play with toppings: caramel drizzle, white chocolate chips, or even fresh berries. The base recipe is sturdy and delicious, so adapt as you like!
Serving & Storage Suggestions
This cheesecake is best served chilled, straight from the fridge. The slices hold up beautifully, and the layers stay defined—perfect for a pretty Pinterest-worthy dessert table.
- Serving Temperature: Cold is key; let it sit out for about 10 minutes for easier slicing if you like.
- Presentation: Top with extra peanut butter cups, a sprinkle of cocoa powder, or fresh whipped cream for a showstopper look.
- Complementary Dishes: Pair with hot coffee, iced espresso, or a cold glass of milk. Fresh fruit on the side is a nice balance to all the richness.
- Storage: Keep leftovers tightly covered in the fridge for up to 5 days. The flavors deepen as it sits.
- Freezer: You can freeze individual slices—wrap in plastic and foil. Thaw overnight in the fridge before serving.
- Reheating: No reheating needed, but if you do freeze, let slices come to room temp for about 20 minutes for best texture.
I’ve noticed the peanut butter flavor gets even bolder after a day or two. If you’re prepping for a party, make it the night before—less stress, more flavor!
Nutritional Information & Benefits
Each slice of this no-bake peanut butter chocolate cheesecake (about 1/12th of the cake) has roughly:
- Calories: 420
- Protein: 8g (thanks to peanut butter and cream cheese!)
- Fat: 30g
- Carbohydrates: 32g
- Sugar: 22g
Health Benefits:
- Peanut butter provides healthy fats and a boost of protein.
- Chocolate offers antioxidants—especially if you use dark chocolate chips.
- Cream cheese is a source of calcium.
This dessert is inherently gluten-free if you choose the right cookies. For low-carb diets, swap in sugar-free cookies and natural sweeteners. Allergens: Contains dairy, peanuts, and gluten (unless adapted). If you’re watching sugar, you can halve the powdered sugar or use stevia.
From a wellness perspective, this cheesecake is pure comfort—sometimes, enjoying a treat with loved ones is the healthiest thing you can do.
Conclusion
There’s a reason this no-bake peanut butter chocolate cheesecake is my most requested dessert—it’s easy, decadent, and always a crowd-pleaser. The layers of rich peanut butter and silky chocolate are a match made in heaven, and the no-bake method keeps things stress-free. Whether you’re making it for a birthday, a holiday, or just a cozy night in, you can customize it to suit anyone’s tastes.
Personally, I love how forgiving this recipe is. You can make it ahead, swap in your favorite flavors, and even let the kids help out. If you haven’t tried it yet, you’re honestly missing out! Give it a go, make it your own, and let me know how it turns out—drop a comment below, share your photos, or tag me with your creative adaptations.
So grab your mixing bowl, pick your favorite toppings, and treat yourself (and your loved ones) to a slice of pure joy. Happy no-baking!
FAQs
Can I make this cheesecake ahead of time?
Absolutely! In fact, I recommend it. The flavors develop overnight, and it slices beautifully when fully chilled.
What can I use if I don’t have a springform pan?
A deep pie plate or an 8×8-inch square pan works great. Just line with parchment paper so you can lift out the cheesecake easily.
Can I make this recipe gluten-free?
Yes, just use gluten-free chocolate sandwich cookies for the crust. All other ingredients are naturally gluten-free if you check your labels.
How do I keep the cheesecake from sticking to the pan?
Line the pan with parchment paper or grease it lightly. Running a thin knife around the edge before unlocking the springform also helps.
Can I freeze leftovers?
Definitely! Wrap individual slices tightly and freeze. Thaw in the fridge overnight, and enjoy whenever you want a sweet treat.
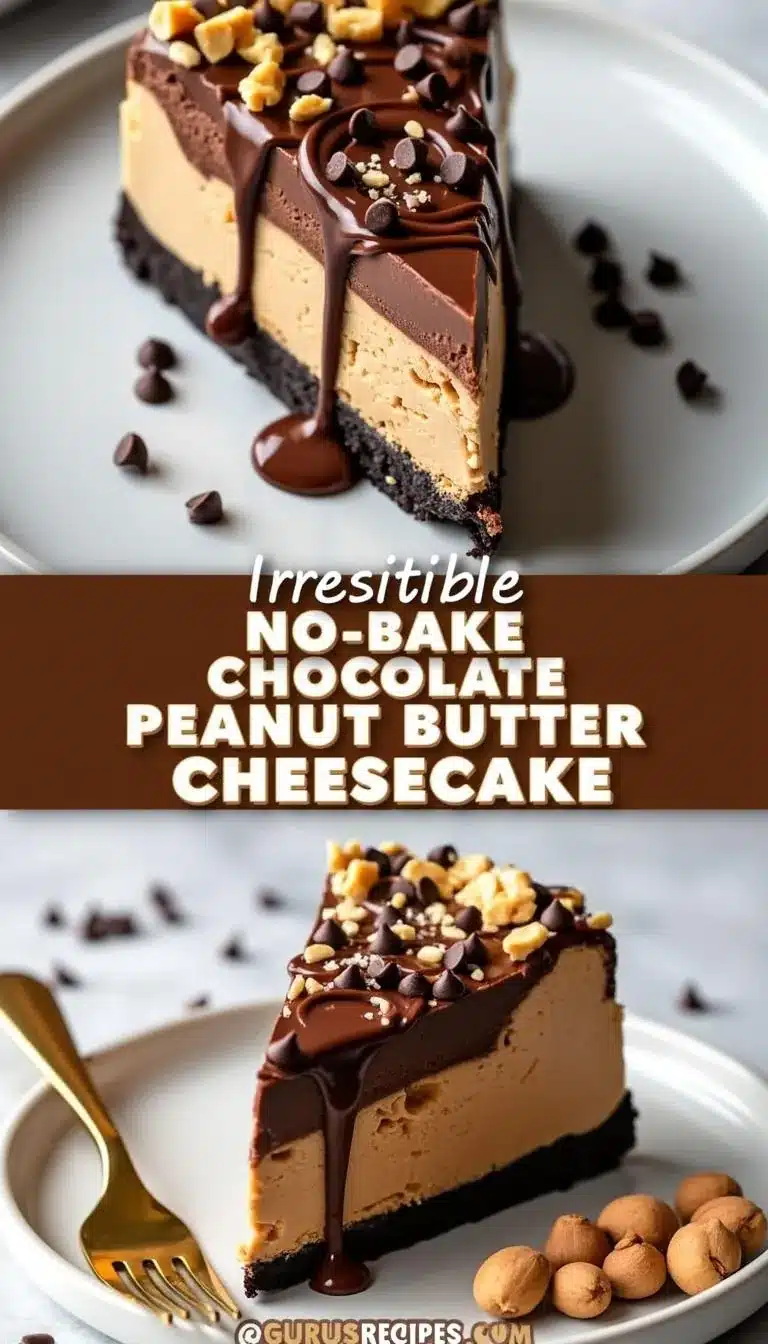

No-Bake Peanut Butter Chocolate Cheesecake
This easy, decadent no-bake peanut butter chocolate cheesecake features creamy peanut butter cheesecake filling, a chocolate cookie crust, and a glossy chocolate ganache layer. Perfect for parties, birthdays, or any time you want a show-stopping dessert without turning on the oven.
- Total Time: 4 hours 30 minutes (includes chilling time)
- Yield: 12 servings 1x
Ingredients
- 24 chocolate sandwich cookies (Oreos or similar), crushed (about 250g)
- 6 tablespoons unsalted butter, melted (85g)
- Pinch of salt (optional, if using unsalted cookies)
- 16 ounces full-fat cream cheese, softened (450g)
- 1 cup creamy peanut butter (240g)
- 1 cup powdered sugar (120g)
- 1 teaspoon vanilla extract (5ml)
- 1 cup heavy cream, whipped to soft peaks (240ml)
- Pinch of salt
- 1 cup semi-sweet chocolate chips (175g)
- 1/2 cup heavy cream (120ml)
- 2 tablespoons butter (28g)
- Mini peanut butter cups, chopped (for garnish, optional)
- Chocolate shavings or curls (optional)
- Crushed peanuts, unsalted or lightly salted (optional)
Instructions
- Crush 24 chocolate sandwich cookies in a food processor or in a zip-top bag with a rolling pin until fine crumbs form.
- Mix cookie crumbs with 6 tablespoons melted unsalted butter and a pinch of salt if needed. Stir until the mixture resembles wet sand.
- Press the mixture firmly into the bottom of a 9-inch springform pan. Chill in the fridge for about 10 minutes.
- In a large bowl, beat 16 ounces softened cream cheese until smooth and fluffy, about 2 minutes.
- Add 1 cup creamy peanut butter and beat until fully combined.
- Add 1 cup powdered sugar, 1 teaspoon vanilla extract, and a pinch of salt. Mix until smooth.
- In a separate bowl, whip 1 cup heavy cream to soft peaks (about 2-3 minutes with a mixer).
- Gently fold the whipped cream into the peanut butter mixture using a rubber spatula until light and creamy. Do not overmix.
- Spoon the cheesecake mixture onto the chilled crust and smooth the top. Chill in the fridge for 30 minutes.
- Heat 1/2 cup heavy cream in a small saucepan until steaming but not boiling. Remove from heat and pour over 1 cup semi-sweet chocolate chips and 2 tablespoons butter in a bowl.
- Let sit for 2 minutes, then stir until smooth and glossy. Microwave in short bursts if needed to fully melt.
- Cool slightly, then pour the chocolate mixture over the cheesecake layer, tilting the pan for even coverage.
- Chill the entire cheesecake for at least 4 hours, or overnight for best results.
- Once set, run a thin knife around the edge before unlocking the springform pan.
- Top with chopped mini peanut butter cups, chocolate shavings, or crushed peanuts as desired.
- Slice with a hot knife for clean edges, wiping between slices.
Notes
For best results, use room temperature cream cheese and peanut butter. Chill the cheesecake overnight for the easiest slicing and best flavor. Gluten-free cookies and dairy-free alternatives can be used for dietary needs. If the filling seems too runny, chill longer before adding the chocolate layer. Taste the filling before chilling to adjust vanilla or salt. For extra crunch, add crushed peanuts between the crust and filling.
- Prep Time: 25 minutes
- Cook Time: 0 minutes
- Category: Dessert
- Cuisine: American
Nutrition
- Serving Size: 1 slice (1/12th of cheesecake)
- Calories: 420
- Sugar: 22
- Sodium: 260
- Fat: 30
- Saturated Fat: 14
- Carbohydrates: 32
- Fiber: 2
- Protein: 8
Keywords: no-bake cheesecake, peanut butter chocolate cheesecake, easy cheesecake, party dessert, no oven dessert, chocolate peanut butter, summer dessert, creamy cheesecake, Oreo crust, kid-friendly dessert


