
It was one of those chilly December evenings when the kitchen was filled with the faint hum of holiday tunes, and I found myself staring down at a pile of cookie cutters that had seen better days. Honestly, I wasn’t planning a baking marathon—just a quick, fun distraction after a long day of work. But as I rolled out the dough, something clicked. The dough wasn’t sticking, the shapes held perfectly, and the aroma of vanilla and butter filled the room like a warm hug.
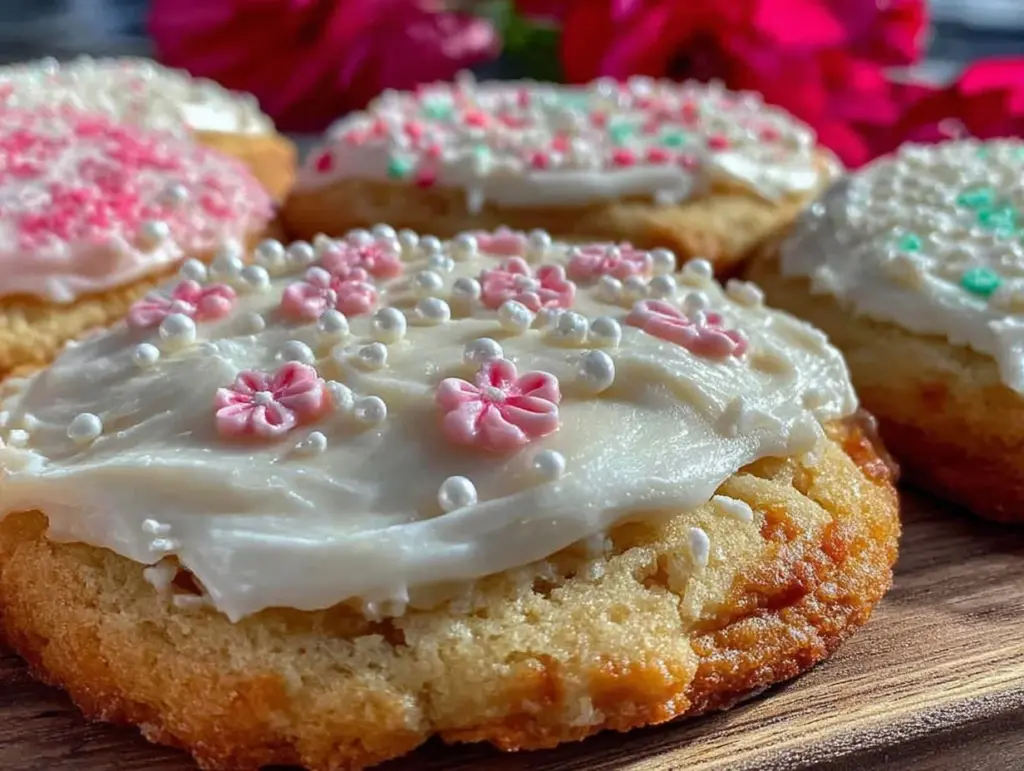
I had always been a bit skeptical about making sugar cookie cutouts with royal icing. The glossy finish seemed intimidating, like something reserved for professional bakers or Pinterest pros with endless patience. But that evening, I decided to give it a go with what I had on hand, no fancy tools or complicated steps. The result? Cookies that looked like they belonged in a bakery window, with that perfect shiny royal icing that didn’t crack or dull even after drying overnight.
What stuck with me wasn’t just the taste or the look, but how effortless the process felt once I figured out a few key tricks. Each bite reminded me of cozy holiday memories, and the best part—friends kept asking for the recipe. It’s a quiet little joy, really, watching simple ingredients come together to create something both nostalgic and special. That’s why this recipe feels like the perfect companion for anyone wanting to bake beautiful sugar cookie cutouts with glossy royal icing—no fuss, just magic in the kitchen.
Why You’ll Love This Recipe
- Quick & Easy: Comes together in under 2 hours, including baking and decorating time, making it ideal for last-minute holiday baking or weekend treats.
- Simple Ingredients: Uses pantry staples like butter, sugar, and eggs—no need for specialty stores or unusual items.
- Perfect for Every Occasion: Whether it’s Christmas, birthdays, or a casual cookie swap, these cutouts fit right in.
- Crowd-Pleaser: Kids love decorating them, and adults can’t resist their buttery sweetness paired with glossy, sweet royal icing.
- Unbelievably Delicious: The cookie dough is tender but sturdy enough to hold shapes, while the royal icing dries smooth and shiny, adding that professional touch.
- What Sets This Recipe Apart: It’s all about balance—this sugar cookie cutout recipe avoids the dryness common in sugar cookies, and the royal icing formula is designed to dry with a glossy, smooth finish without cracking or dulling over time.
- Emotional Connection: Baking these cookies is like a little celebration in itself—messy hands, fun shapes, and that satisfying snap of a perfectly baked cutout. It’s comfort food with a creative twist.
What Ingredients You Will Need
This recipe uses simple, wholesome ingredients to deliver buttery, flavorful sugar cookie cutouts topped with glossy royal icing that sets beautifully. Most of these ingredients are pantry staples, and substitutions are easy if needed.
- For the Sugar Cookie Dough:
- Unsalted butter, softened (1 cup / 227g) – I prefer Kerrygold for its rich flavor
- Granulated sugar (1 cup / 200g)
- Large egg, room temperature (1)
- Pure vanilla extract (1 teaspoon)
- All-purpose flour (2 ¾ cups / 345g)
- Baking powder (1 teaspoon)
- Salt (½ teaspoon)
- For the Glossy Royal Icing:
- Powdered sugar (4 cups / 480g), sifted to avoid lumps
- Pasteurized egg whites or meringue powder (3 tablespoons) – I use meringue powder for safety and shelf life
- Fresh lemon juice (2 teaspoons) or water (adjust for consistency)
- Food coloring gels (optional) – AmeriColor gels give vibrant hues without thinning the icing
Ingredient Tips: Use room temperature eggs for better dough consistency. When picking flour, unbleached all-purpose works best for tender yet sturdy cookies. For the royal icing, always sift powdered sugar to keep your icing silky smooth. If you want a dairy-free cookie, swap butter with vegan margarine, but expect slightly different texture.
Equipment Needed
- Stand mixer or hand mixer – makes creaming butter and sugar effortless
- Rolling pin – a non-stick silicone one works wonders
- Cookie cutters – shapes of your choice; I keep a small collection of holiday-themed ones
- Baking sheets lined with parchment paper or silicone mats to prevent sticking
- Cooling rack – critical for letting cookies cool completely before icing
- Piping bags and fine round tips – for precise royal icing application
- Small bowls for mixing different icing colors
- Offset spatula or toothpicks – helpful for smoothing or correcting icing edges
If you don’t have a stand mixer, a sturdy hand whisk and some elbow grease work just fine. For rolling pin alternatives, a clean wine bottle can do the trick in a pinch. Silicone mats are reusable and make cleanup easier than parchment, but either is fine. I always recommend investing in a few quality piping tips—makes decorating less frustrating and more fun.
Preparation Method
- Prepare the Dough: In your mixer bowl, cream the softened butter and granulated sugar together on medium speed for about 3-4 minutes until light and fluffy. This step is key for tender cookies that aren’t dense. (Tip: scrape down the sides once to mix everything evenly.)
- Add Egg and Vanilla: Beat in the egg and vanilla extract until fully combined. The dough will look smooth and creamy here.
- Mix Dry Ingredients: In a separate bowl, whisk together the all-purpose flour, baking powder, and salt to ensure even distribution.
- Combine Wet and Dry: Gradually add the flour mixture to the butter mixture, mixing on low speed until just combined. Avoid overmixing to keep cookies tender but firm.
- Chill the Dough: Divide the dough in half, flatten into disks, wrap tightly with plastic wrap, and refrigerate for at least 1 hour (or overnight). This makes rolling easier and helps cookies keep their shape.
- Roll and Cut: Preheat your oven to 350°F (175°C). Lightly flour your work surface and roll out one dough disk to about ¼-inch (6 mm) thickness. Use cookie cutters to cut shapes and transfer them carefully to lined baking sheets, spacing about 1 inch (2.5 cm) apart.
- Bake: Bake for 8-10 minutes until edges are just beginning to turn golden. Watch closely—overbaking dries cookies out. They should feel set but still soft in the center.
- Cool Completely: Let cookies cool on baking sheets for 5 minutes, then move them to a cooling rack to cool fully before icing. Warm cookies can make royal icing runny.
- Prepare Royal Icing: In a clean bowl, beat meringue powder with lemon juice and powdered sugar on low speed until combined. Increase speed to medium-high and beat for 5-7 minutes until stiff, glossy peaks form. (If icing is too thick, add a few drops of water; too thin, add more powdered sugar.)
- Color and Decorate: Divide icing into bowls and tint with gel colors if desired. Transfer icing to piping bags fitted with small round tips. Outline cookie edges first, then flood the center with thinner icing. Use a toothpick or scribe tool to spread icing evenly and pop air bubbles.
- Drying: Allow icing to dry at room temperature for several hours or overnight for the best glossy finish. Avoid stacking until fully set.
Cooking Tips & Techniques
One thing I learned the hard way is that temperature matters—a lot. Always use room temperature butter and eggs for the dough; cold ingredients make mixing difficult and yield denser cookies. Chilling the dough isn’t optional; it prevents spreading and keeps those crisp edges.
When rolling out dough, flour your surface sparingly. Too much flour dries the dough, making cookies crumbly. I usually dust my rolling pin lightly too. For cutouts, transferring shapes to the baking sheet with a thin spatula helps keep edges sharp.
Royal icing can feel tricky if you’ve never worked with it before. The trick is getting the right consistency—too stiff and it won’t spread; too runny and it’ll drip off. I always test a small amount on parchment to see how it flows. Using gel colors instead of liquid food coloring keeps the icing from thinning out unexpectedly.
Don’t rush drying! Icing that dries too fast or unevenly can crack. Room temperature and low humidity are best. If you live somewhere humid, consider using a fan or air conditioning to speed drying without cracking.
Multitasking tip: While cookies bake, prep your icing and clean your workspace. Efficient timing means you’re ready to decorate as soon as cookies cool.
Variations & Adaptations
- Gluten-Free Version: Swap all-purpose flour with a 1:1 gluten-free baking blend. The texture will be slightly different but still delicious.
- Flavor Twists: Add a teaspoon of almond extract or lemon zest to the dough for a subtle flavor boost. For the icing, a tiny drop of peppermint extract pairs beautifully during holidays.
- Vegan Adaptation: Replace butter with vegan margarine and use aquafaba (chickpea water) whipped to stiff peaks instead of egg whites in the royal icing for a glossy finish.
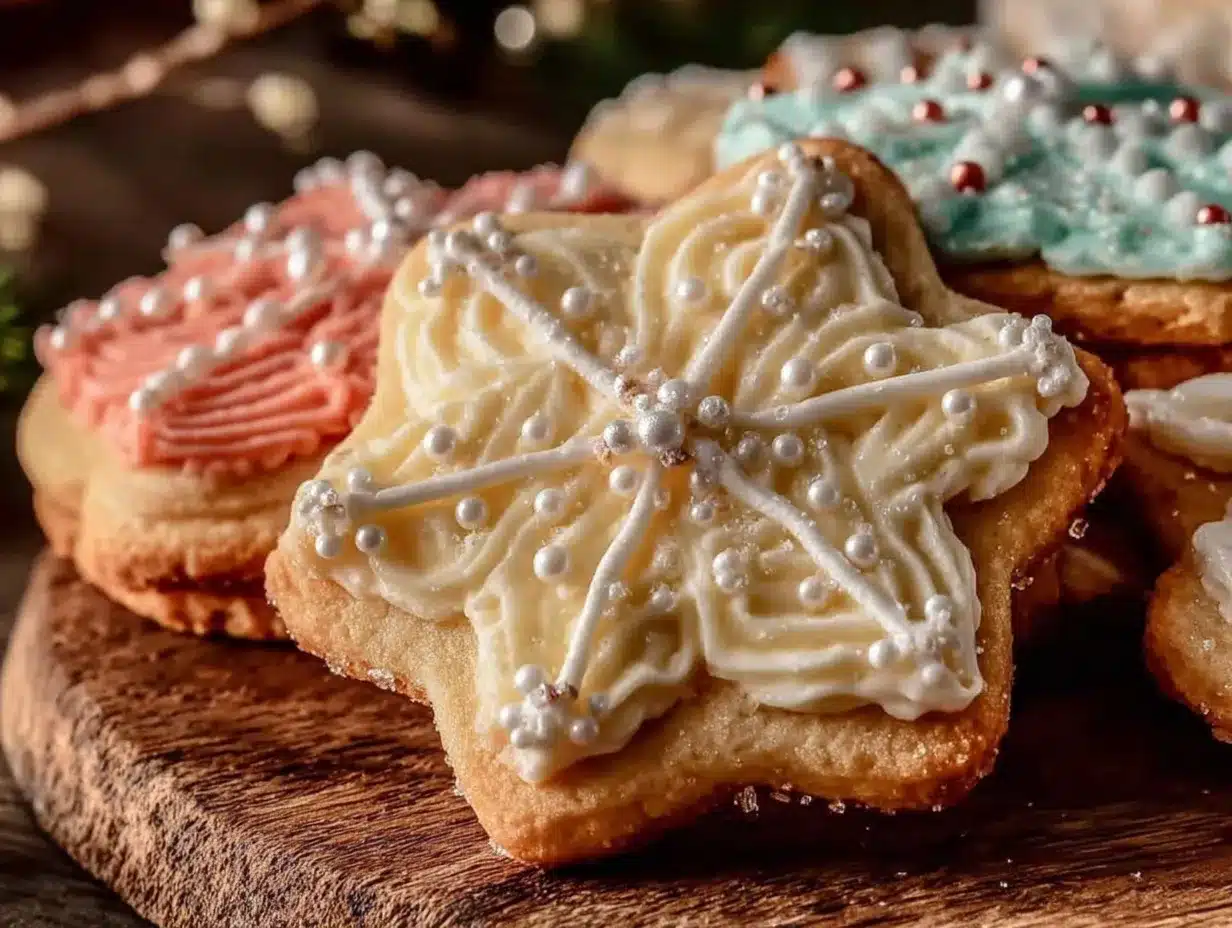
- Seasonal Decorations: Use edible glitter, colored sugar crystals, or tiny sprinkles on the wet icing for festive flair. For spring or summer, try pastel color palettes or fresh edible flowers on dry icing.
- Personal Favorite: Once, I swirled two icing colors gently before flooding the cookie, creating a marbled effect that wowed guests. It’s a fun way to get creative without extra tools.
Serving & Storage Suggestions
Serve these sugar cookie cutouts at room temperature for the best flavor and texture. They pair wonderfully with a warm cup of tea, coffee, or even a glass of cold milk. Presentation-wise, a simple platter lined with parchment or a festive tin makes an inviting display.
Store cookies in an airtight container at room temperature for up to 5 days. If you want to keep them longer, freeze undecorated cookies in a single layer with parchment between them and thaw before icing. Decorated cookies freeze best after the icing sets completely—wrap them individually to protect the glossy finish.
Reheat gently if desired—just a few seconds in the microwave to warm the cookie slightly can bring back that fresh-baked feel without softening the icing too much.
Interestingly, the flavors mellow and deepen a bit after a day or two, making these cookies even better the next day. So if you’re not in a rush, bake ahead and let their charm develop.
Nutritional Information & Benefits
Each cookie (about 3-inch diameter) contains approximately 150-180 calories, with 7g of fat, 25g carbohydrates, and 2g protein. The butter provides a rich source of fat-soluble vitamins, while the egg adds a bit of protein and structure.
This recipe is naturally gluten-containing, but with simple substitutions, it can be made gluten-free or vegan. The royal icing is egg-white based but can be adapted with meringue powder or aquafaba for safety and dietary needs.
While sugar cookies aren’t a health food, these cutouts are a treat that can be enjoyed mindfully. Using pure vanilla and fresh lemon juice in the icing avoids artificial flavorings, making the flavor clean and simple. Plus, baking at home lets you control ingredient quality and portion size.
Conclusion
Perfect sugar cookie cutouts with glossy royal icing aren’t just about the final product—they’re about the process, the little moments in the kitchen, and the satisfaction of creating something that looks and tastes amazing. This recipe struck a chord with me because it’s straightforward enough for a casual baker but yields results that feel special.
Feel free to customize the shapes, colors, and flavors to suit your style. Whether you’re baking for a crowd or just treating yourself, these cookies bring a bit of joy and sweetness to any day. I’ve baked and shared these cookies countless times—and they always bring smiles.
Give it a try, and don’t hesitate to experiment. I’d love to hear how your sugar cookie cutouts turn out or any fun twists you try along the way.
Happy baking!
FAQs
How do I prevent my sugar cookies from spreading too much?
Make sure to chill the dough for at least an hour before rolling. Also, avoid using too much butter and avoid overmixing the dough. Baking at the right temperature (350°F / 175°C) helps keep the shapes crisp.
Can I make royal icing without egg whites?
Yes! You can use meringue powder instead of fresh egg whites, which is safer and easier to store. For a vegan option, aquafaba (chickpea water) whipped to stiff peaks is a good substitute.
Why isn’t my royal icing glossy after drying?
Glossy icing depends on the right balance of ingredients and drying conditions. Make sure you sift powdered sugar well and use the correct amount of meringue powder or egg whites. Dry the cookies at room temperature in a low-humidity environment to keep the shine.
Can I prepare these cookies in advance?
Absolutely! Bake the cookies and store them undecorated in an airtight container for up to a week. Decorate right before serving or freeze them after icing for longer storage.
How thick should I roll my sugar cookie dough?
Roll the dough to about ¼ inch (6 mm) thickness. This thickness helps the cookies bake evenly, hold their shape, and provides a tender bite that’s not too thick or crumbly.
Pin This Recipe!
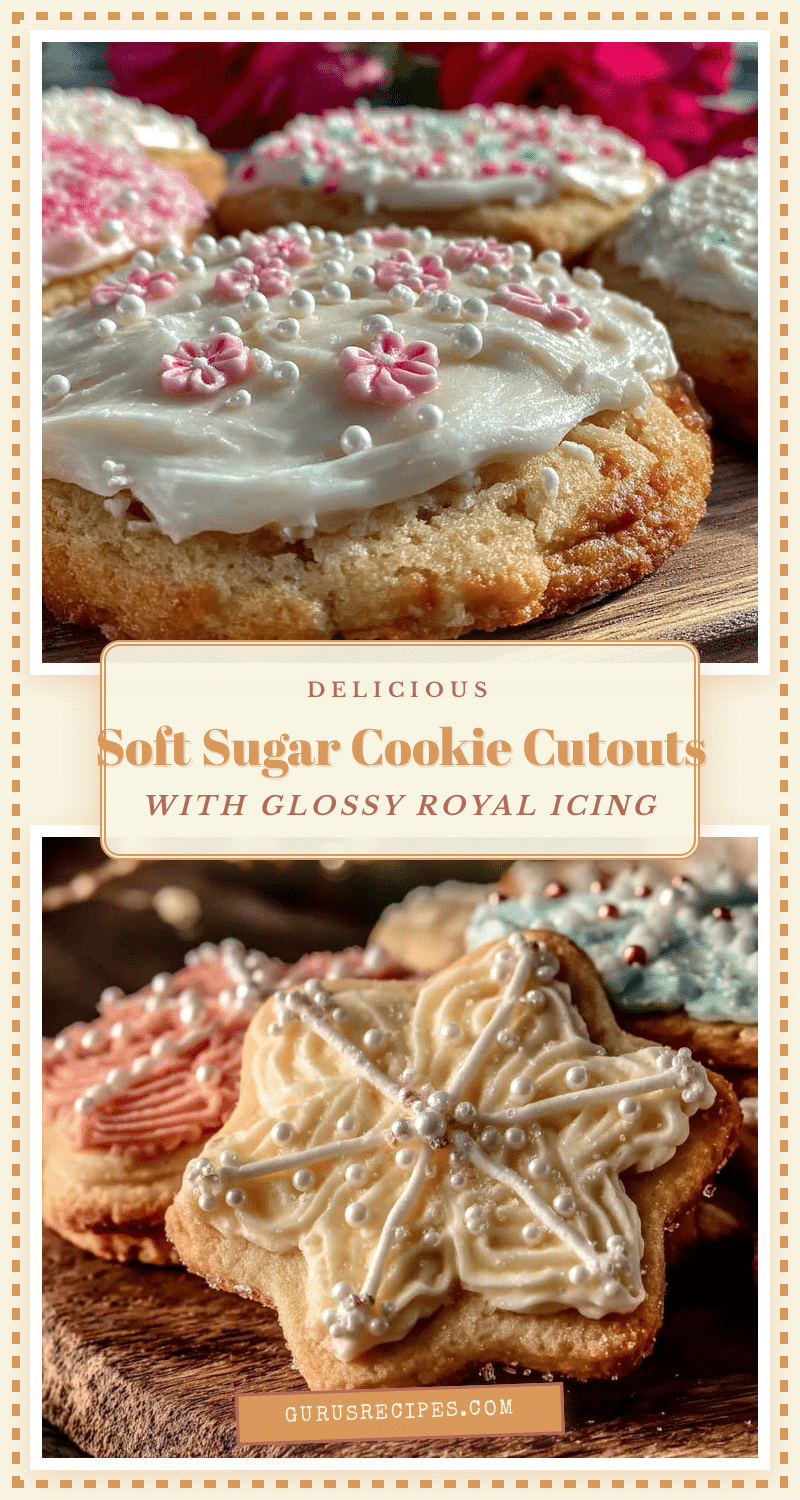

Perfect Sugar Cookie Cutouts with Glossy Royal Icing
A quick and easy recipe for tender, buttery sugar cookie cutouts topped with smooth, glossy royal icing that dries without cracking or dulling.
- Total Time: 1 hour 30 minutes
- Yield: 24 cookies 1x
Ingredients
- 1 cup (227g) unsalted butter, softened
- 1 cup (200g) granulated sugar
- 1 large egg, room temperature
- 1 teaspoon pure vanilla extract
- 2 ¾ cups (345g) all-purpose flour
- 1 teaspoon baking powder
- ½ teaspoon salt
- 4 cups (480g) powdered sugar, sifted
- 3 tablespoons pasteurized egg whites or meringue powder
- 2 teaspoons fresh lemon juice or water (adjust for consistency)
- Food coloring gels (optional)
Instructions
- In a mixer bowl, cream the softened butter and granulated sugar together on medium speed for 3-4 minutes until light and fluffy. Scrape down the sides once to mix evenly.
- Beat in the egg and vanilla extract until fully combined and smooth.
- In a separate bowl, whisk together the all-purpose flour, baking powder, and salt.
- Gradually add the flour mixture to the butter mixture, mixing on low speed until just combined. Avoid overmixing.
- Divide the dough in half, flatten into disks, wrap tightly with plastic wrap, and refrigerate for at least 1 hour or overnight.
- Preheat oven to 350°F (175°C). Lightly flour your work surface and roll out one dough disk to about ¼ inch (6 mm) thickness.
- Use cookie cutters to cut shapes and transfer them carefully to lined baking sheets, spacing about 1 inch (2.5 cm) apart.
- Bake for 8-10 minutes until edges just begin to turn golden. Cookies should feel set but still soft in the center.
- Let cookies cool on baking sheets for 5 minutes, then transfer to a cooling rack to cool completely before icing.
- To prepare royal icing, beat meringue powder with lemon juice and powdered sugar on low speed until combined. Increase speed to medium-high and beat for 5-7 minutes until stiff, glossy peaks form. Adjust consistency with water or powdered sugar as needed.
- Divide icing into bowls and tint with gel colors if desired. Transfer icing to piping bags fitted with small round tips.
- Outline cookie edges first, then flood the center with thinner icing. Use a toothpick or scribe tool to spread icing evenly and pop air bubbles.
- Allow icing to dry at room temperature for several hours or overnight for the best glossy finish. Avoid stacking until fully set.
Notes
Use room temperature butter and eggs for best dough consistency. Chill dough for at least 1 hour to prevent spreading. Sift powdered sugar for smooth royal icing. Use gel food coloring to avoid thinning icing. Dry icing at room temperature in low humidity for best glossy finish. For gluten-free, substitute flour with gluten-free blend. For vegan, use vegan margarine and aquafaba instead of egg whites.
- Prep Time: 20 minutes
- Cook Time: 10 minutes
- Category: Dessert
- Cuisine: American
Nutrition
- Serving Size: 1 cookie (about 3-in
- Calories: 165
- Sugar: 15
- Sodium: 90
- Fat: 7
- Saturated Fat: 4
- Carbohydrates: 25
- Protein: 2
Keywords: sugar cookies, royal icing, holiday cookies, cutout cookies, glossy icing, easy sugar cookies, cookie decorating


