
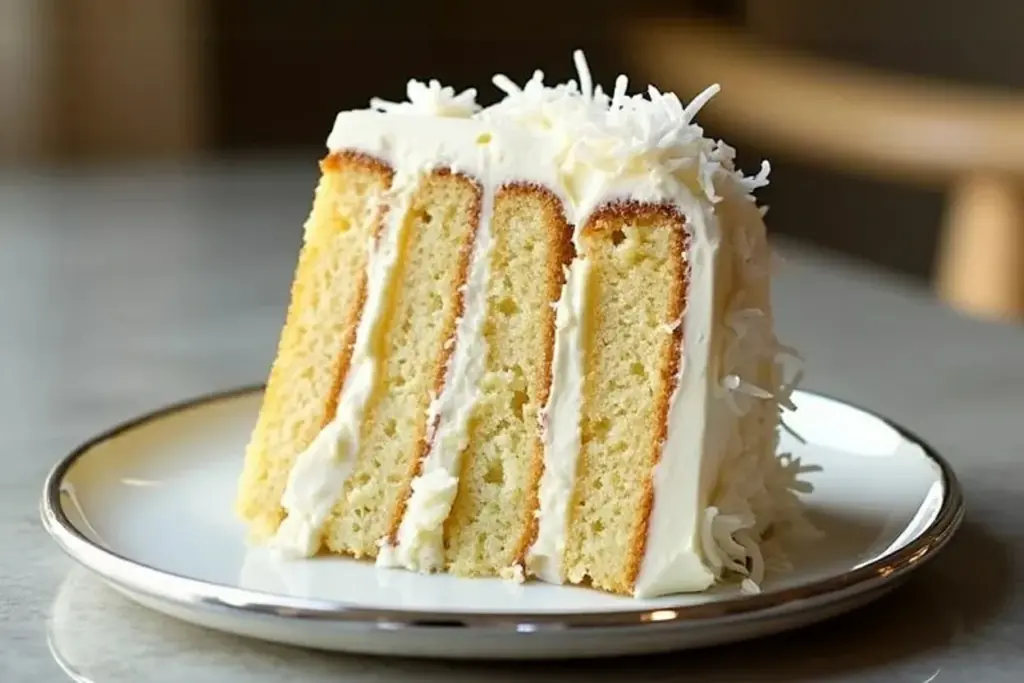
If you’re a coconut lover, you’re about to meet your new favorite dessert. This Ultimate Coconut Cloud Cake is fluffy, light, and packed with coconut goodness that feels like biting into a sweet tropical dream. Imagine layers of tender coconut cake, filled with creamy coconut frosting, and topped with a delicate dusting of shredded coconut. It’s everything you could want in a dessert and more. Trust me, one bite of this cake and you’ll be hooked for life!
This recipe is not just delicious—it’s also surprisingly easy to make. Whether you’re an experienced baker or just someone who loves whipping up treats for family and friends, this cake will turn out beautifully every time. Plus, I’ve included tips for substitutions and variations so you can make it your own. Let’s dive into this coconut cloud cake adventure together!
The Story Behind the Ultimate Coconut Cloud Cake
Coconut desserts have always had a special place in my heart. Growing up, my grandmother made the most incredible coconut cake for special occasions like birthdays and holidays. Her cake was a masterpiece—rich, moist, and bursting with coconut flavor. She’d always say, “The secret is in the love you put into it.” Of course, as a kid, I thought the magic was in the frosting!
This recipe is my take on that childhood classic, but with a lighter and fluffier twist. I call it a “cloud cake” because the texture is so airy, it feels like you’re eating a cloud. It’s perfect for spring gatherings, summer parties, or whenever you need a touch of tropical sweetness to brighten your day.
Over the years, I’ve tweaked and tested this recipe to make it foolproof. Now, it’s become a staple in my kitchen, especially when I want to impress guests or treat my family. The beauty of this cake is its versatility—it can be dressed up for a fancy occasion or kept simple for a casual dessert. No matter the setting, it always steals the show!
Ingredients Breakdown
Let’s talk about the stars of this recipe. Each ingredient plays a unique role in creating the ultimate coconut flavor and texture. Here are some tips and tricks to make the most of them:
- All-Purpose Flour: Stick with a high-quality brand for consistent results. If you’re gluten-free, swap with a 1-to-1 gluten-free flour blend.
- Unsweetened Coconut Milk: This adds a rich coconut flavor without overpowering the cake. You can use canned coconut milk or the carton variety—just make sure it’s unsweetened.
- Shredded Coconut: I prefer unsweetened shredded coconut for a more natural flavor. Toasting it lightly enhances its taste and adds texture.
- Egg Whites: These give the cake its light and airy texture. Make sure they’re at room temperature for easier whipping.
- Butter: Go for unsalted butter so you can control the salt level. For a dairy-free option, use coconut oil.
- Cream Cheese: This is the base for the frosting. If you’re avoiding dairy, try a plant-based cream cheese alternative.
- Powdered Sugar: Essential for the frosting, it blends smoothly and dissolves easily.
- Vanilla Extract: Pairing vanilla with coconut creates a beautifully balanced flavor. Use pure vanilla extract for the best results.
- Baking Powder: This is crucial for achieving that fluffy, cloud-like texture. Double-check that it’s fresh!
When selecting ingredients, always go for the freshest options. Coconut products can sometimes lose their flavor over time, so check expiration dates and opt for high-quality brands whenever possible.
Equipment Needed
You don’t need a fancy kitchen to whip up this dreamy dessert. Here’s what you’ll need:
- Mixing Bowls: At least two—one for dry ingredients and one for wet.
- Hand Mixer or Stand Mixer: A stand mixer makes whipping egg whites and frosting easier, but a hand mixer works just fine.
- 9-Inch Cake Pans: You’ll need two for layering. If you don’t have cake pans, you can use a rectangular baking dish and cut the cake into layers after baking.
- Rubber Spatula: Perfect for scraping down the sides of your bowls.
- Cooling Racks: Letting your cakes cool completely before frosting is key to success.
- Offset Spatula: Optional, but great for spreading frosting evenly.
If you’re missing any of these, don’t worry—there are always creative ways to make do with what you have. For example, a butter knife can substitute for an offset spatula, and parchment paper can help prevent sticking if you don’t have cooling racks.
Preparation Method
Ready to create your coconut masterpiece? Follow these step-by-step instructions for foolproof results:
- Preheat your oven to 350°F (175°C). Grease and line two 9-inch cake pans with parchment paper.
- In a large bowl, whisk together 2 ½ cups (310g) of all-purpose flour, 2 teaspoons of baking powder, and a pinch of salt.
- In a separate bowl, beat 1 cup (230g) of unsalted butter until creamy. Add 1 ¾ cups (220g) of granulated sugar and continue beating until fluffy.
- Add 5 egg whites to the butter mixture, one at a time, beating well after each addition.
- Slowly incorporate the dry ingredients into the wet mixture, alternating with 1 cup (240ml) of coconut milk. Mix until combined, but don’t overmix!
- Fold in 1 cup (90g) of shredded coconut. Divide the batter evenly between the prepared pans.
- Bake for 25-30 minutes or until a toothpick inserted into the center comes out clean. Let the cakes cool completely on a wire rack.
- For the frosting, beat 8 ounces (226g) of cream cheese until smooth. Gradually add 3 cups (360g) of powdered sugar and 1 teaspoon of vanilla extract. Beat until fluffy.
- Spread a layer of frosting on one cake layer, then place the second cake on top. Frost the top and sides, and sprinkle with additional shredded coconut.
And there you have it—a coconut cloud cake that’s as stunning as it is delicious!
Cooking Tips & Techniques
Baking this cake is straightforward, but a few tips can make all the difference:
- Room Temperature Ingredients: Always use room temperature eggs, butter, and coconut milk for better mixing and texture.
- Don’t Overmix: Mixing too much can make the cake dense instead of fluffy. Stop as soon as the batter is combined.
- Cool Completely: Frosting a warm cake will lead to a melty mess. Be patient and let the cake cool completely.
- Toast the Coconut: For extra flavor, toast the shredded coconut lightly in a dry skillet before sprinkling it on top.
- Use a Cake Leveler: If your cake layers are uneven, use a serrated knife or cake leveler to even them out before frosting.
Variations & Adaptations
This recipe is versatile, so feel free to experiment with these variations:
- Gluten-Free: Use a gluten-free flour blend instead of all-purpose flour.
- Dairy-Free: Substitute coconut oil for butter and use dairy-free cream cheese for the frosting.
- Chocolate Coconut Cake: Add ¼ cup (30g) of cocoa powder to the batter for a chocolatey twist.
- Seasonal Additions: Add fresh berries between the layers for a summery touch.
- Single Layer Cake: Skip the layering and bake the batter in a single pan for a simpler version.
Personally, I love adding a splash of almond extract to the frosting for extra depth of flavor—it’s a game changer!
Serving & Storage Suggestions
This cake is best enjoyed fresh, but here’s how to make the most of it:
- Serving: Serve chilled or at room temperature. Pair it with a cup of coffee or a tropical cocktail for a complete experience.
- Presentation: Garnish with toasted coconut and edible flowers for a show-stopping look.
- Storage: Store leftovers in an airtight container in the refrigerator for up to 3 days.
- Freezing: Wrap individual slices in plastic wrap and freeze for up to 2 months. Thaw in the fridge overnight.
- Reheating: If you like warm cake, microwave slices for 10-15 seconds before serving.
Nutritional Information & Benefits
Here’s a quick breakdown of the nutritional highlights:
- Calories per slice: Approximately 320 (based on 12 servings).
- Key nutrients: Coconut provides healthy fats, while egg whites add protein.
- Dietary notes: Can be made gluten-free and dairy-free with substitutions.
- Allergens: Contains eggs, dairy, and coconut.
- Health perspective: While this is a treat, coconut is rich in antioxidants and good fats, making this cake a slightly better indulgence!
Conclusion
The Ultimate Coconut Cloud Cake is more than just a dessert—it’s a celebration of coconut in all its glory. This recipe is perfect for special occasions or simply indulging your sweet tooth. Whether you stick to the original or try one of the variations, it’s guaranteed to be a hit.
I love this cake because it reminds me of family gatherings and tropical vacations, but also because it’s just so darn good. Don’t be afraid to put your own spin on it and let me know how it turns out!
If you try this recipe, please share your thoughts in the comments below or tag me on social media. I’d love to see your creations! Happy baking!
FAQs
Can I use sweetened coconut milk?
Sweetened coconut milk can be used, but reduce the sugar in the recipe slightly to avoid overpowering sweetness.
How do I keep my cake layers from sticking to the pans?
Grease the pans thoroughly and use parchment paper on the bottom for foolproof release.
Can I make this cake ahead of time?
Yes! Bake the cake layers a day ahead and store them in the fridge. Frosting can also be made in advance.
Is there a substitute for cream cheese in the frosting?
Try mascarpone cheese or a dairy-free cream cheese alternative for similar results.
Can I use coconut flour instead of all-purpose flour?
Coconut flour absorbs more liquid, so it’s not a direct substitute. Stick with all-purpose or use a tested coconut flour recipe.


