
“I wasn’t planning on making anything fancy that Fourth of July,” I admit. It was one of those scorchingly hot July afternoons, the kind where the air feels thick enough to slice with a knife. The neighborhood block party was rolling around, and honestly, I thought I’d just grab some store-bought ice cream and call it a day. But then my neighbor, Lisa, popped over with a cracked mixing bowl in hand and said, “You’ve got to try this ice cream sandwich layer cake I whipped up last night.”
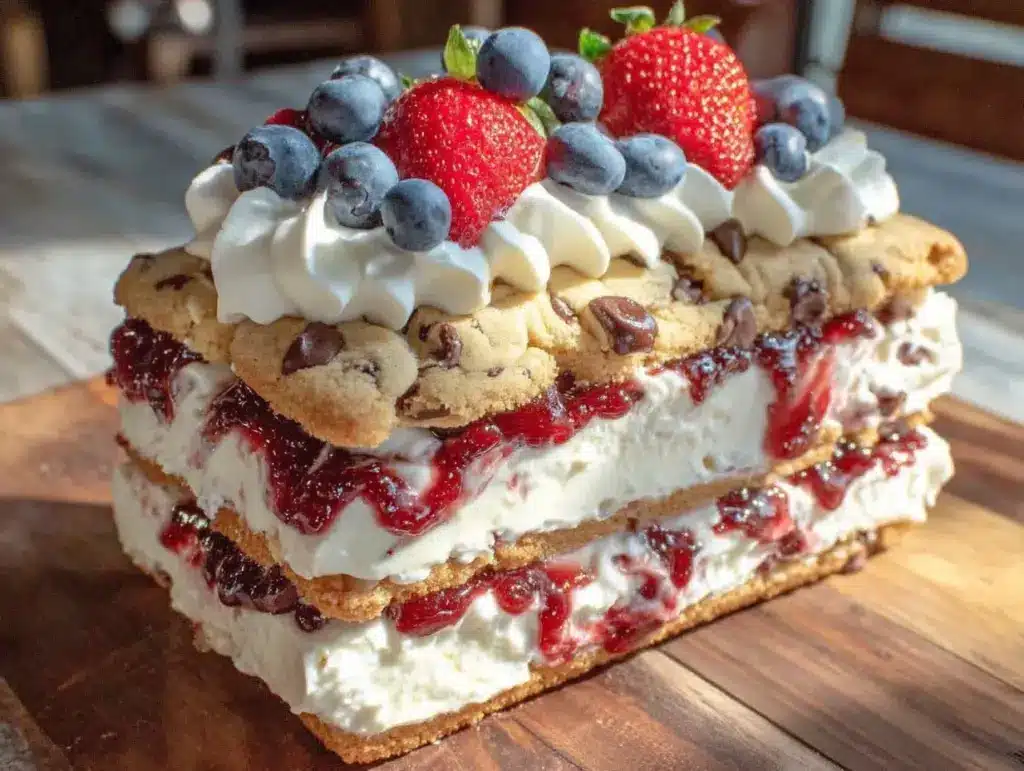
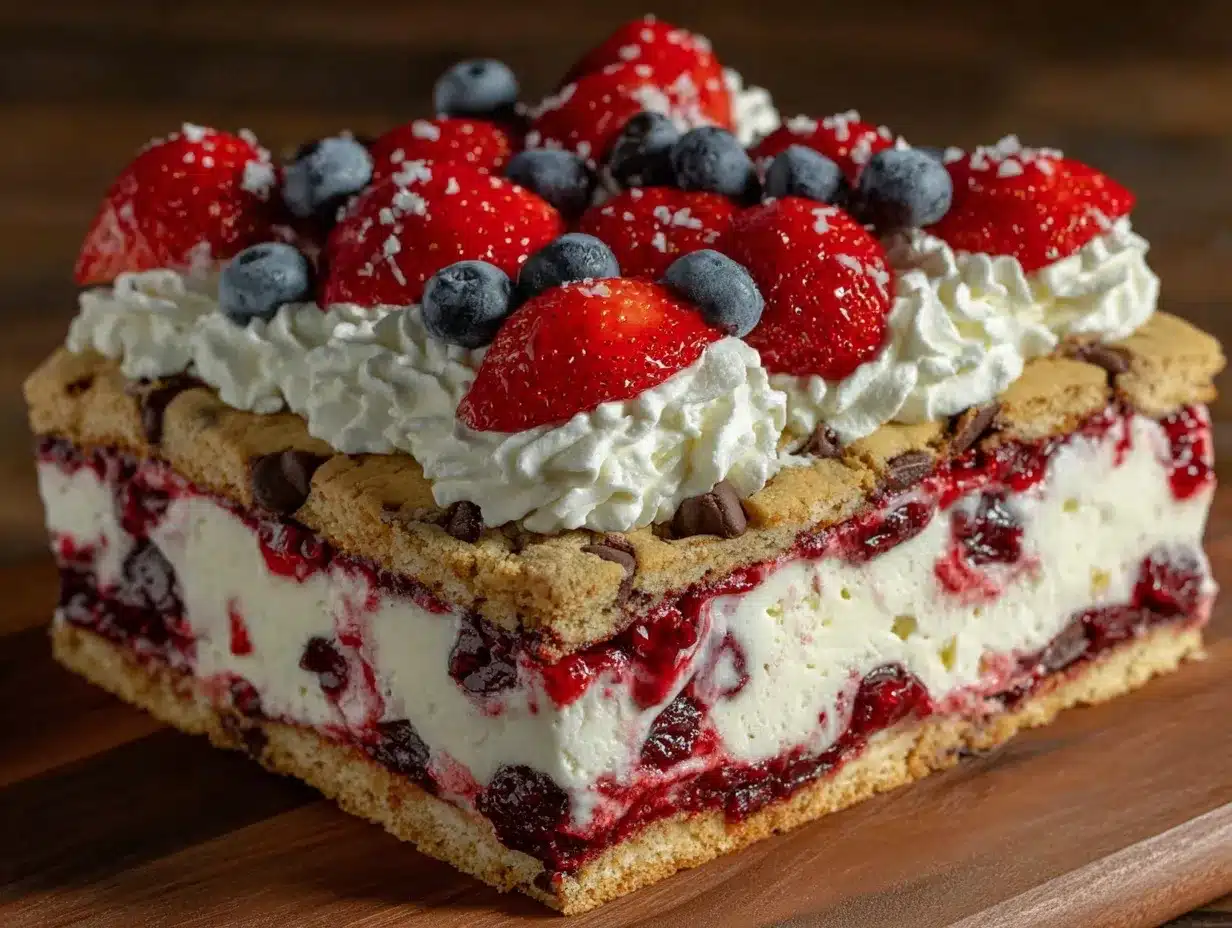
Curious, I followed her to the backyard where the sun was casting long shadows, and the smell of grilled burgers was in the air. She sliced into this towering red, white, and blue beauty—layers of classic ice cream sandwiches stacked high with whipped cream and fresh berries, decorated like a mini flag. I was skeptical, honestly. Ice cream sandwiches as a cake? But one bite changed everything.
That day, the Ultimate Patriotic Ice Cream Sandwich Layer Cake became my go-to 4th of July dessert, the kind that’s as much fun to make as it is to eat. Maybe you’ve been there—scrambling last minute for something festive that actually wows. This recipe? It’s foolproof, crowd-pleasing, and perfect for those hot summer afternoons when you want something cool but still show off a little holiday spirit. Let me tell you, the way the creamy vanilla ice cream melts into layers of soft chocolate wafer and the tang of fresh strawberries and blueberries hits just right.
And yes, I did make a bit of a mess assembling it—whipped cream everywhere—but hey, isn’t that part of the fun? This recipe stuck with me, and I keep making it every year because it turns a simple backyard gathering into something memorable. Plus, it’s a total conversation starter. So, ready to impress your friends with a dessert that’s as patriotic as it is delicious? Let’s get into it.
Why You’ll Love This Recipe
This Ultimate Patriotic Ice Cream Sandwich Layer Cake isn’t your average summer dessert. I’ve tested it multiple times—sometimes in a rush before a party, sometimes as a relaxed weekend treat—and it always delivers. Here’s why you’ll love this recipe:
- Quick & Easy: Ready in about 20 minutes, no baking required! Perfect for those last-minute celebrations or when the oven just isn’t an option.
- Simple Ingredients: Uses classic ice cream sandwiches, fresh berries, and whipped cream—nothing fancy or hard to track down.
- Perfect for Summer Parties: This layered cake screams festive for the 4th of July, Memorial Day, or any patriotic occasion.
- Crowd-Pleaser: Kids and adults alike can’t get enough of it. It’s fun, familiar, and surprisingly elegant.
- Unbelievably Delicious: The creamy vanilla ice cream, crunchy chocolate wafers, and fresh, juicy berries combine for a texture and flavor party in every forkful.
What sets this recipe apart? Honestly, it’s the layering technique and the balance of fresh fruit with the nostalgic ice cream sandwiches. I like to let the cake sit a bit in the freezer after assembling so the layers meld together—making every bite smooth and satisfying. It’s a nostalgic twist on classic desserts that feels fresh and festive. Plus, no mess with sticky cake batter or complicated frostings.
This isn’t just another summer dessert—it’s the kind of recipe that brings everyone to the table, smiles included. And hey, if you love classic ice cream desserts or want something easy yet impressive, you’re going to want to keep this one close.
What Ingredients You Will Need
This recipe shines because of its simple, wholesome ingredients that come together for bold flavor and an irresistible texture. Most are pantry staples or easy to find in the freezer and produce aisles. Here’s what you’ll need:
- Ice Cream Sandwiches: 10-12 classic vanilla ice cream sandwiches (about 7.5 oz or 210 g each). I recommend using Good Humor or Klondike for the best texture and size.
- Whipped Cream: 2 cups (480 ml) of heavy whipping cream, chilled. You can use store-bought whipped cream, but homemade whipped cream with a touch of vanilla extract makes a big difference.
- Powdered Sugar: 2 tablespoons (15 g) to sweeten the whipped cream slightly.
- Vanilla Extract: 1 teaspoon (5 ml) to flavor the whipped cream gently.
- Fresh Strawberries: 1 cup (150 g), hulled and sliced. Use ripe, juicy berries for the best flavor.
- Fresh Blueberries: 1 cup (150 g), washed and dried.
- Fresh Raspberries (optional): ½ cup (75 g) for extra color and tartness.
Substitution tips: If you want a dairy-free version, you can swap the heavy cream for coconut cream and use dairy-free ice cream sandwiches (though those can be harder to find). For a gluten-free option, look for gluten-free ice cream sandwiches or make your own with gluten-free cookies and ice cream.
Seasonally, this cake works beautifully with fresh peaches or cherries instead of berries. Just make sure your fruit is ripe and not too watery to avoid sogginess.
Equipment Needed
- 9×13-inch (23×33 cm) Rectangular Baking Dish: Ideal for layering the cake evenly. If you don’t have one, a similarly sized glass or metal pan works fine.
- Mixing Bowl: For whipping the cream. A metal bowl chills faster, which helps the cream whip up better.
- Electric Mixer: Handheld or stand mixer to whip the cream. You can whip by hand, but it’s a workout and slower.
- Spatula or Offset Spreader: For smoothing whipped cream layers.
- Knife: To slice strawberries and trim ice cream sandwiches if needed.
- Measuring Cups and Spoons: For accurate ingredient amounts.
Pro tip: Keep your mixing bowl and beaters in the freezer for 10-15 minutes before whipping the cream. It helps you get those soft, fluffy peaks faster. Also, if you’re short on budget, using a sturdy plastic container for layering works just as well as a fancy glass dish.
Preparation Method
- Prep the Whipped Cream (10-15 minutes): Chill your mixing bowl and beaters first. Pour the 2 cups (480 ml) of heavy whipping cream into the bowl. Add 2 tablespoons (15 g) powdered sugar and 1 teaspoon (5 ml) vanilla extract. Beat on medium-high speed until you get soft peaks that hold shape but aren’t grainy or overbeaten. Set aside in the fridge.
- Prepare the Fruit (5 minutes): Rinse the strawberries, blueberries, and optional raspberries. Hull and slice the strawberries into thin slices. Pat the berries dry gently to avoid extra moisture.
- Layer the Ice Cream Sandwiches (5 minutes): Line the bottom of your 9×13-inch (23×33 cm) dish with 5 ice cream sandwiches, placing them side by side to cover the base completely. If needed, trim edges with a knife to fit snugly.
- Add the First Whipped Cream Layer (2 minutes): Spread about one-third of the whipped cream evenly over the ice cream sandwiches. Use a spatula or offset spreader to smooth it out gently.
- Add the First Fruit Layer (2 minutes): Scatter half of the sliced strawberries and blueberries evenly over the whipped cream. If using raspberries, add half now.
- Repeat Layers (10 minutes): Add another layer of 5 ice cream sandwiches on top of the fruit. Spread another third of the whipped cream over this layer, then scatter the remaining berries.
- Top Layer (3 minutes): Finish with the last 2 ice cream sandwiches, then spread the remaining whipped cream on top. Decorate with a few whole berries for a festive finish.
- Freeze the Cake (at least 2 hours): Pop the cake into the freezer to set for at least two hours. This helps the layers meld and makes slicing easier.
- Serving Tip: Remove from the freezer about 10 minutes before serving to soften slightly for easier slicing.
Troubleshooting notes: If your whipped cream starts to separate or looks watery, it’s likely overbeaten—stop immediately. If the cake is melting too fast while assembling, work quickly and keep it in the freezer between steps.
Cooking Tips & Techniques
Working with ice cream sandwiches in a cake might seem unconventional, but it’s honestly easier than frosting a layered cake. Here are some tips to keep it smooth:
- Keep everything cold: This is key. Chill your mixing bowl and beaters for whipping cream, keep the ice cream sandwiches in the freezer until the last moment, and assemble quickly to avoid melting.
- Whip cream just right: Soft peaks are your friend here—they hold the layers together but stay light and fluffy. Overwhipping can turn it grainy and buttery.
- Layer evenly: Take a moment to smooth the whipped cream layers well. This keeps the cake stable and helps it freeze uniformly.
- Fresh fruit prep: Make sure berries are dry to prevent soggy cake layers. You can pat them with paper towels gently.
- Freezing and thawing: Don’t skip the freezing step. The cake needs time to set so it slices cleanly. When ready to serve, let it sit out for 10 minutes—any longer and it’ll get too soft.
- Cutting tips: Use a sharp knife dipped in hot water and wiped dry between slices for clean edges.
Honestly, the first time I made this, I forgot the vanilla in the whipped cream. It was still good but that little touch really lifts the flavor. So don’t skip it!
Variations & Adaptations
This ice cream sandwich layer cake is surprisingly versatile. Here are some ways to customize it for your taste or dietary needs:
- Flavor swap: Use chocolate or strawberry ice cream sandwiches instead of vanilla for a flavor twist. Just make sure the ice cream sandwich flavor pairs well with fresh fruit.
- Dairy-free option: Use coconut milk-based ice cream sandwiches and whip up coconut cream instead of heavy cream. It changes the flavor but still delivers that creamy texture.
- Seasonal fruit: Swap berries for peaches, mango, or cherries when they’re in season. This gives a fresh spin and keeps the cake feeling new every summer.
- Mini cakes: Use smaller pans or even individual ramekins to make personal-sized portions. Great for parties or kids.
- Extra crunch: Add a layer of crushed nuts or cookie crumbs between layers for texture contrast.
One variation I love is adding a drizzle of homemade berry compote between layers. It amps up the fruity tang and makes the cake even more festive and juicy.
Serving & Storage Suggestions
Serve this cake chilled but slightly softened. About 10 minutes out of the freezer is perfect so the whipped cream feels light and the ice cream sandwiches are sliceable without crumbling.
It pairs wonderfully with a simple glass of sparkling lemonade or iced tea. For a party, set out fresh berries on the side and extra whipped cream for guests to add.
To store, cover tightly with plastic wrap or an airtight container and keep in the freezer. It’ll stay fresh for up to 5 days but honestly, it never lasts that long in my house!
Reheat by letting it thaw in the refrigerator for 30 minutes before serving if it’s too hard to slice. The flavors actually mellow and marry better after a day, so it’s an excellent make-ahead dessert.
Nutritional Information & Benefits
This dessert is indulgent but made with real ingredients you can feel good about. Here’s a rough estimate per serving (assuming 12 servings):
| Calories | 280 |
|---|---|
| Fat | 14g |
| Saturated Fat | 9g |
| Carbohydrates | 33g |
| Sugar | 25g |
| Protein | 3g |
Key ingredients like fresh berries add antioxidants and vitamins, making this a dessert that’s a little lighter than your typical cake. Using real whipped cream instead of frosting cuts down on processed sugars, and the ice cream sandwiches provide a nostalgic, portion-controlled sweetness.
This recipe can be adapted for gluten-free or dairy-free diets as mentioned, making it accessible for many guests.
Conclusion
The Ultimate Patriotic Ice Cream Sandwich Layer Cake is hands down one of my favorite summer desserts to make. It’s simple, festive, and brings a crowd together without any fuss or fancy baking skills. You can customize it however you like, and it always feels like a special occasion on a plate.
Honestly, I love how it balances nostalgia with a fresh, modern twist. Whether you’re hosting a big Fourth of July bash or just want a cool treat that wows, this cake’s got your back. Try it out, tweak it to your taste, and don’t forget to let me know how it goes!
If you enjoyed this recipe, you might also appreciate the creamy goodness of my homemade no-churn ice cream or the refreshing burst of flavor in my summer berry trifle.
Share your photos, tips, or twists in the comments below—I love hearing from you. Here’s to cool, sweet celebrations and making memories one delicious bite at a time!
FAQs
Can I make this cake ahead of time?
Yes! It actually tastes better if you let it freeze overnight. Just cover it well to prevent freezer burn.
What if I can’t find ice cream sandwiches?
You can substitute with layers of your favorite store-bought ice cream and cookies or make your own cookie ice cream sandwiches.
How do I prevent the cake from melting while assembling?
Work quickly, keep your ice cream sandwiches frozen until the last minute, and assemble in a cool room or near the freezer.
Can I use frozen berries instead of fresh?
Fresh berries are best to avoid extra moisture, but if using frozen, thaw and drain them well before layering.
How should I slice the cake neatly?
Use a sharp knife dipped in hot water and wiped dry between cuts for clean, smooth slices.
Pin This Recipe!
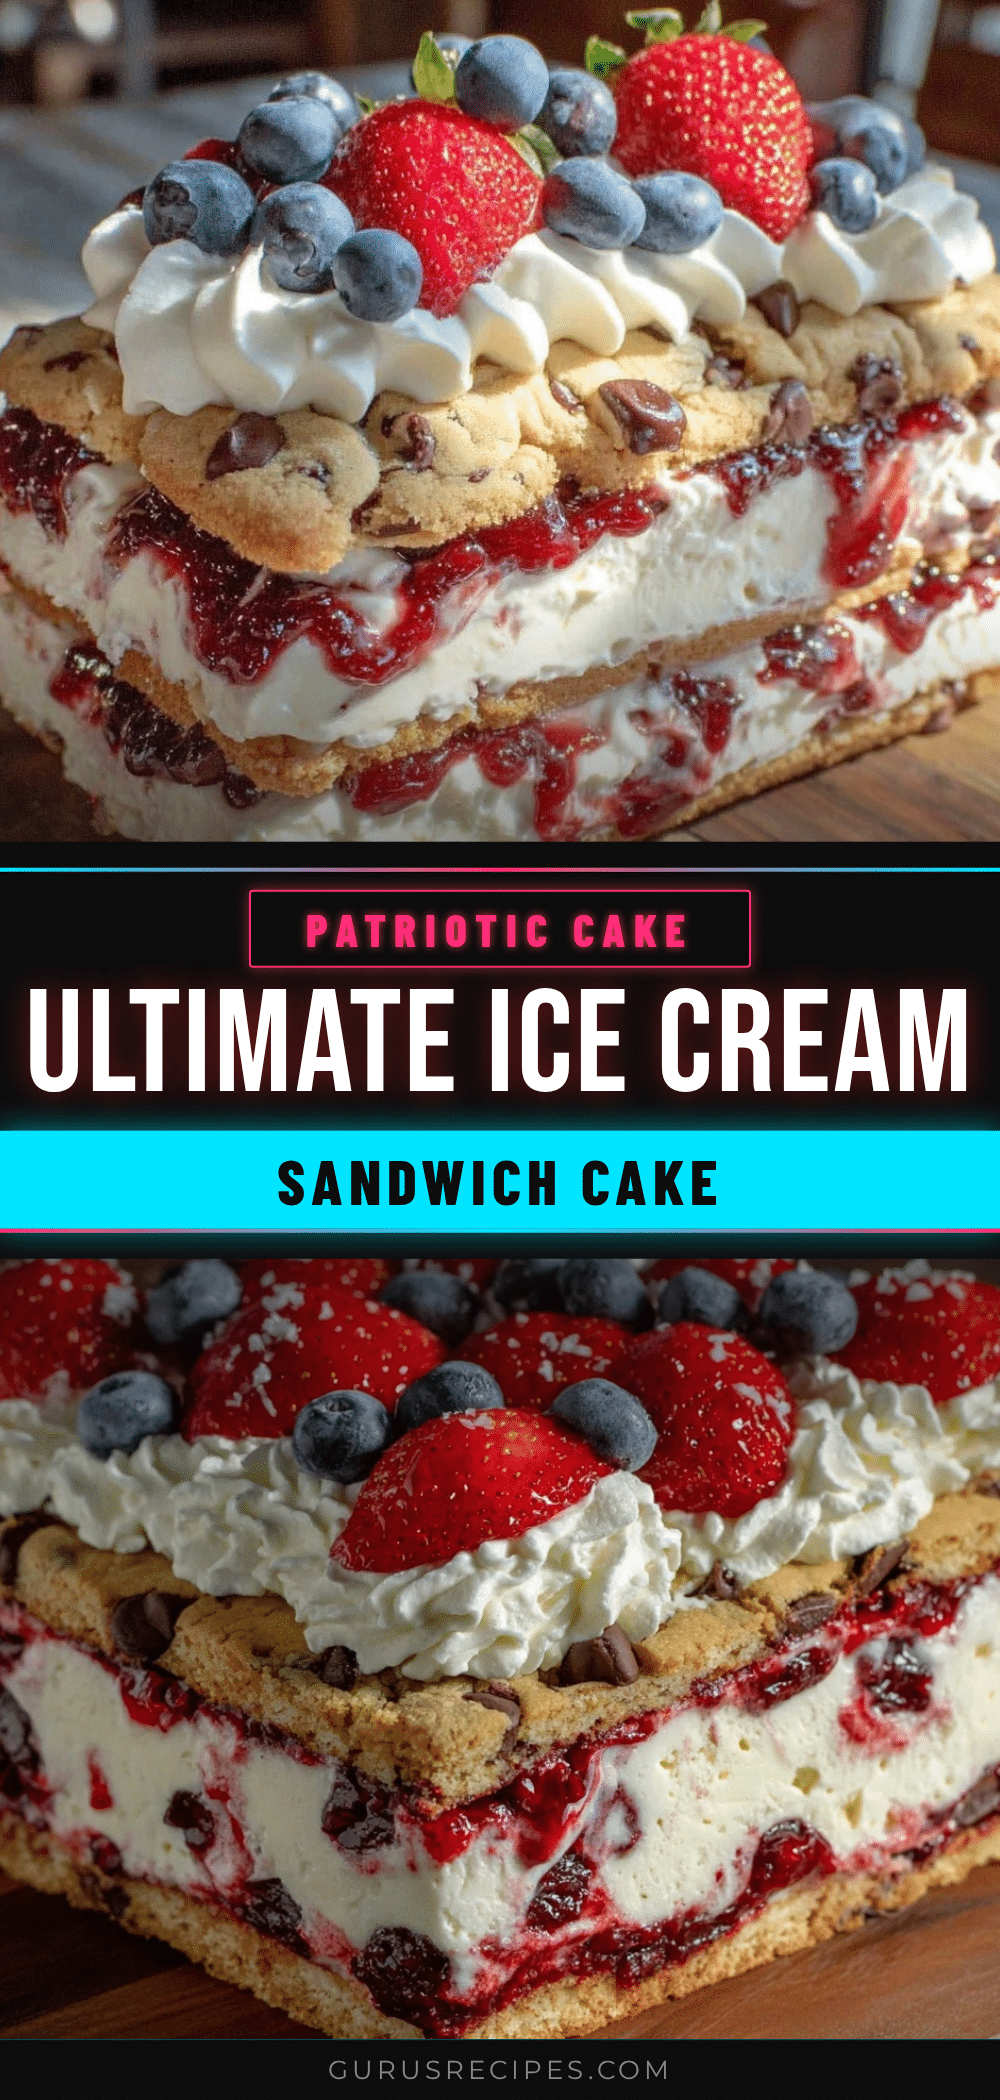

Ultimate Patriotic Ice Cream Sandwich Layer Cake
A quick and easy no-bake 4th of July dessert featuring layers of classic vanilla ice cream sandwiches, whipped cream, and fresh berries, perfect for summer parties and patriotic celebrations.
- Total Time: 2 hours 20 minutes
- Yield: 12 servings 1x
Ingredients
- 10–12 classic vanilla ice cream sandwiches (about 7.5 oz or 210 g each)
- 2 cups (480 ml) heavy whipping cream, chilled
- 2 tablespoons (15 g) powdered sugar
- 1 teaspoon (5 ml) vanilla extract
- 1 cup (150 g) fresh strawberries, hulled and sliced
- 1 cup (150 g) fresh blueberries, washed and dried
- ½ cup (75 g) fresh raspberries (optional)
Instructions
- Chill your mixing bowl and beaters for 10-15 minutes.
- Pour 2 cups of heavy whipping cream into the bowl. Add 2 tablespoons powdered sugar and 1 teaspoon vanilla extract. Beat on medium-high speed until soft peaks form. Set aside in the fridge.
- Rinse strawberries, blueberries, and optional raspberries. Hull and slice strawberries. Pat berries dry gently.
- Line the bottom of a 9×13-inch dish with 5 ice cream sandwiches, trimming edges if needed to fit snugly.
- Spread about one-third of the whipped cream evenly over the ice cream sandwiches using a spatula.
- Scatter half of the sliced strawberries and blueberries evenly over the whipped cream. Add half the raspberries if using.
- Add another layer of 5 ice cream sandwiches on top of the fruit.
- Spread another third of the whipped cream over this layer, then scatter the remaining berries.
- Finish with the last 2 ice cream sandwiches, then spread the remaining whipped cream on top. Decorate with a few whole berries.
- Freeze the cake for at least 2 hours to set and meld the layers.
- Remove from freezer about 10 minutes before serving to soften slightly for easier slicing.
Notes
Keep everything cold to prevent melting. Chill mixing bowl and beaters before whipping cream. Work quickly during assembly and keep cake in freezer between steps. Use a sharp knife dipped in hot water and wiped dry between slices for clean cuts. Let cake sit 10 minutes out of freezer before serving for easier slicing. Overwhipping cream can cause separation; stop beating at soft peaks.
- Prep Time: 20 minutes
- Cook Time: 0 minutes
- Category: Dessert
- Cuisine: American
Nutrition
- Serving Size: 1 slice (1/12th of c
- Calories: 280
- Sugar: 25
- Fat: 14
- Saturated Fat: 9
- Carbohydrates: 33
- Protein: 3
Keywords: ice cream sandwich cake, 4th of July dessert, patriotic dessert, no bake cake, summer dessert, layered ice cream cake, easy dessert


