
It was one of those quiet Sunday mornings when the house felt a little too still, and I found myself poking around the kitchen, craving something warm and comforting but without the fuss. I glanced over at the Dutch oven sitting unused on the stove, a gift from my grandmother that I’d almost forgotten about. Honestly, I wasn’t sure if baking bread was really my thing — you know, all that kneading, waiting, and hoping it turns out okay? But there I was, with a handful of fresh herbs from the windowsill and some garlic that smelled just right.
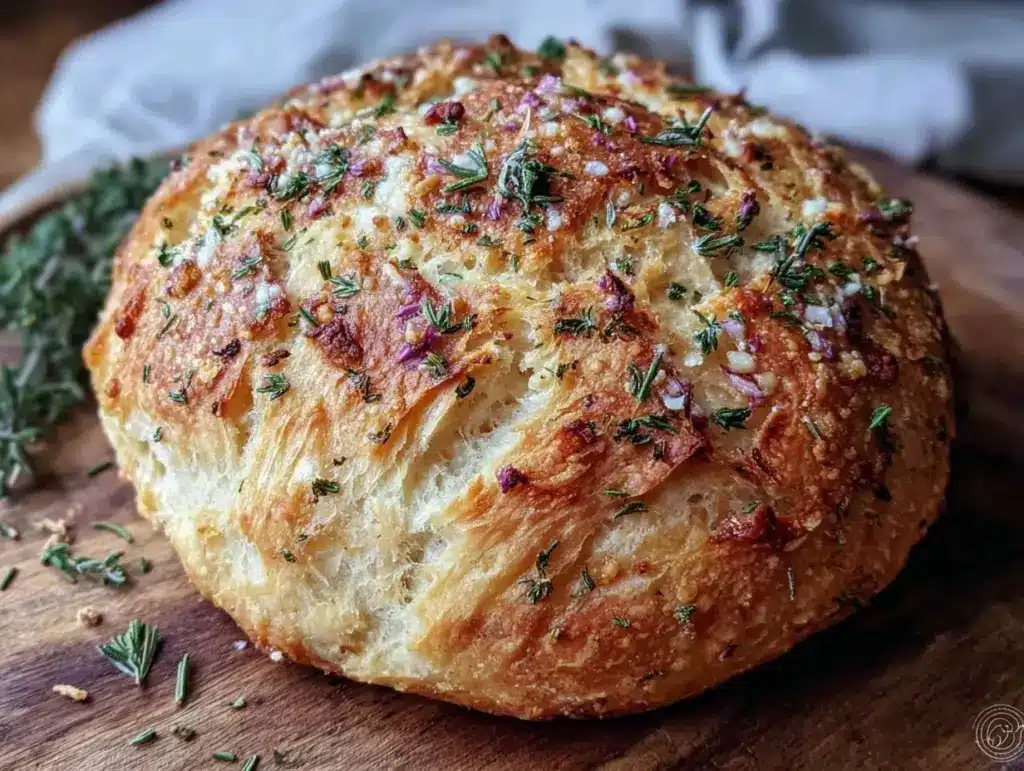
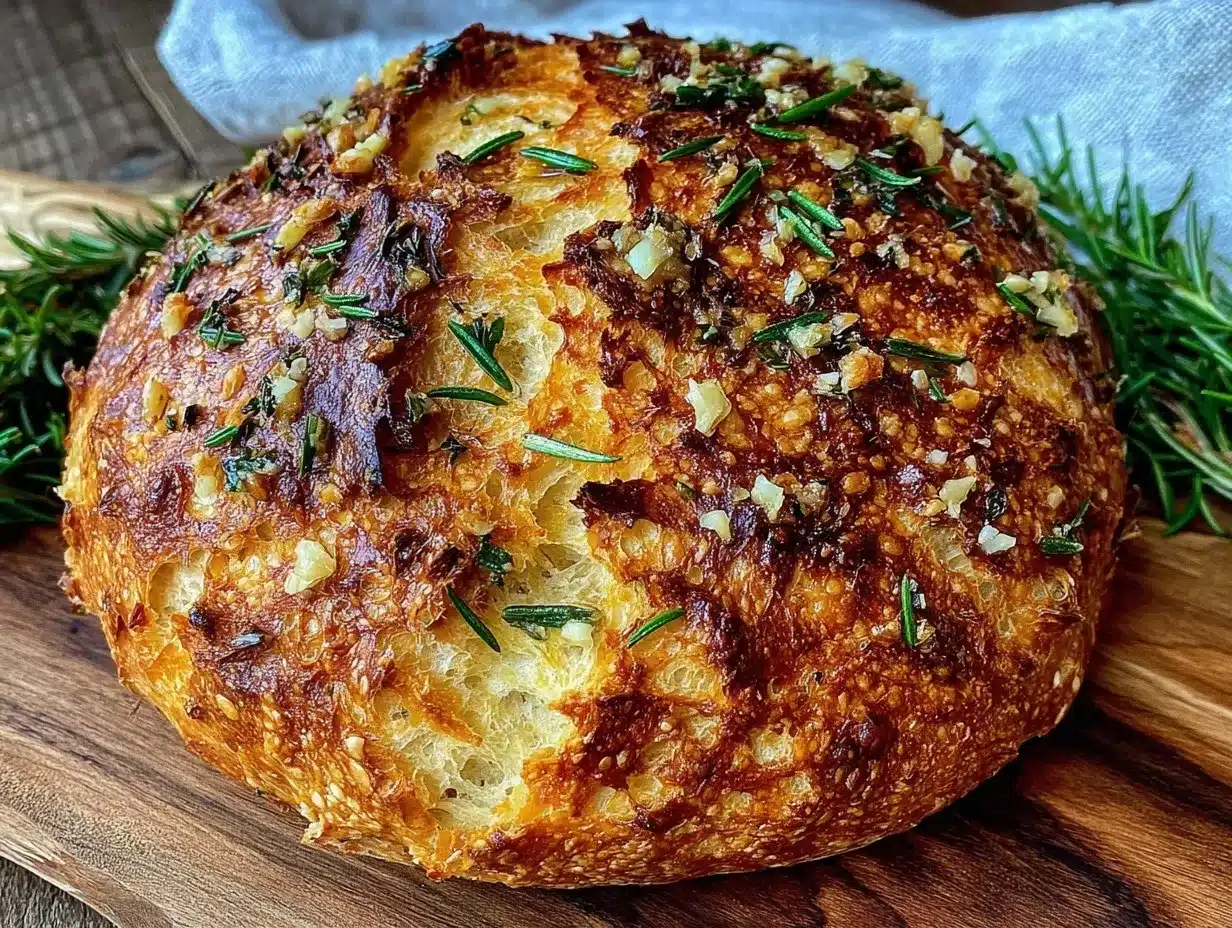
So I threw together what I had on hand, thinking it might just be a one-off experiment. The aroma that filled the kitchen as it baked was impossible to resist: crispy crust crackling, garlic mingling with rosemary and thyme, and that earthy warmth only fresh herbs can bring. When I finally pulled out that golden loaf, with its rustic cracks and inviting scent, I realized I’d stumbled on something unexpectedly magical. That loaf turned into my go-to comfort food, the kind of bread that sinks into your memory with every bite, and honestly, it never leaves my kitchen now.
There’s a simplicity here that feels like an honest win — just basic ingredients, a trusty Dutch oven, and a little patience. And if you’re anything like me, you’ll appreciate a homemade bread recipe that’s as straightforward as it is satisfying. This crispy garlic herb Dutch oven bread with fresh herbs isn’t fancy, but it’s exactly the kind of soul-soothing treat you don’t want to miss.
Why You’ll Love This Recipe
- Quick & Easy: This recipe comes together in about 20 minutes of prep and bakes in under 45 minutes, making it perfect for a relaxed weekend or a last-minute craving.
- Simple Ingredients: No need to hunt down weird flours or fancy additives. Basic pantry staples and fresh garden herbs are all you need.
- Perfect for Any Occasion: Whether it’s a cozy dinner, a picnic side, or the star of your Sunday brunch, this bread fits right in.
- Crowd-Pleaser: The garlicky, herb-infused crust wins over even picky eaters and bread skeptics alike.
- Unbelievably Delicious: The crispy crust paired with the soft, aromatic crumb inside creates a texture and flavor combo that’s hard to beat.
This isn’t just another bread recipe. The magic lies in using your Dutch oven to mimic a professional steam oven — that’s what gives it this perfect crackling crust. Plus, folding in fresh herbs right into the dough means every slice carries that burst of garden-fresh flavor. I’ve tried other versions before, but this one sticks because it’s forgiving and consistently delivers that bakery-quality crust and tender inside. Honestly, it’s the kind of bread that makes you pause mid-bite and just savor the moment.
What Ingredients You Will Need
This recipe uses simple, wholesome ingredients to deliver bold flavor and satisfying texture without the fuss. Most of these are pantry staples, with fresh herbs adding that special touch. Feel free to swap herbs according to the season or your taste.
- All-purpose flour – 3 cups (360g), for a sturdy but tender crumb (I prefer King Arthur for consistent results)
- Warm water – 1 1/2 cups (355ml), around 100°F (38°C) to activate the yeast
- Active dry yeast – 2 1/4 teaspoons (one packet), for that perfect rise
- Fine sea salt – 2 teaspoons, balances flavor
- Fresh garlic – 3 cloves, minced (adds that punch of savory aroma)
- Fresh rosemary – 1 tablespoon, chopped (feel free to swap with thyme or oregano)
- Fresh thyme – 1 tablespoon, chopped
- Olive oil – 2 tablespoons, plus extra for coating (helps crust crisp up beautifully)
Optional substitutions: Use bread flour for a chewier texture or whole wheat for nuttiness. If fresh herbs aren’t available, 1 teaspoon each of dried herbs will work but reduce slightly to avoid overpowering.
Equipment Needed
- Dutch oven (preferably 5-6 quarts) – This is key for creating the steam environment that produces the crispy crust. A heavy cast iron Dutch oven works best.
- Mixing bowl – Large enough to hold the dough comfortably for rising.
- Measuring cups and spoons – For precise ingredient amounts.
- Wooden spoon or dough whisk – Helpful for mixing sticky dough.
- Kitchen towel or plastic wrap – To cover dough while rising.
- Bench scraper or sharp knife – For scoring the dough before baking.
If you don’t have a Dutch oven, a heavy oven-safe pot with a lid can work, but results might vary. I once used a ceramic casserole dish covered tightly with foil, and although the crust wasn’t as crackly, the bread still turned out good. For maintenance, keep your cast iron Dutch oven seasoned and avoid harsh detergents to preserve its non-stick surface.
Preparation Method
- Activate the yeast: In your mixing bowl, combine the warm water (1 1/2 cups / 355ml) with the active dry yeast (2 1/4 teaspoons). Stir gently and let sit for 5-10 minutes until foamy. If the mixture doesn’t foam, your yeast might be old — better grab a fresh packet.
- Mix dry ingredients: Add the flour (3 cups / 360g) and sea salt (2 teaspoons) to the yeast mixture. Stir using a wooden spoon or dough whisk until a shaggy dough forms. It should be sticky but coming away from the sides of the bowl.
- Add herbs and garlic: Fold in the minced garlic (3 cloves), chopped rosemary (1 tablespoon), and thyme (1 tablespoon). Add the olive oil (2 tablespoons) and mix until combined. The dough will feel slightly wet but resilient.
- First rise: Cover the bowl with a kitchen towel or plastic wrap. Let the dough rest at room temperature for 1 to 1.5 hours, or until doubled in size. The dough should feel airy and soft when you gently poke it.
- Shape the dough: Lightly flour a clean surface and your hands. Turn the dough out and gently fold it over itself a couple of times to create structure. Shape it into a round loaf by tucking edges underneath. Avoid over-kneading here; you want to keep the air bubbles intact.
- Second rise: Place the shaped dough on a piece of parchment paper. Cover loosely with a towel and let it rise for another 30-45 minutes until puffy.
- Preheat Dutch oven: While the dough rises, place your Dutch oven with its lid inside the oven and preheat to 450°F (232°C). This usually takes about 30 minutes. Heating the pot beforehand is crucial for that crispy crust.
- Score and bake: Carefully remove the hot Dutch oven from the oven. Using a sharp knife or bench scraper, score the top of the dough with a few slashes (this helps it expand). Lift the parchment with the dough and place it into the Dutch oven. Cover with the lid and bake for 30 minutes.
- Finish baking: After 30 minutes, remove the lid and bake for an additional 10-15 minutes until the crust is deep golden brown and crackly.
- Cool and enjoy: Transfer the bread to a wire rack and let cool for at least 30 minutes before slicing. This resting time helps the crumb set perfectly.
Pro tip: If your crust browns too fast, tent loosely with foil during the last baking minutes. Also, avoid cutting into the bread too soon; it’s tempting, but the crumb needs that rest!
Cooking Tips & Techniques
One trick I learned the hard way is the importance of the hot Dutch oven. Baking this bread in a cold pot just won’t give you that signature crust. Preheating it ensures the dough hits a super-hot surface, creating steam trapped by the lid — that’s what makes the crust crisp and golden.
When mixing the dough, resist the urge to add too much flour. Sticky dough is normal here. Over-flouring can yield a dense loaf. I usually let the dough be tacky and just use a well-floured surface for shaping.
Scoring is another step that can intimidate, but it’s really just about controlling where the bread expands. I keep my cuts shallow and deliberate — too deep, and the bread can deflate.
Timing is key. I like to start the dough early in the morning or late afternoon so the rising fits my schedule without rushing. It’s also a nice excuse to take a break and let the bread work its magic while I get other things done.
Lastly, cooling the bread fully before slicing is crucial. I’ve burned my tongue far too many times waiting impatiently, only to find the texture is gummy if sliced too soon. Patience pays off, honestly.
Variations & Adaptations
If you want to switch things up or accommodate different diets, this recipe is pretty flexible. Here are a few ideas:
- Gluten-Free Version: Swap all-purpose flour for a gluten-free blend designed for baking, like Bob’s Red Mill 1-to-1. Add a tablespoon of xanthan gum if your blend doesn’t contain it.
- Cheesy Herb Bread: Stir in 1 cup (100g) of shredded sharp cheddar or parmesan during the mixing stage for a savory twist.
- Seasonal Herb Swap: Use fresh basil and oregano in summer, or sage and chives in fall. Just keep the total herb amount the same.
- Garlic-Free Adaptation: If garlic isn’t your thing, replace it with caramelized onions or roasted shallots for a milder, sweeter note.
- Whole Wheat Mix: Replace half the all-purpose flour with whole wheat flour for nuttier flavor and extra fiber. You might need a splash more water since whole wheat absorbs more.
One time, I tried adding a handful of toasted pine nuts and a swirl of sun-dried tomato pesto before baking — it was unexpectedly delicious and made the bread feel gourmet without effort.
Serving & Storage Suggestions
This crispy garlic herb bread is best served warm, fresh out of the oven, when the crust is still crackling and the aroma fills the room. I love slicing it thick and slathering with softened butter or dipping in olive oil and balsamic vinegar.
It pairs beautifully with soups, stews, or a simple cheese board. For breakfast, try it toasted with avocado and a sprinkle of flaky sea salt. Honestly, it’s versatile enough for any meal.
To store, wrap the cooled bread tightly in a clean kitchen towel or store in a paper bag to preserve the crust for up to two days. For longer storage, slice and freeze in an airtight bag. When ready to eat, toast slices straight from the freezer — the crust crisps back up nicely.
Reheating in a 350°F (175°C) oven for 5-10 minutes wrapped in foil also refreshes the loaf without drying it out. Over time, the flavors of the garlic and herbs mellow and deepen, making leftovers even more enjoyable.
Nutritional Information & Benefits
This homemade bread offers a wholesome alternative to store-bought loaves packed with preservatives. One slice (about 60g) contains roughly 150 calories, 3 grams of protein, 28 grams of carbohydrates, and 1.5 grams of fat.
Fresh herbs like rosemary and thyme are rich in antioxidants and have anti-inflammatory benefits, while garlic is known for its immune-supporting properties. Using olive oil instead of butter adds heart-healthy fats, making this bread a bit friendlier for your wellness goals.
For those mindful of dietary needs, this recipe is naturally free from added sugars and can be easily modified for gluten sensitivity or dairy-free diets. It’s a simple way to enjoy nourishing bread that feels both comforting and a little special.
Conclusion
This crispy garlic herb Dutch oven bread with fresh herbs has become one of those recipes that feels like a quiet kitchen secret — easy enough to make any day but special enough to impress without stress. I love how it fills the house with that irresistible scent and how each bite delivers a perfect balance of crunch and softness, with just the right herbaceous kick.
Feel free to tweak the herbs or add your favorite mix-ins — this bread welcomes creativity. Whether you’re an experienced baker or someone who’s never tried before, this recipe is forgiving, straightforward, and totally worth the little effort.
Give it a go, and I’d love to hear how yours turns out or what personal twists you add. Baking bread is such a simple pleasure, and this one truly makes the everyday feel a little more delicious.
FAQs
Can I use instant yeast instead of active dry yeast?
Yes! If using instant yeast, reduce the amount to about 2 teaspoons and mix it directly with the dry ingredients before adding water.
What if I don’t have fresh herbs? Can I use dried?
You can substitute dried herbs, but use about one-third the amount since dried herbs are more concentrated. For example, use 1 teaspoon each of dried rosemary and thyme.
How do I know when the bread is fully baked?
The crust should be a deep golden brown and feel firm. You can also tap the bottom of the loaf; it should sound hollow.
Is it necessary to preheat the Dutch oven?
Preheating is important to get that crispy crust. Placing dough into a cold pot won’t create the steam needed for the perfect texture.
Can I add other flavors like cheese or olives?
Absolutely! Fold in your favorite add-ins during the mixing stage, just keep the quantities moderate to avoid weighing down the dough.
Pin This Recipe!
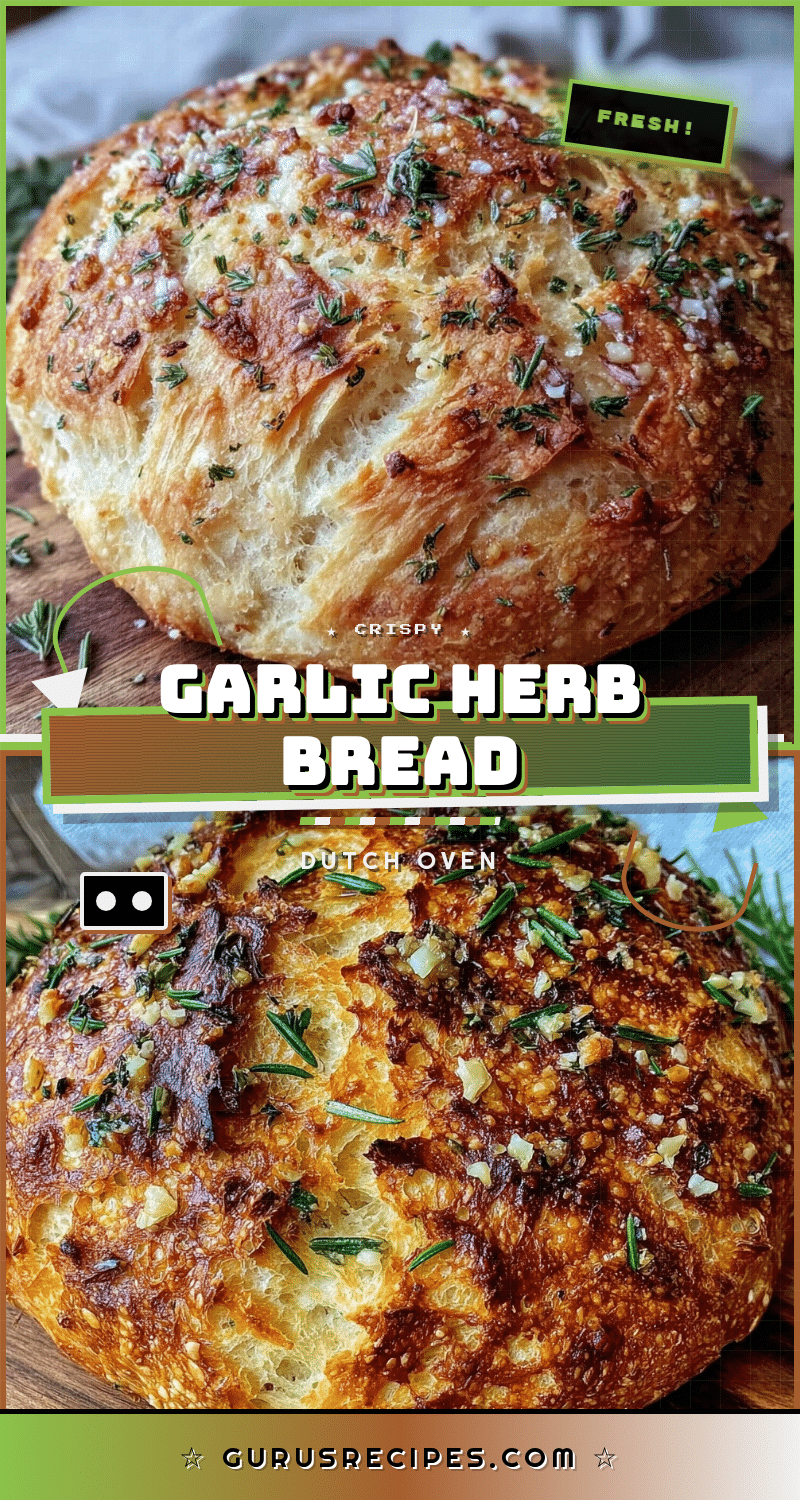

Crispy Garlic Herb Dutch Oven Bread
A simple and easy homemade bread recipe baked in a Dutch oven, featuring fresh garlic and herbs for a crispy crust and aromatic crumb.
- Total Time: 1 hour 5 minutes
- Yield: 1 loaf (about 8 servings) 1x
Ingredients
- 3 cups (360g) all-purpose flour
- 1 1/2 cups (355ml) warm water (around 100°F / 38°C)
- 2 1/4 teaspoons active dry yeast (one packet)
- 2 teaspoons fine sea salt
- 3 cloves fresh garlic, minced
- 1 tablespoon fresh rosemary, chopped
- 1 tablespoon fresh thyme, chopped
- 2 tablespoons olive oil, plus extra for coating
Instructions
- Activate the yeast: In a mixing bowl, combine warm water with active dry yeast. Stir gently and let sit for 5-10 minutes until foamy.
- Mix dry ingredients: Add flour and sea salt to the yeast mixture. Stir with a wooden spoon or dough whisk until a shaggy, sticky dough forms.
- Add herbs and garlic: Fold in minced garlic, chopped rosemary, thyme, and olive oil. Mix until combined; dough will be slightly wet but resilient.
- First rise: Cover the bowl with a kitchen towel or plastic wrap. Let dough rest at room temperature for 1 to 1.5 hours until doubled in size.
- Shape the dough: Lightly flour a clean surface and hands. Turn dough out and fold over itself a couple of times. Shape into a round loaf by tucking edges underneath.
- Second rise: Place shaped dough on parchment paper. Cover loosely with a towel and let rise for 30-45 minutes until puffy.
- Preheat Dutch oven: Place Dutch oven with lid inside oven and preheat to 450°F (232°C) for about 30 minutes.
- Score and bake: Remove hot Dutch oven from oven. Score top of dough with a sharp knife or bench scraper. Lift parchment with dough and place into Dutch oven. Cover with lid and bake for 30 minutes.
- Finish baking: Remove lid and bake an additional 10-15 minutes until crust is deep golden brown and crackly.
- Cool and enjoy: Transfer bread to wire rack and cool at least 30 minutes before slicing.
Notes
Preheat the Dutch oven to ensure a crispy crust. Avoid over-flouring the dough; sticky dough is normal. Score the dough shallowly to control expansion. Cool bread fully before slicing to avoid gummy texture. Tent with foil if crust browns too fast.
- Prep Time: 20 minutes
- Cook Time: 45 minutes
- Category: Bread
- Cuisine: American
Nutrition
- Serving Size: 1 slice (about 60g)
- Calories: 150
- Fat: 1.5
- Carbohydrates: 28
- Protein: 3
Keywords: garlic bread, herb bread, Dutch oven bread, homemade bread, crispy crust bread, easy bread recipe, fresh herbs bread


