
There was this one chilly Sunday morning when I found myself wandering into the kitchen with a craving that felt more like a whisper than a shout—something warm, comforting, and a little sweet. I had a bit of leftover sourdough starter that needed attention, some oats in the pantry, and a jar of honey that had been gathering dust. Honestly, I wasn’t sure if mixing all those together would actually work out. I mean, sourdough already has that tangy punch, and honey adds sweetness; would they play nice? But hey, sometimes you just have to trust the process (and your gut).
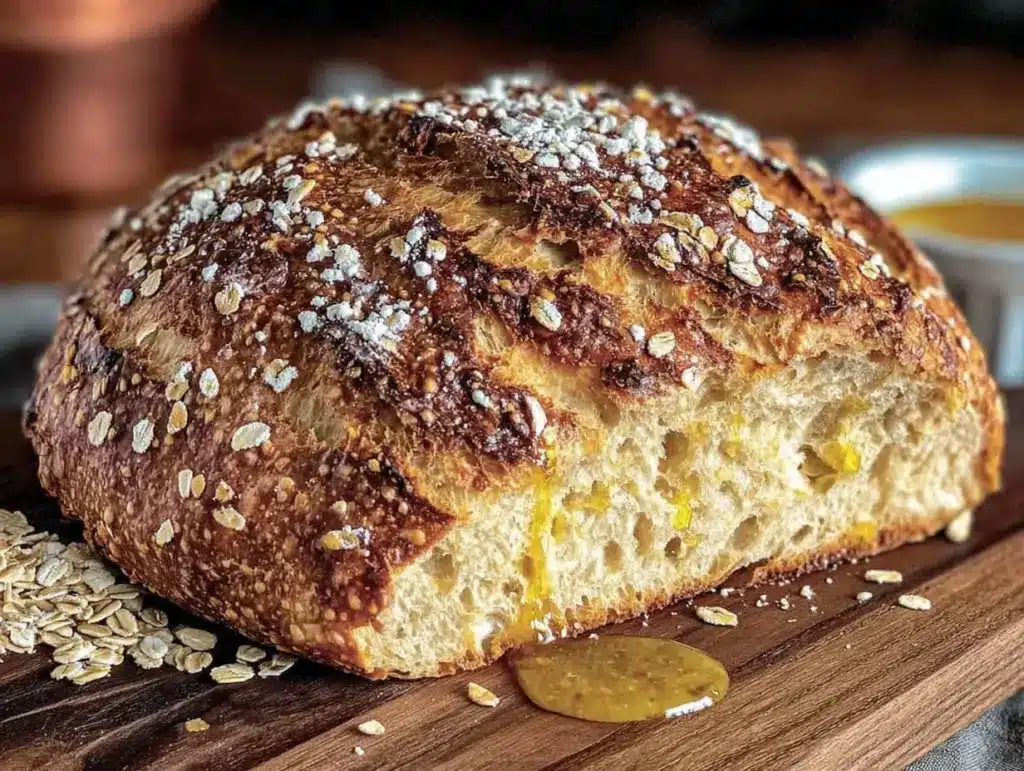
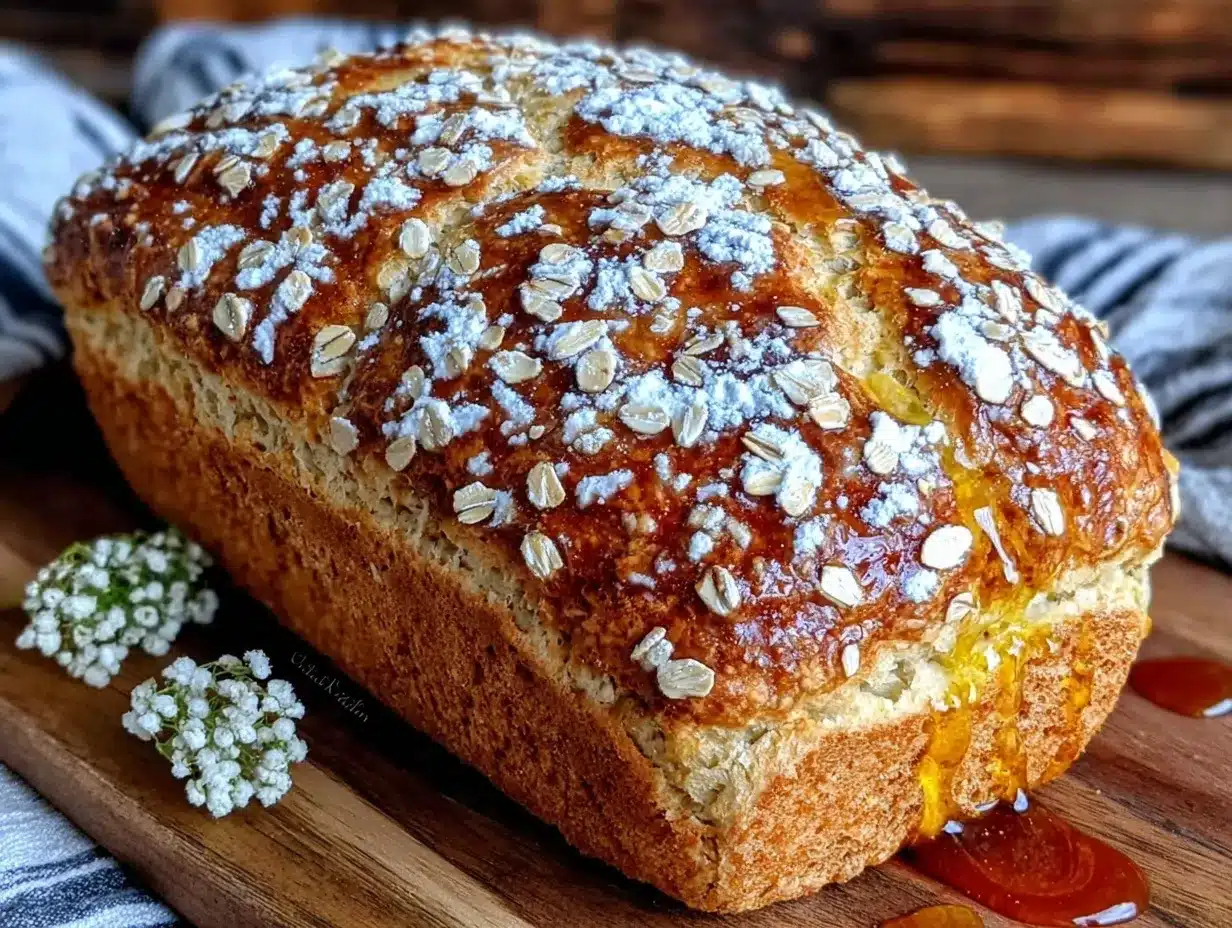
After a few trial runs, I nailed down a version of homemade honey oat sourdough bread that surprised me. The crumb came out tender—soft but with just enough chew to feel satisfying. The oats added this cozy nuttiness, and the honey gave it a subtle sweetness that wasn’t overpowering but lingered gently on the tongue. The smell of the bread baking was enough to make the restless morning feel calm and hopeful again. It wasn’t about perfect technique or fancy ingredients; it was about turning simple pantry staples into something that felt like a warm hug.
What stuck with me was how this bread became my quiet reset button, a way to slow down and savor a moment that was otherwise a blur. I keep coming back to this recipe, not just because it tastes great, but because it reminds me that making bread can be as comforting as eating it. And that, honestly, is why this homemade honey oat sourdough bread with tender crumb has found a permanent spot in my kitchen routine.
Why You’ll Love This Recipe
After testing this recipe over several weeks, it’s clear that it’s more than just “bread.” Here’s what makes this honey oat sourdough a keeper:
- Quick & Easy: While sourdough takes patience, this recipe simplifies the process so you can enjoy fresh bread without hours of fuss—perfect for busy mornings or lazy weekends.
- Simple Ingredients: No need for exotic flours or additives. Just oats, honey, flour, water, salt, and your trusty sourdough starter. I typically use King Arthur Flour for consistent results.
- Perfect for Cozy Occasions: Whether it’s weekend breakfast, a tea-time snack, or a thoughtful gift, this bread feels right at home on your table.
- Crowd-Pleaser: I’ve shared this with friends and family, and it’s always the first loaf to disappear—kids love the mild sweetness, and adults appreciate the hearty texture.
- Unbelievably Delicious: The tender crumb and subtle honey note make it feel indulgent, but it’s wholesome enough to eat any time.
What sets this recipe apart is the balance of flavors and texture: the oats add a rustic heartiness without making the bread dense, and the honey creates a gentle sweetness that complements the natural tang of sourdough. Plus, the method is straightforward enough that even if you’re not really a baker, you’ll find success here. This isn’t just another sourdough loaf—it’s the one that quietly wins over your heart and your taste buds.
What Ingredients You Will Need
This homemade honey oat sourdough bread uses simple, wholesome ingredients to deliver a tender, flavorful loaf without a fuss. Most of these are pantry staples, and you can easily find substitutes if needed.
- Active sourdough starter (about 100g, bubbly and fed within 6-12 hours) – the backbone of your bread’s rise and flavor
- All-purpose flour (400g/3 1/4 cups) – I prefer King Arthur or Bob’s Red Mill for reliable texture
- Rolled oats (50g/1/2 cup, plus extra for topping) – adds nutty flavor and rustic texture
- Honey (2 tbsp) – provides subtle sweetness and helps with crust color
- Warm water (300ml/1 1/4 cups) – ideally around 75–80°F (24–27°C) for proper fermentation
- Salt (8g/1 1/2 tsp) – enhances flavor and controls fermentation
- Optional: a tablespoon of olive oil or melted butter for a slightly softer crust
If you want to switch it up, you can swap all-purpose flour with whole wheat flour for a nuttier taste (but expect a denser crumb). For a gluten-free version, try a mix of oat flour and a gluten-free blend, though you’ll lose some of that classic sourdough chew. I usually stick to rolled oats rather than quick oats for better texture. And if honey isn’t your thing, maple syrup works well too.
Equipment Needed
- Mixing bowl: A large, sturdy bowl for combining ingredients. Glass or stainless steel works best.
- Dutch oven or heavy oven-safe pot with lid: This is key for that crispy crust and tender crumb. If you don’t have one, a baking stone or sheet covered with an oven-safe bowl can substitute.
- Bread proofing basket (banneton): Optional but helpful to shape and hold the dough. Line it with a well-floured kitchen towel if you don’t have one.
- Kitchen scale: For accurate measurements—trust me, guessing flour by volume can lead to inconsistent results.
- Bench scraper or spatula: For folding and handling sticky dough.
- Thermometer: Handy to check water and dough temperature, especially when you’re starting out.
In my experience, a Dutch oven makes a huge difference in crust and crumb but if you’re on a budget, a heavy cast iron skillet with a lid or even a deep roasting pan with a cover can work. Just be sure to preheat it in the oven for a good 30 minutes before baking. I keep my banneton in good shape by dusting it with rice flour and tapping out excess before each use.
Preparation Method
- Prepare the oats: In a small bowl, soak 50g (1/2 cup) of rolled oats in 100ml (about 1/2 cup) of warm water for 30 minutes. This softens them and helps them blend into the dough, adding moisture and texture.
- Mix the dough: In your large mixing bowl, combine 400g (3 1/4 cups) all-purpose flour, 8g (1 1/2 tsp) salt, and the soaked oats with their water. Add 100g (about 1/2 cup) active sourdough starter and 200ml (7/8 cup) warm water. Stir with a wooden spoon or your hand until everything is roughly combined. The dough will be sticky—that’s normal.
- Autolyse (rest): Cover the bowl loosely with a damp towel or plastic wrap and let the dough rest for 45 minutes. This helps the flour hydrate and starts gluten formation.
- Add honey and mix: After autolyse, drizzle in 2 tbsp honey. Incorporate it by folding the dough over itself inside the bowl a few times. This stage is where you can add optional olive oil or melted butter if you want a softer crumb.
- Bulk fermentation and folds: Let the dough ferment at room temperature (ideally 70–75°F/21–24°C) for 4 to 6 hours. Every 30 minutes for the first 2 hours, perform gentle stretch-and-folds: reach under the dough, stretch it upward, and fold it over itself. This strengthens the dough without kneading.
- Shape the dough: Lightly flour your work surface and gently tip the dough out. Shape it into a tight round ball by folding the edges underneath. Place it seam-side up in a well-floured banneton or bowl lined with a floured towel.
- Proof: Cover and refrigerate the dough overnight (8–12 hours). This slow proof deepens flavor and makes the dough easier to handle.
- Preheat oven and Dutch oven: About 45 minutes before baking, preheat your oven to 475°F (245°C) with the Dutch oven inside. This ensures a hot environment for great oven spring.
- Score and bake: Carefully transfer the dough onto parchment paper, seam-side down. Dust with oats and slash the top with a sharp knife or razor blade. Lift the parchment into the hot Dutch oven, cover with the lid, and bake for 20 minutes.
- Finish baking uncovered: Remove the lid and bake for another 20–25 minutes, or until the crust is deep golden brown and crackly. The internal temperature should reach about 205°F (96°C).
- Cool completely: Transfer the bread to a wire rack and let it cool for at least 2 hours before slicing. This resting time lets the crumb set perfectly tender.
If you notice your dough feels too sticky to handle, a light dusting of flour during shaping helps without drying it out. And if the loaf isn’t rising as much as you hoped, check your starter’s activity—it might need a feeding or warmer environment.
Cooking Tips & Techniques
Making sourdough bread can seem tricky, but a few tricks make all the difference.
- Starter readiness: Always use a bubbly, active starter. I feed mine twice before baking day to ensure it’s lively. If it sinks quickly after rising, it’s not ready.
- Temperature control: Dough temperature impacts fermentation speed. Aim for about 75°F (24°C) during bulk fermentation. If your kitchen is cold, try proofing in the oven with just the light on.
- Stretch and folds: These replace kneading and build gluten gently. Don’t rush—proper folds mean better structure and a lighter crumb.
- Hydration balance: The oats absorb water, so don’t be shy about adding the soaking water to the dough. Sticky dough can be intimidating but leads to a moister crumb.
- Scoring: Use a very sharp blade and make confident, quick cuts. This controls how the bread expands in the oven and gives it a beautiful look.
- Crust tricks: Baking in a covered Dutch oven traps steam, which helps develop a glossy crust. Removing the lid halfway lets the crust crisp up nicely.
Early on, I made the mistake of skipping the overnight proof—it resulted in a bland loaf with dense crumb. Patience is your friend here. Also, don’t slice the bread too soon; the crumb needs time to set or you’ll get a gummy texture.
Variations & Adaptations
This honey oat sourdough is a flexible recipe that welcomes tweaks:
- Whole grain boost: Replace 100g of all-purpose flour with whole wheat or spelt for a nuttier flavor and heartier texture.
- Seed addition: Toss in a handful of sunflower, pumpkin, or flax seeds with the oats for extra crunch and nutrition.
- Dairy-free option: Skip optional butter or olive oil if avoiding fats, or swap honey with maple syrup for a vegan-friendly loaf.
- Sweet variations: Add cinnamon and raisins to the dough for a breakfast-style bread that pairs beautifully with butter.
- Different hydration: For a lighter crumb, increase water by 20ml (about 1 1/2 tbsp), but be prepared for a stickier dough.
One of my favorite recent experiments was folding in toasted walnuts and dried cranberries—absolute winner for holiday mornings. Just remember to keep the total flour-to-water ratio balanced.
Serving & Storage Suggestions
This bread shines best when served at room temperature, lightly toasted or fresh from the oven. I like to spread it with a little creamy butter or thick Greek yogurt and a drizzle of honey (because why not?). It pairs wonderfully with soups, sharp cheeses, or a simple jam for breakfast.
To store, wrap the cooled loaf loosely in a clean kitchen towel or paper bag to maintain the crust’s texture. Keep it at room temperature for up to 3 days. For longer storage, slice and freeze the bread in airtight bags. Toast slices straight from the freezer for that fresh-baked feeling.
Reheating in a toaster oven or regular oven at 350°F (175°C) for 5–7 minutes refreshes the crust and warms the crumb. Over time, the tang of the sourdough deepens, making leftovers even more flavorful the next day.
Nutritional Information & Benefits
This homemade honey oat sourdough bread offers roughly 120 calories per 1-ounce (28g) slice, with about 3 grams of protein, 22 grams of carbohydrates, and 1.5 grams of fat. The oats provide fiber and essential minerals like magnesium and zinc, while honey delivers antioxidants and natural sweetness without refined sugars.
Thanks to the fermentation process, sourdough bread can be easier to digest and may have a lower glycemic index than regular bread. This recipe is naturally dairy-free (unless you add butter) and can be adapted for gluten-sensitive diets by swapping flours.
From a wellness standpoint, it’s a satisfying way to enjoy carbs without feeling heavy, especially when paired with wholesome toppings and balanced meals.
Conclusion
This homemade honey oat sourdough bread with tender crumb isn’t just a recipe; it’s a little ritual that turns everyday ingredients into something quietly special. Whether you’re new to sourdough or have been baking for years, this loaf offers a sweet, nutty flavor with a soft texture that keeps you coming back for more.
Feel free to play with the ingredients and methods to make it your own—I’ve found a few small tweaks can make a big difference depending on your taste and schedule. For me, it’s the bread that brings calm to a busy morning and warmth to the table.
If you give this recipe a try, I’d love to hear how it turns out or what variations you’ve made. Sharing these little kitchen wins makes the whole process even more rewarding. Here’s to many cozy loaves ahead!
FAQs about Homemade Honey Oat Sourdough Bread
How do I know if my sourdough starter is ready to use?
Your starter should be bubbly and have doubled in size within 6 to 12 hours after feeding. It will have a pleasant tangy smell and pass the “float test”—a small spoonful floats in water.
Can I use quick oats instead of rolled oats?
Quick oats are finer and absorb water differently, which can affect texture. Rolled oats are best for this recipe to keep a chewy, rustic crumb.
What if I don’t have a Dutch oven for baking?
You can bake the bread on a preheated baking stone or sheet and create steam by placing a tray of hot water in the oven. Covering the dough with an oven-safe bowl during the first 20 minutes helps trap moisture.
Can I make this bread without honey?
Yes! You can omit honey or replace it with maple syrup or agave nectar. The bread will be less sweet but still flavorful.
How should I store leftover bread to keep it fresh?
Wrap cooled bread in a paper bag or kitchen towel at room temperature for up to 3 days. For longer storage, slice and freeze it in airtight bags, then toast slices when needed.
Pin This Recipe!
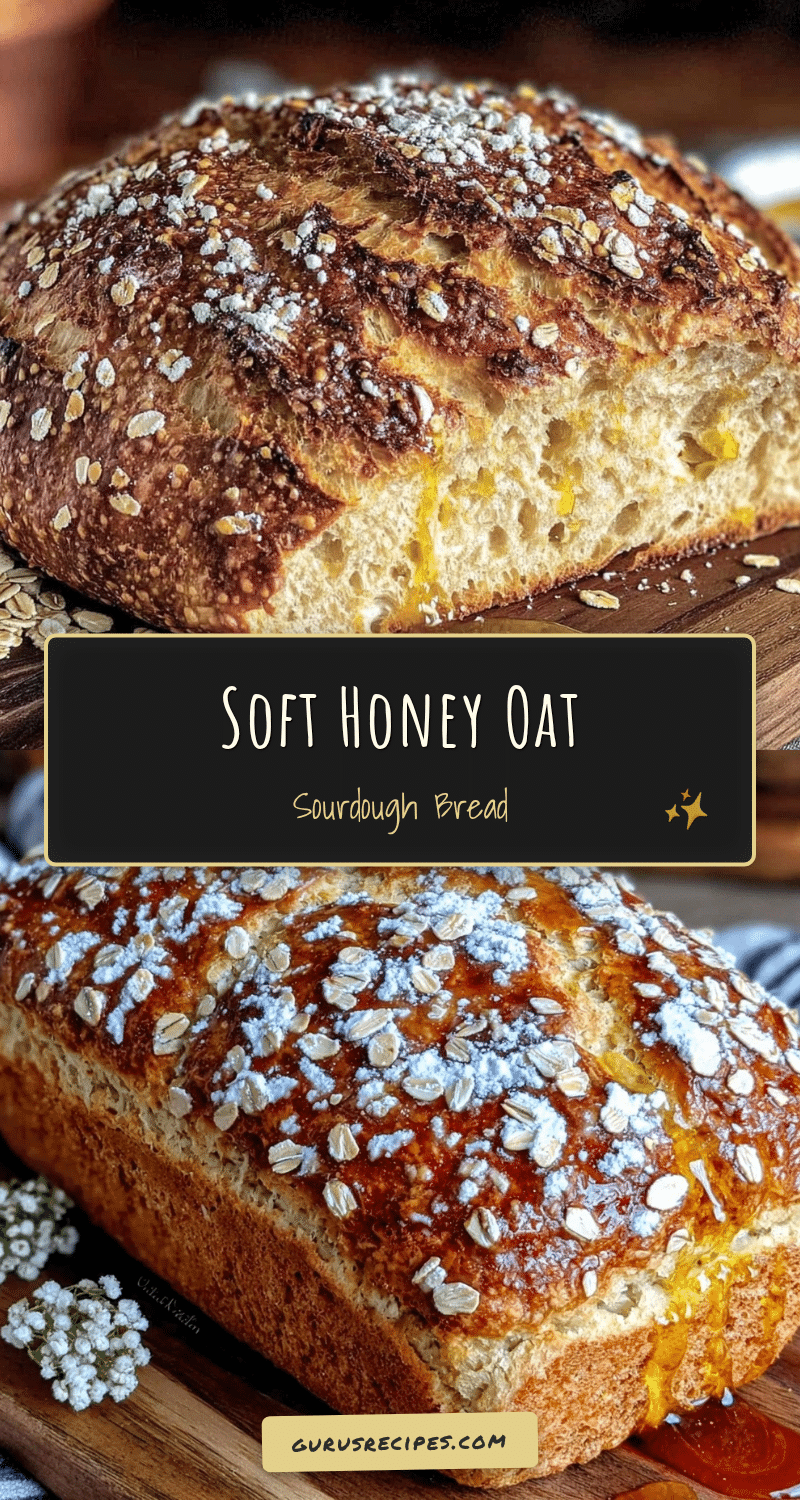

Homemade Honey Oat Sourdough Bread Recipe with Tender Crumb Easy Steps
A warm, comforting sourdough bread with a tender crumb, subtle honey sweetness, and rustic oats, perfect for cozy occasions and easy enough for beginners.
- Total Time: 12 hours (including overnight proofing)
- Yield: 1 loaf (about 12 slices) 1x
Ingredients
- 100g active sourdough starter (about 1/2 cup), bubbly and fed within 6-12 hours
- 400g all-purpose flour (3 1/4 cups), King Arthur or Bob’s Red Mill preferred
- 50g rolled oats (1/2 cup), plus extra for topping
- 2 tbsp honey
- 300ml warm water (1 1/4 cups), ideally 75–80°F (24–27°C)
- 8g salt (1 1/2 tsp)
- Optional: 1 tbsp olive oil or melted butter for softer crust
Instructions
- Soak 50g (1/2 cup) rolled oats in 100ml (about 1/2 cup) warm water for 30 minutes.
- In a large mixing bowl, combine 400g (3 1/4 cups) all-purpose flour, 8g (1 1/2 tsp) salt, and the soaked oats with their water.
- Add 100g (about 1/2 cup) active sourdough starter and 200ml (7/8 cup) warm water. Stir until roughly combined; dough will be sticky.
- Cover bowl loosely and let dough rest (autolyse) for 45 minutes.
- Drizzle in 2 tbsp honey and fold dough over itself a few times to incorporate. Add optional olive oil or melted butter if desired.
- Let dough ferment at room temperature (70–75°F/21–24°C) for 4 to 6 hours, performing gentle stretch-and-folds every 30 minutes for the first 2 hours.
- Lightly flour work surface, tip dough out, and shape into a tight round ball. Place seam-side up in a floured banneton or bowl lined with a floured towel.
- Cover and refrigerate dough overnight (8–12 hours) for proofing.
- Preheat oven to 475°F (245°C) with Dutch oven inside for 45 minutes.
- Transfer dough onto parchment paper, seam-side down. Dust with oats and slash top with a sharp knife.
- Place dough with parchment into hot Dutch oven, cover, and bake for 20 minutes.
- Remove lid and bake uncovered for 20–25 minutes until crust is deep golden and internal temperature reaches 205°F (96°C).
- Cool bread on wire rack for at least 2 hours before slicing.
Notes
Use a bubbly, active sourdough starter for best rise. Maintain dough temperature around 75°F during fermentation. Perform stretch-and-folds gently every 30 minutes for the first 2 hours. Preheat Dutch oven thoroughly for good oven spring. Let bread cool completely before slicing to avoid gummy texture. Optional olive oil or butter softens crust. Honey can be replaced with maple syrup or omitted for less sweetness.
- Prep Time: 1 hour 15 minutes
- Cook Time: 45 minutes
- Category: Bread
- Cuisine: American
Nutrition
- Serving Size: 1 slice (1 ounce / 2
- Calories: 120
- Sugar: 3
- Sodium: 150
- Fat: 1.5
- Carbohydrates: 22
- Fiber: 2
- Protein: 3
Keywords: sourdough bread, honey oat bread, homemade bread, easy sourdough, tender crumb bread, rustic bread, baking bread, oats bread


