

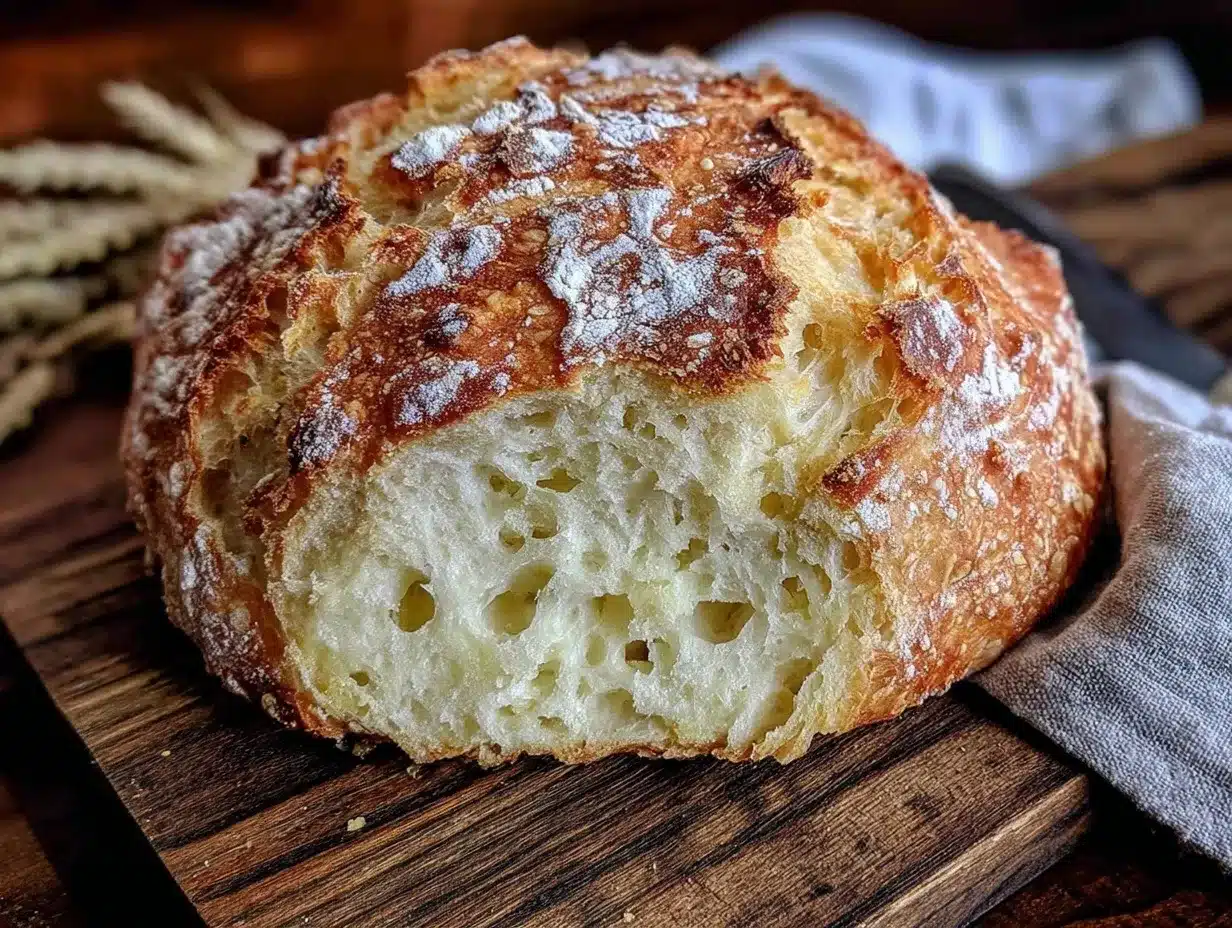
There’s something oddly calming about the quiet hum of my oven early on a Sunday morning, the kitchen filled with the warm, yeasty aroma of bread baking. I remember the first time I tried making this crispy rustic French bread—honestly, I wasn’t expecting much. I was juggling a hectic week and wanted a quick fix, but something about tossing flour, water, yeast, and salt together felt grounding. That initial batch came out with a crackling crust that made my neighbors peek over the fence, and a soft, chewy crumb that made me close my eyes with every bite. It wasn’t perfect, but it was the kind of bread that made me want to try again and again, tweaking here and there, learning its quirks.
What stuck with me was how this recipe captures that perfect balance—crispy on the outside, tender on the inside—without needing any fancy ingredients or complicated steps. It’s not just bread; it’s a little moment of peace, a reminder that even in chaos, you can craft something simple and satisfying. That’s why I keep coming back to this crispy rustic French bread recipe. It’s a humble homemade joy that feels like a small celebration every time you pull it from the oven.
Why You’ll Love This Recipe
- Quick & Easy: Takes less than 3 hours from start to finish, including rising time—perfect for a weekend baking project or a weekday treat.
- Simple Ingredients: Just basic pantry staples—flour, yeast, salt, and water. No need for specialty stores or rare items.
- Perfect for Any Occasion: Whether it’s a cozy family dinner, a brunch spread, or just a snack with butter and jam, this bread fits right in.
- Crowd-Pleaser: The crispy crust and soft crumb always get compliments and requests for seconds from both kids and adults.
- Unbelievably Delicious: The contrast between the crackling crust and the chewy, airy inside is what makes this bread stand out from other homemade loaves.
- This recipe’s magic lies in its straightforward approach—no kneading marathon or complex shaping, just a rustic loaf with character.
- Each time I make it, the flavors deepen, the crust crisps up just right, and I feel like I’ve brought a little French bakery into my humble kitchen.
What Ingredients You Will Need
This crispy rustic French bread recipe uses simple, wholesome ingredients to deliver bold flavor and satisfying texture without the fuss. You probably already have most of these in your pantry.
- All-purpose flour (3 ½ cups / 420 g) – I prefer King Arthur for consistent texture, but any good-quality brand works.
- Active dry yeast (2 ¼ teaspoons / 7 g) – The little packets from Red Star or Fleischmann’s are reliable.
- Warm water (1 ½ cups / 360 ml, about 110°F / 43°C) – Not too hot, or it kills the yeast; not too cold, or it won’t activate properly.
- Salt (2 teaspoons / 12 g) – Fine sea salt or kosher salt enhances the flavor without overpowering.
- Optional: A pinch of sugar (½ teaspoon) – helps jump-start the yeast if your kitchen is cool.
That’s it! The simplicity here is part of the charm. If you want to try variations, you can swap all-purpose flour for bread flour for a bit more chew, or add whole wheat for a nuttier flavor. But honestly, this basic combo nails that classic rustic French bread vibe every time.
Equipment Needed
- Large mixing bowl: For combining ingredients and letting the dough rise comfortably.
- Dutch oven or heavy oven-safe pot with lid: This helps create steam for that signature crispy crust. If you don’t have one, a baking stone or an insulated baking sheet works too—just add a pan of water to the oven for steam.
- Kitchen scale: Optional but highly recommended for precise measurements.
- Bench scraper or sharp knife: For scoring the dough before baking, which lets it expand beautifully.
- Clean kitchen towel: To cover the dough while it rises, keeping it moist but not wet.
I’ve used everything from a trusty cast-iron Dutch oven to a simple roasting pan, and while the Dutch oven gives the best crust, you can still get good results with basic tools. Just remember to preheat your equipment well for that perfect oven spring!
Preparation Method
- Activate the yeast: In your large mixing bowl, stir the active dry yeast into warm water (110°F / 43°C). Let it sit for 5–10 minutes until foamy. If it doesn’t foam, your yeast might be old or the water temperature was off—start again to avoid flat bread.
- Mix the dough: Add the flour and salt (and sugar if using) to the yeast mixture. Stir with a wooden spoon or your hand until a shaggy dough forms. It will be sticky and rough—don’t worry, that’s normal.
- First rise: Cover the bowl with a clean kitchen towel and leave it in a warm spot for 1 to 1 ½ hours, until doubled in size. The dough should feel puffy and airy to the touch.
- Shape the loaf: Lightly flour a clean surface and your hands. Turn the dough out gently (it will be loose and sticky). Fold the dough over itself a couple of times to form a rough oval shape. Avoid overworking it—you want to keep those air bubbles!
- Second rise: Place the shaped dough on a piece of parchment paper. Cover loosely with a towel and let it rise for another 30–45 minutes until puffy but not doubled.
- Preheat the oven: Place your Dutch oven (or heavy pot) with the lid inside and heat to 450°F (230°C) for at least 30 minutes before baking. This step is key for crusty bread.
- Score the dough: Using a sharp knife or bench scraper, make a few quick slashes on the dough’s surface—this controls how the bread expands and looks pretty rustic.
- Bake the bread: Carefully transfer the parchment paper and dough into the hot Dutch oven. Cover with the lid and bake for 20 minutes. Then, remove the lid and bake for another 20–25 minutes until the crust is deep golden and crackly.
- Cool completely: Remove the bread from the oven and place on a wire rack. Let it cool for at least 1 hour before slicing—this lets the crumb set and keeps it from turning gummy.
Each step feels a bit like a dance—waiting, folding, scoring—and the payoff is that unmistakable crackle when you slice in. I’ve learned patience is key here, especially letting the bread cool fully before cutting. It’s tempting to dig in right away, but trust me, it’s worth the wait.
Cooking Tips & Techniques
- Why no kneading? This recipe uses a “no-knead” method, which means less hands-on time and a more open crumb. Just mixing and folding gently preserves those lovely air pockets.
- Steam is your friend: Baking in a covered Dutch oven traps steam, which keeps the crust soft initially so the bread can expand before crisping up.
- Don’t skip the preheat: A fully heated pot is crucial. I once skipped this step, and the loaf came out dense and pale—lesson learned!
- Scoring matters: Quick, confident slashes help the bread rise evenly. Use a very sharp knife or even a razor blade for clean cuts.
- Watch your water temperature: Too hot and the yeast dies; too cold and it won’t activate. I keep a kitchen thermometer handy to nail this every time.
- Cooling is part of baking: Let the bread cool without covering it. Wrapping it up while warm traps moisture and ruins that crisp crust.
Variations & Adaptations
- Whole wheat twist: Substitute half the all-purpose flour with whole wheat for a heartier, nuttier loaf. You may need a splash more water.
- Herb-infused bread: Add 1–2 teaspoons of dried herbs like rosemary or thyme to the flour for a fragrant, savory touch.
- Gluten-free option: Use a gluten-free flour blend designed for bread baking (like Bob’s Red Mill). Note that texture will differ, but it still yields a tasty crusty loaf.
- Different cooking methods: No Dutch oven? Bake on a preheated baking stone and add a pan of hot water to the oven to create steam.
- Personally, I once added a handful of toasted sesame seeds on top before baking. The crunch and nutty flavor were a delightful surprise!
Serving & Storage Suggestions
This crispy rustic French bread is best served at room temperature or slightly warm. I love slicing it thick and slathering with butter or dipping in olive oil with a sprinkle of sea salt. It pairs beautifully with soups, stews, or a simple cheese board.
To store, keep the loaf in a paper bag or bread box at room temperature for up to 2 days. For longer storage, slice and freeze in a resealable bag. Toast slices straight from the freezer for that fresh-baked feel.
Reheating works best in a 350°F (175°C) oven for about 10 minutes wrapped loosely in foil to soften the crumb without losing the crust’s crunch. Over time, the bread’s flavor deepens, and the crust softens a bit, so fresh is definitely best!
Nutritional Information & Benefits
This rustic French bread is a simple, wholesome choice—low in fat, with a moderate carb content that fuels your day. One slice (about 50 g) offers roughly 130 calories, 25 g carbohydrates, 3 g protein, and minimal fat.
Using basic ingredients means no additives or preservatives, and you can control the salt content to your preference. If you opt for whole wheat flour, you add fiber and nutrients, making it an even healthier option.
For those watching gluten, switching to a gluten-free blend makes this recipe accessible. It’s a satisfying bread that fits into balanced meals—perfect for those who appreciate good food made simply.
Conclusion
Making this crispy rustic French bread at home isn’t just about the loaf itself—it’s about those moments of quiet satisfaction, the smell filling your kitchen, and the joy of sharing something made with your own hands. It’s straightforward, forgiving, and deeply rewarding.
Feel free to tweak this recipe to fit your tastes and lifestyle. Whether you add herbs, try whole wheat, or keep it classic, this bread is a little slice of comfort that’s always within reach. I keep coming back to it because it feels like a small, achievable victory every time.
Give it a try, and see how it becomes your go-to for homemade bread that’s crispy, rustic, and genuinely perfect in its simplicity.
FAQs
How long does this French bread stay fresh?
At room temperature, it stays fresh for about 2 days when stored in a paper bag or bread box. For longer storage, slice and freeze to keep it fresh up to 3 months.
Can I use instant yeast instead of active dry yeast?
Yes, you can substitute instant yeast. Use about 2 teaspoons and mix it directly with the flour. You can skip the proofing step with warm water in that case.
What if my dough is too sticky to handle?
Sticky dough is normal with no-knead recipes. Lightly flour your hands and work surface, but avoid adding too much flour as it can make the bread dense.
Why is scoring the dough important?
Scoring controls where the bread expands during baking, preventing random cracks and giving your loaf that classic rustic look.
Can I make this bread in a regular oven without a Dutch oven?
Absolutely! Use a baking stone or heavy baking sheet and place a pan of hot water in the oven to create steam. This helps develop a crisp crust similar to a Dutch oven.
Pin This Recipe!
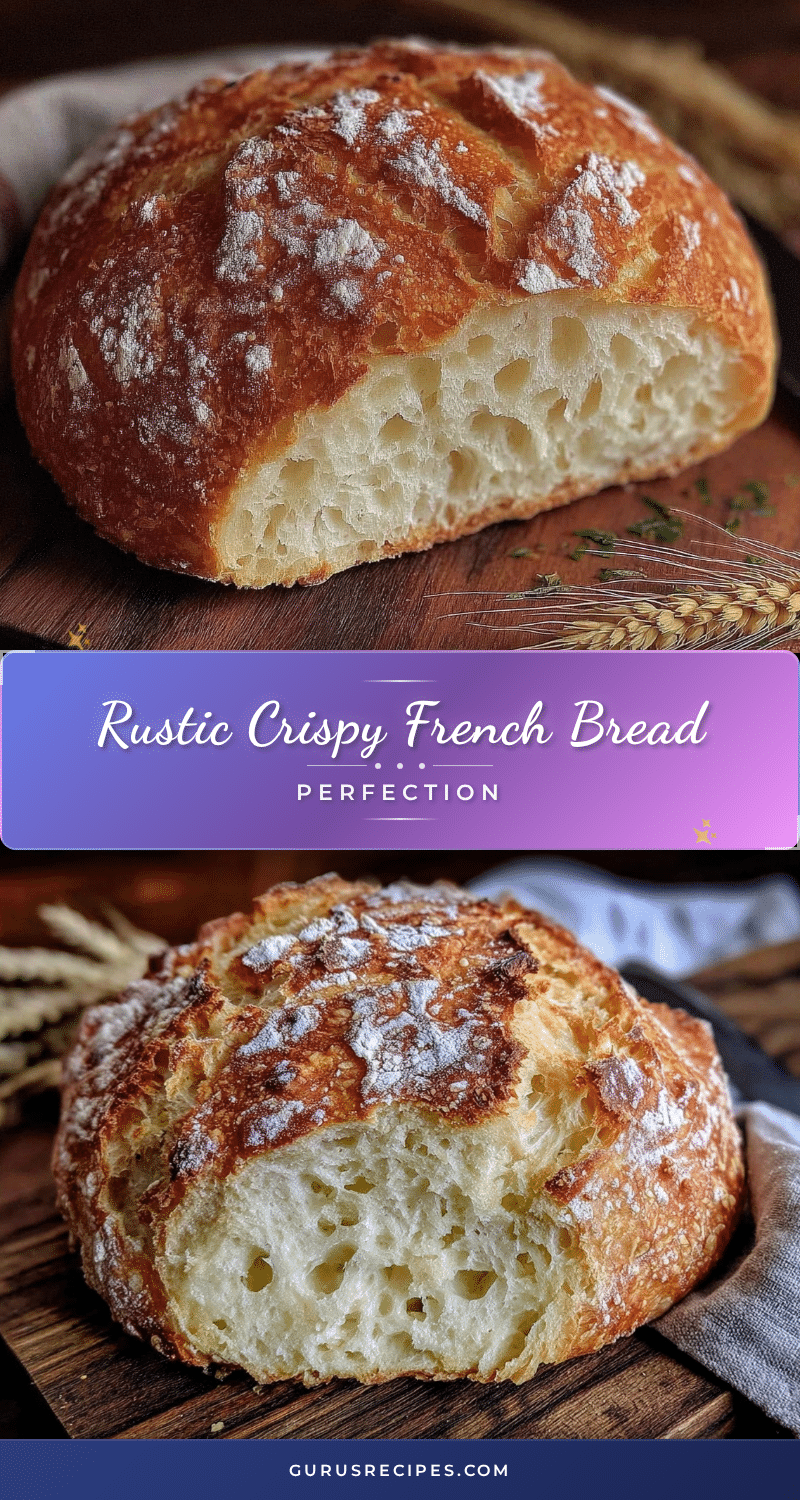

Crispy Rustic French Bread
A simple, no-knead rustic French bread recipe with a crispy crust and soft, chewy crumb, perfect for any occasion and easy to make at home.
- Total Time: 2 hours 45 minutes
- Yield: 1 loaf (about 8 servings) 1x
Ingredients
- 3 ½ cups (420 g) all-purpose flour
- 2 ¼ teaspoons (7 g) active dry yeast
- 1 ½ cups (360 ml) warm water (about 110°F / 43°C)
- 2 teaspoons (12 g) salt
- Optional: ½ teaspoon sugar
Instructions
- Activate the yeast: Stir active dry yeast into warm water (110°F / 43°C) and let sit for 5–10 minutes until foamy.
- Mix the dough: Add flour, salt, and sugar (if using) to the yeast mixture and stir until a shaggy, sticky dough forms.
- First rise: Cover the bowl with a clean kitchen towel and let the dough rise in a warm spot for 1 to 1 ½ hours until doubled in size.
- Shape the loaf: Lightly flour a surface and hands, turn out the dough gently, fold it over itself a couple of times to form a rough oval shape.
- Second rise: Place the shaped dough on parchment paper, cover loosely with a towel, and let rise for 30–45 minutes until puffy but not doubled.
- Preheat the oven: Heat a Dutch oven or heavy oven-safe pot with lid to 450°F (230°C) for at least 30 minutes.
- Score the dough: Make a few quick slashes on the dough surface with a sharp knife or bench scraper.
- Bake the bread: Transfer the dough with parchment paper into the hot Dutch oven, cover and bake for 20 minutes, then remove lid and bake for another 20–25 minutes until deep golden and crackly.
- Cool completely: Remove bread from oven and cool on a wire rack for at least 1 hour before slicing.
Notes
[‘Use a kitchen thermometer to ensure water is about 110°F to properly activate yeast.’, ‘Preheat the Dutch oven or pot for at least 30 minutes to get a crispy crust.’, ‘Do not skip cooling the bread completely before slicing to avoid gummy texture.’, ‘If no Dutch oven, use a baking stone or heavy baking sheet with a pan of hot water to create steam.’, ‘Sticky dough is normal; avoid adding too much flour to keep bread light and airy.’, ‘Scoring the dough controls expansion and gives a rustic look.’]
- Prep Time: 15 minutes
- Cook Time: 45 minutes
- Category: Bread
- Cuisine: French
Nutrition
- Serving Size: 1 slice (about 50 g)
- Calories: 130
- Sugar: 0.2
- Sodium: 240
- Fat: 0.5
- Saturated Fat: 0.1
- Carbohydrates: 25
- Fiber: 1
- Protein: 3
Keywords: rustic bread, French bread, no-knead bread, homemade bread, crispy crust, easy bread recipe


