
“Mom, you have to see this!” I blurted out while juggling a handful of strawberries, a melting bowl of chocolate, and a scattering of toothpicks. The kitchen was a mess, but honestly, I didn’t care. I was on a mission to create something special—a chocolate covered strawberry bouquet—for Mother’s Day. You know, I never thought fruit arrangements could be so satisfying to make. It all started kind of by accident when I ran out of wrapping paper for a last-minute gift and needed something sweet, pretty, and heartfelt.
At first, I was skeptical about whether the strawberries would stay fresh or if the chocolate would set properly on each one. But as I dipped and arranged, I found myself completely hooked. The way the dark chocolate clung to the juicy berries, the subtle crunch as you bit through, and the burst of sweetness—it’s a simple pleasure that feels like a little celebration in every bite. And let’s be honest, this bouquet looks impressive without requiring any fancy skills or expensive ingredients.
What surprised me the most was how quickly it came together, and how it instantly brightened up the whole room. It wasn’t just a gift; it became a moment of connection. The recipe stuck with me because it’s easy to personalize, fun to assemble, and absolutely delicious. I realized this wasn’t just about strawberries and chocolate—it was about making someone feel loved in a way that’s both beautiful and tasty. That quiet little victory in the kitchen made all the difference.
Why You’ll Love This Recipe
Honestly, this perfect chocolate covered strawberry bouquet is a winner for so many reasons. After testing and tweaking it multiple times, I can say it’s a go-to for busy folks like me who want to impress without the stress.
- Quick & Easy: You can whip this up in about 30 minutes, making it perfect for last-minute Mother’s Day plans or any time you want a sweet surprise.
- Simple Ingredients: No need for specialty stores—just fresh strawberries, good-quality chocolate, and a few basic supplies you probably already have.
- Perfect for Gifting: Whether it’s Mother’s Day, a birthday, or a thank-you gesture, this bouquet says “I care” without being over the top.
- Crowd-Pleaser: Kids and adults alike love these treats. The combination of juicy fruit and creamy chocolate is just timeless.
- Unbelievably Delicious: The trick is in the chocolate coating technique—smooth, glossy, and with just the right snap.
What sets this apart is the little details. For instance, I use a double-dip method for thicker chocolate coverage that doesn’t overpower the berry’s natural sweetness. Plus, arranging the strawberries like a bouquet makes it feel like more than just snacks—it’s a gift that’s part dessert and part centerpiece. If you’ve ever tried to make homemade strawberry ice cream or a fresh strawberry galette, you’ll appreciate how this recipe celebrates the same bright, juicy flavors in a totally different form.
What Ingredients You Will Need
This recipe keeps things straightforward with fresh, wholesome ingredients that deliver big flavor and lovely presentation without fuss. Most are pantry staples or easy to find at your local market.
- Fresh Strawberries – Choose large, firm berries with bright red color and green caps intact (they make the bouquet look prettier). Aim for about 20-25 strawberries, washed and thoroughly dried (any water ruins the chocolate coating).
- High-Quality Chocolate – I prefer using semisweet or bittersweet chocolate chips or bars (about 12 oz / 340 g). Brands like Ghirardelli or Callebaut work great for a glossy finish.
- White Chocolate (optional) – Around 4 oz (115 g) for drizzling or decorating some strawberries for contrast.
- Toothpicks or Wooden Skewers – To dip and hold the strawberries while coating.
- Floral Foam or Styrofoam Block – For assembling and displaying the bouquet (you can find these at craft stores).
- Cellophane Wrap & Ribbon (optional) – To wrap your bouquet for gifting and add a pretty finishing touch.
If you want to customize, you can substitute the chocolate with dairy-free or vegan options. Just look for those that melt smoothly. For strawberries, if you can’t find large ones, smaller berries work too; just expect a slightly different look. In summer, you might swap in fresh blueberries or raspberries for variety, though strawberries really shine here.
Equipment Needed
- Medium heatproof bowl for melting chocolate (glass or metal preferred)
- Small saucepan for double boiler setup or microwave-safe bowl if melting chocolate in the microwave
- Baking sheet lined with parchment paper or silicone mat for setting dipped strawberries
- Toothpicks or thin wooden skewers for dipping
- Floral foam block for arranging the bouquet
- Sharp knife for trimming strawberry stems if needed
- Optional: Small piping bag or zip-top bag for drizzling white chocolate
If you don’t have a double boiler, a microwave works well—just heat the chocolate in short bursts (20 seconds), stirring between each to avoid burning. I’ve also used a bamboo skewer when toothpicks felt too short for handling. The floral foam can be reused for other craft projects if you don’t want to toss it.
Preparation Method
- Prepare the Strawberries (10 minutes): Rinse your strawberries gently under cold water and pat completely dry with paper towels. Moisture is the enemy here because it causes the chocolate to seize. Trim the stems if they’re too long, leaving about 1/2 inch to hold onto.
- Melt the Chocolate (5-8 minutes): Use a double boiler or microwave to melt the semisweet chocolate until smooth and glossy. Stir frequently. If it starts to clump, add a teaspoon of coconut oil or vegetable shortening to loosen it up. Keep the chocolate warm but not hot.
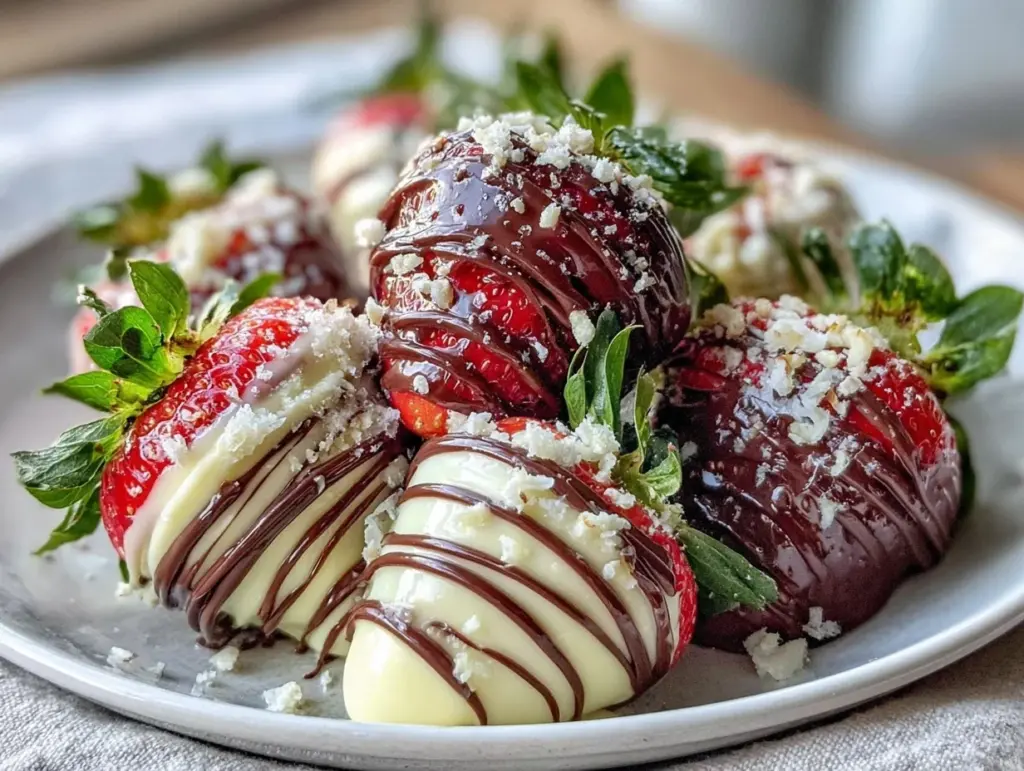
- Dip the Strawberries (10-15 minutes): Insert a toothpick or skewer into each strawberry. Dip the berry into the melted chocolate, swirling to coat evenly. Lift and gently tap off excess chocolate. Place on parchment-lined baking sheet. For thicker coverage, wait a minute, then dip again for a double coat. This gives a lovely snap and richer flavor.
- Set the Strawberries (15 minutes): Allow the dipped strawberries to rest at room temperature or in the fridge until the chocolate hardens completely. Avoid stacking or touching them.
- Add White Chocolate Drizzle (Optional, 5 minutes): Melt white chocolate using the same method. Transfer it to a small bag and snip a tiny corner. Drizzle over the set strawberries in thin stripes for decoration.
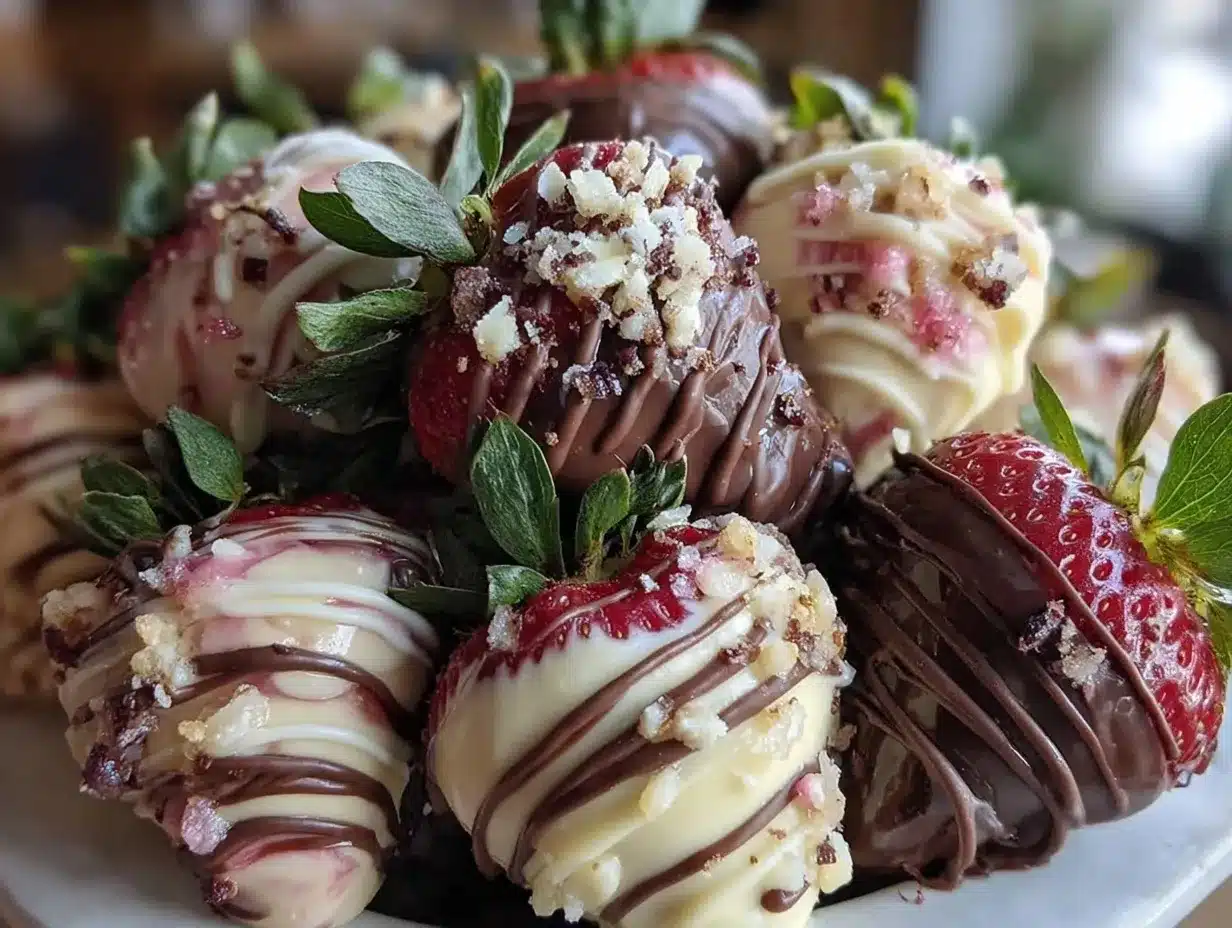
- Assemble the Bouquet (10 minutes): Stick the toothpicks into the floral foam block, arranging strawberries tightly to mimic a flower bouquet. Vary the heights and angles to add dimension. Wrap the entire bouquet in cellophane and tie with a ribbon if gifting.
If you notice the chocolate thickening too fast, warm it gently again. And don’t rush drying—letting the chocolate set fully keeps the coating neat and glossy. I find that prepping all strawberries first before dipping helps speed things up without making a mess.
Cooking Tips & Techniques
One key to success is making sure the strawberries are bone dry—seriously, even the smallest drop of water can turn your chocolate grainy. I learned this the hard way after my first batch turned into a clumpy mess! Also, tempering the chocolate isn’t necessary here, but warming the chocolate slowly helps get that smooth, shiny finish.
When dipping, tilt the bowl slightly to get better access and control. I like to hold the strawberry by the stem or toothpick and swirl it gently rather than dunking quickly. This keeps the chocolate even and avoids thick clumps.
Timing is important—work in batches so the chocolate stays warm. If it cools too much, it thickens and becomes harder to coat. If you’re short on time, use the fridge to set the strawberries but avoid condensation by wrapping the bouquet well afterward.
For arranging, think about how florists layer blooms. A mix of heights and slight spacing makes the bouquet look lush instead of flat. You can tuck small leaves or herbs like mint in between for extra freshness.
Lastly, when drizzling white chocolate, use a light hand. Too much can overwhelm the berry’s flavor. A few thin lines add elegance without stealing the show.
Variations & Adaptations
- Dietary Options: Swap regular chocolate with vegan or sugar-free chocolate for special diets. You can also substitute strawberries with firm grapes or banana slices for a different fruit bouquet.
- Seasonal Twist: In spring, add edible flowers like violets or pansies tucked in with the strawberries. For winter, sprinkle crushed peppermint candy on the wet chocolate for a festive touch.
- Flavor Enhancements: Mix a pinch of sea salt or cinnamon into the melted chocolate for a subtle flavor kick. Or dip some strawberries in dark chocolate and others in milk chocolate for variety.
- Alternative Assembly: Instead of floral foam, use a decorative vase filled with colored sugar or rice to hold the skewers upright. This makes a reusable centerpiece.
- Personal Favorite Variation: I once paired this bouquet with a batch of balsamic roasted strawberry shortcakes for a Mother’s Day brunch. The combination was a total hit, balancing fresh and roasted fruit flavors beautifully.
Serving & Storage Suggestions
Serve the chocolate covered strawberry bouquet chilled or at room temperature for the best texture. If transporting, keep it in a cool place so the chocolate doesn’t melt. Presentation-wise, placing the bouquet on a pretty plate or cake stand adds a nice touch.
This bouquet pairs wonderfully with light sparkling drinks like prosecco or a fruity iced tea. If you want to create a full strawberry-themed celebration, consider serving alongside a creamy strawberry cheesecake stuffed French toast for breakfast or brunch.
To store, keep the bouquet in the refrigerator, covered loosely with plastic wrap or inside a container to protect from moisture and odors. It’s best eaten within 24 hours, as strawberries lose freshness quickly. However, if you must keep leftovers, remove the strawberries from the bouquet and store them in a single layer to avoid crushing.
When reheating, avoid heat—just bring to room temperature before serving. Over time, the chocolate may lose some shine but will remain delicious. The flavors actually develop nicely after a few hours, making this a great make-ahead gift.
Nutritional Information & Benefits
This chocolate covered strawberry bouquet offers a sweet treat with some nutritional perks. Strawberries are rich in vitamin C, antioxidants, and fiber, supporting immune health and digestion. Dark chocolate adds antioxidants and can improve mood with its natural compounds.
Per serving (about 3-4 strawberries), you get roughly 120-150 calories, depending on the chocolate used. The recipe is naturally gluten-free and can be adapted to be dairy-free or vegan by choosing suitable chocolate.
While this is a treat, it feels lighter than many desserts thanks to the fresh fruit base, making it a satisfying indulgence without overdoing it. For those mindful of sugar intake, using sugar-free chocolate or limiting the amount of drizzle helps keep it balanced.
Conclusion
This perfect chocolate covered strawberry bouquet is more than just a pretty gift—it’s a sweet way to show you care without hours of fuss. I love how it combines simplicity with a touch of elegance and how it brings that little spark of joy when handed over. Whether you customize it with white chocolate drizzle or add fresh herbs, it’s flexible enough to suit your style and your mom’s tastes.
Give it a try this Mother’s Day or any time you want to impress with something homemade and heartfelt. If you make your own bouquet, I’d love to hear how you styled it or what variations you tried. Sharing those moments makes the recipe even sweeter. Just remember, a little chocolate and a bunch of strawberries can go a long way to brighten someone’s day.
FAQs about Chocolate Covered Strawberry Bouquets
How do I keep strawberries fresh longer in a chocolate bouquet?
Make sure to wash and dry strawberries thoroughly before dipping, and store the bouquet in the fridge covered loosely. Eat within 24 hours for best freshness.
Can I use frozen strawberries for this recipe?
Frozen strawberries aren’t recommended because they release moisture when thawed, which causes chocolate to seize and affects texture.
What’s the best way to melt chocolate without burning it?
Use a double boiler with simmering water or microwave in short 20-second bursts, stirring between each until smooth.
Can I prepare this bouquet ahead of time?
You can prepare the strawberries and melt the chocolate in advance but assemble the bouquet no more than a few hours before serving for the freshest look and taste.
Are there any allergy-friendly chocolate options?
Yes! Look for dairy-free and nut-free chocolates labeled vegan or allergy-friendly at specialty stores or online.
Pin This Recipe!
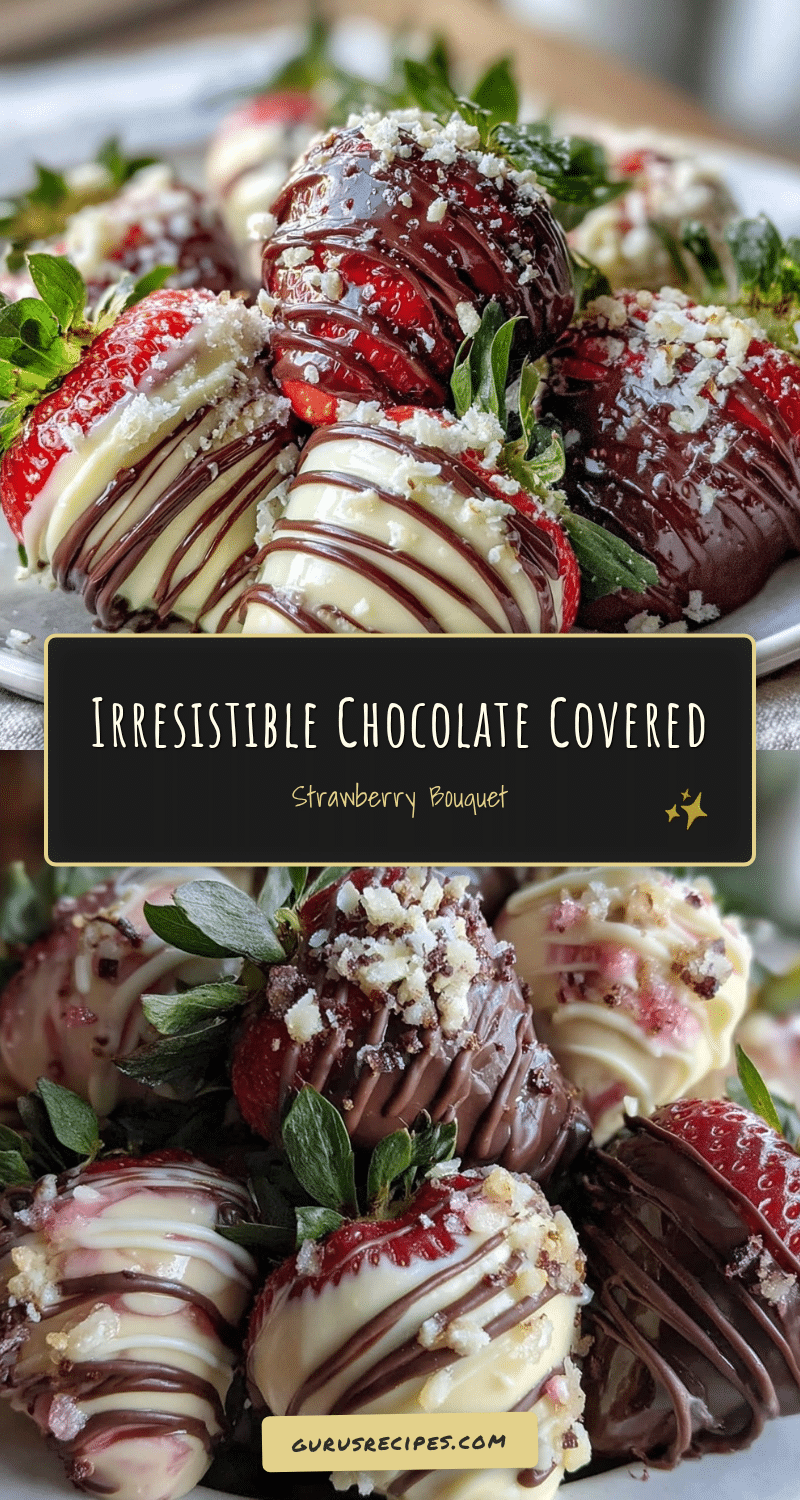

Perfect Chocolate Covered Strawberry Bouquet Easy DIY Gift for Mothers Day
A simple and elegant chocolate covered strawberry bouquet that’s quick to make and perfect for gifting on Mother’s Day or any special occasion.
- Total Time: 30 minutes
- Yield: 20-25 strawberries (about 6-8 servings) 1x
Ingredients
- 20–25 large fresh strawberries, washed and thoroughly dried
- 12 oz (340 g) semisweet or bittersweet chocolate chips or bars
- 4 oz (115 g) white chocolate (optional, for drizzling)
- Toothpicks or wooden skewers
- Floral foam or Styrofoam block for assembling bouquet
- Cellophane wrap and ribbon (optional, for wrapping bouquet)
Instructions
- Prepare the strawberries by rinsing gently under cold water and patting completely dry. Trim stems to about 1/2 inch if too long.
- Melt the semisweet chocolate using a double boiler or microwave until smooth and glossy, stirring frequently. Add a teaspoon of coconut oil or vegetable shortening if chocolate clumps.
- Insert a toothpick or skewer into each strawberry. Dip each strawberry into the melted chocolate, swirling to coat evenly. Tap off excess chocolate and place on parchment-lined baking sheet. For thicker coverage, dip again after a minute.
- Allow the dipped strawberries to set at room temperature or in the fridge until chocolate hardens completely.
- Optional: Melt white chocolate and drizzle thin stripes over the set strawberries using a small piping bag or zip-top bag.
- Assemble the bouquet by sticking the toothpicks into the floral foam block, arranging strawberries tightly with varied heights and angles. Wrap bouquet in cellophane and tie with ribbon if desired.
Notes
Ensure strawberries are completely dry before dipping to prevent chocolate from seizing. Work in batches to keep chocolate warm. Use a double-dip method for thicker chocolate coating. Store bouquet in fridge and consume within 24 hours for best freshness. Avoid frozen strawberries as they release moisture.
- Prep Time: 10 minutes
- Cook Time: 20 minutes
- Category: Dessert
- Cuisine: American
Nutrition
- Serving Size: About 3-4 strawberri
- Calories: 135
- Sugar: 15
- Sodium: 5
- Fat: 7
- Saturated Fat: 4
- Carbohydrates: 18
- Fiber: 2
- Protein: 2
Keywords: chocolate covered strawberries, strawberry bouquet, Mother's Day gift, easy dessert, chocolate dip, fruit bouquet, DIY gift


