
“Did you really make these diploma-shaped sugar cookies yourself?” My friend asked with a mix of surprise and delight, holding one up like a tiny edible certificate. I chuckled, wiping a bit of royal icing off my fingers, remembering how this whole idea came about quite by accident. Honestly, I was just trying to whip up a batch of sugar cookies for a last-minute graduation party when I realized I didn’t have the usual round cookie cutters. But then I spotted an old diploma-shaped cookie cutter tucked away in my baking drawer from years ago. Skeptical at first, I decided to give it a shot—because, let’s face it, nothing screams celebration like a cookie that looks like a miniature diploma.
The magic really happened when I paired those perfectly shaped cookies with a smooth, elegant royal icing that I tweaked over several evenings. I was a bit wary about royal icing at first; it seemed so intimidating and unforgiving. But with some trial and error (and a few sticky fingers), I nailed a silky texture that dries just right—not too hard, not too soft. These cookies quickly became a staple for every graduation gathering I hosted, and it’s funny how what started as a rushed backup plan turned into a signature sweet treat. If you’re looking for a charming, thoughtful way to celebrate milestones, these diploma-shaped sugar cookies with elegant royal icing might just be the answer you didn’t know you needed.
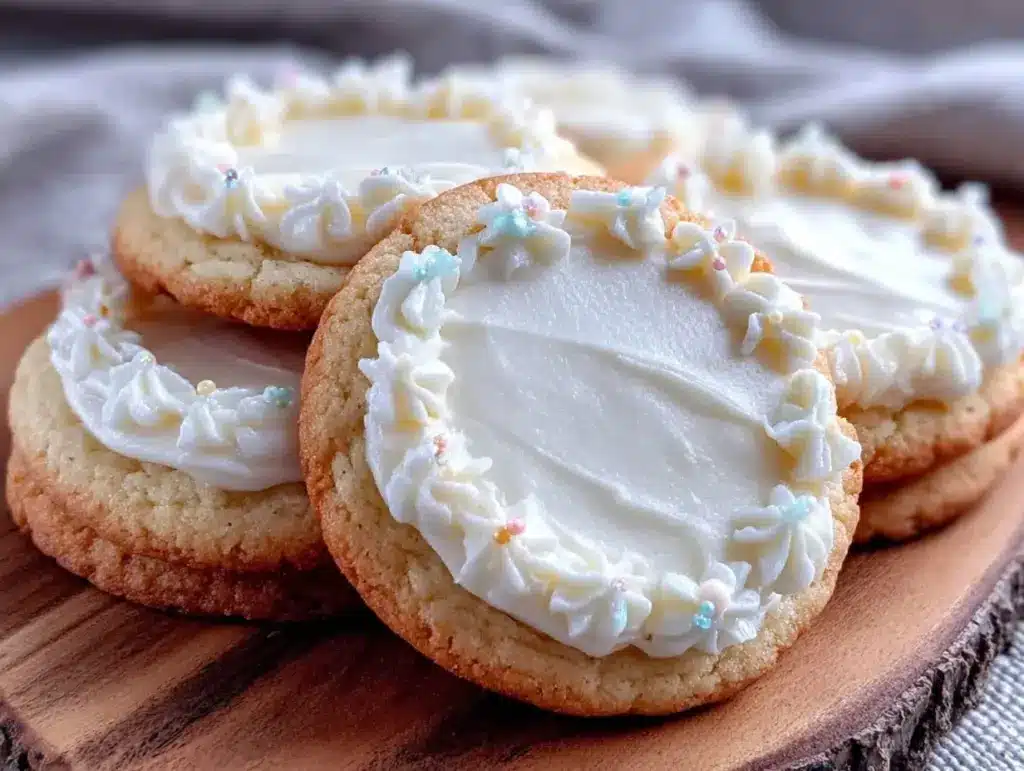
There’s something quietly satisfying about seeing those neat little scrolls decorated with personalized touches, and I love how they bring a bit of joy and sophistication to the table without fuss. So, here’s the recipe that stuck with me—not because it was perfect right away, but because it’s approachable, fun, and honestly, pretty hard to mess up once you get the hang of it.
Why You’ll Love This Recipe
Making perfect diploma-shaped sugar cookies with elegant royal icing isn’t just about the look—it’s about the whole experience. After testing countless sugar cookie recipes and royal icing consistencies, I’m confident this one hits the sweet spot for taste, texture, and ease. Here’s why you’re going to want to keep this recipe on speed dial:
- Quick & Easy: The dough comes together in under 20 minutes, and the cookies bake in just 10-12 minutes — ideal for busy celebrations or last-minute baking sessions.
- Simple Ingredients: You probably already have everything in your pantry—no need for exotic or specialty items.
- Perfect for Graduations & Celebrations: These cookies make a charming treat for parties, school events, or even as gifts for grads.
- Crowd-Pleaser: Kids and adults alike love these sweet, buttery cookies with just the right amount of crispness and a melt-in-your-mouth finish.
- Unbelievably Delicious: The royal icing adds a delicate sweetness and smooth texture that feels fancy but isn’t over the top.
This recipe stands out because of its balance—no heavy-handed flavors, just a subtle vanilla sugar cookie base that lets the royal icing shine. Plus, the royal icing tutorial is straightforward, avoiding the usual pitfalls of cracking or over-hardening. I’ve found that adding a touch of corn syrup to the royal icing keeps it glossy and smooth, something I picked up experimenting with other sweet treats like the creamy no-churn strawberry ice cream that balances texture and flavor beautifully.
What Ingredients You Will Need
This recipe uses simple, wholesome ingredients to deliver bold flavor and satisfying texture without the fuss. Most are pantry staples, making this a go-to for quick baking sessions. Here’s what you’ll need, grouped to keep things clear:
- For the Sugar Cookie Dough:
- 2 ¾ cups (345g) all-purpose flour (I prefer King Arthur for consistent texture)
- 1 teaspoon baking powder
- ½ teaspoon salt
- 1 cup (227g) unsalted butter, softened (room temperature is key for creaminess)
- 1 ½ cups (300g) granulated sugar
- 1 large egg, room temperature
- 1 teaspoon pure vanilla extract (look for Madagascar bourbon vanilla for best aroma)
- 2 tablespoons whole milk (adds tenderness to the dough)
- For the Elegant Royal Icing:
- 4 cups (480g) powdered sugar, sifted
- 3 tablespoons meringue powder (Wilton brand works great)
- 6 tablespoons warm water (adjust for desired consistency)
- 1 teaspoon light corn syrup (adds shine and smoothness)
- Food coloring gels (optional, for personalized colors)
- 1 teaspoon vanilla or almond extract (optional, for subtle flavor)
Feel free to swap out ingredients based on dietary needs: use almond flour for a gluten-free cookie variation or coconut milk in place of whole milk for a dairy-free option. If you want to experiment, adding a pinch of almond extract to the dough can add a lovely depth that pairs beautifully with the vanilla royal icing. The key to success is using fresh ingredients—especially the butter and eggs—to get that rich, tender crumb.
Equipment Needed
To make these perfect diploma-shaped sugar cookies with elegant royal icing, you don’t need fancy kitchen gadgets. Here’s what helped me pull it all together:
- Diploma-shaped cookie cutter: Essential for that signature shape. If you don’t have one, a rectangular cutter and a small knife can work.
- Mixing bowls: At least two – one for the dough and one for the royal icing.
- Electric mixer: A stand mixer or hand mixer makes creaming butter and sugar effortless.
- Rolling pin: For evenly flattening the dough to about ¼ inch (6mm) thickness.
- Baking sheets: Preferably non-stick or lined with parchment paper.
- Piping bags and small round tips: For precise royal icing decoration. If you don’t have piping bags, sandwich bags with a tiny corner snipped work fine.
- Cooling racks: To let your cookies cool evenly without losing that perfect texture.
Personally, I’ve found that investing in a good silicone baking mat saves cleanup time and helps with even baking. For piping, I started with disposable bags and later switched to reusable ones for less waste. Keeping your piping tips clean and dry between colors helps avoid clogs and keeps your designs crisp.
Preparation Method
- Mix Dry Ingredients (5 minutes): In a medium bowl, whisk together 2 ¾ cups (345g) flour, 1 teaspoon baking powder, and ½ teaspoon salt. Set aside.
- Cream Butter and Sugar (7 minutes): Using a stand or hand mixer, beat 1 cup (227g) softened butter with 1 ½ cups (300g) sugar on medium-high speed until light and fluffy—about 3-4 minutes. This step is crucial for tender cookies.
- Add Egg and Vanilla (2 minutes): Beat in 1 large egg and 1 teaspoon vanilla until fully combined. The mixture should look smooth and glossy.
- Incorporate Dry Ingredients and Milk (3-4 minutes): Gradually add the flour mixture in batches, alternating with 2 tablespoons milk. Mix on low speed just until the dough comes together—don’t overmix or the cookies might get tough.
- Chill the Dough (at least 1 hour): Wrap the dough in plastic wrap and refrigerate. Chilling is key for rolling out easily and maintaining shape during baking.
- Roll and Cut (15 minutes): On a lightly floured surface, roll dough to about ¼ inch (6mm) thickness. Use the diploma-shaped cookie cutter to cut out shapes, transferring them carefully to baking sheets lined with parchment.
- Bake (10-12 minutes): Bake at 350°F (175°C) until edges just start to turn golden. Keep a close eye—overbaking dries them out.
- Cool Completely (30 minutes): Transfer cookies to a wire rack and let cool fully before icing. This prevents the royal icing from melting or running.
- Prepare Royal Icing (10 minutes): In a clean bowl, mix 4 cups (480g) sifted powdered sugar, 3 tablespoons meringue powder, and 6 tablespoons warm water. Add 1 teaspoon corn syrup and vanilla extract if using. Beat until glossy peaks form. Adjust thickness by adding a few drops of water or powdered sugar as needed.
- Decorate (variable): Divide icing into bowls for coloring. Use piping bags fitted with small round tips to outline and flood the cookies. Let each layer dry for 15-20 minutes before adding details. Patience here really pays off.
- Dry and Store: Allow decorated cookies to dry at room temperature for 4-6 hours or overnight. Store in an airtight container layered with parchment paper.
Pro tip: If your dough feels too sticky after chilling, lightly flour your rolling surface and rolling pin, but avoid adding too much flour so the cookies stay tender. When piping royal icing, if the tip clogs, dip it in warm water and dry quickly—it helps keep lines clean. This method is similar to the precision I use when decorating delicate desserts like the fresh strawberry galette with vanilla glaze, where patience and layering make all the difference.
Cooking Tips & Techniques
Working with sugar cookies and royal icing can be a bit tricky if you’re new to it, but a few tricks helped me get consistent, beautiful results every time.
- Butter Softness: Butter should be softened but not melting. Too soft and your dough gets greasy; too hard and it won’t cream well.
- Chilling the Dough: This is non-negotiable. Chilling helps cookies hold their shape and makes rolling easier. I sometimes chill the cut cookies briefly on the tray before baking to avoid spreading.
- Consistent Rolling Thickness: Use guides or rolling pin rings to keep cookie thickness uniform. Uneven thickness leads to uneven baking.
- Royal Icing Consistency: For outlining, keep icing thicker (like toothpaste consistency). For flooding, thin it out with drops of water until it flows smoothly but isn’t runny.
- Drying Time: Don’t rush drying. Royal icing needs to harden enough to handle but not become rock hard—aim for a matte finish.
- Practice Piping: Start with simple designs and practice steady hand movement. I found that decorating these diploma cookies was easier after some practice with piping on parchment paper.
One mistake I made early on was trying to decorate warm cookies—the icing melted and ran everywhere. Lesson learned: cool completely! Also, multitasking is key; while cookies bake, I usually prepare the icing and clean up, making the process feel less overwhelming.
Variations & Adaptations
These diploma-shaped sugar cookies are pretty versatile, so feel free to mix it up depending on your occasion or dietary needs:
- Flavor Variations: Add lemon or almond extract to the dough for a twist. Or, swap vanilla for orange zest and a splash of juice for a fresh note.
- Gluten-Free Option: Use a 1:1 gluten-free baking flour blend instead of all-purpose flour. The texture will be slightly different but still delicious.
- Dairy-Free Version: Replace butter with a plant-based margarine and milk with almond or oat milk. Adjust baking time slightly to accommodate moisture differences.
- Alternative Icing: If royal icing feels intimidating, try a simple powdered sugar glaze with milk and vanilla—less firm but still tasty for decorating.
- Seasonal Decorations: Customize icing colors and add edible gold dust or sprinkles for a festive touch. For example, use school colors or metallic accents for graduation themes.
I once swapped the vanilla in the icing for a hint of peppermint during a winter graduation party, which was a surprising hit. These cookies also pair wonderfully with other celebratory treats like creamy strawberry cheesecake stuffed French toast, which you might remember from my recipe post.
Serving & Storage Suggestions
Serve your diploma-shaped sugar cookies at room temperature to enjoy that tender crumb and smooth icing texture. They look lovely arranged on a decorative platter or tied up in cellophane bags with a ribbon for gifting.
Pair these cookies with a cup of tea, coffee, or even a festive punch for graduation parties. They also complement other desserts like the balsamic roasted strawberry shortcake, balancing sweet and tangy flavors beautifully.
For storage, place cookies in an airtight container layered with parchment paper to prevent sticking. They keep well for up to a week at room temperature. You can also freeze undecorated cookies for up to 3 months; just thaw completely before icing. Decorated cookies freeze best if flash-frozen on a baking sheet first, then wrapped tightly to preserve icing integrity.
When reheating, avoid the microwave as it can soften the icing too much. Instead, bring cookies to room temperature naturally or warm slightly in a low oven (around 200°F/93°C) for a few minutes.
The flavors tend to mellow and deepen a bit after a day, so if you can, let them rest overnight before serving for maximum yum.
Nutritional Information & Benefits
Here’s an estimate per cookie (based on 24 cookies from this recipe):
| Nutrient | Amount |
|---|---|
| Calories | 140 kcal |
| Total Fat | 7g |
| Saturated Fat | 4g |
| Carbohydrates | 19g |
| Sugars | 12g |
| Protein | 1g |
While these sugar cookies are definitely a treat, the use of real butter and fresh vanilla extract adds wholesome flavor without artificial additives. The meringue powder in royal icing provides a light protein boost and helps create that signature glossy finish without using raw egg whites, making it safer and suitable for most families.
If you’re mindful of allergens, note this recipe contains gluten, dairy, and egg, but substitutions for gluten-free and dairy-free versions are easy to make. Just keep in mind texture differences.
Conclusion
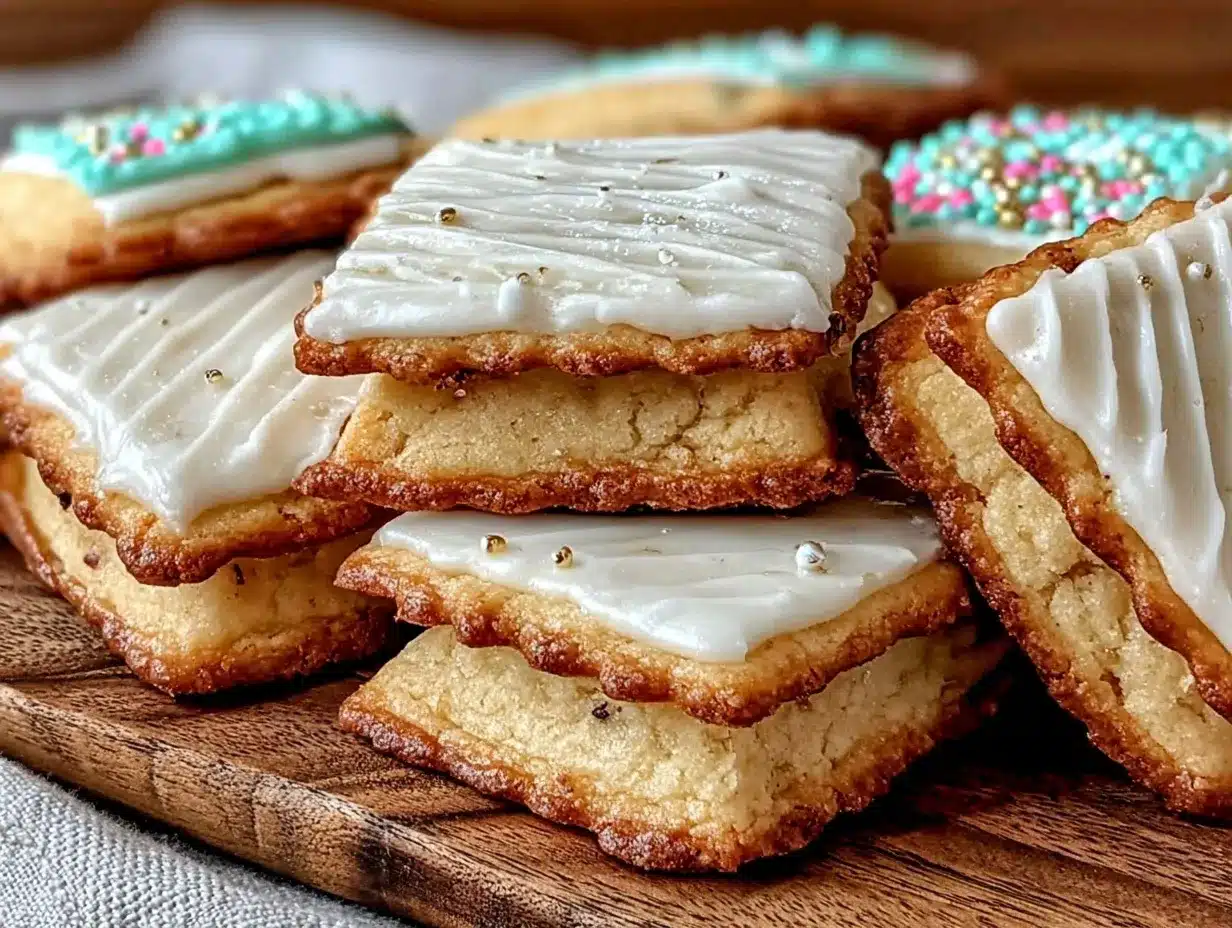
These perfect diploma-shaped sugar cookies with elegant royal icing have become my go-to for celebrating milestones with a little homemade charm. They’re approachable enough for everyday bakers, yet polished enough to impress guests and loved ones. I love how the crisp edges and smooth icing create a small but meaningful edible keepsake for any graduation or special event.
Give this recipe a try, and don’t be afraid to customize the colors or flavors to suit your celebration style. Baking these cookies has become one of my favorite ways to mark achievements — a sweet reminder that sometimes the simplest things make the biggest memories.
I’d love to hear how your diploma cookies turn out, so please share your decorating ideas or questions in the comments below. Let’s keep making celebrations tastier, one cookie at a time!
FAQs
How do I prevent my sugar cookies from spreading too much?
Make sure your dough is well chilled before rolling and cutting. Also, avoid adding too much flour when rolling out. Baking at the right temperature (350°F/175°C) and using parchment paper or silicone mats helps keep shape.
Can I use regular egg whites instead of meringue powder for royal icing?
You can, but meringue powder is more convenient and safer since it’s pasteurized. If using fresh egg whites, make sure they’re very fresh and beat them properly to avoid food safety concerns.
How thick should I roll the cookie dough?
About ¼ inch (6mm) thickness works best—thin enough to bake evenly but thick enough to hold the diploma shape and handle icing without breaking.
Can I make these cookies ahead of time?
Absolutely! You can bake the cookies up to a week ahead and store airtight at room temperature. Royal icing decorated cookies are best eaten within a few days but can also be frozen carefully.
What’s the best way to fix cracked royal icing?
Cracking usually means the icing was too thick or dried too quickly. Adding a bit more water to thin the icing and icing on slightly damp cookies can help. Also, avoid direct sunlight or heat while drying.
Pin This Recipe!
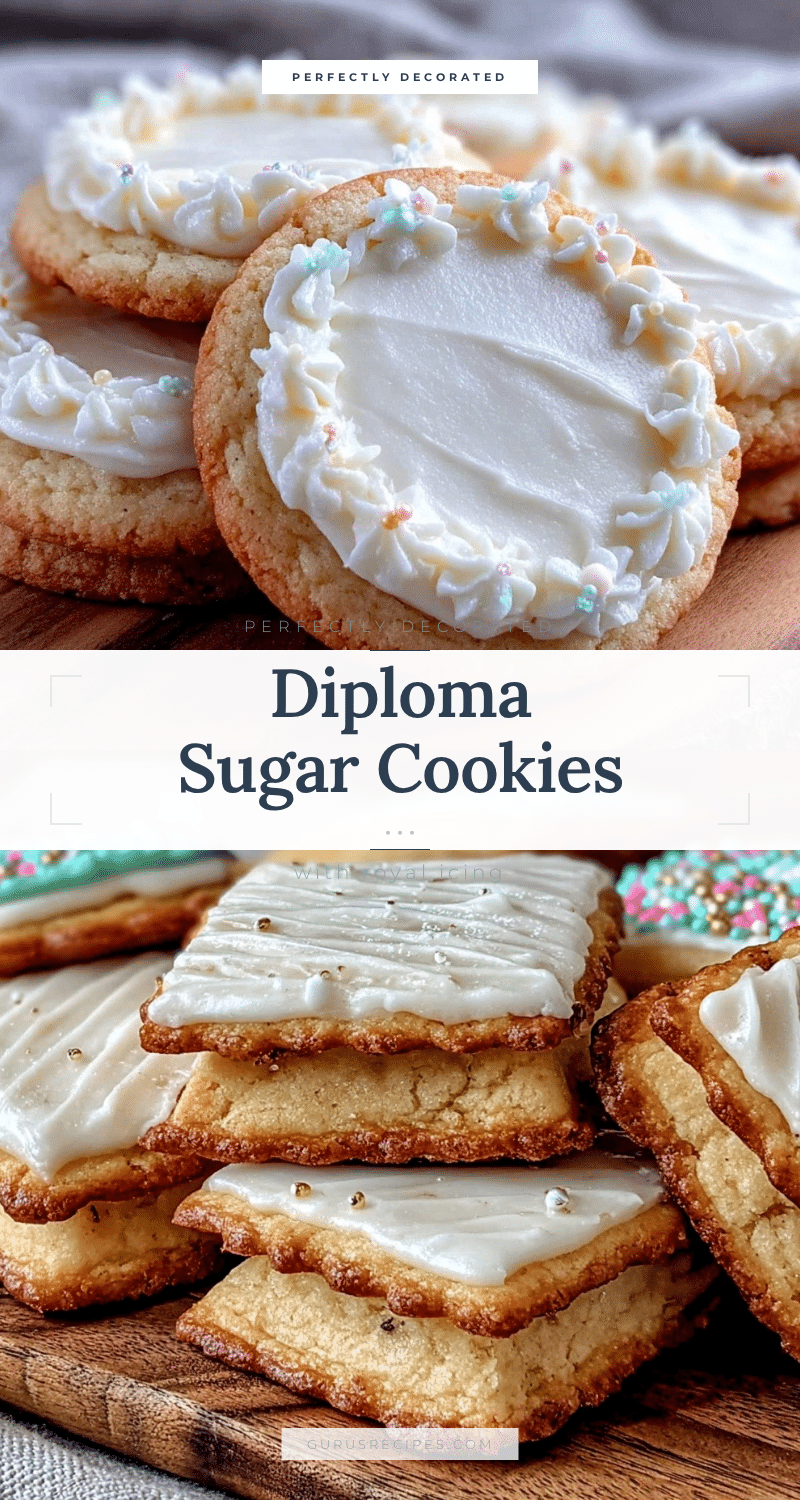

Perfect Diploma-Shaped Sugar Cookies Recipe Easy Elegant Royal Icing Tutorial
These diploma-shaped sugar cookies paired with elegant royal icing are perfect for graduation celebrations, offering a tender crumb and smooth, glossy decoration that’s approachable and fun to make.
- Total Time: 1 hour 45 minutes to 2 hours (including chilling and drying time)
- Yield: 24 cookies 1x
Ingredients
- 2 ¾ cups (345g) all-purpose flour
- 1 teaspoon baking powder
- ½ teaspoon salt
- 1 cup (227g) unsalted butter, softened
- 1 ½ cups (300g) granulated sugar
- 1 large egg, room temperature
- 1 teaspoon pure vanilla extract
- 2 tablespoons whole milk
- 4 cups (480g) powdered sugar, sifted
- 3 tablespoons meringue powder
- 6 tablespoons warm water
- 1 teaspoon light corn syrup
- Food coloring gels (optional)
- 1 teaspoon vanilla or almond extract (optional)
Instructions
- Mix Dry Ingredients (5 minutes): In a medium bowl, whisk together flour, baking powder, and salt. Set aside.
- Cream Butter and Sugar (7 minutes): Using a mixer, beat softened butter with sugar on medium-high speed until light and fluffy, about 3-4 minutes.
- Add Egg and Vanilla (2 minutes): Beat in egg and vanilla until fully combined and smooth.
- Incorporate Dry Ingredients and Milk (3-4 minutes): Gradually add flour mixture in batches, alternating with milk. Mix on low speed just until dough forms; do not overmix.
- Chill the Dough (at least 1 hour): Wrap dough in plastic wrap and refrigerate.
- Roll and Cut (15 minutes): Roll dough on a floured surface to ¼ inch thickness. Cut with diploma-shaped cookie cutter and transfer to parchment-lined baking sheets.
- Bake (10-12 minutes): Bake at 350°F (175°C) until edges start to turn golden. Watch closely to avoid overbaking.
- Cool Completely (30 minutes): Transfer cookies to wire racks to cool fully before icing.
- Prepare Royal Icing (10 minutes): Mix powdered sugar, meringue powder, and warm water. Add corn syrup and vanilla extract if using. Beat until glossy peaks form. Adjust consistency as needed.
- Decorate (variable): Divide icing for coloring. Use piping bags with small round tips to outline and flood cookies. Let each layer dry 15-20 minutes before adding details.
- Dry and Store: Let decorated cookies dry at room temperature for 4-6 hours or overnight. Store in airtight container with parchment paper layers.
Notes
Chill dough at least 1 hour for best shape retention. Use softened but not melting butter. Roll dough evenly to ¼ inch thickness. For royal icing, adjust consistency for outlining and flooding. Let cookies cool completely before icing to prevent melting. Store decorated cookies in airtight container layered with parchment paper. Freeze undecorated cookies up to 3 months; decorated cookies freeze best if flash-frozen first.
- Prep Time: 20 minutes
- Cook Time: 10-12 minutes
- Category: Dessert
- Cuisine: American
Nutrition
- Serving Size: 1 cookie
- Calories: 140
- Sugar: 12
- Fat: 7
- Saturated Fat: 4
- Carbohydrates: 19
- Protein: 1
Keywords: sugar cookies, diploma-shaped cookies, royal icing, graduation cookies, easy sugar cookies, elegant cookies, celebration treats


