
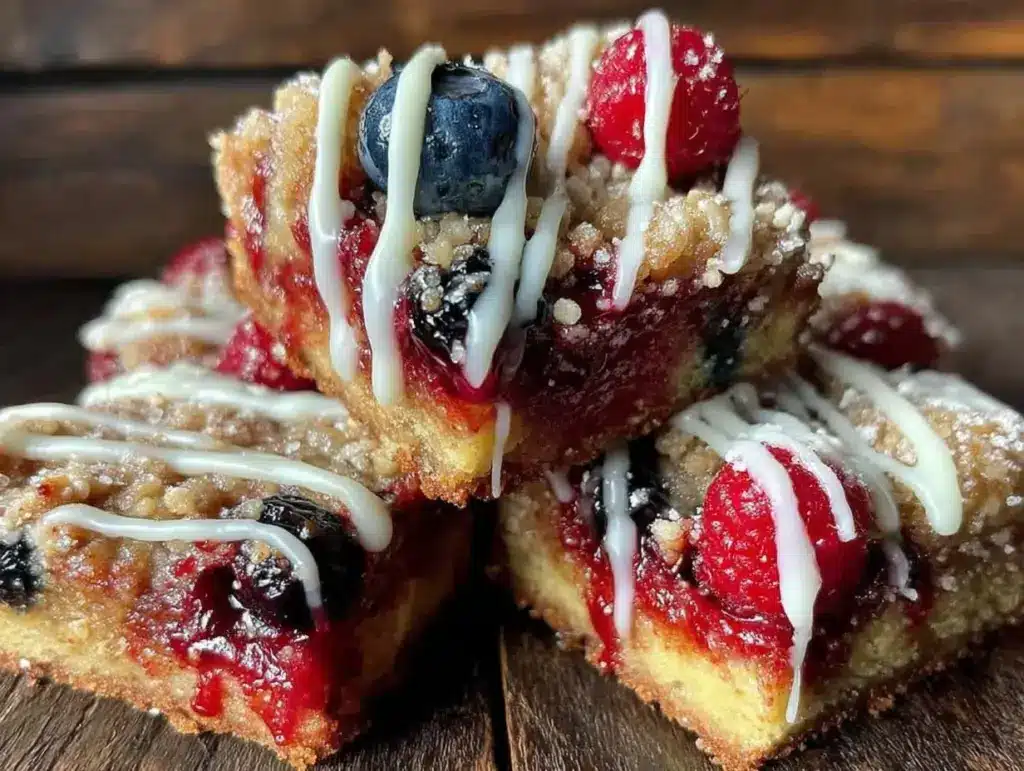
“You have to try these bars,” my friend texted me one rainy afternoon, “they’re seriously something else.” I was skeptical—red velvet and berries aren’t a combo that usually sings for me. But curiosity got the best of me, and I found myself pulling out the ingredients to make these Delicious Red Velvet Berry Crumble Bars with Cream Cheese Drizzle that very evening. Honestly, it was one of those unexpected wins in the kitchen where a recipe that started as a “why not?” turned into a staple. There’s something about the way the tender red velvet base meets the juicy burst of berries and that creamy, tangy drizzle that just feels like a cozy hug after a long day.
The first time I made this, I remember the smell filling the kitchen—the sweet vanilla notes of the batter mingling with the sharp berry aroma—and how it reminded me of those perfect, flaky fruit bars but with an extra touch of indulgence. After sharing a few with neighbors, the requests for the recipe started rolling in, which is rare because I’m pretty picky about what I share. This recipe stuck with me because it’s not just dessert; it’s that feel-good treat you can whip up without fuss but still impress anyone who tries it.
As I write this, I’m thinking about how it pairs beautifully with an iced coffee or even a dollop of whipped cream on the side. If you’ve been looking for a dessert that’s sweet, tart, and creamy all in one, with a texture that’s both crumbly and smooth, this is the one you want to keep close. And hey, if you’re fond of berry desserts, you might also enjoy the fresh twist in this Homemade Fresh Strawberry Galette with Vanilla Glaze that’s equally satisfying but a little lighter on the crumble side.
Why You’ll Love This Recipe
After testing this Delicious Red Velvet Berry Crumble Bars recipe multiple times (yes, more than I’d like to admit), I can say with confidence this dessert hits all the right notes. Here’s why it deserves a spot in your baking rotation:
- Quick & Easy: You can have these bars ready in about 45 minutes, making them perfect for busy weeknights or last-minute dessert emergencies.
- Simple Ingredients: No need for exotic or hard-to-find items. The pantry staples you already have—like flour, butter, cream cheese, and frozen berries—work perfectly here.
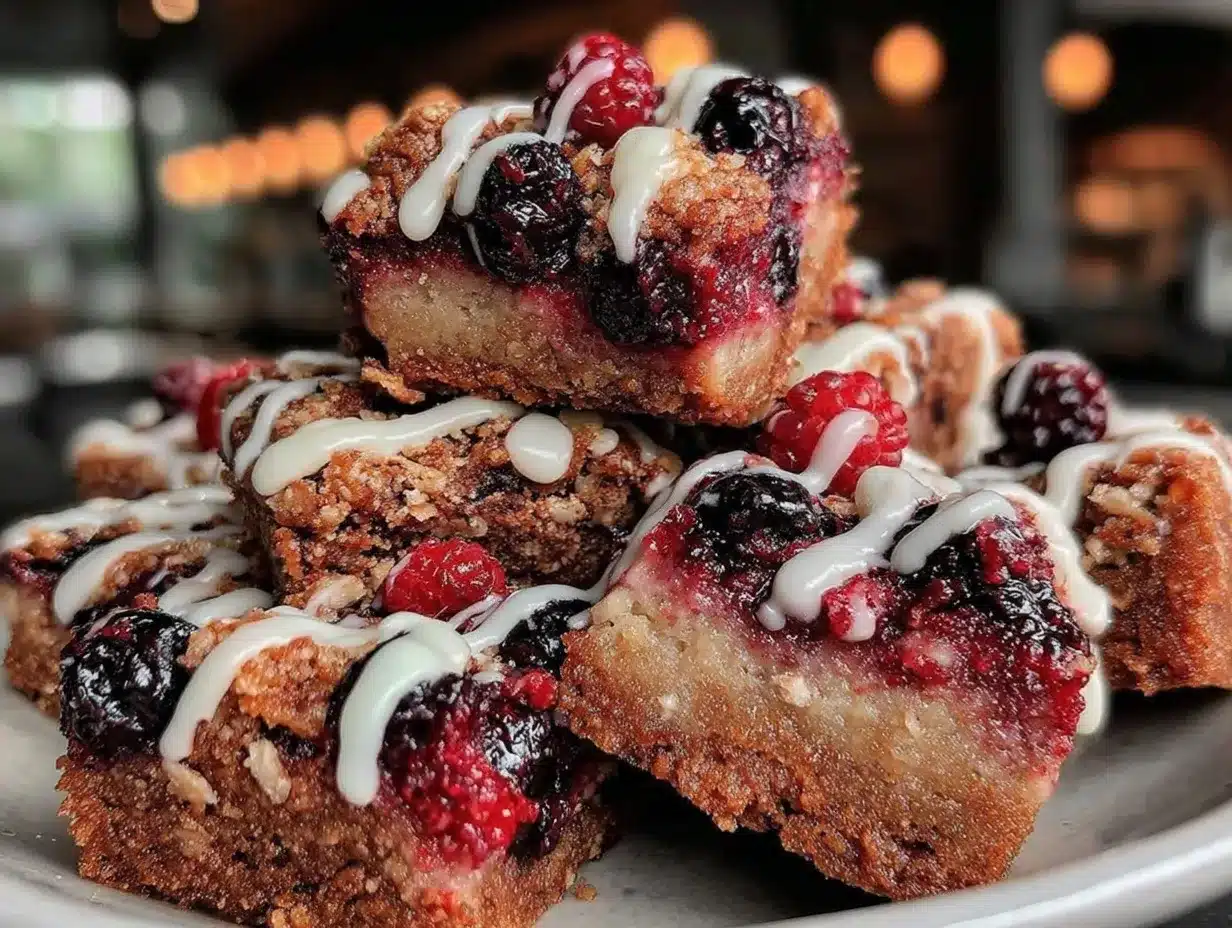
- Perfect for Gatherings: Whether it’s a casual brunch or a holiday potluck, these bars bring a festive vibe without the fuss.
- Crowd-Pleaser: Kids and adults alike keep coming back for more thanks to the balance of sweet, tart, and creamy flavors.
- Unbelievably Delicious: The texture combo is just right—the crumbly base, juicy berry filling, and smooth cream cheese drizzle create layers of flavor that feel indulgent but never heavy.
What really sets this recipe apart is the cream cheese drizzle that adds a tangy richness, balancing the sweetness of the red velvet and berries. Plus, the crumble topping isn’t just a sprinkle—it’s buttery, slightly crisp, and packed with a little cinnamon warmth that makes every bite feel special. This isn’t your average berry bar; it’s a dessert that makes you pause, smile, and maybe even close your eyes for a moment after the first bite. If you want something equally rich but with a cool twist, you might want to try the Creamy No-Churn Strawberry Ice Cream, which pairs wonderfully as a side treat.
What Ingredients You Will Need
This recipe uses simple, wholesome ingredients to give you bold flavor and satisfying texture without any complicated steps. Most are pantry staples, and you can easily swap a few for dietary preferences or what you have on hand.
- For the Red Velvet Base:
- All-purpose flour, 1 ½ cups (180 g)
- Unsweetened cocoa powder, 2 tablespoons (use Dutch-processed for deeper flavor)
- Baking powder, 1 teaspoon
- Salt, ¼ teaspoon
- Granulated sugar, ¾ cup (150 g)
- Unsalted butter, ½ cup (113 g), softened (I like using Land O Lakes for consistent texture)
- Large egg, room temperature
- Buttermilk, ½ cup (120 ml) (or milk with 1 tablespoon vinegar if you’re out)
- Red food coloring, 1 tablespoon (gel works best to avoid extra liquid)
- Vanilla extract, 1 teaspoon
- For the Berry Filling:
- Mixed berries (fresh or frozen), 2 cups (about 280 g) (I usually use frozen mixed berries to save time)
- Granulated sugar, ¼ cup (50 g)
- Cornstarch, 1 tablespoon (helps thicken the juices)
- Fresh lemon juice, 1 tablespoon
- For the Crumble Topping:
- All-purpose flour, ¾ cup (90 g)
- Brown sugar, ½ cup (100 g), packed
- Unsalted butter, ⅓ cup (75 g), cold and cubed
- Ground cinnamon, ½ teaspoon (adds cozy warmth)
- Pinch of salt
- For the Cream Cheese Drizzle:
- Cream cheese, 4 oz (115 g), softened
- Powdered sugar, ¾ cup (90 g)
- Milk or cream, 1–2 tablespoons (to thin the drizzle)
- Vanilla extract, ½ teaspoon
If you want to make these bars gluten-free, swapping the all-purpose flour with a 1:1 gluten-free baking flour blend works well, though texture varies slightly. For a dairy-free twist, try coconut oil instead of butter and a plant-based cream cheese for the drizzle. When I’m short on fresh berries, frozen works just as well and even adds a bit more juice to the filling, which makes the bars extra moist.
Equipment Needed
- 9×9-inch (23×23 cm) square baking pan – I recommend lining it with parchment paper for easy removal and cleaner edges.
- Mixing bowls – one large for the batter, one medium for the crumble, and one small for the cream cheese drizzle.
- Electric mixer or sturdy whisk – makes the batter smooth and the cream cheese drizzle silky.
- Measuring cups and spoons – precise measurements are key for balanced texture.
- Spatula – for folding ingredients and spreading layers evenly.
- Cooling rack – essential if you want to avoid soggy bars.
I usually use a silicone spatula because it’s flexible and easy to scrape every last bit of batter. If you don’t have an electric mixer, no worries—a strong whisk and some elbow grease will get you there, though it takes a bit more time. For budget-friendly options, a glass baking dish works fine but keep an eye on baking time as heat retention varies.
Preparation Method
- Preheat the oven to 350°F (175°C). Grease your 9×9-inch pan or line with parchment paper, leaving some overhang for easy bar removal.
- Make the Red Velvet Base: In a medium bowl, whisk together the flour, cocoa powder, baking powder, and salt. In a separate large bowl, beat the softened butter and granulated sugar until creamy and light (about 2-3 minutes). Add the egg and vanilla extract, mixing well. Then alternate adding the dry ingredients and buttermilk, beginning and ending with the dry mixture. Stir in the red food coloring until evenly distributed. The batter should be smooth and vibrant red.
- Press half the red velvet batter into the prepared pan. Use your fingers or a spatula to create an even layer. This forms the sturdy base for your bars. Don’t worry if it’s a bit sticky—just keep it even.
- Prepare the Berry Filling: In a bowl, toss the berries with sugar, cornstarch, and lemon juice. Make sure all berries are coated well. Spread this mixture evenly over the red velvet layer. The cornstarch will thicken the juices as it bakes, so don’t skip this step or the filling will be too runny.
- Top with the remaining red velvet batter. Gently drop spoonfuls over the berry layer, then spread carefully to cover. It won’t be perfectly smooth, and that’s okay—the uneven texture adds to the crumble effect.
- Make the Crumble Topping: In a bowl, combine the flour, brown sugar, cinnamon, and salt. Cut in the cold cubed butter with a pastry cutter or your fingers until the mixture resembles coarse crumbs. Sprinkle this crumble generously over the top of the bars.
- Bake for 35-40 minutes. The bars are done when the crumble topping is golden brown and the berry filling is bubbling around the edges. A toothpick inserted in the red velvet layer should come out with a few moist crumbs but not wet batter.
- While the bars cool, prepare the cream cheese drizzle. Beat the softened cream cheese until smooth. Gradually add powdered sugar and vanilla, then thin with milk or cream until it reaches a drizzle consistency.
- Once the bars are completely cool, drizzle the cream cheese over the top. Use a spoon or piping bag for pretty, thin lines. Let the drizzle set for a few minutes before slicing into squares.
Pro tip: Let the bars cool fully before slicing so they hold together better. If you slice too soon, they might crumble more than you want. Also, if your crumble topping starts to brown too fast, tent the pan with foil halfway through baking.
Cooking Tips & Techniques
Getting the perfect balance between tender red velvet and crunchy crumble can be a little tricky, but a few tricks I’ve learned help every batch turn out great. First, always use room temperature eggs and butter for the batter; this helps everything blend smoothly. When mixing the batter, don’t overwork it—just combine until the flour disappears to keep the texture light.
For the berry filling, tossing the berries with cornstarch is essential. I made the mistake once of skipping it, and the filling was too runny—it just sank into the red velvet base and made a soggy mess. Also, frozen berries add juiciness, but thaw and drain any excess liquid if you want a firmer bar.
When making the crumble topping, keep the butter cold. Use your fingertips or a pastry cutter to get that perfect coarse texture. If the butter melts too much, the topping won’t crisp properly.
Timing-wise, multitasking helps—start the cream cheese drizzle while the bars bake or cool. It saves time and means you’re ready to finish as soon as the bars come out. Lastly, don’t be afraid to line your pan with parchment paper; it makes cleanup a breeze and keeps the bars intact when slicing.
Variations & Adaptations
This recipe is pretty flexible, so you can make it your own depending on the season, dietary needs, or just what flavors you’re craving. Here are a few ideas I’ve tried and loved:
- Seasonal Berry Swap: Use fresh strawberries and blueberries in summer, or frozen mixed berries in winter. The fresh berries give a brighter, juicier flavor, while frozen add richness and moisture.
- Chocolate Lovers’ Twist: Add mini chocolate chips to the berry filling for an extra chocolate hit, or swirl melted chocolate into the cream cheese drizzle for a marbled effect.
- Gluten-Free Version: Use a gluten-free flour blend in place of all-purpose flour. I’ve had success with Bob’s Red Mill 1-to-1 gluten-free baking flour, though the texture is a bit denser.
- Dairy-Free Adaptation: Swap butter for coconut oil and use a dairy-free cream cheese alternative. The bars still taste rich, though the crumble topping is a touch softer.
- Nutty Crunch: Add chopped toasted pecans or walnuts to the crumble topping for extra texture and flavor. This adds a lovely nuttiness that pairs nicely with the berries.
One personal favorite is swapping out the berry mix for tart cherries and adding a pinch of almond extract to the batter—makes it feel like a fancy bakery treat. If you like experimenting, you might enjoy trying the Balsamic Roasted Strawberry Shortcake, which also plays with berries and cream cheese in a whole different way.
Serving & Storage Suggestions
These bars are best served at room temperature or slightly chilled, which brings out the cream cheese drizzle’s tang beautifully. If you want to get fancy, a scoop of vanilla ice cream or a dollop of whipped cream pairs wonderfully (and yes, the Creamy No-Churn Strawberry Ice Cream is a perfect match!).
For storage, keep the bars in an airtight container in the refrigerator for up to 4 days. They actually taste better after a day or two as the flavors meld and the crumble topping softens just enough without losing its charm. You can freeze them for up to 3 months—wrap individual bars in plastic wrap and place in a freezer bag. Thaw overnight in the fridge and add a quick reheat in the microwave or oven to refresh the texture.
Reheating in a 325°F (160°C) oven for about 8-10 minutes works best to bring back the crispness without drying the bars out. Just be sure to avoid reheating the cream cheese drizzle directly—it can melt and lose its pretty finish. Instead, add a fresh drizzle if you like before serving.
Nutritional Information & Benefits
Each Delicious Red Velvet Berry Crumble Bar (assuming 12 bars per pan) roughly contains:
| Calories | 250 kcal |
|---|---|
| Fat | 12 g |
| Carbohydrates | 33 g |
| Protein | 3 g |
| Fiber | 2 g |
The berries provide antioxidants and vitamin C, while the cream cheese adds a bit of calcium and protein. Using buttermilk in the batter adds a subtle tang and tender crumb with some probiotics if you go for cultured buttermilk. This dessert is naturally gluten-containing unless you swap flours. It is not nut-free if you add nuts to the crumble, so keep that in mind.
From a wellness perspective, I like that this recipe balances indulgence with real fruit and doesn’t rely on artificial ingredients. It’s a treat that feels homemade and thoughtful rather than overly processed.
Conclusion
These Delicious Red Velvet Berry Crumble Bars with Cream Cheese Drizzle have quickly become one of my go-to desserts when I want something that’s a little special but still straightforward. The mix of textures and flavors keeps every bite interesting, and the recipe is forgiving enough for both beginner and seasoned bakers. Don’t hesitate to make it your own with the variations or pair it with your favorite morning coffee or after-dinner tea.
I love sharing this recipe because it brings that “wow” factor without complicated steps or ingredients. If you give it a try, I’d love to hear how you made it yours—drop a comment below or share your tweaks! Baking, after all, is about enjoying the process and the sweet rewards.
Wishing you many cozy moments with these bars!
FAQs
- Can I use fresh berries instead of frozen? Absolutely! Fresh berries work great, especially in season. Just reduce the sugar slightly if the berries are very ripe and juicy.
- How do I prevent the crumble topping from burning? If you notice the topping browning too quickly, loosely tent the baking pan with foil halfway through baking to protect it.
- Can I make these bars ahead of time? Yes, these bars keep well refrigerated for up to 4 days and taste great slightly chilled or at room temperature.
- Is there a vegan version of this recipe? You can try substituting vegan butter and dairy-free cream cheese, as well as a flax egg in place of the egg. The texture will be a bit different but still delicious.
- What’s the best way to slice these bars cleanly? Use a sharp knife and slice when the bars are fully cooled. Wiping the knife with a warm, damp cloth between cuts helps to keep slices neat.
Pin This Recipe!
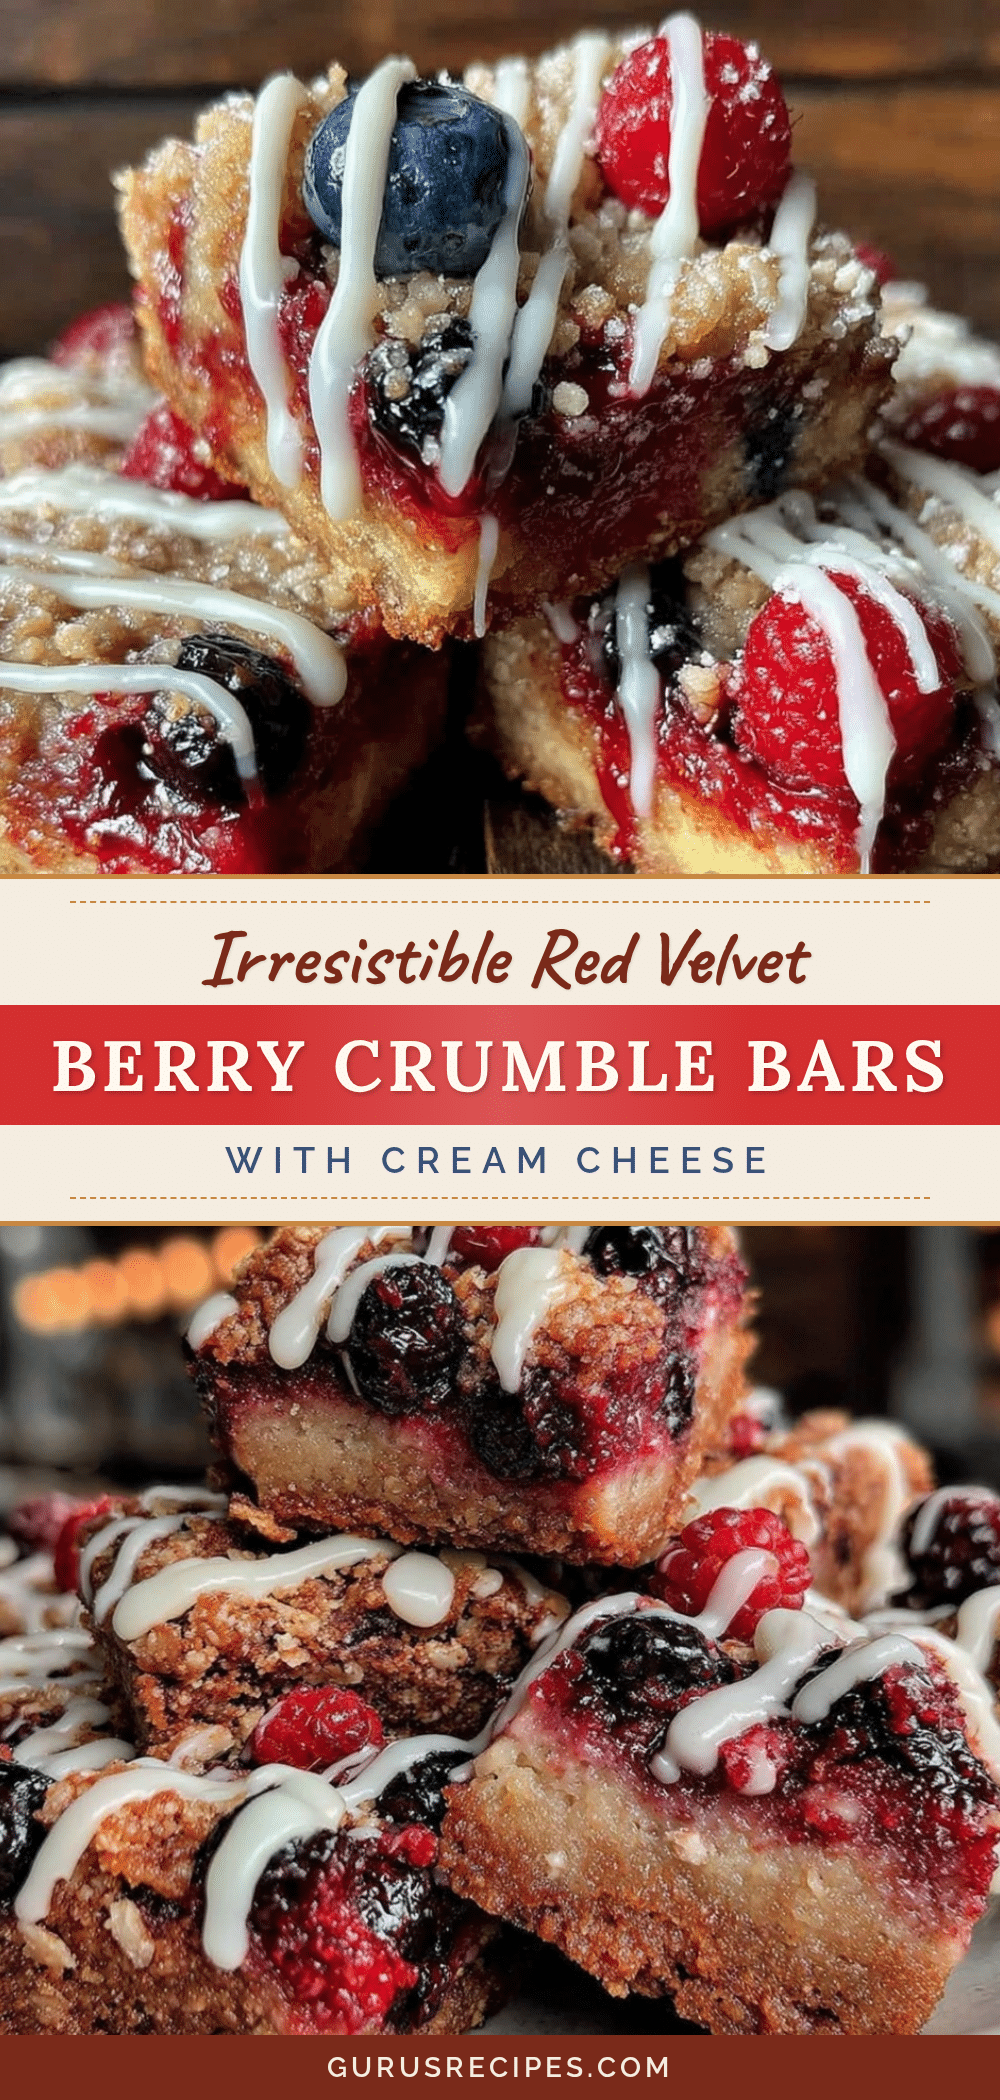

Delicious Red Velvet Berry Crumble Bars
These bars combine a tender red velvet base with juicy berries and a creamy, tangy cream cheese drizzle, creating a cozy and indulgent dessert perfect for any occasion.
- Total Time: 55 minutes
- Yield: 12 bars 1x
Ingredients
- 1 ½ cups all-purpose flour (180 g)
- 2 tablespoons unsweetened cocoa powder (Dutch-processed recommended)
- 1 teaspoon baking powder
- ¼ teaspoon salt
- ¾ cup granulated sugar (150 g)
- ½ cup unsalted butter (113 g), softened
- 1 large egg, room temperature
- ½ cup buttermilk (120 ml) or milk with 1 tablespoon vinegar
- 1 tablespoon red food coloring (gel preferred)
- 1 teaspoon vanilla extract
- 2 cups mixed berries (fresh or frozen, about 280 g)
- ¼ cup granulated sugar (50 g)
- 1 tablespoon cornstarch
- 1 tablespoon fresh lemon juice
- ¾ cup all-purpose flour (90 g) for crumble topping
- ½ cup brown sugar (100 g), packed
- ⅓ cup unsalted butter (75 g), cold and cubed
- ½ teaspoon ground cinnamon
- Pinch of salt
- 4 oz cream cheese (115 g), softened
- ¾ cup powdered sugar (90 g)
- 1–2 tablespoons milk or cream
- ½ teaspoon vanilla extract
Instructions
- Preheat the oven to 350°F (175°C). Grease a 9×9-inch pan or line with parchment paper, leaving overhang for easy removal.
- Make the Red Velvet Base: In a medium bowl, whisk together flour, cocoa powder, baking powder, and salt. In a large bowl, beat softened butter and granulated sugar until creamy and light (2-3 minutes). Add egg and vanilla extract, mixing well. Alternate adding dry ingredients and buttermilk, starting and ending with dry ingredients. Stir in red food coloring until evenly distributed.
- Press half the red velvet batter into the prepared pan evenly.
- Prepare the Berry Filling: Toss berries with sugar, cornstarch, and lemon juice until well coated. Spread evenly over the red velvet base.
- Top with remaining red velvet batter by dropping spoonfuls over the berry layer and spreading gently to cover.
- Make the Crumble Topping: Combine flour, brown sugar, cinnamon, and salt. Cut in cold cubed butter with a pastry cutter or fingers until mixture resembles coarse crumbs. Sprinkle crumble generously over the bars.
- Bake for 35-40 minutes until crumble topping is golden and berry filling bubbles. A toothpick inserted in the red velvet layer should come out with moist crumbs but no wet batter.
- While bars cool, prepare the cream cheese drizzle by beating cream cheese until smooth. Gradually add powdered sugar and vanilla, then thin with milk or cream to drizzle consistency.
- Once bars are completely cool, drizzle cream cheese over the top using a spoon or piping bag. Let set before slicing into squares.
Notes
Let bars cool fully before slicing to prevent crumbling. Tent with foil if crumble topping browns too quickly. Use frozen berries for juicier filling; thaw and drain excess liquid for firmer bars. For gluten-free, substitute all-purpose flour with 1:1 gluten-free baking flour. For dairy-free, use coconut oil instead of butter and plant-based cream cheese. Add nuts to crumble for extra texture.
- Prep Time: 15 minutes
- Cook Time: 40 minutes
- Category: Dessert
- Cuisine: American
Nutrition
- Serving Size: 1 bar (1/12 of recip
- Calories: 250
- Fat: 12
- Carbohydrates: 33
- Fiber: 2
- Protein: 3
Keywords: red velvet bars, berry crumble bars, cream cheese drizzle, easy dessert, homemade dessert, berry dessert, crumble topping


