
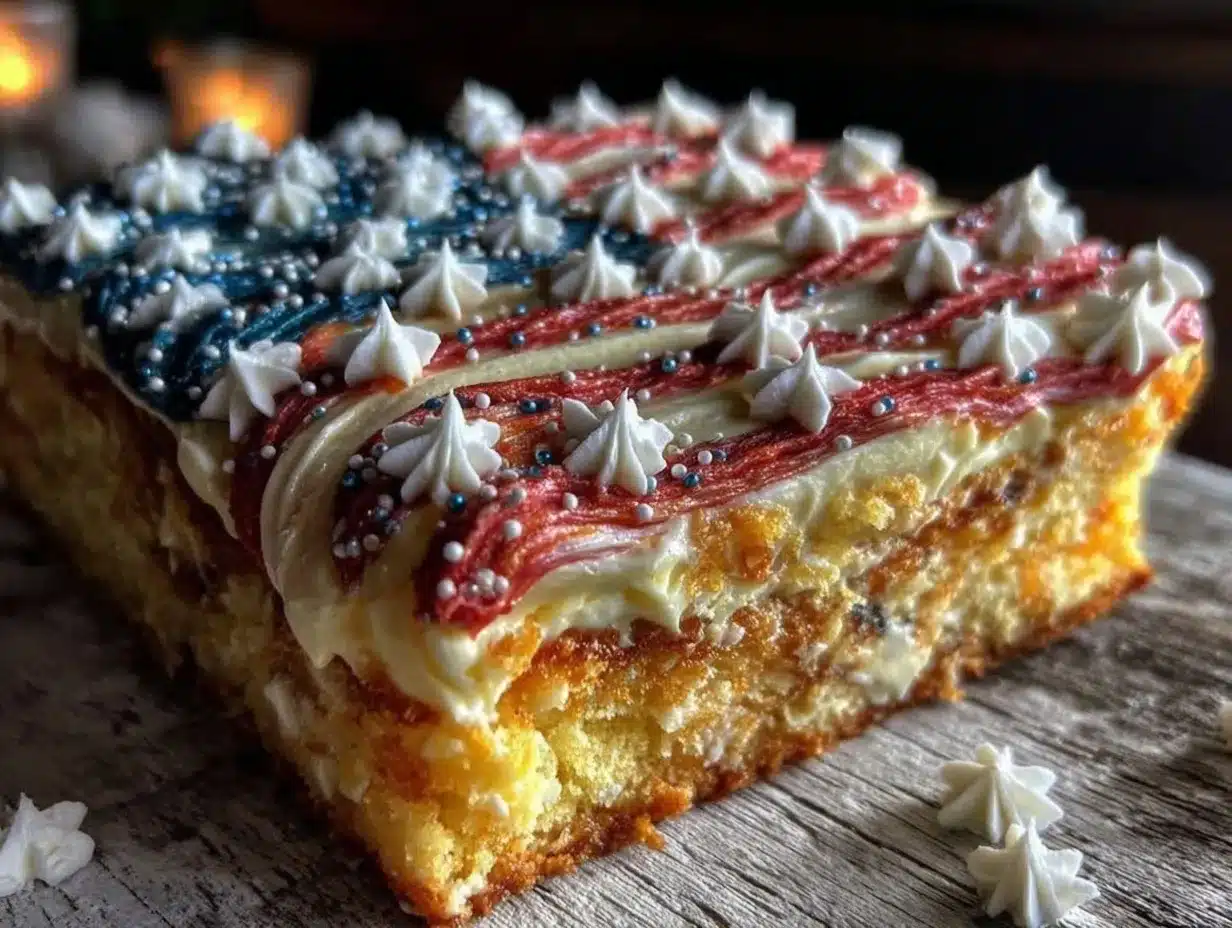
“You’ve got to see this,” my neighbor texted me one bright July morning, sending a snapshot of a cake that looked like the American flag itself had been carefully crafted in buttercream stars and stripes. I’d been juggling a hectic week, and honestly, the idea of decorating anything that intricate felt overwhelming. But that photo stuck with me — something about the vibrant reds, whites, and blues against the soft sheet cake backdrop sparked a quiet curiosity.
I decided to give it a shot that weekend, thinking, “Well, how hard can it be?” The funny thing is, making this Perfect American Flag Sheet Cake with Buttercream Stars turned out to be a little like fireworks in the kitchen—colorful, exciting, and surprisingly straightforward. I found myself tweaking the buttercream stars and layering the stripes with a kind of focused joy I didn’t expect.
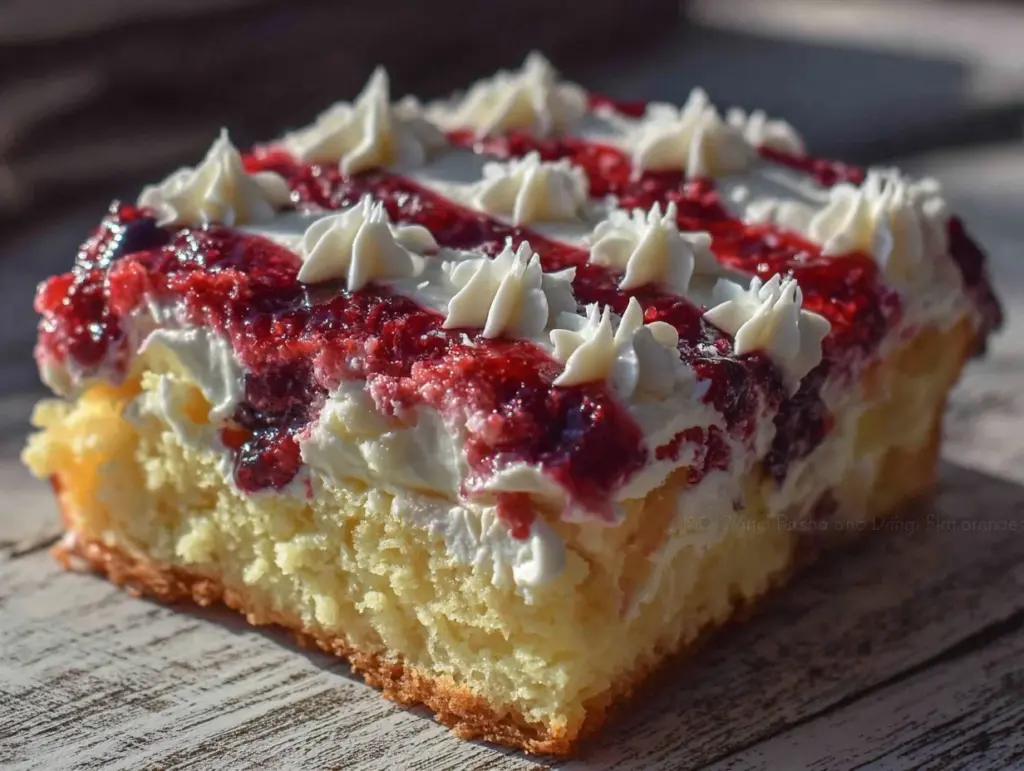
What really surprised me was how quickly this festive dessert became the talk of my small backyard barbecue. Kids and adults alike kept coming back for seconds (and thirds). It wasn’t just the look — the cake was moist, the buttercream just sweet enough, and those little stars? They brought a fun, playful texture that made the whole thing feel special without being fussy.
So here I am, sharing the recipe for this Perfect American Flag Sheet Cake with Buttercream Stars, not because it’s complicated or fancy, but because it’s a little reminder that celebration can be simple, joyful, and totally worth the effort. You know, sometimes the best recipes come when you just let yourself experiment a bit, star by star.
Why You’ll Love This Recipe
- Quick & Easy: This recipe comes together in just under 90 minutes, making it a great choice for last-minute holiday plans or spontaneous celebrations.
- Simple Ingredients: No need for specialty stores—most of these pantry staples are things you probably already have on hand.
- Perfect for Patriotic Occasions: Whether it’s the Fourth of July, Memorial Day, or just a summer picnic, this cake fits the bill with style and flavor.
- Crowd-Pleaser: The combination of classic yellow cake and creamy buttercream frosting is a hit with all ages, from picky eaters to dessert lovers.
- Unbelievably Delicious: The moist, tender crumb paired with smooth, buttery frosting creates a comforting texture and flavor that invites you back for more.
This isn’t just any flag cake. The buttercream stars are piped with a simple yet effective technique that gives them dimension and charm without requiring hours of decorating expertise. Plus, the stripes are perfectly balanced—not too sweet, not too dense—making it feel approachable for even casual bakers.
Honestly, this recipe became my go-to whenever I needed a festive dessert that looked impressive but didn’t demand perfection. It’s the kind of cake you make when you want to impress friends without stress, and it never fails to bring smiles. If you’ve ever enjoyed homemade strawberry ice cream on a hot day, you’ll find this cake pairs beautifully with fruity, creamy treats for a full summer spread.
What Ingredients You Will Need
This Perfect American Flag Sheet Cake uses simple, wholesome ingredients that come together to create a moist cake and a smooth, spreadable buttercream. Most of these are pantry staples or easy to find, making it super convenient.
- For the Cake:
- 2 ½ cups (312g) all-purpose flour, sifted
- 2 ½ tsp baking powder
- ½ tsp salt
- 1 cup (226g) unsalted butter, softened (I prefer Kerrygold for richness)
- 1 ¾ cups (350g) granulated sugar
- 4 large eggs, room temperature
- 1 tbsp pure vanilla extract
- 1 cup (240ml) whole milk, room temperature
- For the Buttercream Frosting:
- 1 cup (226g) unsalted butter, softened
- 4 cups (480g) powdered sugar, sifted
- 2-3 tbsp heavy cream or whole milk
- 1 tsp vanilla extract
- Red and blue gel food coloring (choose trusted brands like AmeriColor for vibrant hues)
- Optional: a pinch of salt to balance sweetness
Feel free to swap whole milk for almond or oat milk if you prefer a dairy-free option, but expect slight differences in texture. For the stars, the gel colors make it easier to get deep, vivid colors without watering down the frosting.
For a seasonal twist, pair this cake with fresh berries or even a drizzle of strawberry glaze, similar to the one in the fresh strawberry galette recipe I love—adds a fresh pop of flavor alongside the buttery sweetness.
Equipment Needed
- 9×13-inch sheet cake pan (non-stick preferred for easy release)
- Electric mixer (stand or handheld) for creaming butter and mixing batter
- Mixing bowls (medium and large)
- Measuring cups and spoons (dry and liquid)
- Rubber spatula for scraping bowls
- Offset spatula or butter knife for frosting smoothing
- Piping bags and star piping tips (Wilton 1M or similar) for the buttercream stars
- Cooling rack
If you don’t have a piping bag, a sturdy plastic sandwich bag with a cut corner works surprisingly well for the stars. I’ve used this hack many times when last-minute decorating called for quick solutions. Also, a bench scraper can help smooth the frosting evenly if you want a sleek finish beneath the stars and stripes.
Preparation Method
- Preheat and Prep: Preheat your oven to 350°F (175°C). Grease and flour your 9×13-inch pan or line it with parchment paper for easy removal. This usually takes about 10 minutes including mixing prep.
- Mix Dry Ingredients: In a medium bowl, whisk together 2 ½ cups all-purpose flour, 2 ½ tsp baking powder, and ½ tsp salt. Set aside. This keeps the leavening even throughout the cake.
- Cream Butter and Sugar: Using an electric mixer, beat 1 cup softened unsalted butter and 1 ¾ cups granulated sugar on medium-high speed until light and fluffy, about 3-4 minutes. You’ll notice the mixture lighten in color and texture—this is key for a tender crumb.
- Add Eggs and Vanilla: Beat in 4 large eggs, one at a time, mixing well after each addition. Stir in 1 tbsp vanilla extract. The batter might look a little thick but silky—that’s what you want.
- Alternate Dry and Milk: Reduce mixer speed to low. Add the dry ingredients in three parts, alternating with 1 cup whole milk (starting and ending with dry ingredients). Mix just until combined. Over-mixing can make the cake tough, so stop as soon as no flour streaks remain.
- Pour and Bake: Pour the batter into the prepared pan. Smooth the top gently with a spatula. Bake for 35-40 minutes, or until a toothpick inserted in the center comes out clean. The edges will pull away slightly from the pan when done.
- Cool Completely: Let the cake cool in the pan for 15 minutes, then transfer to a cooling rack to cool fully before frosting. This usually takes about 1 hour total. Frosting a warm cake can melt the buttercream and ruin the design.
- Make Buttercream: Beat 1 cup softened butter on medium speed until creamy (about 2 minutes). Gradually add 4 cups powdered sugar, mixing on low initially to avoid a sugar cloud. Add 2-3 tbsp heavy cream and 1 tsp vanilla extract. Beat on high until fluffy—about 3-4 minutes. Adjust consistency with more cream if needed.
- Divide and Color Frosting: Scoop about one-third of the buttercream into a separate bowl and tint it blue with gel food coloring. Tint another one-third red. Leave the remaining buttercream white. Mix each color thoroughly for even shades.
- Frost and Decorate: Spread the white frosting evenly over the cooled cake. Using a piping bag fitted with a star tip, pipe blue stars in the top-left corner. Then, use the red buttercream to pipe stripes horizontally across the cake, alternating with the white frosting showing through. This step takes patience but the results are worth it.
- Final Touches: Refrigerate the cake for at least 30 minutes to set the frosting before slicing and serving. This keeps the design intact and the buttercream firm.
The whole process feels manageable, especially once you get the rhythm of piping those stars. If you want to practice, pipe some stars on parchment paper first—it helped me gain confidence before tackling the cake itself.
Cooking Tips & Techniques
One trick I learned was to keep the buttercream at the right consistency—not too stiff, not too runny. If it’s too soft, stars lose their shape; too firm, and piping becomes a struggle. Adding cream tablespoon by tablespoon until it feels just right is key.
Don’t rush the cake cooling stage. I once frost a warm cake and it turned into a messy, melting disaster. Waiting patiently is a small step that makes a huge difference.
When piping stars, hold your piping bag perpendicular to the cake surface and apply steady pressure. Release the pressure before lifting the tip to get those classic star points. If you want to see a similar frosting technique in action, the creamy buttercream on the strawberry cheesecake stuffed french toast is a great example of smooth, luscious frosting done right.
Multitasking is your friend here—while the cake bakes, prep your colors and piping bags to save time. I also keep a damp towel nearby to wipe the piping tip if colors start blending unintentionally.
Variations & Adaptations
- Dietary Adjustments: Use almond flour or a gluten-free flour blend to make the cake gluten-free. Swap dairy butter and milk with plant-based alternatives for a vegan-friendly version.
- Flavor Twists: Add a teaspoon of lemon zest to the batter for a fresh citrus note. Alternatively, swirl in a tablespoon of strawberry puree before baking for subtle berry undertones.
- Decoration Alternatives: Instead of piping stars, use small star-shaped sprinkles or edible glitter for a quicker decorating option. You can also create stripes using sliced fresh strawberries and blueberries for a natural look.
- Cooking Method: If you don’t have a sheet pan, use two 8×8-inch pans and layer the cake with frosting in between for a layered flag cake effect.
- Personal Variation: I once added a thin layer of homemade strawberry glaze (similar to the one in the balsamic roasted strawberry shortcake) under the frosting for an extra burst of flavor that surprised my guests in the best way.
Serving & Storage Suggestions
This cake is best served chilled or at room temperature. The buttercream firms up nicely in the fridge, making slices clean and neat. For serving, pair it with fresh berries or a scoop of vanilla ice cream to balance the sweetness.
Store leftovers tightly covered in the refrigerator for up to 4 days. You can freeze slices wrapped individually in plastic wrap and foil for up to 2 months. Thaw in the fridge overnight before serving.
Reheat the cake slices briefly at room temperature to bring back the buttercream’s creamy texture. The flavors actually develop and meld beautifully after a day or two, making it even more delicious if you can wait.
Nutritional Information & Benefits
This Perfect American Flag Sheet Cake is a treat best enjoyed in moderation. Each serving (about 1/12th of the cake) has approximately 350 calories, with 18g fat and 45g carbohydrates.
The cake includes wholesome ingredients like real butter and eggs, providing essential fats and protein. Using whole milk adds calcium and vitamin D. While it’s not a low-calorie dessert, the simple ingredients mean you’re avoiding preservatives and artificial additives often found in store-bought cakes.
If you choose a gluten-free flour blend or dairy-free substitutes, this recipe can accommodate common dietary needs. Just keep in mind that texture and flavor may slightly differ.
Conclusion
This Perfect American Flag Sheet Cake with Buttercream Stars is proof that a festive dessert can be both beautiful and approachable. It’s a recipe that invites you to celebrate without stress and enjoy the process of creating something special with your own hands.
I love how it brings people together—whether you’re sharing it at a family picnic or surprising friends at a barbecue, it’s a sweet reminder that good food is also about good moments.
Try customizing it with your favorite flavors or decorations, and don’t hesitate to make it your own. If you give this recipe a go, I’d love to hear how your stars turned out or any creative twists you tried—drop a comment below!
Here’s to simple celebrations and sweet memories.
FAQs
Can I make this cake ahead of time?
Yes! Bake the cake up to two days before serving. Keep it wrapped tightly and refrigerate once frosted to maintain freshness.
What if I don’t have gel food coloring?
You can use liquid food coloring, but use less to avoid thinning the buttercream. Gel colors give more vibrant hues without affecting texture.
Can I use a different cake flavor?
Absolutely! A chocolate or red velvet base would work nicely, just adjust baking time accordingly.
How do I pipe perfect buttercream stars?
Hold your piping bag straight up, apply steady pressure, then release and lift quickly. Practice on parchment first to get comfortable.
Is this recipe suitable for beginners?
Definitely. The steps are straightforward, and the star piping technique is forgiving with a little practice.
Pin This Recipe!
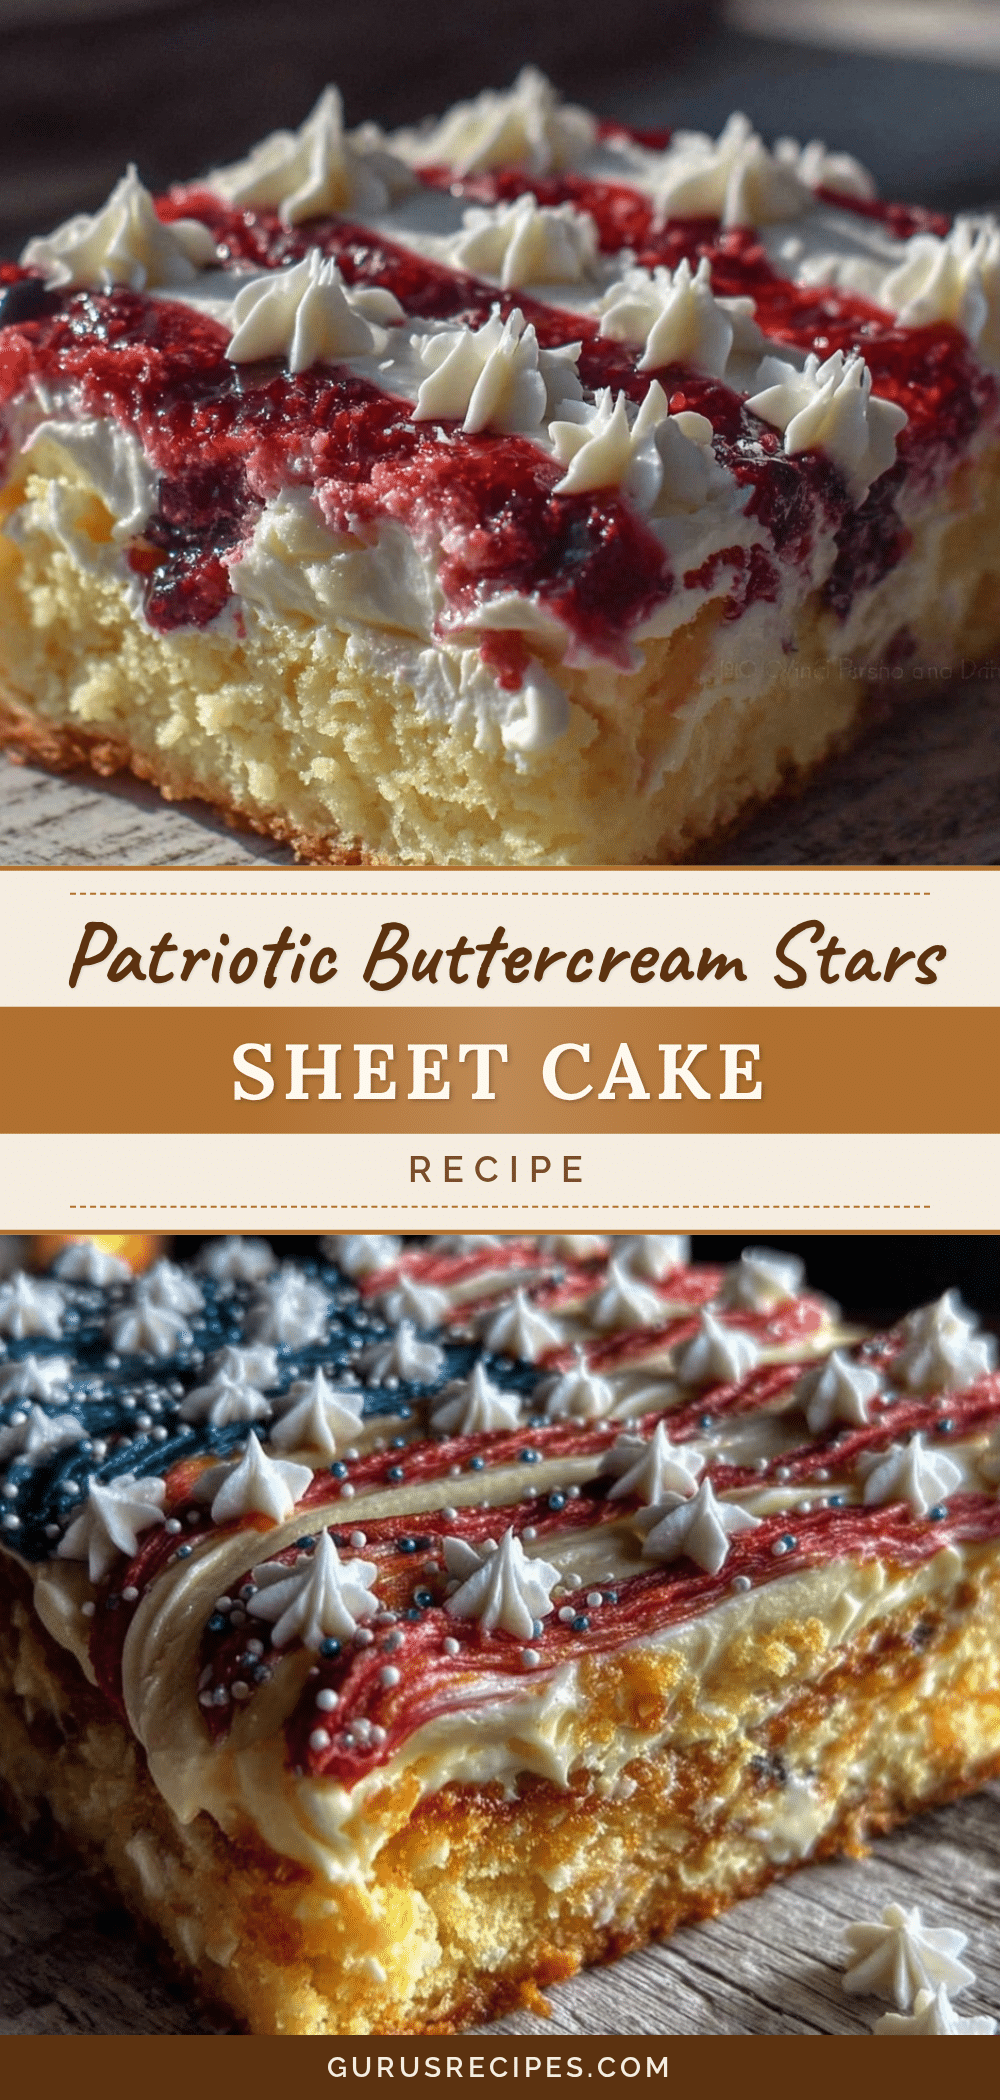

Perfect American Flag Sheet Cake Recipe with Easy Buttercream Stars Tutorial
A festive and moist yellow sheet cake decorated with buttercream stars and stripes, perfect for patriotic occasions like the Fourth of July. This recipe is straightforward, uses simple ingredients, and creates a crowd-pleasing dessert.
- Total Time: 1 hour 30 minutes
- Yield: 12 servings 1x
Ingredients
- 2 ½ cups (312g) all-purpose flour, sifted
- 2 ½ tsp baking powder
- ½ tsp salt
- 1 cup (226g) unsalted butter, softened
- 1 ¾ cups (350g) granulated sugar
- 4 large eggs, room temperature
- 1 tbsp pure vanilla extract
- 1 cup (240ml) whole milk, room temperature
- 1 cup (226g) unsalted butter, softened (for buttercream)
- 4 cups (480g) powdered sugar, sifted
- 2–3 tbsp heavy cream or whole milk
- 1 tsp vanilla extract
- Red and blue gel food coloring
- Optional: a pinch of salt to balance sweetness
Instructions
- Preheat your oven to 350°F (175°C). Grease and flour a 9×13-inch pan or line it with parchment paper.
- In a medium bowl, whisk together 2 ½ cups all-purpose flour, 2 ½ tsp baking powder, and ½ tsp salt. Set aside.
- Using an electric mixer, beat 1 cup softened unsalted butter and 1 ¾ cups granulated sugar on medium-high speed until light and fluffy, about 3-4 minutes.
- Beat in 4 large eggs, one at a time, mixing well after each addition. Stir in 1 tbsp vanilla extract.
- Reduce mixer speed to low. Add the dry ingredients in three parts, alternating with 1 cup whole milk (starting and ending with dry ingredients). Mix just until combined.
- Pour the batter into the prepared pan and smooth the top gently with a spatula.
- Bake for 35-40 minutes, or until a toothpick inserted in the center comes out clean. Let cool in the pan for 15 minutes, then transfer to a cooling rack to cool completely.
- For the buttercream, beat 1 cup softened butter on medium speed until creamy (about 2 minutes). Gradually add 4 cups powdered sugar, mixing on low initially.
- Add 2-3 tbsp heavy cream and 1 tsp vanilla extract. Beat on high until fluffy, about 3-4 minutes. Adjust consistency with more cream if needed.
- Divide the buttercream into three portions. Tint one-third blue, one-third red, and leave one-third white using gel food coloring.
- Spread the white frosting evenly over the cooled cake.
- Pipe blue stars in the top-left corner using a piping bag fitted with a star tip.
- Pipe red stripes horizontally across the cake, alternating with the white frosting showing through.
- Refrigerate the cake for at least 30 minutes to set the frosting before slicing and serving.
Notes
Keep buttercream at the right consistency—not too stiff or runny—for perfect stars. Cool cake completely before frosting to avoid melting. Practice piping stars on parchment paper if needed. Refrigerate cake after decorating to set frosting. Can substitute almond or oat milk for dairy-free option, but texture may vary. Use gel food coloring for vibrant colors without thinning frosting.
- Prep Time: 20 minutes
- Cook Time: 40 minutes
- Category: Dessert
- Cuisine: American
Nutrition
- Serving Size: 1 slice (1/12th of c
- Calories: 350
- Fat: 18
- Carbohydrates: 45
Keywords: American flag cake, sheet cake, buttercream stars, patriotic dessert, Fourth of July cake, easy buttercream, yellow cake, festive cake


