
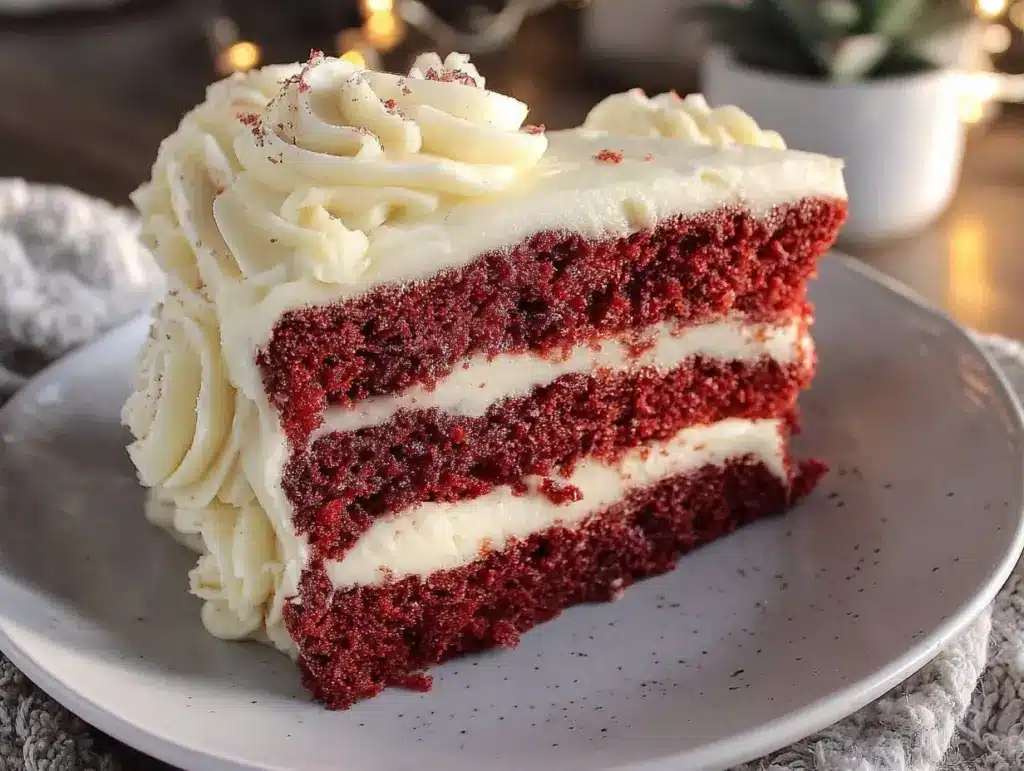
The sharp tang of cream cheese frosting — that cool, luscious bite that clings to your fingertips before the first forkful even reaches your mouth — still pulls me back to a sweltering summer afternoon in my grandmother’s cozy kitchen. She was humming softly, a little flour dusting the air like a gentle snowfall, while the red velvet layers baked in the oven. The vibrant red of the cake, so vivid and almost too perfect, was a striking contrast to the pristine white of the frosting, and together they formed a kind of edible flag that felt both celebratory and deeply comforting. Baking this perfect red velvet flag cake with cream cheese frosting always reminds me of those quiet moments — the soft clinks of mixing bowls, the warmth of the oven’s glow, and the way good food has a way of stitching memories together without fuss or fanfare.
What’s funny is that I never set out to create a “flag cake.” It just happened one summer when I wanted to surprise my family with something a bit festive yet simple. The layers lined up like stripes, the frosting spread like fresh snow. It was such a straightforward recipe, but the effect? Pure magic. It’s not flashy or complicated; it’s a cake that feels like an old friend — rich, tender, and just the right amount of sweet tang from the cream cheese. Baking it by feel, I learned how the batter should shimmer just so, and how the frosting needs that perfect balance to keep it smooth but not too soft.
This recipe stuck with me because it’s honesty on a plate: no gimmicks, just real ingredients and a reliable process. And honestly, it’s the kind of dessert that makes you pause for a moment, savoring the layers and the flavors — like a quiet nod to tradition, but with a homemade twist. It’s that gentle promise of comfort and celebration all baked into one.
Why You’ll Love This Recipe
After testing countless versions of red velvet cakes over the years, this perfect red velvet flag cake with cream cheese frosting stands out because it’s truly dependable for any occasion. I’ve refined every step to balance flavor and texture so well that you’ll find yourself reaching for this recipe time and again.
- Quick & Easy: It comes together in about 45 minutes of active prep and bakes within the hour — perfect for busy days or last-minute celebrations.
- Simple Ingredients: No hard-to-find items here — just staples you likely have on hand like cocoa powder, buttermilk, and cream cheese.
- Perfect for Special Occasions: Whether it’s a birthday, a patriotic holiday, or a cozy family get-together, this cake’s striking red and white layers bring the right kind of festive flair.
- Crowd-Pleaser: Kids and adults alike rave about the moist crumb and the tangy cream cheese frosting — it’s a classic combo that never disappoints.
- Unbelievably Delicious: The velvet texture is tender but holds together beautifully, and the frosting’s subtle sweetness complements the cake without overpowering it.
What makes this recipe different? It’s the subtle technique of layering the batter to create that flag effect without any special molds or tools, paired with a cream cheese frosting that’s whipped just enough to be light but still creamy. Plus, the cocoa powder is carefully measured to give the red velvet that quintessential taste without bitterness. I’ve even swapped the usual buttermilk for a quick homemade version when I was out, and it worked like a charm — that’s how flexible this recipe is.
This cake isn’t just dessert; it’s a quiet moment of joy, the kind that makes you close your eyes after the first bite and know you nailed it. It’s comfort food reimagined with a homemade touch that feels both nostalgic and fresh. Plus, for those who love pairing desserts, you might enjoy the fresh strawberry notes in the fresh strawberry galette with vanilla glaze, which complements this cake beautifully.
What Ingredients You Will Need
This recipe uses simple, wholesome ingredients to deliver bold flavor and that perfect red velvet texture without any fuss. Most of these are pantry staples, and the fresh cream cheese frosting only requires a few additional items. Here’s a breakdown for you:
- For the Cake:
- All-purpose flour (2 ½ cups / 315 grams) — the backbone for structure
- Cocoa powder (2 tablespoons / 15 grams), unsweetened — adds that subtle chocolate note
- Baking soda (1 teaspoon) — helps the cake rise beautifully
- Salt (½ teaspoon) — balances the sweetness
- Granulated sugar (1 ½ cups / 300 grams) — for just the right sweetness
- Vegetable oil (1 cup / 240 ml) — keeps the crumb moist and tender
- Buttermilk (1 cup / 240 ml) — adds tang and richness (I recommend using store-bought or make your own by adding 1 tablespoon vinegar to 1 cup milk)
- Large eggs (2), room temperature — for lift and richness
- Vanilla extract (1 teaspoon) — enhances flavor
- Red food coloring (2 tablespoons) — the signature red (gel or liquid works, but gel gives a deeper color)
- Distilled white vinegar (1 teaspoon) — reacts with baking soda for fluffiness
- For the Cream Cheese Frosting:
- Cream cheese (16 oz / 450 grams), softened — I prefer Philadelphia for smoothness
- Unsalted butter (½ cup / 115 grams), softened — adds richness
- Powdered sugar (4 cups / 480 grams), sifted — for smooth sweetness
- Vanilla extract (1 teaspoon) — for aroma and depth
- Pinch of salt — balances the sweetness
If you want to make this gluten-free, swap the all-purpose flour for a 1:1 gluten-free baking flour blend. For dairy-free frosting, coconut cream whipped with a bit of maple syrup is a tasty alternative, though it won’t have quite the same tang. Also, in the summer, try pairing this cake with a light, fruity dessert like the creamy no-churn strawberry ice cream for a refreshing contrast.
Equipment Needed
To make the perfect red velvet flag cake with cream cheese frosting, you don’t need fancy gadgets — just reliable basics that you can find in most kitchens.
- Two 9-inch (23 cm) round cake pans — essential for those classic red velvet layers. If you don’t have two, bake one layer at a time, but watch the timing closely.
- Electric mixer (stand or hand) — makes whipping the frosting smooth and effortless. You could do it by hand, but it takes a good bit longer and might not get as fluffy.
- Mixing bowls — one for dry ingredients, one for wet, plus a larger one for combining.
- Measuring cups and spoons — precision matters, especially for leavening agents.
- Rubber spatula — for folding ingredients gently and scraping the bowl clean.
- Cooling racks — allowing the cake layers to cool fully keeps the frosting from melting.
I’ve tried this recipe with silicone pans as well, and they work fine, but I find that metal pans give a more even bake for this specific cake. If you have a cake leveler, that helps create even layers, but a serrated knife works just as well after you’ve let the cake cool completely.
Preparation Method
- Preheat and Prep Pans: Heat your oven to 350°F (175°C). Grease and flour two 9-inch cake pans or line them with parchment paper for easy removal. This usually takes about 10 minutes.
- Mix Dry Ingredients: In a medium bowl, sift together 2 ½ cups (315 g) all-purpose flour, 2 tablespoons (15 g) cocoa powder, 1 teaspoon baking soda, and ½ teaspoon salt. Sifting helps avoid lumps and ensures even mixing.
- Combine Wet Ingredients: In a large bowl, whisk together 1 ½ cups (300 g) granulated sugar and 1 cup (240 ml) vegetable oil until smooth. Add 2 large eggs, one at a time, beating well after each addition. Stir in 1 teaspoon vanilla extract and 2 tablespoons red food coloring. This step usually takes about 5 minutes.
- Add Buttermilk and Vinegar: Pour in 1 cup (240 ml) buttermilk and 1 teaspoon distilled white vinegar into the wet mixture. The vinegar reacts with baking soda to create a tender crumb. Mix gently until combined.
- Combine Wet and Dry: Gradually add the dry ingredients to the wet, mixing on low speed just until smooth. Overmixing can make the cake dense, so stop as soon as the batter is uniform. The batter should be thick but pourable, with a vibrant red hue.
- Divide and Bake: Pour the batter evenly into the prepared pans. Smooth the tops with a spatula. Bake for 25–30 minutes, or until a toothpick inserted in the center comes out clean. You’ll notice the cake springs back lightly when touched. Avoid opening the oven too early to prevent sinking.
- Cool Completely: Let the cakes cool in the pans for 10 minutes, then turn out onto cooling racks to cool fully. This step is crucial; frosting warm cakes can lead to melting.
- Make the Cream Cheese Frosting: In a large bowl, beat 16 oz (450 g) softened cream cheese with ½ cup (115 g) softened unsalted butter until smooth and fluffy, about 3–5 minutes. Gradually add 4 cups (480 g) powdered sugar, one cup at a time, beating well after each addition. Stir in 1 teaspoon vanilla extract and a pinch of salt for balance.
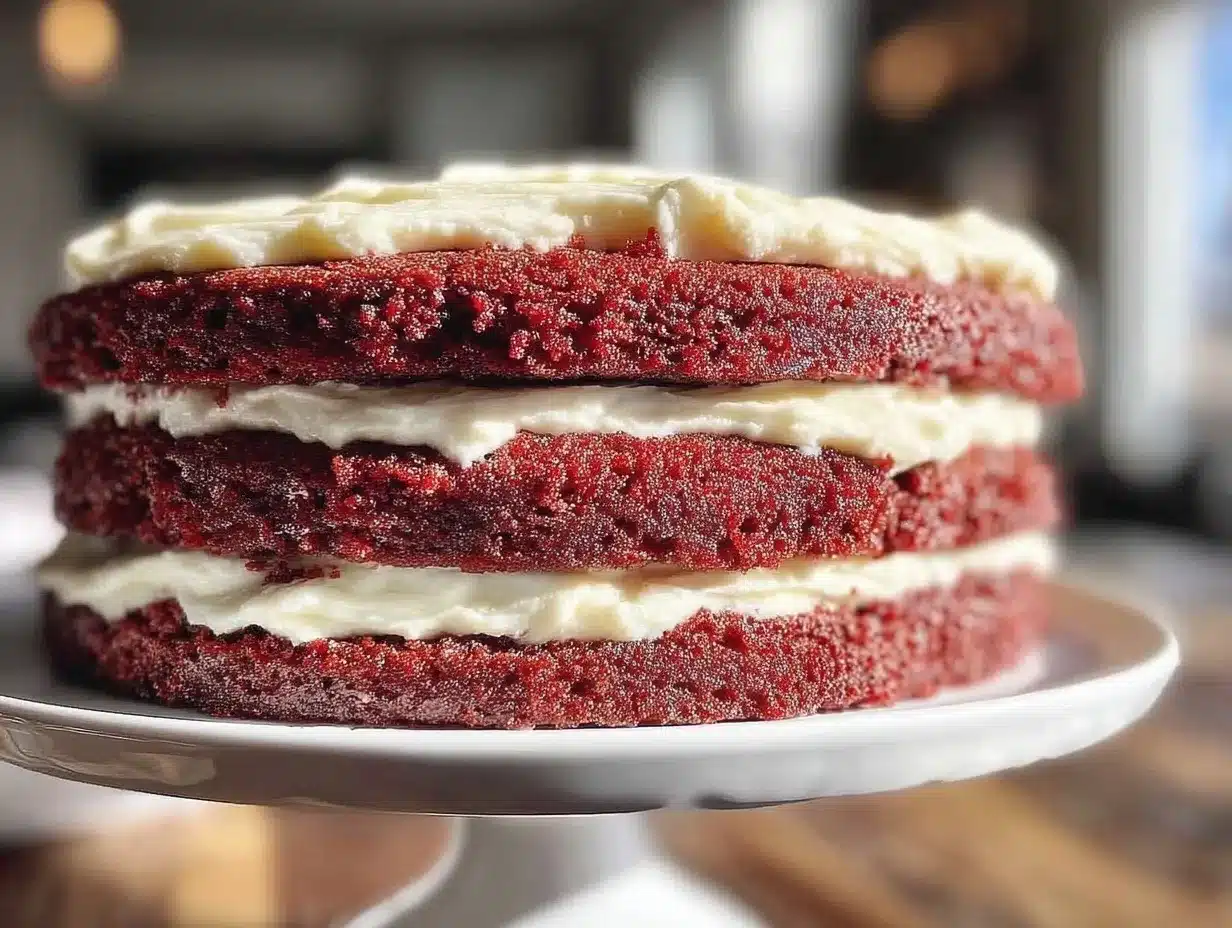
- Assemble the Flag Cake: Place one cake layer on your serving plate. Spread a thick, even layer of cream cheese frosting over it. Repeat with the second layer. Then, frost the sides and top smoothly. For a fun twist, you can pipe stripes or stars with leftover frosting to mimic a flag design — no special tools needed, just a ziplock bag with a corner snipped off.
- Chill and Serve: Chill the assembled cake for at least 30 minutes to set the frosting. This helps the flavors meld and makes slicing cleaner. Serve at room temperature for the best flavor and texture.
Pro tip: If your frosting feels too soft while spreading, pop it in the fridge for 10–15 minutes to firm it up. Also, don’t skip sifting the powdered sugar for a silky smooth finish. I learned that the hard way after my first lumpy frosting attempt!
Cooking Tips & Techniques
Getting the perfect red velvet flag cake with cream cheese frosting isn’t just about following steps; it’s about understanding what each one brings to the table. A few tips I’ve picked up over many bakes:
- Use Room Temperature Ingredients: Eggs, cream cheese, and butter mix more evenly when they’re not cold, which helps avoid curdling or lumps.
- Measure Flour Correctly: Spoon and level your flour instead of scooping directly to avoid packing it in — this keeps the cake tender, not dense.
- Don’t Overmix the Batter: Once the dry meets the wet, stir just until combined. Overmixing develops the gluten and can make your cake tough.
- Watch Your Oven Temperature: An oven running hot can brown the edges too fast and leave the center undercooked. If possible, use an oven thermometer to keep it steady at 350°F (175°C).
- Test for Doneness Properly: A skewer or toothpick should come out with just a few moist crumbs, not wet batter.
- Whip Frosting Just Right: Overbeating cream cheese frosting can cause it to become too soft. Stop once it’s fluffy and smooth.
- Layer and Chill: Let the cake layers cool completely before frosting to avoid melting, and chilling after assembly makes slicing cleaner.
Honestly, I’ve had my share of cakes that cracked or sank, usually because of rushing or not measuring precisely. Patience pays off with this recipe — and if you want to try a decadent breakfast twist with cream cheese, the creamy strawberry cheesecake stuffed French toast might become your new weekend favorite.
Variations & Adaptations
This red velvet flag cake is wonderfully flexible, so you can tweak it to suit your tastes or dietary needs without losing that signature charm.
- Dietary Swaps: Use almond or oat flour for a gluten-free version, and swap buttermilk with almond milk plus lemon juice. For dairy-free frosting, try a whipped coconut cream frosting with a hint of vanilla.
- Flavor Twists: Add a teaspoon of espresso powder to the batter to intensify the cocoa notes, or swirl in some raspberry jam between layers for a fruity surprise.
- Cooking Methods: Want to bake smaller cakes? This recipe scales well to cupcakes, just adjust baking time to 18–22 minutes. Or bake in rectangular pans and slice into flag stripes for a modern presentation.
- Personal Favorite: I once added a touch of orange zest to the frosting, which gave it a subtle citrus brightness that played beautifully against the rich cake layers.
Serving & Storage Suggestions
Serve your red velvet flag cake with cream cheese frosting at room temperature for the best texture and flavor. The frosting softens just enough to melt in your mouth, and the cake crumb is tender but holds together nicely.
Pair it with a simple cup of coffee or for a summer celebration, a chilled glass of milk or a sparkling rosé. It also makes a lovely finish to a classic southern meal or alongside lighter desserts like the balsamic roasted strawberry shortcake.
Leftovers keep well in the fridge, tightly wrapped or stored in an airtight container, for up to 4 days. For longer storage, you can freeze individual cake layers (wrapped well in plastic and foil), then thaw overnight in the fridge before assembling.
When reheating slices, let them come to room temperature or microwave briefly in 10-second bursts to soften the frosting without melting it completely. Over time, the flavors meld and the cake becomes even more luscious.
Nutritional Information & Benefits
Each slice of this red velvet flag cake is roughly 350-400 calories, depending on portion size, with a balanced mix of fat, carbs, and protein. The cream cheese adds calcium and a creamy texture without being overly sweet.
Key ingredients like cocoa powder provide antioxidants, and the buttermilk contributes probiotics and tangy flavor. While it’s definitely a treat, making it at home means you control the ingredient quality — no preservatives or artificial additives.
This cake can be adapted for gluten-free or dairy-free diets, making it accessible for many. It’s a dessert that brings joy but also a bit of mindful indulgence when made with care.
Conclusion
This perfect red velvet flag cake with cream cheese frosting has become a staple in my kitchen because it’s reliable, delicious, and beautifully simple. Whether you’re celebrating a holiday, a birthday, or just craving a slice of something special, this recipe gives you a cake that looks impressive but feels like home.
Don’t be afraid to make it your own — add a personal touch, swap ingredients, or try different toppings. I love this cake because it’s forgiving and rewarding at the same time, and it always brings a little extra warmth to the table.
If you give it a try, I’d love to hear how it turned out or any variations you created. Sharing recipes is what makes cooking so fun and full of surprises. Here’s to many cozy moments with a slice of red velvet in hand!
FAQs About Red Velvet Flag Cake
What makes red velvet cake red?
The vibrant red color traditionally comes from red food coloring combined with cocoa powder. The mild acidity from vinegar and buttermilk also helps brighten the color during baking.
Can I make this cake without food coloring?
Yes, but the cake won’t have the classic red hue. You’ll get a subtle chocolate cake with cream cheese frosting, which is still delicious but less visually striking.
How do I prevent my cream cheese frosting from being too runny?
Make sure your cream cheese and butter are softened but not melted. Beat them until smooth, then add powdered sugar gradually. If frosting is too soft, chill it for 10-15 minutes before spreading.
Can I prepare the cake layers ahead of time?
Absolutely. You can bake the layers a day or two in advance, wrap them tightly, and store in the fridge. Bring them to room temperature before frosting.
What’s the best way to get sharp, clean layers in the cake?
Use a serrated knife or cake leveler to trim the domed tops off the layers once cooled. This helps stack them evenly and achieve that neat flag look.
Pin This Recipe!
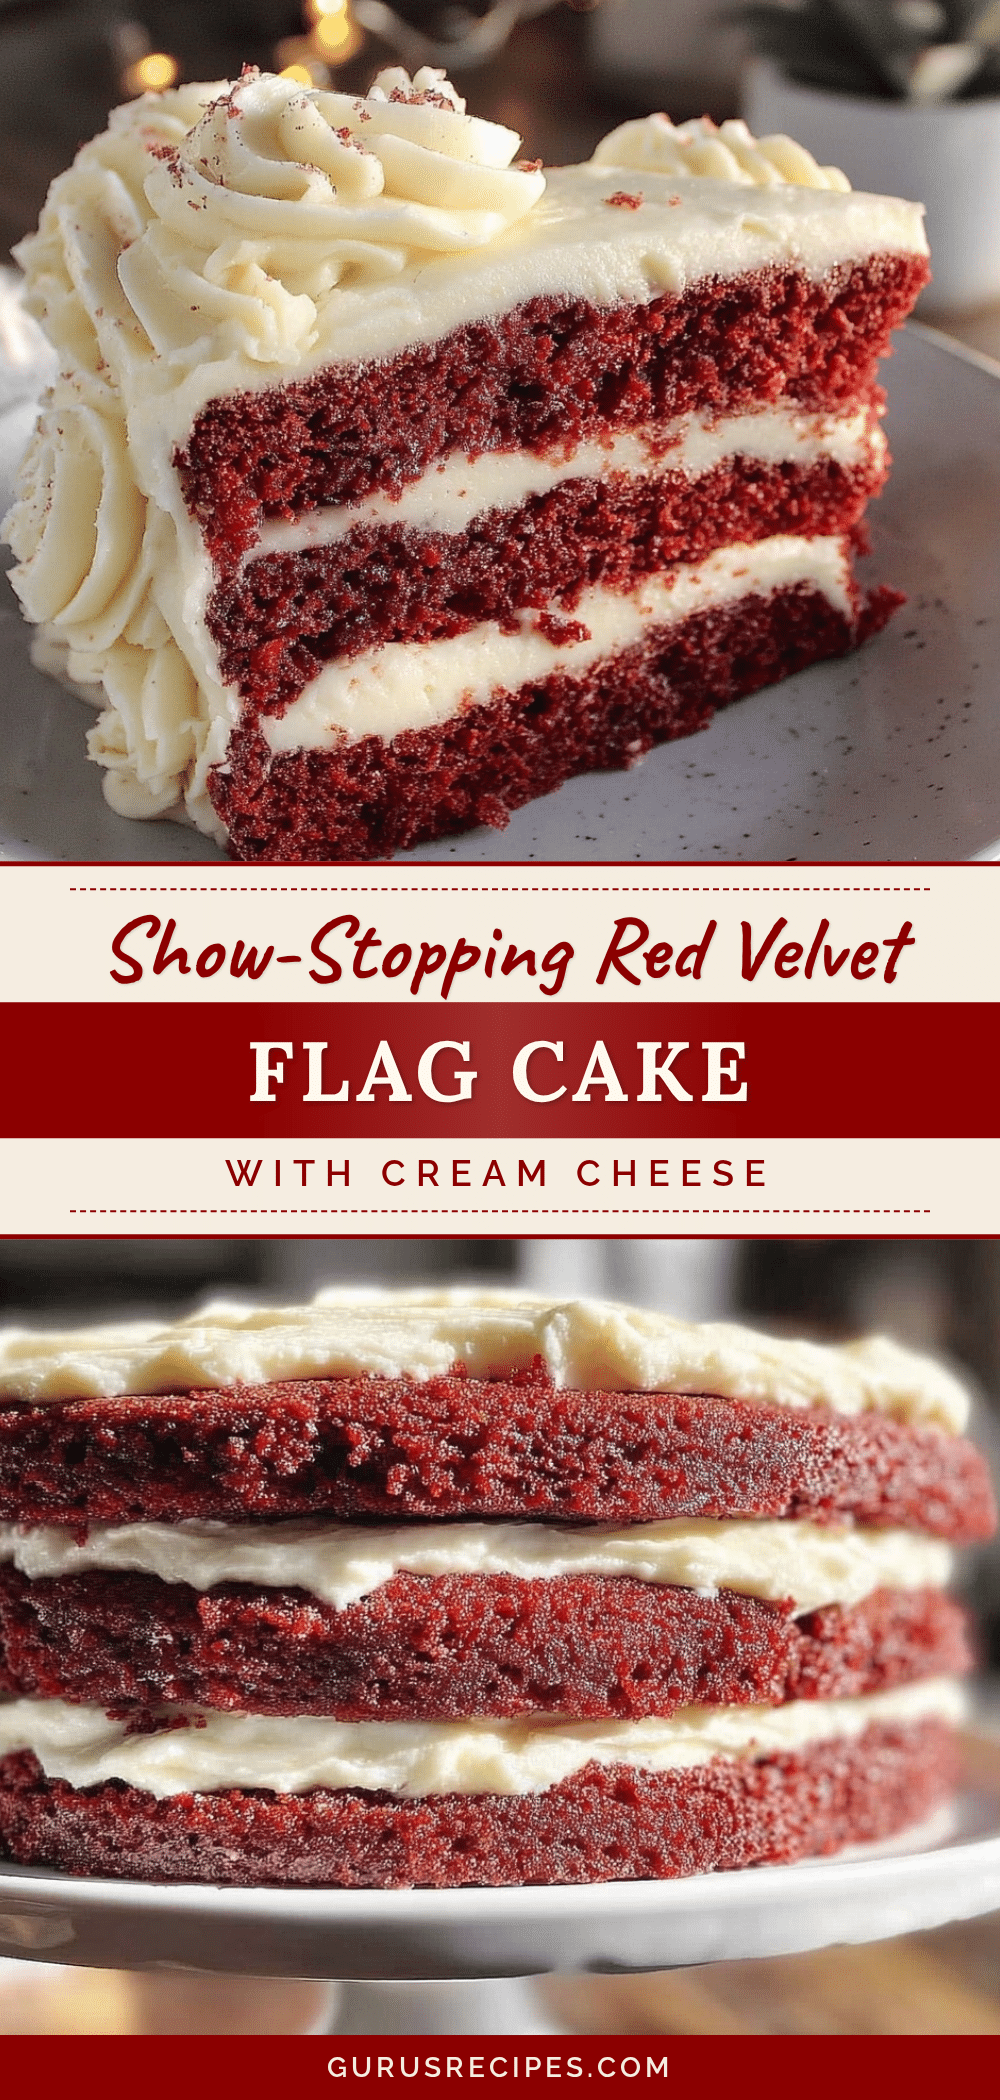

Perfect Red Velvet Flag Cake with Cream Cheese Frosting
A classic red velvet cake with vibrant red layers and smooth, tangy cream cheese frosting, perfect for celebrations and cozy family gatherings.
- Total Time: 45 minutes
- Yield: 12 servings 1x
Ingredients
- 2 ½ cups (315 grams) all-purpose flour
- 2 tablespoons (15 grams) unsweetened cocoa powder
- 1 teaspoon baking soda
- ½ teaspoon salt
- 1 ½ cups (300 grams) granulated sugar
- 1 cup (240 ml) vegetable oil
- 1 cup (240 ml) buttermilk (store-bought or homemade with 1 tablespoon vinegar + 1 cup milk)
- 2 large eggs, room temperature
- 1 teaspoon vanilla extract
- 2 tablespoons red food coloring (gel or liquid)
- 1 teaspoon distilled white vinegar
- 16 oz (450 grams) cream cheese, softened
- ½ cup (115 grams) unsalted butter, softened
- 4 cups (480 grams) powdered sugar, sifted
- 1 teaspoon vanilla extract (for frosting)
- Pinch of salt (for frosting)
Instructions
- Preheat oven to 350°F (175°C). Grease and flour two 9-inch cake pans or line with parchment paper.
- Sift together flour, cocoa powder, baking soda, and salt in a medium bowl.
- In a large bowl, whisk granulated sugar and vegetable oil until smooth. Add eggs one at a time, beating well after each. Stir in vanilla extract and red food coloring.
- Add buttermilk and distilled white vinegar to the wet mixture and mix gently until combined.
- Gradually add dry ingredients to wet ingredients, mixing on low speed just until smooth. Do not overmix.
- Divide batter evenly between prepared pans and smooth tops. Bake 25–30 minutes or until a toothpick inserted in the center comes out clean.
- Cool cakes in pans for 10 minutes, then turn out onto cooling racks to cool completely.
- For frosting, beat cream cheese and butter until smooth and fluffy (3–5 minutes). Gradually add powdered sugar, one cup at a time, beating well after each addition. Stir in vanilla extract and salt.
- Place one cake layer on serving plate. Spread a thick, even layer of frosting over it. Repeat with second layer. Frost sides and top smoothly. Optionally pipe stripes or stars with leftover frosting.
- Chill assembled cake for at least 30 minutes to set frosting. Serve at room temperature.
Notes
Use room temperature ingredients for best results. Do not overmix batter to avoid toughness. Chill frosting if too soft before spreading. Sift powdered sugar for smooth frosting. Use an oven thermometer to maintain steady temperature. Cake layers can be baked ahead and stored in fridge. For gluten-free, substitute flour with gluten-free blend; for dairy-free frosting, use whipped coconut cream with maple syrup.
- Prep Time: 15 minutes
- Cook Time: 30 minutes
- Category: Dessert
- Cuisine: American
Nutrition
- Serving Size: 1 slice (1/12 of cak
- Calories: 375
- Sugar: 32
- Sodium: 320
- Fat: 22
- Saturated Fat: 9
- Carbohydrates: 42
- Fiber: 1
- Protein: 4
Keywords: red velvet cake, cream cheese frosting, flag cake, easy cake recipe, homemade dessert, celebration cake


