

That crackling crust on the air fryer chicken thighs is what I made this for — everything else is secondary. It’s the tactile joy of biting through a golden, crispy shell that gives way to tender, juicy meat underneath. You know that feeling when your fingers brush a perfectly crisped edge, flaky and buttery, just begging for a dip or a quick bite? Honestly, the texture is what hooks me every time. The way the garlic butter glaze clings to each nook and cranny, creating these little pockets of richness, is mesmerizing.
I remember the first time I tried making crispy garlic butter air fryer chicken thighs — the skin snapped under my teeth, and the butter garlic aroma filled the kitchen like an invitation. The chicken was so moist, it almost felt like cheating on classic oven-roasted versions. The air fryer transforms the whole experience, turning what could be a greasy mess into this neat, crisp delight. It’s weirdly satisfying how the simple combination of garlic and butter can become this crispy, flavorful hug around the chicken.
The way the skin crackles, the subtle sheen of melted butter on top, and the gentle warmth of roasted garlic make each bite a little moment of comfort. It’s the kind of recipe that stuck with me because it’s fuss-free but doesn’t compromise on that crave-worthy texture. If you value the feel of food as much as the taste, this recipe has a way of making dinner feel tactile, alive, and just right.
Why You’ll Love This Recipe
- Quick & Easy: Ready in under 30 minutes, making it perfect for busy weeknights when you want something fast but satisfying.
- Simple Ingredients: Uses pantry staples like garlic, butter, and chicken thighs—no need for specialty shopping trips.
- Perfect for Dinner: Feels fancy enough for guests but straightforward enough for your everyday meal.
- Crowd-Pleaser: Kids and adults alike love the crispy skin and buttery garlic flavor combo.
- Unbelievably Delicious: That perfect balance of crispy skin and juicy meat is next-level comfort food.
- What Sets It Apart: The magic lies in brushing the garlic butter on after air frying, which locks in moisture and amps up flavor without sogginess. Plus, the air fryer’s hot circulating air crisps the skin like a pro chef’s pan-sear without the mess.
- The Emotional Why: This recipe isn’t just about chicken—it’s that small joy of tearing into something crispy and buttery after a long day, the kind of meal that makes you pause for a second and appreciate the simple things.
What Ingredients You Will Need
This recipe uses straightforward, wholesome ingredients to create a crispy, flavorful chicken thigh with a rich garlic butter finish. Most of these are likely already in your kitchen, making it an easy go-to for a satisfying meal.
- Chicken Thighs: Bone-in, skin-on thighs are best for that crispy skin and juicy interior. I recommend fresh thighs, but frozen works if thawed properly.
- Garlic: Fresh cloves, minced finely to release maximum flavor. Avoid pre-minced garlic here for that fresh punch.
- Unsalted Butter: Melted, to brush generously on the chicken after air frying. Use a quality brand like Kerrygold for richer taste.
- Olive Oil: Just a touch to help the skin crisp up during air frying.
- Salt and Pepper: Basic seasoning to bring out the natural flavors. Kosher salt works well for even coverage.
- Paprika: Adds a subtle smoky depth and beautiful color to the skin.
- Dried Herbs (Optional): A pinch of thyme or rosemary can add an herbal note if you like.
Substitution tips:
- If you need a dairy-free option, swap butter for a plant-based alternative like vegan margarine or olive oil mixed with a bit of garlic powder.
- For a low-sodium version, reduce salt and add garlic powder or onion powder for extra flavor.
- In warmer months, fresh herbs like chopped parsley or basil sprinkled after cooking add a fresh contrast.
Equipment Needed
- Air Fryer: Any standard model with a basket big enough to fit your chicken thighs comfortably. I use a 5.8-quart size for family meals.
- Basting Brush: For evenly coating the chicken with garlic butter after cooking. A silicone brush cleans easily and holds butter well.
- Mixing Bowl: To toss the chicken with seasonings and olive oil before air frying.
- Tongs: Handy for flipping chicken halfway through cooking without tearing the skin.
- Instant-Read Thermometer (Optional but Recommended): To check internal temperature for perfectly cooked thighs every time.
If you don’t have an air fryer yet, a convection oven with a wire rack can mimic similar results, but the crispiness might take a few extra minutes. Using tongs and a basting brush with care will help maintain that crispy garlic butter coating. For budget-friendly air fryers, look for models with at least 1500W power; they tend to crisp better.
Preparation Method
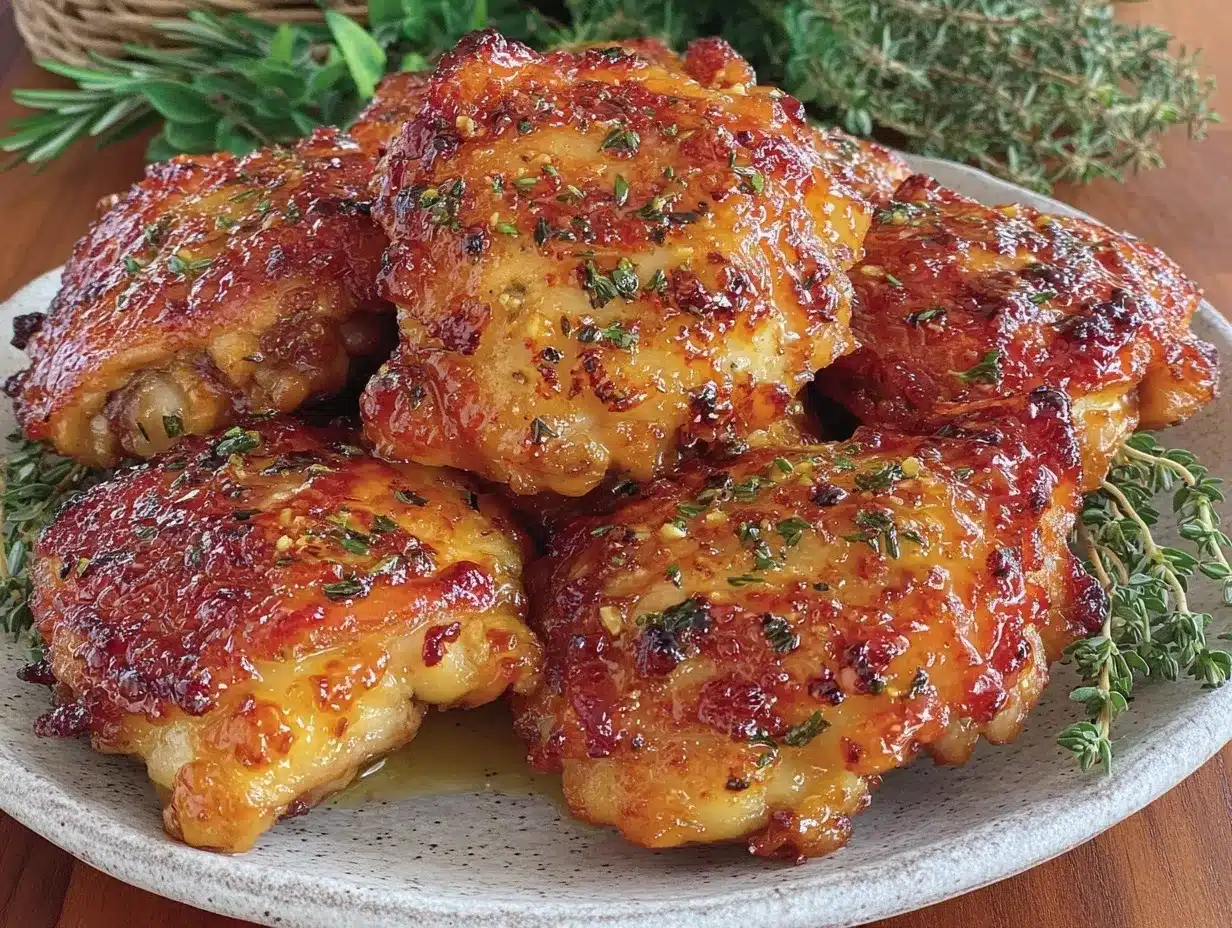
- Prep the Chicken: Pat 4 bone-in, skin-on chicken thighs dry with paper towels. This step is crucial—moisture is the enemy of crispiness. Dry skin means better crackle.
- Season: In a mixing bowl, toss the thighs with 1 tablespoon olive oil, 1 teaspoon kosher salt, ½ teaspoon freshly cracked black pepper, and 1 teaspoon smoked paprika. Add ½ teaspoon dried thyme if using. Make sure each thigh is coated evenly.
- Preheat the Air Fryer: Set your air fryer to 400°F (200°C) and let it preheat for 3-5 minutes. This helps the skin start crisping immediately.
- Arrange Chicken: Place the thighs skin-side down in the air fryer basket in a single layer, leaving space between pieces for air circulation. Overcrowding will steam the skin, and that’s no good.
- Cook First Side: Air fry for 12 minutes at 400°F (200°C). You’ll notice the skin starting to bubble and crisp up—listen for that faint sizzle sound.
- Flip: Use tongs to turn thighs over, skin-side up now. Cook for an additional 8 minutes to crisp the skin and finish cooking the meat.
- Check Temperature: Use an instant-read thermometer to check for 165°F (74°C) internal temperature. If not quite there, add 2-3 more minutes but watch closely so skin doesn’t burn.
- Make Garlic Butter: While chicken cooks, melt 4 tablespoons unsalted butter in a small saucepan or microwave. Stir in 3 minced garlic cloves and cook on low heat for 1-2 minutes until fragrant but not browned.
- Brush Garlic Butter: Once chicken is done, immediately brush the garlic butter all over the skin. This step seals in moisture and adds that irresistible garlic aroma.
- Rest: Let the chicken rest for 5 minutes before serving. This lets the juices redistribute and the buttery glaze set slightly for the perfect texture.
Some troubleshooting: If your chicken skin isn’t crisping enough, try patting drier next time and avoid stacking thighs. Also, flipping mid-cook ensures even browning. If garlic butter burns, lower heat and stir constantly—garlic cooks quickly!
Cooking Tips & Techniques
- Pat Dry Thoroughly: Moisture kills crispiness, so don’t skip this. I sometimes even let chicken air-dry in the fridge uncovered for an hour for extra-dry skin.
- Don’t Overcrowd Basket: Give air room to move around the chicken thighs. This is key for that crunchy skin all over.
- Use Bone-In, Skin-On: Boneless or skinless won’t get the same texture. The bone helps keep meat juicy, and skin crisps up beautifully.
- Garlic Butter Timing: Brush it on only after cooking. If you coat before, the butter burns and the garlic gets bitter.
- Check Temperature: An instant-read thermometer is your best friend. Cooking too long dries out the thighs; too short leaves them underdone.
- Multitask: While the chicken cooks, prepare a quick salad or side. The garlic butter can be made in a minute or two.
- Personal Lesson: The first time I tried slathering garlic butter before cooking, the garlic got scorched and bitter. Lesson learned: patience pays off.
Variations & Adaptations
- Spicy Kick: Add ½ teaspoon cayenne pepper or chili flakes to the seasoning for a fiery twist.
- Herb Infusion: Mix fresh chopped rosemary or parsley into the garlic butter for a garden-fresh note.
- Dairy-Free: Swap butter for melted coconut oil or olive oil with garlic powder if you’re avoiding dairy.
- Oven Method: Roast at 425°F (220°C) on a wire rack for 35-40 minutes, flipping halfway, brushing garlic butter at the end.
- Personal Favorite Variation: Once, I sprinkled grated Parmesan over the garlic butter before serving — a salty, crispy finish that made the thighs unforgettable.
Serving & Storage Suggestions
Serve these crispy garlic butter air fryer chicken thighs hot, skin-side up, to keep that crackling texture intact. They pair wonderfully with creamy mashed potatoes or a fresh green salad for balance. For a dinner that feels complete, try serving alongside creamy colcannon mashed potatoes — the buttery potatoes soak up every bit of garlic flavor.
Store leftovers in an airtight container in the refrigerator for up to 3 days. To reheat, use your air fryer at 350°F (175°C) for 5-7 minutes to bring back crispiness instead of the microwave, which makes skin soggy. Flavors actually deepen after a day, so these taste great as next-day meals, too.
If you want to freeze, wrap thighs individually in foil and then place in freezer bags for up to 2 months. Thaw in the fridge overnight and re-crisp in the air fryer before serving.
Nutritional Information & Benefits
Each crispy garlic butter air fryer chicken thigh (approx. 6 oz or 170g) contains roughly 320 calories, 22g protein, 24g fat (mostly from butter and chicken skin), and minimal carbs. This recipe is gluten-free and low-carb, making it friendly for many dietary preferences.
Chicken thighs provide essential nutrients like selenium, vitamin B6, and zinc, supporting immunity and metabolism. Garlic adds compounds known for anti-inflammatory and heart-health benefits, while butter contributes fat-soluble vitamins. Just be mindful of portion size due to the rich butter content.
For those watching fat intake, trimming visible fat from the thighs helps, but the skin is really where the magic (and calories) live. Overall, this recipe balances indulgence with wholesome protein, making it a solid choice for a satisfying, nourishing meal.
Conclusion
Crispy garlic butter air fryer chicken thighs are proof that simple ingredients combined with the right technique can create something truly satisfying. The way the skin snaps, the garlic butter melts, and the meat stays juicy—this recipe checks all the boxes for a fuss-free dinner that feels special. You can easily tweak it to suit your taste, whether that means adding herbs, spice, or going dairy-free.
I keep coming back to this recipe because it delivers that perfect texture and bold flavor with minimal effort. It’s a dependable weeknight hit and a treat for guests who appreciate a crispy, garlicky bite. If you’re into homemade breads, pairing this with a crusty loaf like the crispy no-knead rosemary sea salt bread rounds the meal out beautifully.
Give this recipe a try and let the crispy, buttery garlic skin win you over. I’d love to hear how you make it your own—drop a comment or share your twist!
Frequently Asked Questions
Can I use boneless chicken thighs for this recipe?
Yes, but bone-in, skin-on thighs give the best texture and juiciness. Boneless thighs cook faster and may not crisp up as well.
How do I keep the garlic from burning in the butter?
Cook minced garlic gently over low heat just until fragrant, about 1-2 minutes. Avoid high heat or cooking too long to prevent bitterness.
Can I marinate the chicken beforehand?
You can, but avoid wet marinades that make skin soggy. A dry rub or seasoning just before cooking works best for crispiness.
Is it necessary to flip the chicken during air frying?
Flipping helps cook evenly and crisps both sides. If your air fryer has a rotisserie or basket that tumbles, flipping might not be needed.
What sides go well with crispy garlic butter air fryer chicken thighs?
Mashed potatoes, roasted veggies, or a fresh salad complement the richness nicely. For a cozy meal, try pairing with creamy colcannon mashed potatoes.
Pin This Recipe!
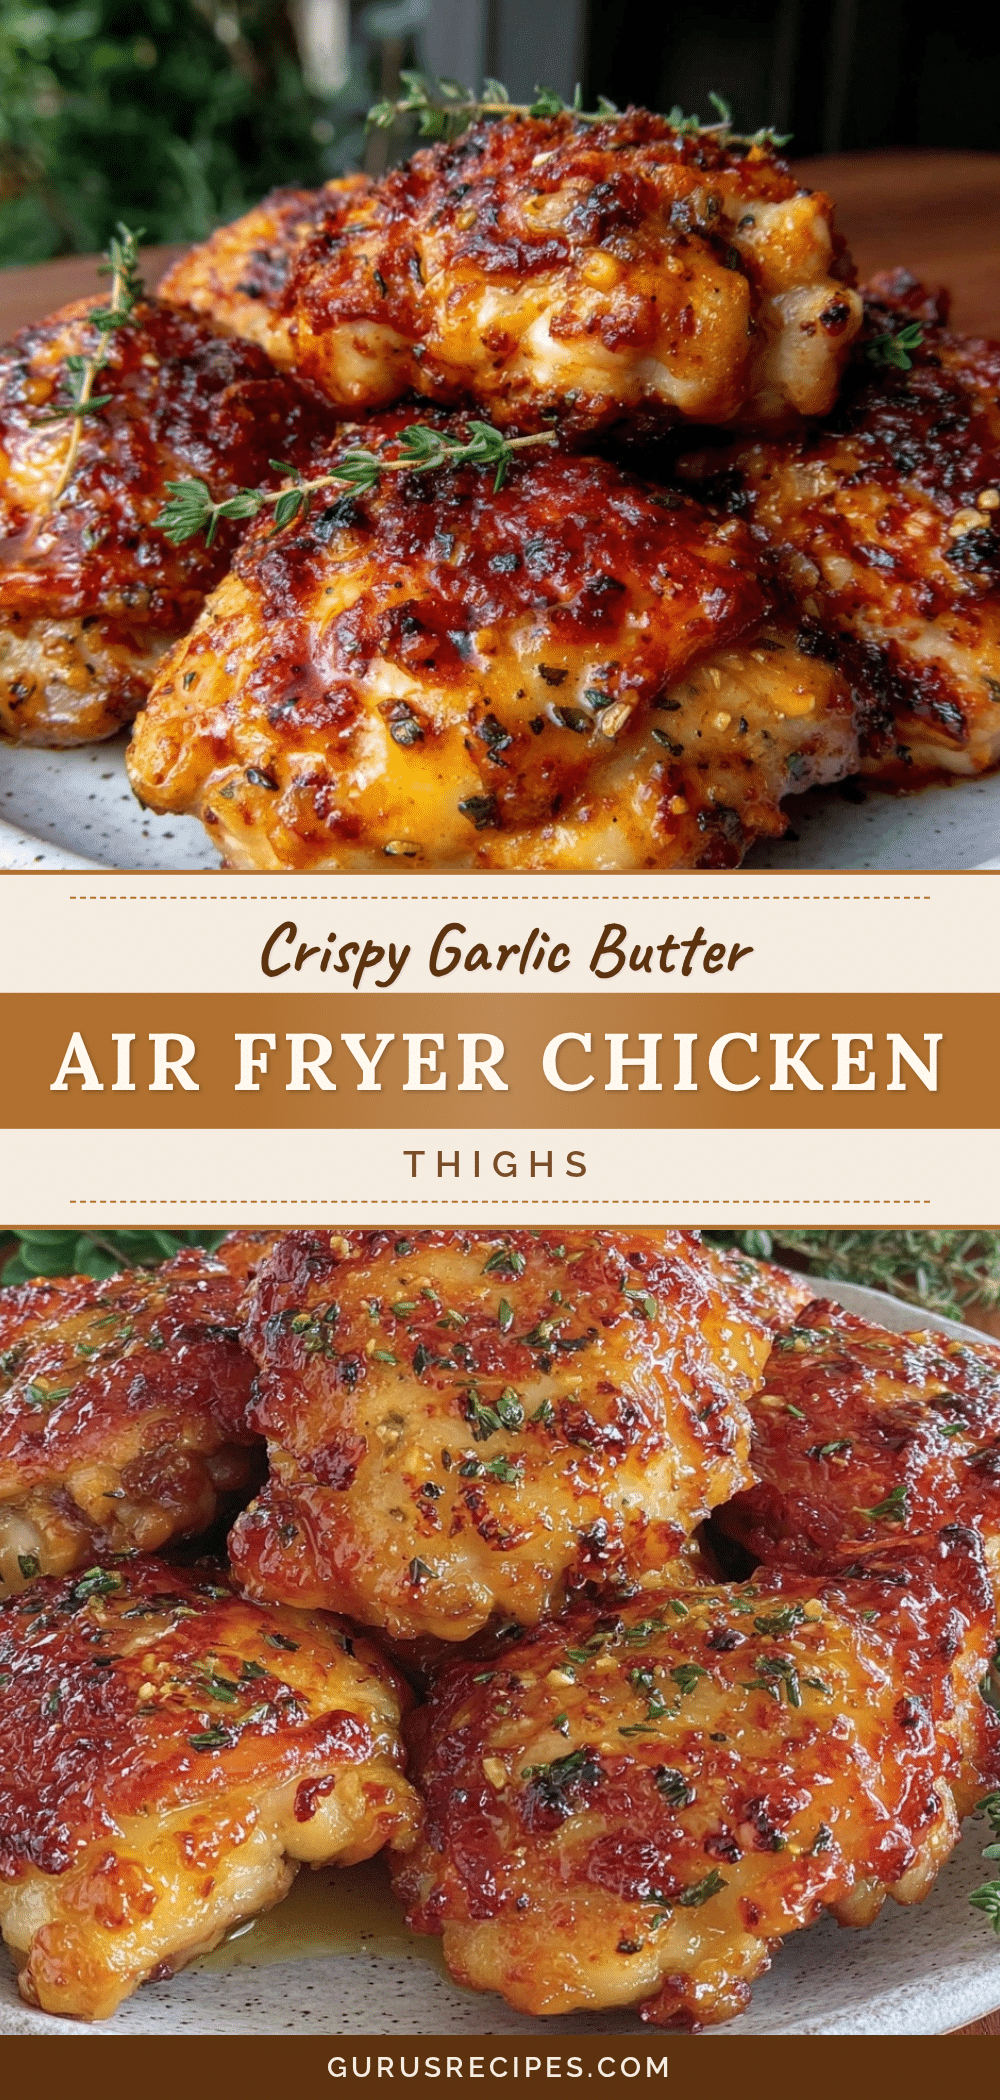

Crispy Garlic Butter Air Fryer Chicken Thighs
This recipe delivers perfectly crispy, golden chicken thighs with a rich garlic butter glaze, cooked quickly in the air fryer for a juicy and flavorful dinner.
- Total Time: 30 minutes
- Yield: 4 servings 1x
Ingredients
- 4 bone-in, skin-on chicken thighs
- 3 cloves garlic, minced
- 4 tablespoons unsalted butter, melted
- 1 tablespoon olive oil
- 1 teaspoon kosher salt
- ½ teaspoon freshly cracked black pepper
- 1 teaspoon smoked paprika
- ½ teaspoon dried thyme (optional)
Instructions
- Pat 4 bone-in, skin-on chicken thighs dry with paper towels.
- In a mixing bowl, toss the thighs with 1 tablespoon olive oil, 1 teaspoon kosher salt, ½ teaspoon freshly cracked black pepper, 1 teaspoon smoked paprika, and ½ teaspoon dried thyme if using. Ensure even coating.
- Preheat the air fryer to 400°F (200°C) for 3-5 minutes.
- Place the thighs skin-side down in the air fryer basket in a single layer, leaving space between pieces.
- Air fry for 12 minutes at 400°F (200°C).
- Flip the thighs skin-side up using tongs and cook for an additional 8 minutes.
- Check the internal temperature with an instant-read thermometer; it should reach 165°F (74°C). If not, cook for 2-3 more minutes, watching carefully.
- While the chicken cooks, melt 4 tablespoons unsalted butter in a small saucepan or microwave. Stir in 3 minced garlic cloves and cook on low heat for 1-2 minutes until fragrant but not browned.
- Immediately brush the garlic butter all over the chicken skin once done.
- Let the chicken rest for 5 minutes before serving.
Notes
Pat chicken dry thoroughly for best crispiness. Do not overcrowd the air fryer basket. Brush garlic butter only after cooking to avoid burning the garlic. Use an instant-read thermometer to ensure perfect doneness. For dairy-free, substitute butter with vegan margarine or olive oil with garlic powder.
- Prep Time: 10 minutes
- Cook Time: 20 minutes
- Category: Main Course
- Cuisine: American
Nutrition
- Serving Size: 1 chicken thigh (app
- Calories: 320
- Sodium: 600
- Fat: 24
- Saturated Fat: 10
- Carbohydrates: 1
- Protein: 22
Keywords: air fryer chicken thighs, crispy chicken, garlic butter chicken, easy dinner, quick chicken recipe, bone-in chicken, skin-on chicken, air fryer recipe


