
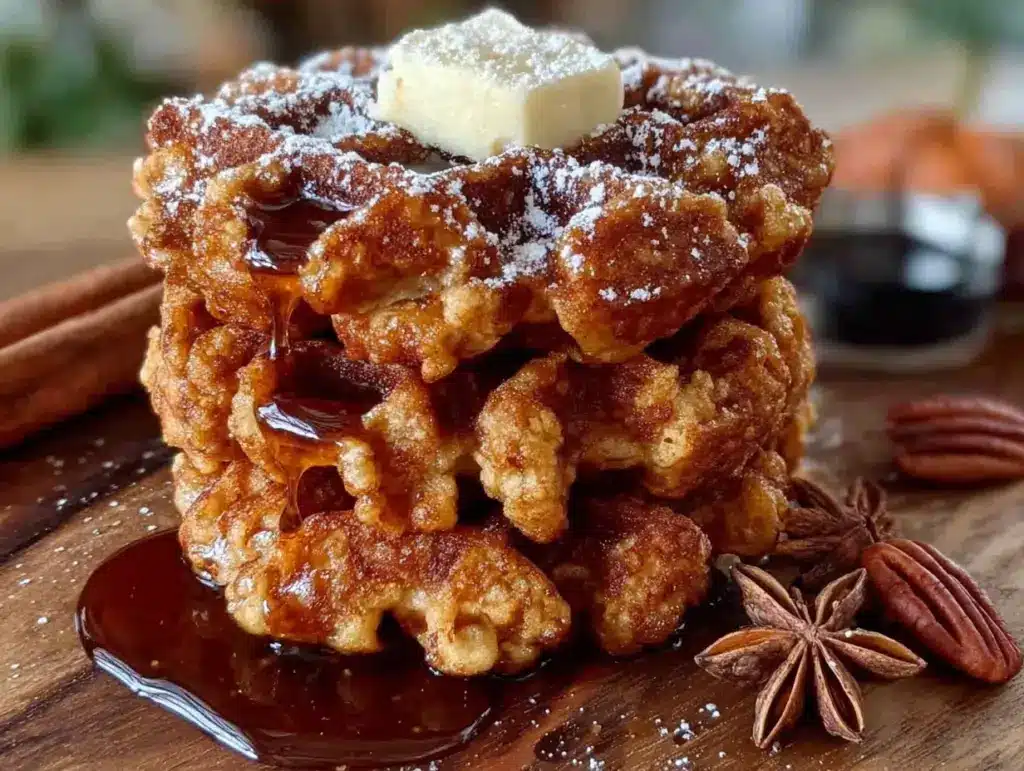
I want crispy waffles right now, and I have everything except the energy for a complicated recipe. My sourdough discard is sitting in the fridge, looking at me, and there’s half a can of pumpkin puree from last week’s baking project. This isn’t planned. It’s Tuesday morning, and I’m hungry.
The thing about sourdough discard is that it feels like a waste to throw it away, but not every recipe actually delivers on texture. Some come out gummy. Some taste flat. Some look beautiful coming off the iron and turn into sad, limp things within minutes. I’ve been through all of those versions so you don’t have to.
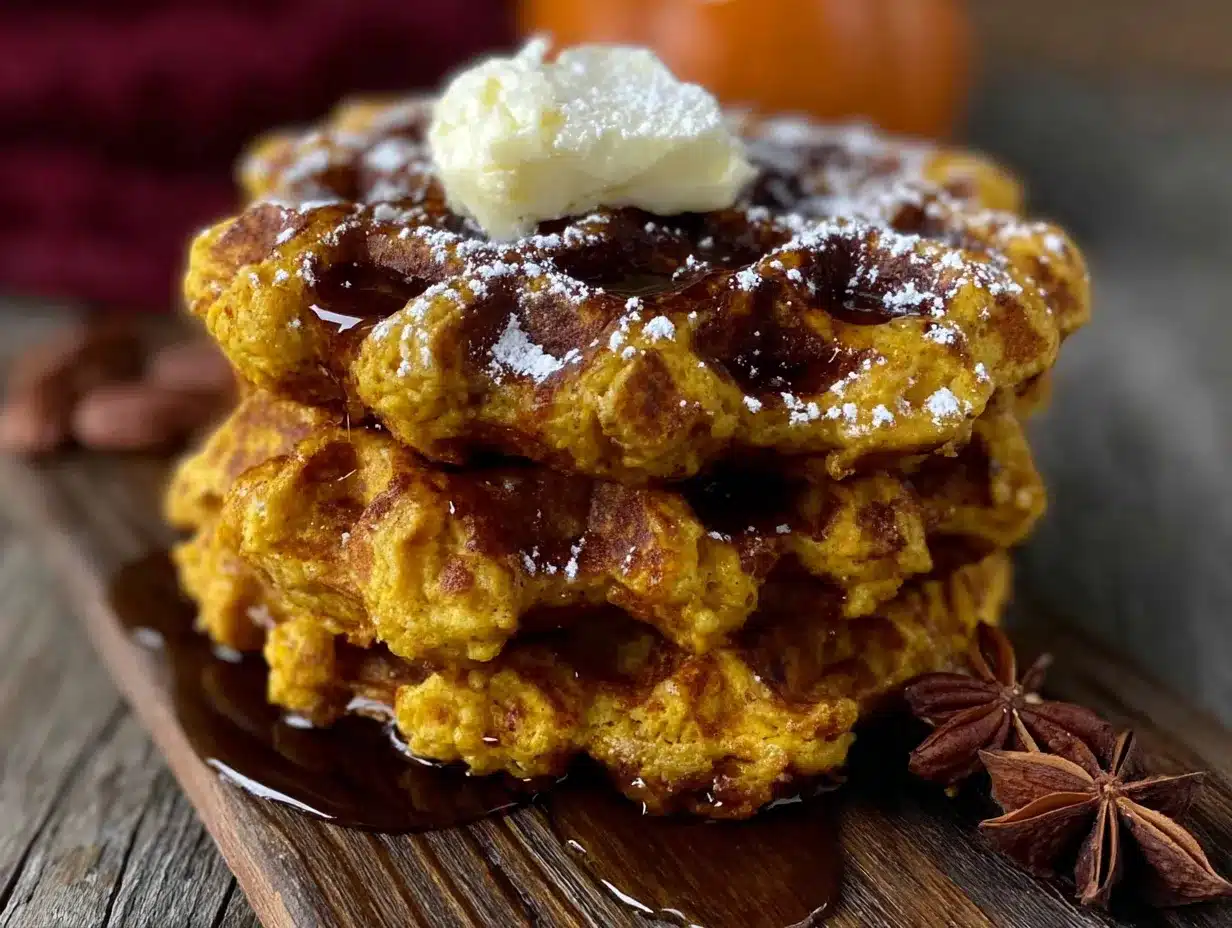
These crispy pumpkin sourdough discard waffles are the ones that finally worked. The outside shatters when you tap it with a fork. The inside is tender but not doughy, with that subtle tang that makes sourdough so good. And the pumpkin? It’s not just there for color. It keeps the waffles moist without making them heavy, and it pairs with the warm spices in a way that feels like fall without being obnoxious about it.
I tested this recipe four times before I got the ratios right. The first batch was too dense. The second was too soft. The third burned because I walked away to answer a text. The fourth was perfect, and I ate it standing at the counter with nothing but butter, no syrup needed. That’s when I knew it was ready to share.
These waffles take twenty minutes from start to finish, which is faster than most breakfast options and way more satisfying. If you’ve got discard to use up and a craving for something crispy, you’re in the right place.
Why You’ll Love This Recipe
Let me tell you why these waffles earned a permanent spot in my breakfast rotation. I don’t say that lightly—I’m picky about my waffles.
- Quick & Easy: From mixing bowl to plate in under twenty minutes. No rising time, no complicated steps, no waiting around. This is the kind of recipe you can make on a Tuesday before work or a lazy Saturday morning when you just want food now.
- Simple Ingredients: You probably have most of these already. Sourdough discard, pumpkin puree, eggs, flour, butter, and spices. No specialty flours or hard-to-find items. I’m not sending you on a wild goose chase for something you’ll use once.
- Perfect for Fall Mornings: These waffles capture everything good about autumn without being overwhelming. The pumpkin is subtle, the spices are warm, and the whole thing feels cozy without trying too hard.
- Crowd-Pleaser: I’ve served these to kids, adults, picky eaters, and people who claim they don’t like pumpkin. Every single person went back for seconds. The crispy exterior wins people over before they even taste the inside.
- Unbelievably Crispy: This is the part that took me multiple tries to nail. The combination of sourdough discard and a specific fat ratio creates waffles that stay crispy longer than any other recipe I’ve tried. They don’t get soggy after five minutes sitting on a plate.
What makes these different from every other pumpkin waffle recipe out there? It’s the technique. Most recipes treat pumpkin like a wet ingredient that you just throw in, which leads to dense, heavy waffles. I figured out how to balance the moisture so you get that crispy exterior and light interior without any of the gumminess. Plus, using sourdough discard adds a complexity that plain waffles just don’t have. It’s not sour—it’s nuanced.
These aren’t just good for sourdough discard recipes. They’re good waffles, period. The kind that makes you close your eyes after the first bite because you can’t believe something this simple tastes this good.
What Ingredients You Will Need
This recipe uses straightforward ingredients that work together to create that perfect crispy-yet-tender texture. Nothing fancy here, just smart combinations.
For the Waffle Batter
- Sourdough discard, 1 cup (240g) — Use unfed discard straight from the fridge. It doesn’t need to be room temperature or active. The tanginess mellows during cooking and leaves behind a subtle complexity. If your discard is very thick, you might need to adjust the milk slightly.
- Pumpkin puree, ½ cup (120g) — Not pumpkin pie filling. Make sure you grab 100% pure pumpkin. I prefer Libby’s for consistent texture, but any brand works. If your puree seems watery, let it sit in a fine-mesh strainer for a few minutes to drain excess liquid.
- Large eggs, 2 — Room temperature if you remember, straight from the fridge if you don’t. I’ve tested both ways and the difference is minimal with this recipe.
- Whole milk, ¼ cup (60ml) — You can substitute any milk you have on hand. Buttermilk adds extra tang if you want to lean into that sourdough flavor. Almond milk works too, though the waffles might be slightly less tender.
- Unsalted butter, 4 tablespoons (56g), melted and slightly cooled — Butter gives these waffles their rich flavor and helps with browning. You can use coconut oil for a dairy-free version, but the flavor profile changes.
- Brown sugar, 2 tablespoons (25g), packed — Light or dark brown sugar both work. Dark brown adds more molasses flavor, which pairs beautifully with pumpkin. Don’t skip this—it’s not enough to make the waffles sweet, but it helps with caramelization and that crispy exterior.
- Vanilla extract, 1 teaspoon — Pure vanilla if you have it, imitation in a pinch. The vanilla rounds out the pumpkin and spice flavors.
For the Dry Ingredients
- All-purpose flour, 1 cup (120g) — Spoon and level your flour. Scooping directly from the bag packs it down and you’ll end up with dry, dense waffles. If you want to use whole wheat pastry flour, you can substitute up to half without noticeable texture changes.
- Baking powder, 2 teaspoons — Make sure your baking powder is fresh. If it’s been sitting in your cabinet for over six months, test it by dropping a little into hot water. It should bubble immediately.
- Baking soda, ½ teaspoon — This helps neutralize some of the sourdough acidity and gives the waffles a better rise.
- Salt, ½ teaspoon — Don’t skip this. Salt makes all the flavors pop and balances the sweetness.
- Ground cinnamon, 1 teaspoon — The backbone of the spice blend. I use Vietnamese cinnamon for its stronger, sweeter flavor.
- Ground ginger, ½ teaspoon — Adds warmth without heat. Freshly ground ginger is nice if you have it, but regular ground ginger works perfectly.
- Ground nutmeg, ¼ teaspoon — Freshly grated nutmeg makes a noticeable difference here. It’s worth the extra thirty seconds.
- Ground cloves, ⅛ teaspoon — Just a pinch. Cloves are potent and can easily overwhelm everything else.
Equipment Needed
You don’t need a professional kitchen to make these waffles, but having the right tools makes the process smoother. Here’s what you’ll need:
- Waffle iron — Any standard waffle iron works. I use a classic Belgian-style iron with deep pockets, but a thin, stovetop version works too. The cooking time will vary depending on your specific model. If your waffle iron is older, it might cook unevenly, so keep an eye on it.
- Large mixing bowl — For combining your wet ingredients. Any medium-to-large bowl works.
- Medium mixing bowl — For whisking your dry ingredients together.
- Whisk — A balloon whisk works best for incorporating everything without overmixing. A fork works in a pinch, but you’ll have a harder time getting lumps out.
- Rubber spatula — For scraping down the sides of the bowl and folding ingredients together gently.
- Measuring cups and spoons — Accurate measurements matter in baking. I recommend using a kitchen scale for the flour and discard for best results, but measuring cups work fine.
- Small saucepan or microwave-safe bowl — For melting butter. I use the microwave because it’s faster, but the stovetop method gives you more control if you’re worried about burning.
- Cooling rack — This is optional but highly recommended. Placing waffles directly on a cooling rack instead of a plate keeps them crispy. If you stack them on a plate, the steam gets trapped and they soften.
If you don’t own a waffle iron, you can actually use this batter to make pancakes. They won’t be crispy in the same way, but they’ll still taste amazing. Just cook them on a griddle over medium heat and flip when bubbles form on the surface.
Preparation Method
This is where the magic happens. Follow these steps carefully, and you’ll have perfect waffles every time. I’ve included all the little details that make a difference.
Step 1: Preheat Your Waffle Iron
Plug in your waffle iron and set it to medium-high heat. Most waffle irons have a dial or a light that tells you when they’re ready. Give it a full five minutes to heat up properly. A cold waffle iron will give you pale, soft waffles that never crisp up. While it’s heating, you can prepare the batter.
Step 2: Combine Wet Ingredients
In a large mixing bowl, whisk together the sourdough discard, pumpkin puree, eggs, milk, melted butter, brown sugar, and vanilla extract. Whisk until everything is smooth and well combined. The mixture will look slightly orange and have a smooth, pourable consistency. If your sourdough discard was straight from the fridge, the mixture might be cold—that’s fine.
Step 3: Mix Dry Ingredients
In a separate medium bowl, whisk together the flour, baking powder, baking soda, salt, cinnamon, ginger, nutmeg, and cloves. Whisking aerates the flour and ensures the spices and leavening agents are evenly distributed. You don’t want one waffle to get all the cinnamon while another gets none.
Step 4: Combine Wet and Dry
Pour the dry ingredients into the wet ingredients. Use a rubber spatula to fold everything together gently. Stir just until no streaks of flour remain. A few small lumps are completely fine—overmixing develops gluten and makes waffles tough. You want a thick, scoopable batter that drops off the spatula in heavy dollops. If it looks too thick, add a tablespoon of milk. If it looks too thin, add a tablespoon of flour.
Step 5: Let the Batter Rest
Here’s a trick I learned the hard way: let the batter sit for five minutes before cooking. This gives the baking powder time to activate and allows the flour to fully hydrate. The batter will thicken slightly and you might see small bubbles forming on the surface. That’s a good sign. Don’t skip this step.
Step 6: Cook the Waffles
Lightly grease your waffle iron with non-stick spray or a brush of melted butter. Pour about ⅓ cup of batter onto the center of the iron—adjust based on your waffle iron size. You want the batter to spread to about ½ inch from the edges. Close the lid and cook for 4-5 minutes, or until the steam coming from the sides of the waffle iron slows down significantly. The waffle should be deep golden brown and release easily from the iron. If it sticks, give it another minute.
Step 7: Keep Waffles Crispy
When each waffle comes off the iron, transfer it directly to a cooling rack. Do not stack them. Do not put them on a plate. The cooling rack allows air to circulate around the waffle, keeping that crispy exterior intact. If you’re making a batch, you can keep cooked waffles warm in a 200°F oven directly on the oven rack, but don’t cover them with foil or a towel.
Step 8: Serve Immediately
These waffles are best within the first ten minutes of cooking. Serve them hot with your favorite toppings. I’ll share my recommendations in the serving section below.
Cooking Tips & Techniques
I’ve made enough mistakes with waffle recipes to fill a cookbook. Here are the things I wish someone had told me earlier.
Don’t overmix the batter. This is the number one mistake people make. Overmixing develops gluten, which gives you tough, rubbery waffles instead of light, crispy ones. Mix until the flour disappears and then stop. A few lumps are your friends here.
Get your waffle iron hot enough. A properly preheated waffle iron is non-negotiable. If you start cooking before it’s fully hot, the batter will spread unevenly and the waffle will steam instead of crisp. I wait until the indicator light goes off, then wait another thirty seconds just to be sure.
Resist the urge to peek. Opening the waffle iron early releases steam and interrupts the cooking process. Let it cook for at least three minutes before checking. The steam should be visibly slowing down before you open it.
Use a light hand with grease. Too much oil or spray on the waffle iron can actually make waffles less crispy. A light coating is all you need. I use a pastry brush to apply a thin layer of melted butter every other batch.
Keep an eye on the color. Waffles should be deep golden brown with slightly darker edges. If they’re pale, they need more time. If they’re dark brown, your iron is too hot or you left them too long. The first waffle is almost always a test waffle. Don’t be discouraged if it’s not perfect.
Let the batter rest. I mentioned this in the method, but it bears repeating. That five-minute rest makes a real difference in texture. The flour absorbs the liquid, the leavening agents activate, and the result is a more tender, more evenly cooked waffle.
Variations & Adaptations
This recipe is flexible. Here are some ways to make it your own.
Gluten-Free Version
Substitute the all-purpose flour with a good gluten-free flour blend that contains xanthan gum. I’ve had success with King Arthur Measure for Measure and Bob’s Red Mill 1-to-1. The texture will be slightly more delicate, but the crispiness still comes through. Reduce the milk by one tablespoon since gluten-free flours absorb differently.
Dairy-Free Version
Replace the butter with coconut oil or a plant-based butter stick. Use almond milk, oat milk, or any other non-dairy milk in place of whole milk. The waffles won’t brown quite as deeply without butter, but they’ll still be crispy. I’ve made this version for friends with dairy allergies and they couldn’t tell the difference.
Extra Crispy Version
Replace one of the eggs with an additional tablespoon of melted butter and one tablespoon of cornstarch. The cornstarch helps create an even crunchier exterior. Cook the waffles for an extra minute on each side until they’re a shade darker than usual. This version is my personal favorite when I’m serving them plain with just a dusting of powdered sugar.
Savory Pumpkin Waffles
Skip the brown sugar and vanilla. Add ½ teaspoon of garlic powder, ¼ teaspoon of black pepper, and ¼ cup of grated Parmesan cheese to the dry ingredients. Serve these with fried chicken or a poached egg for a sweet-and-savory breakfast that’s absolutely addictive.
Pumpkin Chocolate Chip Waffles
Fold in ⅓ cup of mini chocolate chips after mixing the batter. The chocolate melts into little pockets of richness throughout the waffle. Use dark chocolate chips to balance the pumpkin spices, or milk chocolate if you prefer sweeter results.
Serving & Storage Suggestions
How you serve these waffles matters almost as much as how you make them. Here’s what I recommend.
Serving Temperature: Serve these waffles hot, straight from the iron. They’re at their absolute best within the first ten minutes. If you need to serve a crowd, keep them in a single layer on a baking sheet in a 200°F oven, uncovered, for up to fifteen minutes.
Toppings: These waffles are fantastic with classic maple syrup and a pat of butter. For something more autumn-inspired, try them with a dollop of whipped cream, a drizzle of caramel sauce, and a sprinkle of toasted pecans. Fresh apple slices or sautéed pears also pair beautifully with the pumpkin flavor. If you’re feeling indulgent, a scoop of vanilla ice cream turns these into dessert.
Complementary Dishes: These waffles pair well with crispy bacon or breakfast sausage for a savory balance. A side of scrambled eggs rounds out the meal. For a lighter option, serve with fresh fruit salad or a simple green salad dressed with a tangy vinaigrette to cut through the richness.
Storage: Leftover waffles can be stored in an airtight container in the refrigerator for up to three days. To reheat, pop them in a toaster or toaster oven until they’re hot and crispy again. The microwave will make them soft and sad, so avoid it if you can.
Freezing: These waffles freeze beautifully. Let them cool completely on a cooling rack, then place them in a single layer on a baking sheet and freeze for one hour. Transfer the frozen waffles to a freezer-safe bag or container. They’ll keep for up to three months. To reheat, toast them directly from frozen until hot and crispy.
Flavor Development: Here’s something interesting—the pumpkin and spice flavors actually deepen after the waffles have been frozen and reheated. I’ve made a double batch specifically for freezing because the second time around, they taste even better.
Nutritional Information & Benefits
These waffles are a treat, but they also offer some nutritional perks worth noting.
Estimated Nutritional Values (per waffle, without toppings):
- Calories: 245
- Total Fat: 11g
- Saturated Fat: 6g
- Cholesterol: 75mg
- Sodium: 380mg
- Total Carbohydrates: 31g
- Dietary Fiber: 2g
- Sugars: 6g
- Protein: 6g
Health Benefits: Pumpkin puree is packed with vitamin A, which supports eye health and immune function. It also provides fiber, which helps with digestion and keeps you feeling full longer. The sourdough fermentation process breaks down some of the gluten and phytic acid in the flour, making these waffles potentially easier to digest than traditional waffles. Cinnamon has anti-inflammatory properties and may help regulate blood sugar levels.
Dietary Considerations: This recipe can be made gluten-free and dairy-free with the substitutions I mentioned above. It’s vegetarian as written. If you’re watching your sugar intake, you can reduce the brown sugar to one tablespoon without significantly affecting the texture, though the waffles will be less caramelized.
Potential Allergens: This recipe contains wheat (gluten), dairy, and eggs. Adjust as needed for your dietary requirements.
Conclusion
These crispy pumpkin sourdough discard waffles are the breakfast I didn’t know I needed until I made them. They solve the eternal problem of what to do with sourdough discard, they use up that half-can of pumpkin puree sitting in your fridge, and they deliver on texture in a way that most waffle recipes don’t.
The best part? They’re forgiving. If your batter is a little too thick or a little too thin, if your waffle iron runs hot or cold, if you forget an ingredient—these waffles still come out delicious. I’ve made them in a hurry, I’ve made them when I was distracted, and they’ve never let me down.
Try them with your favorite toppings, or just eat them plain with a pat of butter. Customize them based on what you have in your pantry. Make a double batch and freeze half for busy mornings. However you make them, I think you’ll understand why this recipe earned a permanent spot in my kitchen.
I’d love to hear how yours turn out. Drop a comment below and let me know what toppings you used, what variations you tried, or if you discovered something new that worked. And if you’re looking for more ways to use your sourdough discard, check out my easy same-day sourdough bread for another foolproof recipe. Happy cooking!
Frequently Asked Questions
Can I use active sourdough starter instead of discard?
Yes, you can use active starter, but the texture will be slightly different. Active starter contains more air bubbles, which can make the waffles a bit lighter and fluffier. You might need to reduce the baking powder by ½ teaspoon to compensate for the extra rise. The flavor will be milder since active starter is less tangy than discard.
Why are my waffles not crispy?
Several things could be causing this. Your waffle iron might not be hot enough—try increasing the heat setting. Your batter might be too wet—add an extra tablespoon of flour next time. Or you might be stacking the waffles after cooking, which traps steam and softens them. Always place cooked waffles on a cooling rack in a single layer.
Can I make the batter ahead of time?
I don’t recommend it. The baking powder starts reacting as soon as it hits the wet ingredients, so the batter loses its lift over time. If you need to prep ahead, mix the dry ingredients and wet ingredients separately and combine them right before cooking. You can store the wet ingredients in the fridge for up to 24 hours.
How do I know when the waffle is done?
Look for three signs: the steam coming from the sides of the waffle iron slows down significantly, the waffle releases easily when you lift the lid, and the color is deep golden brown. If you’re unsure, give it an extra 30 seconds. It’s better to overcook slightly than undercook.
Can I use this batter for pancakes instead?
Absolutely. Cook the batter on a greased griddle over medium heat. Flip when bubbles form on the surface and the edges look set. The pancakes won’t be crispy like the waffles, but they’ll be fluffy and flavorful. You might want to add an extra tablespoon of milk to thin the batter slightly for pancakes.
Pin This Recipe!
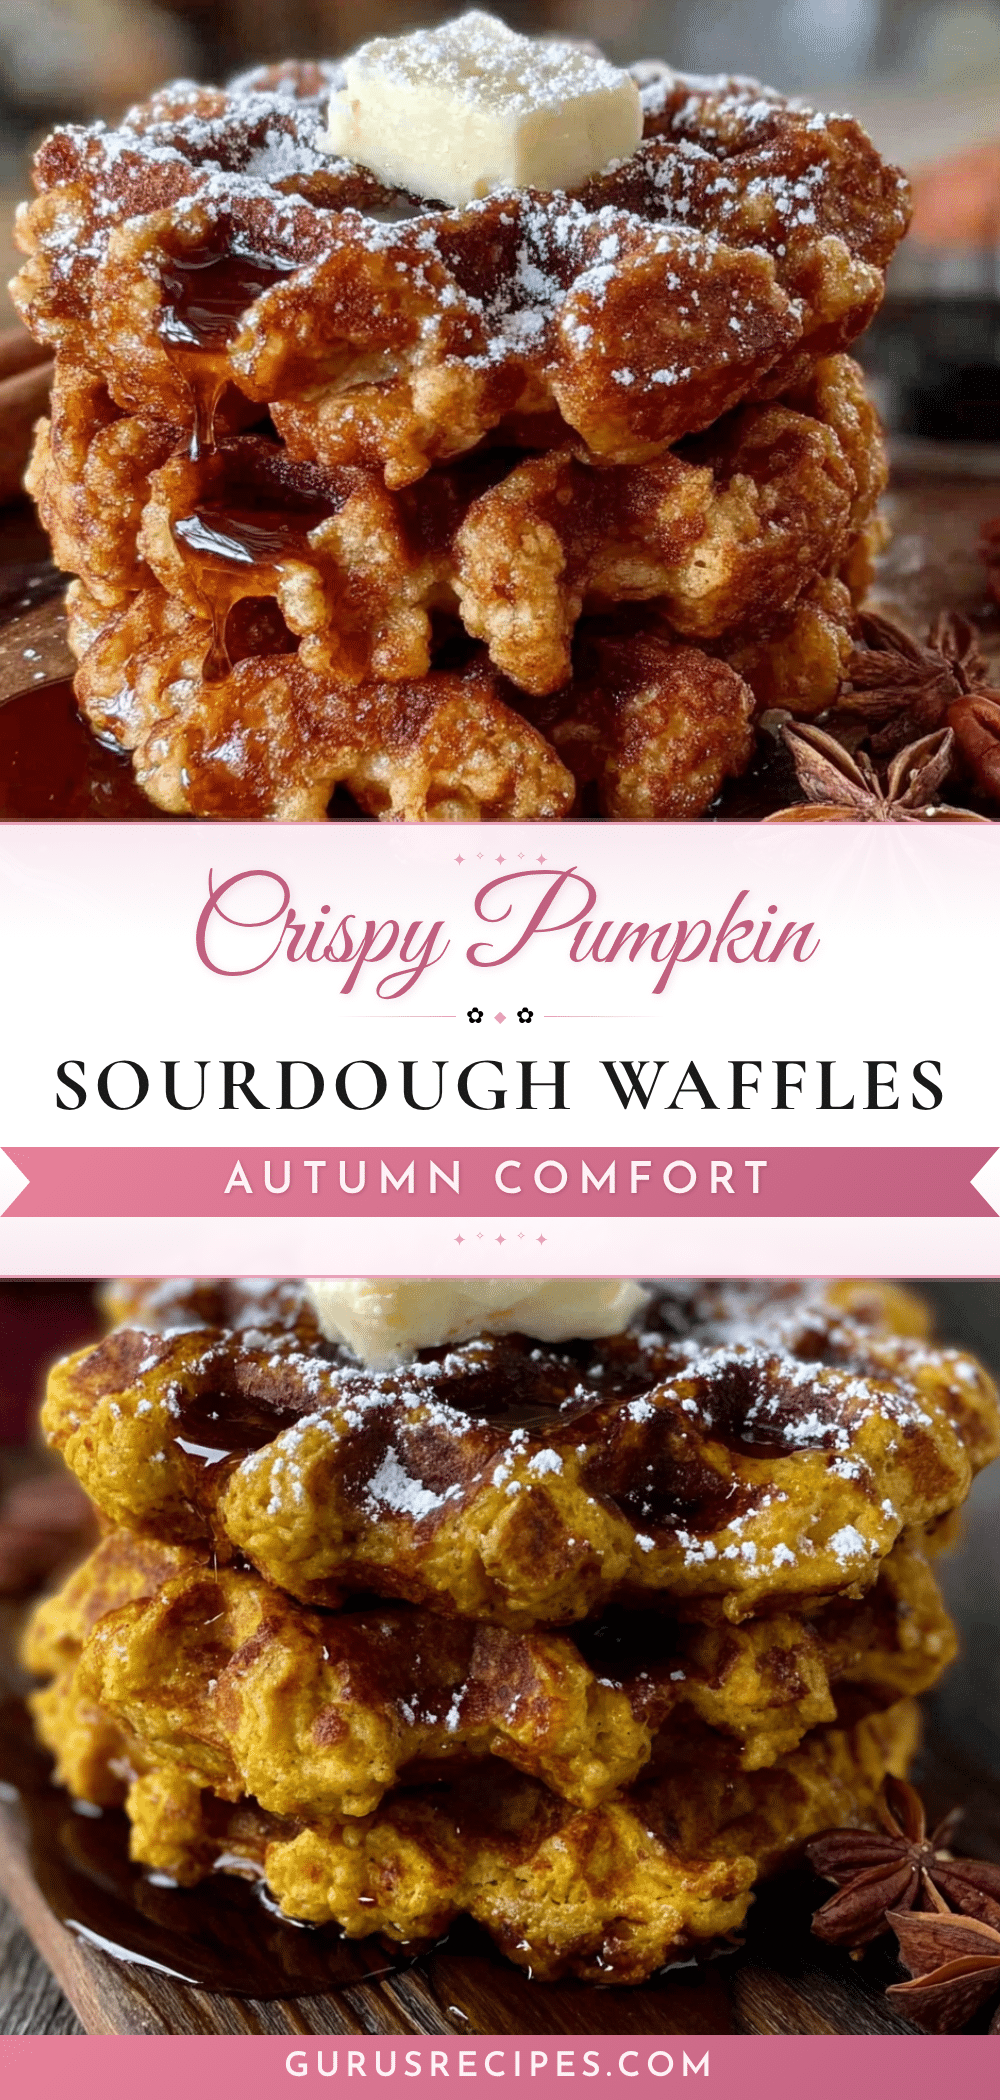

Crispy Pumpkin Sourdough Discard Waffles: Easy 20-Min Breakfast
These crispy pumpkin sourdough discard waffles are quick, easy, and deliver a perfect crispy exterior with a tender interior. Made with simple ingredients, they’re a delicious way to use up sourdough discard and pumpkin puree.
- Total Time: 20 minutes
- Yield: 4 servings 1x
Ingredients
- 1 cup (240g) sourdough discard
- ½ cup (120g) pumpkin puree
- 2 large eggs
- ¼ cup (60ml) whole milk
- 4 tablespoons (56g) unsalted butter, melted and slightly cooled
- 2 tablespoons (25g) packed brown sugar
- 1 teaspoon vanilla extract
- 1 cup (120g) all-purpose flour
- 2 teaspoons baking powder
- ½ teaspoon baking soda
- ½ teaspoon salt
- 1 teaspoon ground cinnamon
- ½ teaspoon ground ginger
- ¼ teaspoon ground nutmeg
- ⅛ teaspoon ground cloves
Instructions
- Preheat your waffle iron to medium-high heat. Let it heat for a full five minutes.
- In a large mixing bowl, whisk together the sourdough discard, pumpkin puree, eggs, milk, melted butter, brown sugar, and vanilla extract until smooth.
- In a separate medium bowl, whisk together the flour, baking powder, baking soda, salt, cinnamon, ginger, nutmeg, and cloves.
- Pour the dry ingredients into the wet ingredients. Fold gently with a rubber spatula until just combined (a few lumps are fine).
- Let the batter rest for 5 minutes to activate the baking powder and hydrate the flour.
- Lightly grease the waffle iron with non-stick spray or melted butter. Pour about ⅓ cup of batter onto the center of the iron. Close the lid and cook for 4-5 minutes, until deep golden brown and steam slows.
- Transfer each waffle directly to a cooling rack to keep it crispy. Do not stack.
- Serve immediately with desired toppings.
Notes
For extra crispy waffles, replace one egg with 1 tablespoon melted butter and 1 tablespoon cornstarch. Cook an extra minute per side. To freeze, cool completely, freeze in a single layer, then transfer to a freezer bag for up to 3 months. Reheat in a toaster.
- Prep Time: 10 minutes
- Cook Time: 10 minutes
- Category: Breakfast
- Cuisine: American
Nutrition
- Serving Size: 1 waffle
- Calories: 245
- Sugar: 6
- Sodium: 380
- Fat: 11
- Saturated Fat: 6
- Carbohydrates: 31
- Fiber: 2
- Protein: 6
Keywords: pumpkin waffles, sourdough discard waffles, crispy waffles, easy breakfast, fall breakfast, sourdough discard recipe


