
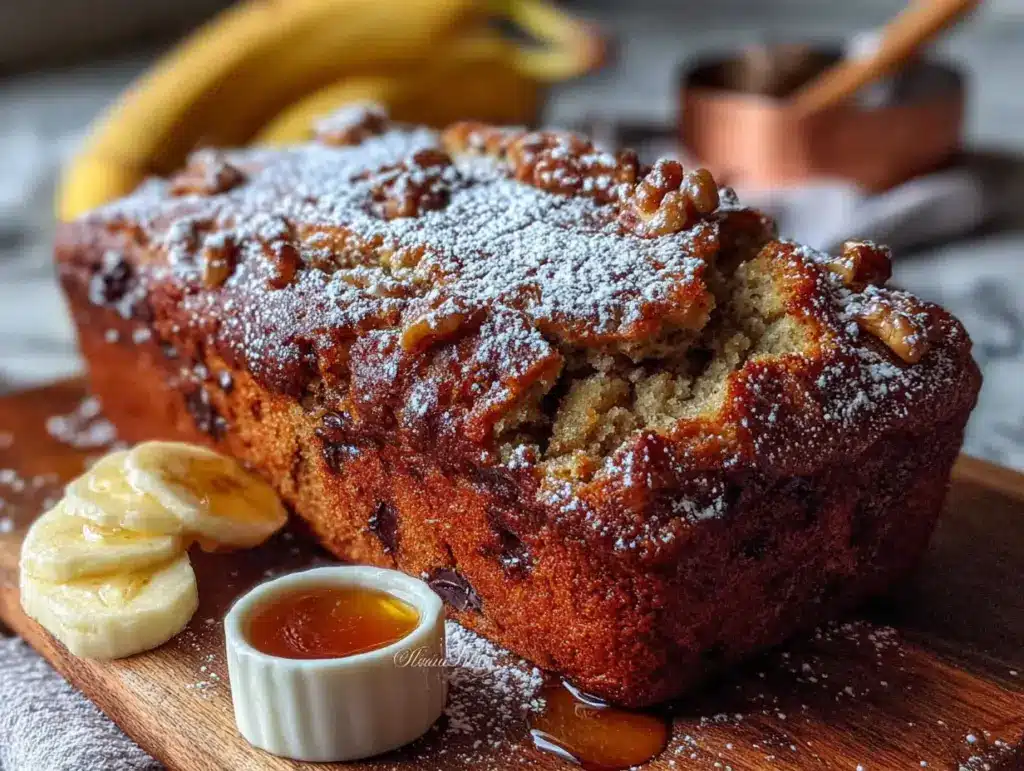
That sticky-sweet scent of overripe bananas—the kind that hits you before you even open the fruit bowl—still takes me straight to my grandmother’s kitchen on a rainy Sunday afternoon. She’d pull out that dented metal loaf pan, the one with the faded red trim, and I’d already know what was coming. But this version? This one came to me years later, on a Tuesday night when I had zero energy to stand over a mixer but desperately needed that warm, buttery slice.
I had a counter full of spotty bananas (you know the ones) and a craving that wouldn’t quit. But I also had a splitting headache and a toddler who refused to nap. The idea of creaming butter and sugar felt like a cruel joke. So I grabbed my Dutch oven, dumped everything into a bowl, gave it a lazy stir, and covered it up. I honestly didn’t expect much. I figured I’d wake up to a dense, sad brick of banana bread.
What came out of that oven the next morning was something else entirely. The crust was crackly and golden, almost like artisan bread. The inside was tender and moist, with those little pockets of concentrated banana sweetness that make you close your eyes. My grandmother would’ve raised an eyebrow at the method, but she would’ve asked for the recipe.
This easy no-knead overnight artisan banana bread became my secret weapon. It’s the recipe I make when I want to look like I spent hours in the kitchen when I really just stirred a bowl and went to bed. And honestly? It might just be the best banana bread I’ve ever had.
Why You’ll Love This Recipe
Let me tell you why this recipe is different from every other banana bread you’ve tried. I’ve tested this thing six times—yes, six—to get the texture just right. The first batch was too wet. The second was too dry. The third? That was the one where I accidentally used bread flour instead of all-purpose, and it turned out amazing. So I kept the bread flour.
- No Kneading Required : You literally stir everything together with a wooden spoon. No stand mixer, no hand mixer, no arm workout. Just a few lazy folds and you’re done.
- Overnight Magic : The dough sits in your fridge for 12 to 18 hours, developing flavor and structure while you sleep. It’s like having a little baking fairy do the work for you.
- Artisan Texture at Home : That crackly crust and soft, airy crumb? That’s usually reserved for fancy bakery loaves. But you get it from your own kitchen, with zero special skills.
- Simple Pantry Ingredients : You probably have everything already. Bananas, flour, sugar, butter, eggs, salt. That’s it. No weird additives or specialty flours.
- Perfect for Busy People : Mix it up in ten minutes before bed, bake it in the morning, and have warm banana bread for breakfast. It’s the ultimate set-it-and-forget-it recipe.
What makes this recipe truly special is the overnight fermentation. That long, slow rest in the fridge allows the flavors to deepen and meld together. The bananas get sweeter, the butter gets richer, and the crust develops that incredible crackle you only get from high-hydration doughs. It’s not just another banana bread—it’s the one that makes people ask, “Wait, how did you do that?”
What Ingredients You Will Need
This recipe uses simple, wholesome ingredients to deliver that artisan bakery flavor without any fuss. Most of these are probably in your kitchen right now, which is exactly how I like it.
For the Banana Bread Dough
- 3 large very ripe bananas, mashed (about 1½ cups) — The riper the better. Those black-speckled ones that look like they’re past their prime? They’re perfect. They break down easily and add natural sweetness.
- 2 cups bread flour (250g) — I prefer King Arthur bread flour for this. It gives the bread that chewy, artisan texture. All-purpose works too, but the crust won’t be quite as crackly.
- ½ cup granulated sugar (100g) — Just enough to sweeten without overwhelming the banana flavor. You can reduce it to ⅓ cup if your bananas are super ripe.
- ¼ cup unsalted butter, melted and cooled (57g) — Melted butter gives the bread richness without needing to cream it. Let it cool slightly so it doesn’t cook the eggs.
- 1 large egg, room temperature — Cold eggs will seize the melted butter. Leave it on the counter for 30 minutes, or place it in warm water for 5 minutes.
- 1 teaspoon vanilla extract — Pure vanilla, not imitation. It rounds out the banana flavor beautifully.
- 1 teaspoon baking soda — This is your leavener. Make sure it’s fresh—test it by dropping a bit into vinegar; it should fizz immediately.
- ½ teaspoon salt — Fine sea salt is best. Don’t skip it—salt balances the sweetness and enhances the banana flavor.
- ¼ cup plain yogurt or buttermilk (60ml) — This adds moisture and a slight tang that complements the bananas. Greek yogurt works perfectly.
For the Topping (Optional But Recommended)
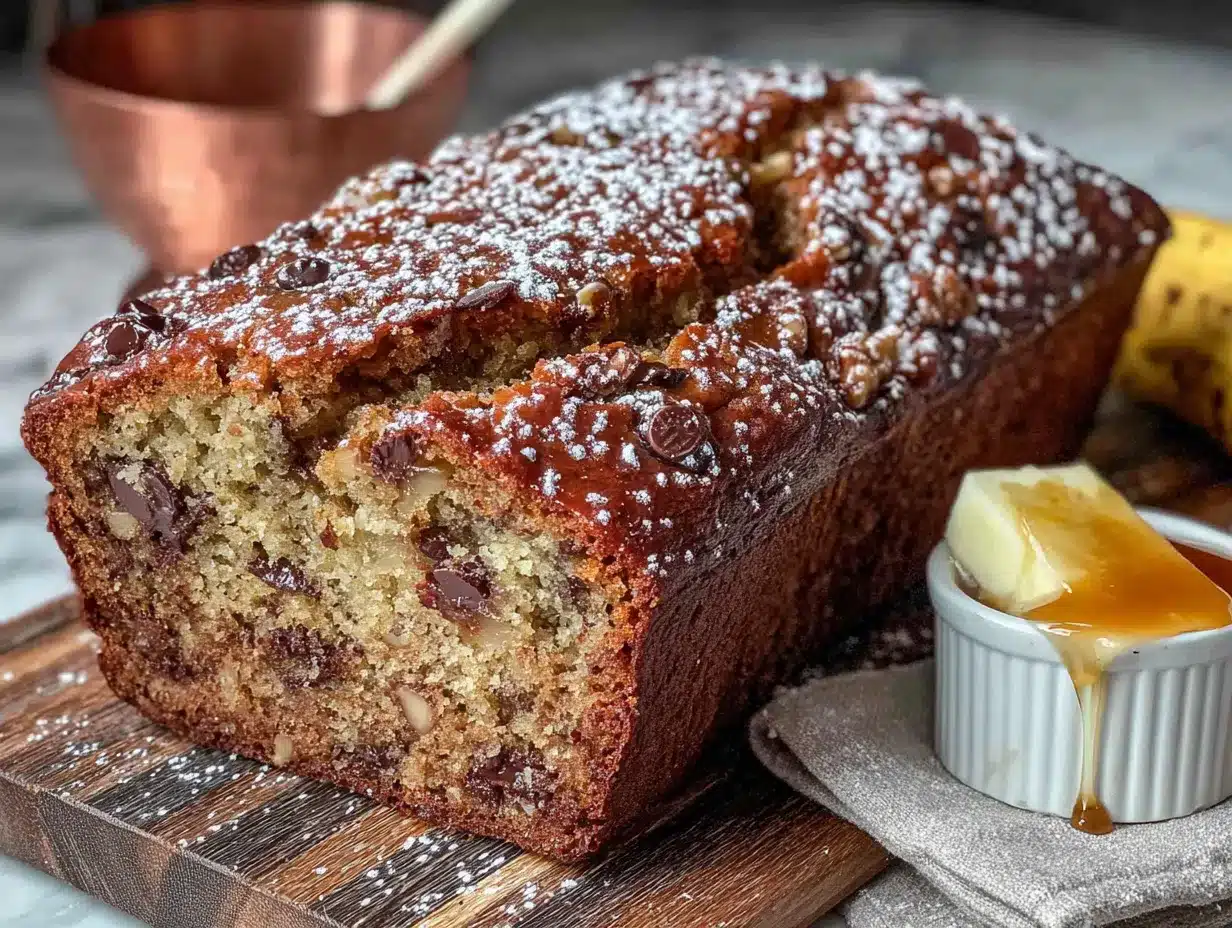
- 1 tablespoon turbinado sugar (or coarse sugar) — That crunchy, sparkly topping that makes the crust extra special. Regular sugar works too, but it won’t give the same crunch.
- ¼ cup chopped walnuts or pecans (optional) — Adds a lovely crunch. Toast them first for deeper flavor.
If you’re out of bread flour, don’t worry. I’ve made this with all-purpose flour and it’s still delicious—the crust just won’t be quite as crackly. And if you don’t have yogurt, you can use sour cream or even milk with a teaspoon of lemon juice. The recipe is forgiving that way.
Equipment Needed
You don’t need much for this recipe, and that’s the beauty of it. Here’s what you’ll need:
- Large mixing bowl — Any bowl works, but I love my ceramic one because it doesn’t absorb odors.
- Wooden spoon or silicone spatula — For mixing. A sturdy spoon works best for this thick dough.
- Plastic wrap or a reusable bowl cover — To cover the dough while it rests overnight.
- Dutch oven or heavy-bottomed pot with lid (5 to 7 quarts) — This is key for that artisan crust. The heavy pot traps steam and creates a crispy exterior. If you don’t have one, a deep cast-iron skillet with a foil cover works too.
- Parchment paper — For lining the pot. Makes cleanup a breeze and prevents sticking.
- Cooling rack — Essential for letting the bread cool properly so the inside finishes setting.
- Sharp knife or bench scraper — For scoring the top before baking. That little cut helps the bread expand evenly.
I’ve made this in a cheap aluminum pot before and it still worked, so don’t stress if you don’t have a fancy Dutch oven. The key is a heavy pot that holds heat well. If you’re just starting out, a thrift store find works perfectly.
Preparation Method
This method is almost laughably simple. You’ll mix everything, let it rest, and bake. That’s it. But I’ll walk you through every step so you get perfect results every time.
- Mash the bananas — In your large mixing bowl, mash the bananas with a fork until they’re mostly smooth with a few small lumps. You want some texture, not baby food. Set aside.
- Mix the wet ingredients — Add the melted butter, egg, vanilla extract, and yogurt to the mashed bananas. Stir until combined. It might look a little lumpy—that’s fine. Don’t overmix.
- Add the dry ingredients — Sprinkle the bread flour, sugar, baking soda, and salt over the wet mixture. Stir gently with your wooden spoon until just combined. The dough will be thick and shaggy. A few flour streaks are okay—they’ll hydrate during the rest.
- Cover and refrigerate — Cover the bowl tightly with plastic wrap and place it in the refrigerator. Let it rest for at least 12 hours, up to 18 hours. I usually mix it around 8 PM and bake it at 8 AM the next morning. The dough will puff up slightly and develop a lovely fermented aroma.
- Preheat your oven — About 30 minutes before you’re ready to bake, place your Dutch oven (with the lid on) in the cold oven. Then preheat to 450°F (230°C). Let the pot heat up for a full 30 minutes after the oven reaches temperature. This step is crucial for that crackly crust.
- Prepare the dough — While the pot heats, remove the dough from the fridge. It will be cold and slightly puffy. Generously flour your work surface and your hands. The dough is sticky—don’t fight it. Gently shape it into a rough round or oval. Don’t knead it; just fold the edges under to create a smooth top.
- Score the top — Using a sharp knife or bench scraper, make a deep slash across the top of the dough, about ½ inch deep. This allows the bread to expand in the oven. Sprinkle with turbinado sugar and nuts if using.
- Bake — Carefully remove the hot Dutch oven from the oven. Place the shaped dough on a piece of parchment paper and lower it into the pot. Cover with the lid and bake for 30 minutes. Then remove the lid and bake for another 15 to 20 minutes, until the crust is deep golden brown and the internal temperature reaches 200°F (93°C).
- Cool completely — Transfer the bread to a cooling rack and let it cool for at least 1 hour before slicing. I know it’s hard to wait, but cutting it too early will give you a gummy interior. Trust me on this.
A few sensory cues to watch for: the dough should feel cold and slightly firm when you take it out of the fridge. When you score it, you should hear a slight crackle. During baking, your kitchen will smell like a bakery—that’s how you know it’s working.
Cooking Tips & Techniques
I’ve learned a few things the hard way, so let me save you some trouble. Here are my best tips for this recipe:
- Don’t skip the overnight rest. I tried rushing it once—baked after only 6 hours—and the bread was denser and less flavorful. That long rest is what develops the artisan texture and deep banana taste.
- Use very ripe bananas. I mean brown-spotted, almost black bananas. They’re sweeter and easier to mash. If your bananas aren’t ripe enough, the bread will be less flavorful and more dense. You can speed up ripening by placing them in a paper bag with an apple overnight.
- Handle the dough gently. This is a high-hydration dough, meaning it’s sticky. Don’t add extra flour to make it easier to handle. Just flour your hands and work surface generously, and work quickly. Overworking the dough will make it tough.
- Preheat the Dutch oven thoroughly. That 30-minute preheat is non-negotiable. The pot needs to be screaming hot to create steam and give you that crackly crust. If you rush this step, you’ll get a pale, soft crust.
- Let it cool completely. I know the smell is intoxicating, but slicing into warm bread will give you a gummy, undercooked texture. The inside continues to set as it cools. One hour on a wire rack is the minimum.
- Use a thermometer for accuracy. The internal temperature should reach 200°F (93°C) when done. If you don’t have a thermometer, a toothpick inserted in the center should come out clean with just a few moist crumbs.
I once forgot to score the top, and the bread exploded out the side in a dramatic, lopsided way. It still tasted amazing, but it looked like a science experiment gone wrong. So don’t skip that slash!
Variations & Adaptations
This recipe is wonderfully adaptable. Here are some of my favorite variations:
- Chocolate Chip Banana Bread — Fold in ½ cup of dark chocolate chips before the overnight rest. The chocolate melts into little pockets of gooey goodness. My kids beg for this version.
- Gluten-Free Option — Substitute the bread flour with a good gluten-free all-purpose blend (I like Cup4Cup). Add 1 teaspoon of xanthan gum if your blend doesn’t include it. The texture will be slightly denser but still delicious.
- Vegan Version — Replace the egg with a flax egg (1 tablespoon ground flaxseed mixed with 3 tablespoons water, let sit for 5 minutes) and use coconut oil instead of butter. Use a dairy-free yogurt. It works surprisingly well.
- Spiced Banana Bread — Add 1 teaspoon of cinnamon, ½ teaspoon of nutmeg, and ¼ teaspoon of ground ginger to the dry ingredients. It gives the bread a cozy, fall-inspired warmth.
- Nut-Free Option — Skip the walnuts and add ½ cup of rolled oats or pumpkin seeds for crunch instead. Or just leave it plain—the bread is fantastic on its own.
I once tried a peanut butter swirl version by dolloping 3 tablespoons of peanut butter on top of the dough before baking and swirling it with a knife. It was messy but absolutely incredible. Sometimes the best variations come from happy accidents.
Serving & Storage Suggestions
This banana bread is wonderful warm or at room temperature. Here’s how to serve and store it:
- Serving temperature — Let it cool completely, then slice and serve. If you want it warm, pop a slice in the toaster or microwave for 10 seconds. Spread with salted butter for an extra treat.
- Complementary dishes — Serve alongside a cup of strong coffee or a tall glass of cold milk. For a brunch spread, pair it with creamy strawberry cheesecake stuffed French toast for a sweet breakfast feast.
- Storage — Store in an airtight container at room temperature for up to 3 days. The crust will soften slightly, but the inside stays moist. For longer storage, wrap tightly in plastic wrap and then foil, and freeze for up to 3 months.
- Reheating — To revive that crispy crust, reheat slices in a 350°F (175°C) oven for 5 to 7 minutes. Or just toast them—the toaster works wonders.
- Flavor development — The banana flavor actually deepens after a day. If you can resist eating it all immediately, day-old banana bread is even better. The sweetness mellows and the banana taste becomes more pronounced.
I’ve also used leftover slices to make an incredible banana bread French toast. Dip slices in an egg-milk mixture and fry until golden. Drizzle with maple syrup and you’ve got a breakfast that feels decadent but uses up leftovers.
Nutritional Information & Benefits
Here’s a rough estimate per slice (based on 10 slices):
- Calories : 220
- Fat : 8g
- Carbohydrates : 35g
- Fiber : 2g
- Sugar : 16g
- Protein : 5g
Bananas are packed with potassium, which supports heart health and muscle function. The yogurt adds probiotics and calcium. And because this recipe uses less sugar than traditional banana breads, it’s a slightly healthier indulgence.
If you’re watching your sugar intake, you can reduce the sugar to ⅓ cup without sacrificing much sweetness—the bananas do a lot of the work. For a lower-carb option, you could try almond flour, but I’ll be honest, the texture won’t be the same. Sometimes a little indulgence is worth it.
Conclusion
This easy no-knead overnight artisan banana bread is proof that you don’t need fancy techniques or hours of effort to create something truly special. It’s the kind of recipe that makes you feel like a baking genius, even when you barely lifted a finger. The crackly crust, the tender crumb, the deep banana flavor—it all comes together with just a few minutes of work and a little patience.
I love this recipe because it fits into real life. You can make it on a hectic weeknight, forget about it overnight, and wake up to the promise of something wonderful. It’s forgiving, adaptable, and always, always delicious. Whether you’re a seasoned baker or someone who’s never made bread before, this recipe will work for you.
I’d love to hear how yours turns out! Leave a comment below with your variations or questions. Did you add chocolate chips? Try it with peanut butter? Share your creation—I read every single comment and I’m always inspired by what you come up with. Happy baking, friend.
Frequently Asked Questions
Can I use all-purpose flour instead of bread flour?
Yes, absolutely. The bread will still be delicious, but the crust won’t be quite as crackly and the crumb will be slightly softer. If you have bread flour, use it for the best texture. If not, all-purpose works perfectly fine.
Do I really need to let it rest overnight?
For the best results, yes. The overnight rest develops flavor and structure. But if you’re in a hurry, you can bake it after 4 to 6 hours. The bread will be denser and less flavorful, but it will still be good. Just don’t skip the rest entirely—it needs at least 4 hours.
Can I bake this without a Dutch oven?
You can! Use a heavy cast-iron skillet or a deep baking dish covered tightly with foil. The key is trapping steam to create that crispy crust. If you don’t have a heavy pot, place a pan of water on the bottom rack of the oven to create steam. The crust won’t be quite as dramatic, but it will still be delicious.
How do I know when the banana bread is done?
The internal temperature should reach 200°F (93°C) when inserted into the center. If you don’t have a thermometer, a toothpick inserted should come out clean with just a few moist crumbs. The crust should be deep golden brown and sound hollow when tapped on the bottom.
Can I freeze this banana bread?
Yes, it freezes beautifully. Let it cool completely, then wrap tightly in plastic wrap, then foil, and place in a freezer bag. It will keep for up to 3 months. To thaw, leave it at room temperature for a few hours, or reheat slices in the toaster directly from frozen.
Pin This Recipe!
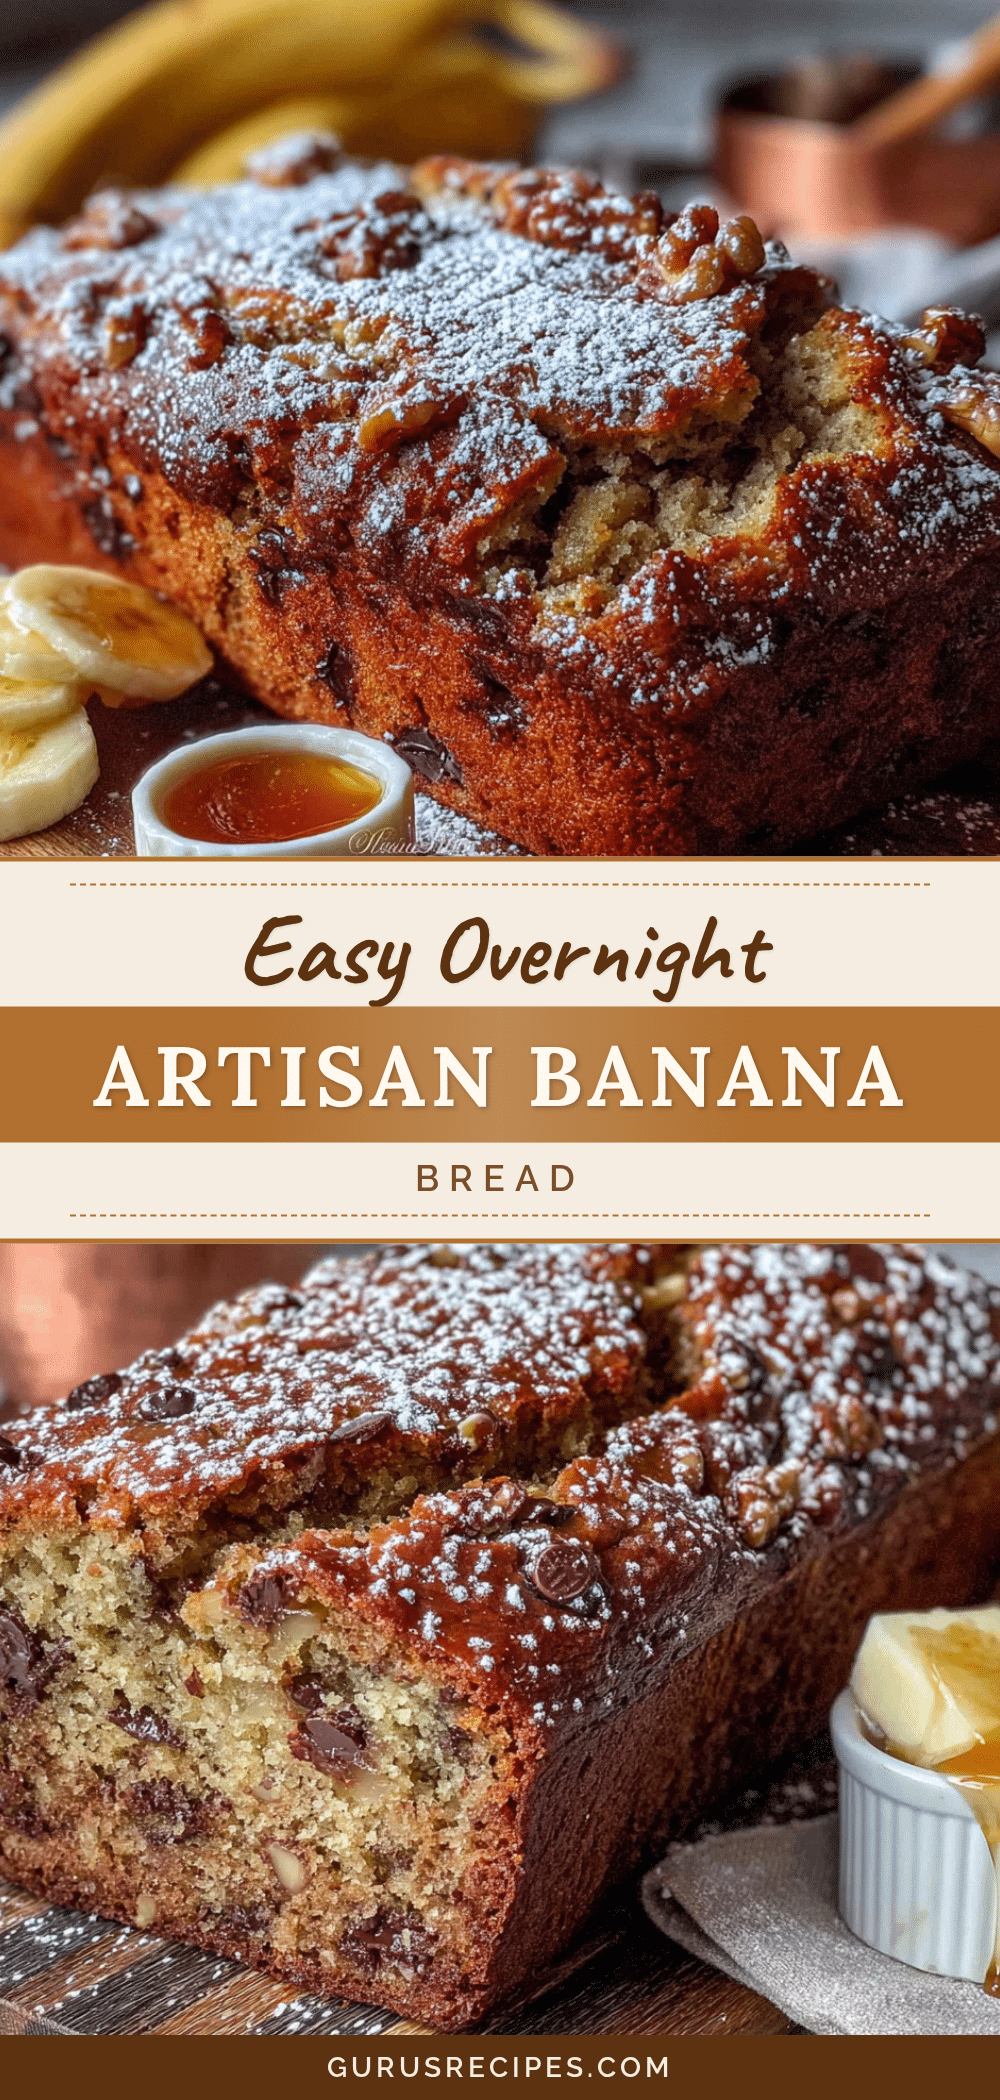

Easy No-Knead Overnight Artisan Banana Bread
This easy no-knead overnight artisan banana bread delivers a crackly crust and tender, moist crumb with minimal effort. Mix the dough in minutes, let it rest overnight, and bake for a bakery-quality loaf that tastes like you spent hours in the kitchen.
- Total Time: 13 hours 55 minutes (includes overnight rest)
- Yield: 10 servings 1x
Ingredients
- 3 large very ripe bananas, mashed (about 1½ cups)
- 2 cups bread flour (250g)
- ½ cup granulated sugar (100g)
- ¼ cup unsalted butter, melted and cooled (57g)
- 1 large egg, room temperature
- 1 teaspoon vanilla extract
- 1 teaspoon baking soda
- ½ teaspoon salt
- ¼ cup plain yogurt or buttermilk (60ml)
- 1 tablespoon turbinado sugar (for topping, optional)
- ¼ cup chopped walnuts or pecans (optional)
Instructions
- Mash the bananas in a large mixing bowl with a fork until mostly smooth with a few small lumps.
- Add melted butter, egg, vanilla extract, and yogurt to the mashed bananas. Stir until combined.
- Sprinkle bread flour, sugar, baking soda, and salt over the wet mixture. Stir gently with a wooden spoon until just combined. The dough will be thick and shaggy.
- Cover the bowl tightly with plastic wrap and refrigerate for at least 12 hours, up to 18 hours.
- About 30 minutes before baking, place a Dutch oven (with lid) in the cold oven. Preheat to 450°F (230°C) and let the pot heat for 30 minutes after reaching temperature.
- Remove dough from fridge. Generously flour work surface and hands. Gently shape dough into a rough round or oval without kneading.
- Using a sharp knife, make a deep slash across the top of the dough, about ½ inch deep. Sprinkle with turbinado sugar and nuts if using.
- Carefully remove hot Dutch oven from oven. Place shaped dough on parchment paper and lower into pot. Cover with lid and bake for 30 minutes.
- Remove lid and bake for another 15 to 20 minutes, until crust is deep golden brown and internal temperature reaches 200°F (93°C).
- Transfer bread to a cooling rack and cool for at least 1 hour before slicing.
Notes
Don’t skip the overnight rest for best flavor and texture. Use very ripe bananas (brown-spotted or almost black). Handle the dough gently; it’s sticky. Preheat the Dutch oven thoroughly for a crackly crust. Let the bread cool completely before slicing to avoid a gummy interior. For variations, try adding chocolate chips, spices, or a peanut butter swirl.
- Prep Time: 10 minutes
- Cook Time: 45 minutes
- Category: Dessert
- Cuisine: American
Nutrition
- Serving Size: 1 slice
- Calories: 220
- Sugar: 16
- Sodium: 280
- Fat: 8
- Saturated Fat: 4
- Carbohydrates: 35
- Fiber: 2
- Protein: 5
Keywords: banana bread, no-knead, overnight, artisan, easy banana bread, Dutch oven banana bread


