
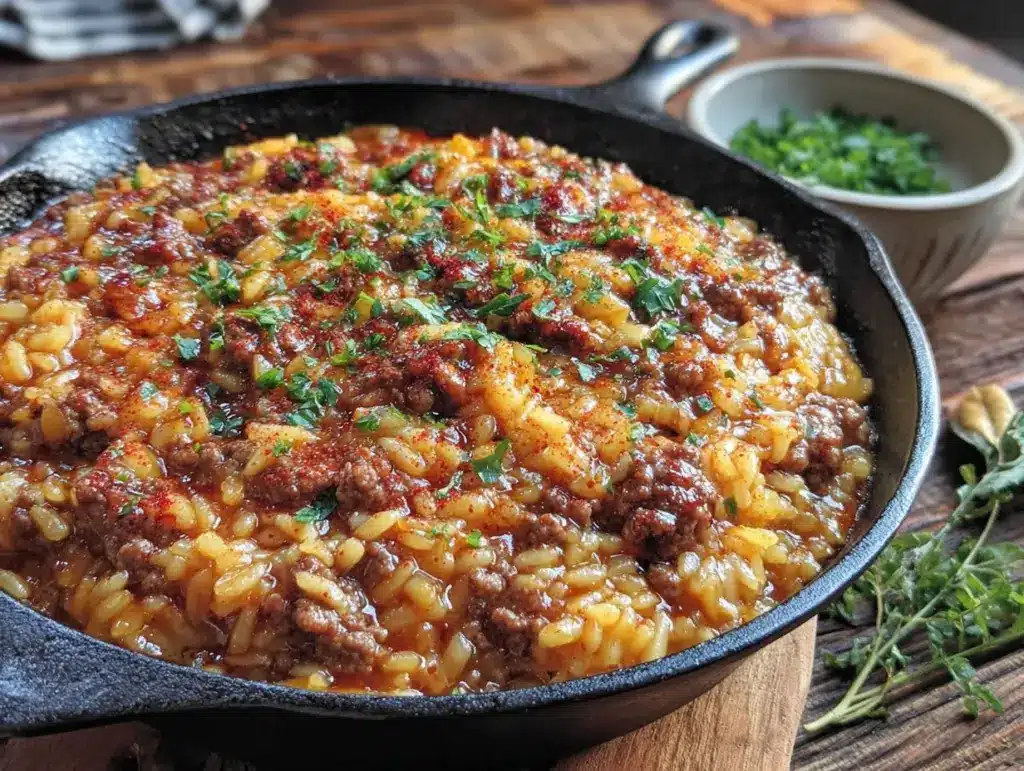
I burned the rice in this dish three times before I finally figured out what I was doing wrong. The first time, I walked away to fold laundry and came back to a kitchen that smelled like regret. The second time, I thought I could speed things up by cranking the heat. Nope. The third time, I used the wrong pan—too thin, no heat retention—and ended up with a crusty, scorched mess that took an hour to scrub off. I almost gave up on the whole idea of a one-pan beef and rice dinner. But here’s the thing: I couldn’t stop thinking about how good it could be. That first bite of perfectly cooked rice, tender beef, and that blanket of melted cheese pulling apart in strings? I knew I had to get it right. So I slowed down, paid attention to the details, and finally cracked the code. Now this easy cheesy beef rice skillet is my go-to when I need dinner on the table fast with zero fuss. It’s the kind of meal that feels like a warm hug after a long day, and honestly, it’s ruined takeout for me forever.
Why You’ll Love This Easy Cheesy Beef Rice Skillet
This isn’t just another ground beef recipe. It’s the one you’ll actually want to make on a Tuesday night when you’re tired and hungry. Let me tell you why this version stands out from the crowd.
- Quick & Easy: From start to finish, this dish comes together in about 30 minutes. No complicated steps, no waiting around. Just one pan and a little patience while the rice does its thing.
- Simple Ingredients: You probably have most of these in your kitchen right now. Ground beef, rice, cheese, a few pantry staples. No fancy grocery runs required.
- Perfect for Busy Weeknights: This is the definition of a weeknight hero. It’s filling, comforting, and satisfies everyone from picky kids to hungry adults.
- Crowd-Pleaser: I’ve served this at family dinners and potlucks, and the pan always comes back empty. It’s one of those recipes that gets requested again and again.
- Unbelievably Delicious: The combination of savory beef, tender rice, and gooey melted cheese is pure comfort. But the secret is in the technique—toasting the rice first and layering the cheese at the right moment makes all the difference.
What makes this recipe different from all the other cheesy rice skillets out there? It’s the little things. I toast the rice in the rendered beef fat before adding liquid, which gives it a nutty depth you don’t get from just boiling it. I use a blend of two cheeses—one for meltiness, one for flavor. And I let the whole thing rest for five minutes off the heat before serving, which lets the rice absorb any remaining liquid and the cheese set into that perfect, creamy blanket. This isn’t just food—it’s the kind of meal that makes you close your eyes after the first bite. The kind that reminds you why home cooking is worth the effort.
What Ingredients You Will Need
This easy cheesy beef rice skillet uses straightforward, wholesome ingredients that work together to create something truly satisfying. No surprises here—just good, honest food.
- Ground beef (1 lb / 450g) — I use 80/20 for the best flavor. The fat renders down and seasons the rice beautifully. If you use leaner beef, you might need to add a tablespoon of oil.
- Long-grain white rice (1 cup / 200g) — Basmati or jasmine work great. Do not use instant rice or brown rice here; they have different cooking times and liquid requirements.
- Yellow onion (1 medium, diced) — Adds sweetness and depth. I prefer yellow over white here because it gets sweeter as it cooks.
- Garlic (3 cloves, minced) — Fresh is non-negotiable for this one. Jarred garlic just doesn’t deliver the same punch.
- Beef broth (2 cups / 480ml) — Low-sodium is best so you can control the salt. I like Swanson or Kitchen Basics for consistent flavor.
- Canned diced tomatoes (1 can, 14.5 oz / 400g), undrained — Look for fire-roasted if you can find them. They add a subtle smokiness.
- Shredded cheddar cheese (1 cup / 115g) — Sharp cheddar gives you the most flavor. Shred it yourself from a block; pre-shredded cheese has anti-caking agents that prevent smooth melting.
- Shredded mozzarella cheese (1 cup / 115g) — This is your melty cheese. It stretches beautifully and balances the sharpness of the cheddar.
- Chili powder (1 teaspoon) — Adds warmth, not heat. You can skip it if you’re sensitive to spice.
- Cumin (1/2 teaspoon) — Earthy and aromatic. It pairs perfectly with the beef and tomatoes.
- Paprika (1/2 teaspoon) — I use sweet paprika for color and a mild, peppery note.
- Salt and black pepper (to taste) — Start with 1/2 teaspoon salt and 1/4 teaspoon pepper, then adjust at the end.
- Olive oil (1 tablespoon) — Only needed if your beef is very lean.
- Fresh parsley or green onions (for garnish) — Optional but recommended. That pop of green makes the dish look as good as it tastes.
Ingredient Selection Tips: For the beef, look for ground chuck rather than ground round. Chuck has that ideal fat ratio that keeps the dish moist. For the rice, avoid parboiled or converted rice—they don’t absorb liquid the same way and can turn out mushy. If you want to swap the beef for ground turkey or chicken, add a tablespoon of olive oil and expect a slightly different flavor profile.
Equipment Needed
You don’t need a fancy kitchen to make this easy cheesy beef rice skillet. Here’s what you’ll actually use:
- A large, deep skillet or Dutch oven (12-inch / 30cm with a lid) — This is the star of the show. A heavy-bottomed pan distributes heat evenly and prevents scorching. I use my Lodge enameled Dutch oven for this, but any heavy skillet with a tight-fitting lid works.
- A wooden spoon or spatula — For breaking up the beef and stirring. A wooden spoon won’t scratch your pan.
- A sharp knife and cutting board — For dicing the onion and mincing the garlic.
- Measuring cups and spoons — Accuracy matters here, especially for the liquid-to-rice ratio.
- A grater — If you’re shredding your own cheese (please do). A box grater is fine, or use the shredding disc on a food processor for speed.
- Aluminum foil (optional) — If your lid doesn’t fit perfectly, a piece of foil under the lid helps trap steam.
Budget-Friendly Tip: If you don’t have a heavy skillet, use a non-stick pan and keep the heat at medium-low. You won’t get the same browning on the beef, but it will still work. Just watch the bottom carefully to prevent sticking.
Preparation Method
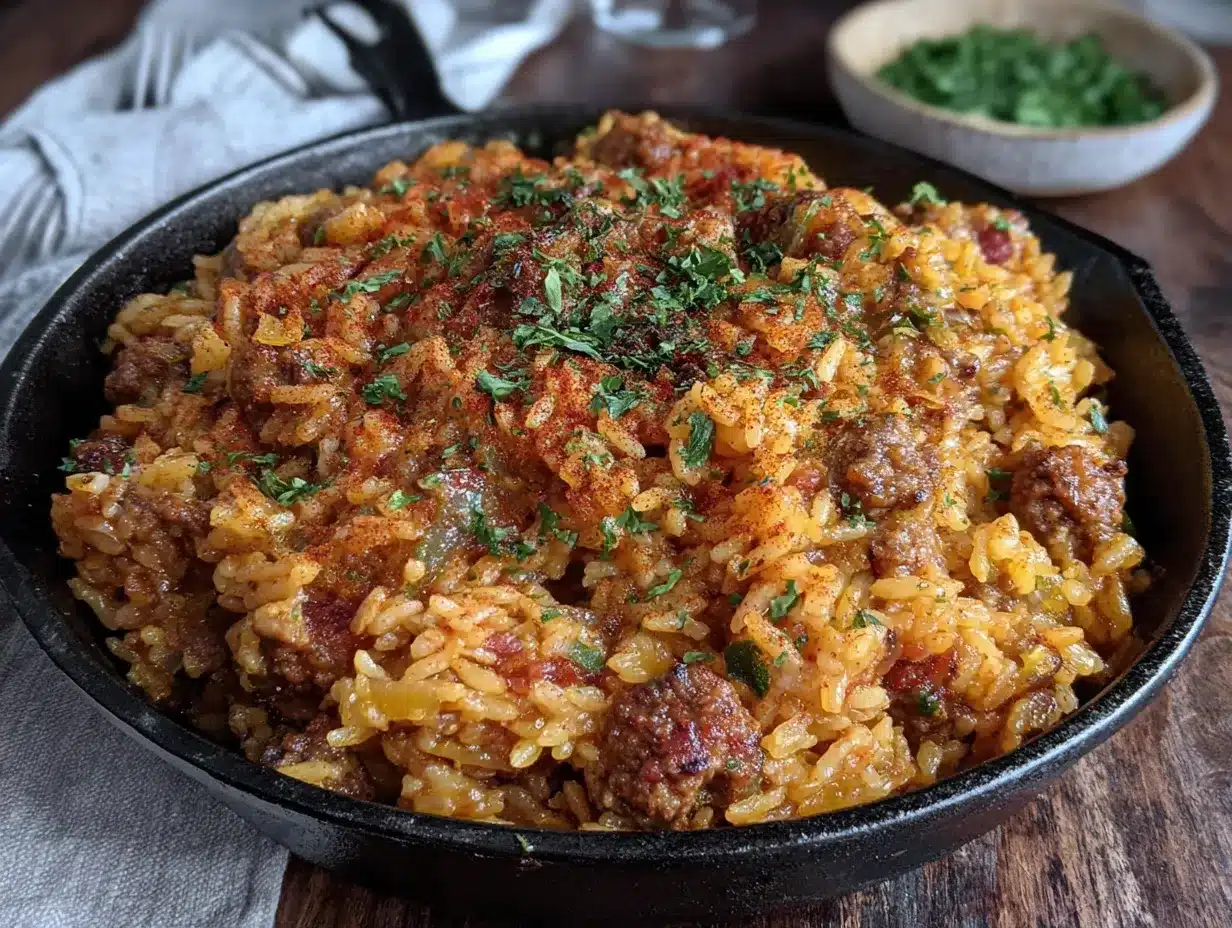
Let’s get cooking. This method is foolproof if you follow the steps in order.
- Prep your ingredients. Dice the onion, mince the garlic, and shred the cheese if you haven’t already. Measure out the rice, broth, and spices. Having everything ready makes the process smooth and stress-free.
- Brown the beef. Heat your skillet over medium-high heat. Add the ground beef and break it apart with your spoon. Cook for 5-7 minutes, stirring occasionally, until the beef is browned and no longer pink. Do not drain all the fat—leave about a tablespoon in the pan for flavor. If you used very lean beef, add the olive oil here.
- Sauté the aromatics. Reduce the heat to medium. Add the diced onion to the pan with the beef. Cook for 3-4 minutes, stirring frequently, until the onion softens and turns translucent. Add the minced garlic and cook for 30 seconds—just until fragrant. Do not let the garlic burn.
- Toast the rice. This is the step that makes a difference. Add the uncooked rice to the pan and stir it into the beef and onion mixture. Cook for 2 minutes, stirring constantly. The rice will start to smell nutty and turn slightly opaque at the edges. This toasting step prevents the rice from turning mushy later.
- Add the liquids and spices. Pour in the beef broth and the can of diced tomatoes (undrained). Add the chili powder, cumin, paprika, salt, and pepper. Stir everything together, scraping the bottom of the pan to release any browned bits. Bring the mixture to a boil.
- Simmer covered. Once it’s boiling, reduce the heat to low. Cover the skillet with a tight-fitting lid. Let it simmer gently for 18-20 minutes. Do not lift the lid during this time—you need the steam to cook the rice properly. The liquid should be gently bubbling, not boiling vigorously.
- Check the rice. After 18 minutes, remove the lid carefully. The rice should be tender and most of the liquid should be absorbed. If the rice is still crunchy, add 2-3 tablespoons of water, replace the lid, and cook for another 3-5 minutes. If the rice is done but there’s excess liquid, leave the lid off and cook on low for 2 minutes to evaporate it.
- Add the cheese. Remove the pan from the heat. Sprinkle the shredded cheddar and mozzarella evenly over the top of the rice and beef mixture. Do not stir it in. Cover the pan again and let it sit for 3-5 minutes. The residual heat will melt the cheese into a beautiful, gooey blanket.
- Rest and serve. After the cheese has melted, let the skillet rest uncovered for 2 minutes. This allows any remaining steam to escape and the cheese to set slightly. Garnish with fresh parsley or sliced green onions. Scoop directly from the pan and serve hot.
Sensory Cues: When you toast the rice, you’ll hear it start to crackle gently. The nutty smell is your signal to add the liquid. When the dish is done, the cheese should pull apart in long, stretchy strings. The rice should be tender but still hold its shape—not mushy or clumpy.
Cooking Tips & Techniques
I’ve made this easy cheesy beef rice skillet more times than I can count, and I’ve learned a few things along the way. Here are the tips that actually matter.
Don’t rush the browning. I know it’s tempting to stir the beef constantly, but let it sit in the pan for a minute or two before breaking it up. You want those brown bits on the bottom of the pan—that’s flavor. If you stir too much, the beef steams instead of browning.
Toast the rice properly. This is the step I messed up in my early attempts. The rice needs to be coated in the fat and heated through until it smells nutty. This changes the starch structure so the rice cooks up fluffy and separate, not sticky and gluey.
Resist the urge to peek. When the rice is simmering, every time you lift the lid, you release steam and heat. That steam is what cooks the rice. If you peek, you add cooking time and risk unevenly cooked rice. Trust the process.
Shred your own cheese. I cannot stress this enough. Pre-shredded cheese is coated with cellulose and other anti-caking agents that prevent it from melting smoothly. You’ll end up with a grainy, clumpy mess instead of that beautiful, creamy blanket. Spend the two minutes shredding a block of cheese.
Let it rest. The resting time after cooking is not optional. It allows the rice to absorb any last bits of liquid and the cheese to settle into a cohesive layer. If you serve it immediately, the cheese will slide off and the rice might be watery. Patience pays off here.
My biggest failure: I once tried to double this recipe in the same pan. The rice took forever to cook, the bottom burned, and the top was still crunchy. Don’t do it. If you need to feed a crowd, make two batches or use a larger pot. One batch fits perfectly in a 12-inch skillet.
Variations & Adaptations
This recipe is a great base for customization. Here are some ways I’ve adapted it over the years.
Spicy Southwest Version: Add 1 diced jalapeño (seeds removed if you want less heat) with the onion. Swap the cheddar for pepper jack cheese. Add a can of drained black beans and a cup of frozen corn when you add the broth. Top with sliced avocado and a squeeze of lime before serving.
Low-Carb Adaptation: Replace the rice with 2 cups of cauliflower rice. Skip the toasting step and add the cauliflower rice with the broth. Reduce the cooking time to 10-12 minutes covered, then add the cheese. The texture is different—lighter and more vegetable-forward—but it still scratches that cheesy, savory itch.
Vegetarian Version: Substitute the ground beef with 1.5 cups of cooked lentils or a 14-ounce block of crumbled firm tofu. Use vegetable broth instead of beef broth. Add a cup of chopped mushrooms with the onion for extra umami. The cooking time stays the same.
Cheese Variations: I’ve made this with gouda, provolone, and even a mix of Monterey Jack and Colby. Each gives a different personality to the dish. Gouda adds a smoky sweetness, while provolone gives a sharper, saltier finish.
Herb Infusion: Add 1 teaspoon of dried oregano or thyme with the spices. Or stir in a handful of fresh spinach at the end, letting it wilt under the cheese. The spinach adds color and nutrients without changing the flavor much.
Serving & Storage Suggestions
This easy cheesy beef rice skillet is best served hot, straight from the pan. The cheese should be molten and stretchy, the rice tender, and the beef flavorful. Here’s how to make the most of it.
Serving Temperature: Serve immediately after the resting period. If it sits too long, the cheese will start to firm up and the rice will continue to absorb moisture. I like to put the skillet right on the table with a big spoon and let everyone help themselves.
What to Serve With It: A simple side salad with a tangy vinaigrette cuts through the richness perfectly. I also love serving it with a side of easy no-knead cheddar bread for dipping into the cheesy bits. If you want something green, roasted broccoli or a quick sautéed spinach works beautifully.
Storage: Let any leftovers cool completely, then transfer to an airtight container. Store in the refrigerator for up to 4 days. The rice will absorb more liquid as it sits, so the texture will be softer the next day—but the flavor only gets better.
Reheating: The best way to reheat this is in a skillet over medium-low heat. Add a tablespoon of water or broth, cover, and heat for 5-7 minutes, stirring once. You can also microwave individual portions in 30-second bursts, stirring in between. Add a splash of water to keep it from drying out.
Freezing: This dish freezes well for up to 3 months. Portion it into freezer-safe containers or zip-top bags. Thaw overnight in the refrigerator before reheating. The cheese might lose some of its stretchiness after freezing, but the flavor remains solid.
Flavor Development: Honestly, this dish tastes even better the next day. The flavors meld together overnight, and the beef and spices become more pronounced. It’s one of those rare recipes where leftovers are almost better than the original.
Nutritional Information & Benefits
Here’s an approximate nutritional breakdown for one serving of this easy cheesy beef rice skillet (based on 6 servings):
| Nutrient | Amount Per Serving |
|---|---|
| Calories | 485 |
| Protein | 32g |
| Fat | 22g |
| Saturated Fat | 10g |
| Carbohydrates | 38g |
| Fiber | 3g |
| Sugar | 5g |
| Sodium | 680mg |
Health Benefits: This dish is a solid source of protein from the beef and cheese, which helps keep you full and supports muscle health. The tomatoes provide lycopene, an antioxidant linked to heart health. The onions and garlic offer prebiotic fiber that supports gut health. If you use brown rice instead of white, you’ll get more fiber and B vitamins.
Dietary Considerations: This recipe is naturally gluten-free (check your broth label to be sure). It’s not low-carb, but you can make the cauliflower rice adaptation mentioned above. The main allergens are dairy (cheese) and, depending on your broth, possible soy or gluten. For a dairy-free version, use a plant-based shredded cheese that melts well, like Daiya or Violife.
Frequently Asked Questions
Can I use ground turkey instead of beef?
Yes, you can. Use 1 pound of ground turkey and add 1 tablespoon of olive oil since turkey is leaner. The flavor will be milder, so you might want to increase the spices slightly. The cooking time stays the same.
Can I make this in a slow cooker?
I don’t recommend it. Rice cooked in a slow cooker tends to turn mushy or uneven. This recipe is designed for the stovetop where you can control the heat and cooking time precisely. If you’re short on time, it’s actually faster to make it on the stove.
My rice turned out crunchy. What went wrong?
This usually happens for one of three reasons: the lid didn’t fit tightly enough and steam escaped, the heat was too low and the liquid didn’t simmer properly, or you lifted the lid during cooking. Next time, make sure your lid fits snugly and keep the heat at a gentle simmer.
Can I use brown rice instead of white rice?
You can, but you’ll need to adjust the liquid and cooking time. Use 1 cup brown rice, 2.5 cups beef broth, and increase the simmering time to 40-45 minutes. You may need to add more liquid if it evaporates too quickly. The texture will be chewier and nuttier.
How do I prevent the cheese from clumping?
Shred your own cheese from a block. Pre-shredded cheese has anti-caking agents that prevent smooth melting. Also, add the cheese after you remove the pan from the heat and cover it immediately. The gentle residual heat melts it evenly without clumping.
Conclusion
This easy cheesy beef rice skillet has become a staple in my kitchen for good reason. It’s the dinner I turn to when I need something reliable, satisfying, and honestly, a little bit indulgent. The combination of savory beef, perfectly cooked rice, and that blanket of melted cheese is simple comfort at its best. What I love most about this recipe is how forgiving it is once you get the basics right. You can tweak the spices, swap the cheese, or add vegetables based on what you have in the fridge. It’s a recipe that works with you, not against you.
I hope you give this a try and make it your own. Maybe you’ll add a little extra garlic like I do, or throw in some bell peppers for color. Whatever you do, I’d love to hear about it. Leave a comment below and let me know how your skillet turned out. Did you try a variation? Did your family love it? Share your experience—I read every single comment and I love hearing how these recipes come to life in your kitchen. And if you’re looking for another cozy one-pan meal, you might enjoy this cozy crockpot beef stew for those days when you want dinner to cook itself. Happy cooking, friends!
Pin This Recipe!
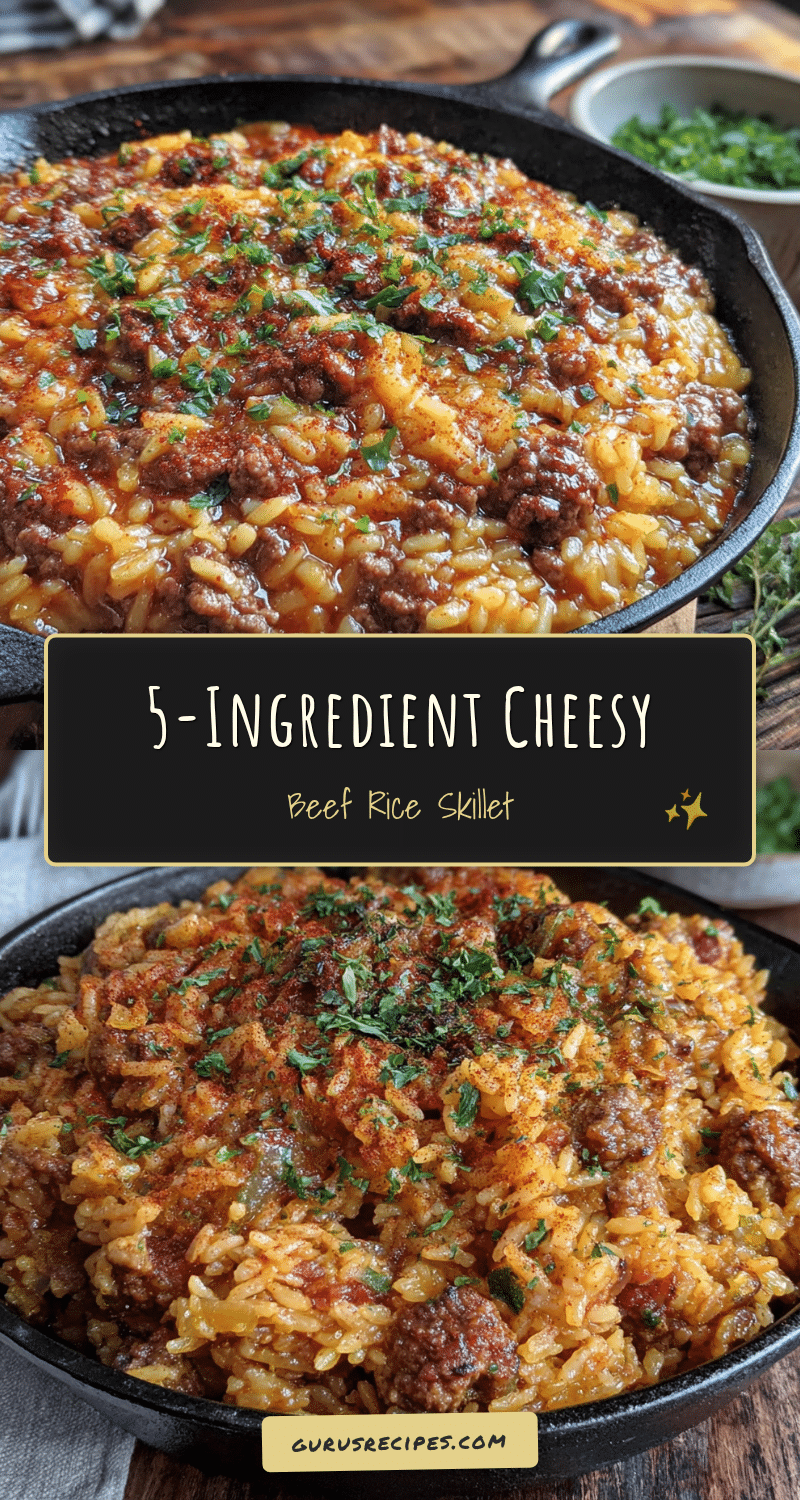

Easy Cheesy Beef Rice Skillet: Best One-Pan Dinner
A quick and easy one-pan dinner featuring savory ground beef, perfectly cooked rice, and a blanket of melted cheese. This comforting weeknight meal comes together in about 30 minutes with simple ingredients.
- Total Time: 35 minutes
- Yield: 6 servings 1x
Ingredients
- 1 lb (450g) ground beef (80/20 recommended)
- 1 cup (200g) long-grain white rice (basmati or jasmine)
- 1 medium yellow onion, diced
- 3 cloves garlic, minced
- 2 cups (480ml) low-sodium beef broth
- 1 can (14.5 oz / 400g) diced tomatoes, undrained (fire-roasted preferred)
- 1 cup (115g) shredded sharp cheddar cheese
- 1 cup (115g) shredded mozzarella cheese
- 1 teaspoon chili powder
- 1/2 teaspoon cumin
- 1/2 teaspoon paprika (sweet)
- 1/2 teaspoon salt (or to taste)
- 1/4 teaspoon black pepper (or to taste)
- 1 tablespoon olive oil (only if using lean beef)
- Fresh parsley or green onions for garnish (optional)
Instructions
- Prep your ingredients: dice the onion, mince the garlic, shred the cheese, and measure out the rice, broth, and spices.
- Heat a large, deep skillet or Dutch oven over medium-high heat. Add the ground beef and break it apart with a spoon. Cook for 5-7 minutes, stirring occasionally, until browned and no longer pink. Leave about 1 tablespoon of fat in the pan; if using lean beef, add the olive oil.
- Reduce heat to medium. Add the diced onion and cook for 3-4 minutes, stirring frequently, until softened and translucent. Add the minced garlic and cook for 30 seconds until fragrant.
- Add the uncooked rice to the pan and stir into the beef and onion mixture. Cook for 2 minutes, stirring constantly, until the rice smells nutty and turns slightly opaque at the edges.
- Pour in the beef broth and diced tomatoes (undrained). Add chili powder, cumin, paprika, salt, and pepper. Stir, scraping the bottom of the pan to release any browned bits. Bring to a boil.
- Reduce heat to low, cover with a tight-fitting lid, and simmer gently for 18-20 minutes. Do not lift the lid during this time.
- After 18 minutes, remove the lid. The rice should be tender and most liquid absorbed. If rice is still crunchy, add 2-3 tablespoons water, cover, and cook 3-5 more minutes. If excess liquid remains, leave lid off and cook on low for 2 minutes.
- Remove the pan from heat. Sprinkle shredded cheddar and mozzarella evenly over the top. Do not stir. Cover and let sit for 3-5 minutes until cheese is melted.
- Let the skillet rest uncovered for 2 minutes. Garnish with fresh parsley or sliced green onions. Serve hot directly from the pan.
Notes
Toast the rice in the rendered beef fat for nutty flavor. Shred your own cheese for smooth melting. Do not lift the lid while rice simmers. Let the dish rest after cooking for best texture. For a spicy version, add diced jalapeño with onion and use pepper jack cheese. For low-carb, substitute cauliflower rice and reduce cooking time.
- Prep Time: 10 minutes
- Cook Time: 25 minutes
- Category: Main Course
- Cuisine: American
Nutrition
- Serving Size: 1 serving (about 1.5
- Calories: 485
- Sugar: 5
- Sodium: 680
- Fat: 22
- Saturated Fat: 10
- Carbohydrates: 38
- Fiber: 3
- Protein: 32
Keywords: cheesy beef rice skillet, one-pan dinner, ground beef recipe, easy weeknight dinner, cheesy rice, beef and rice


