
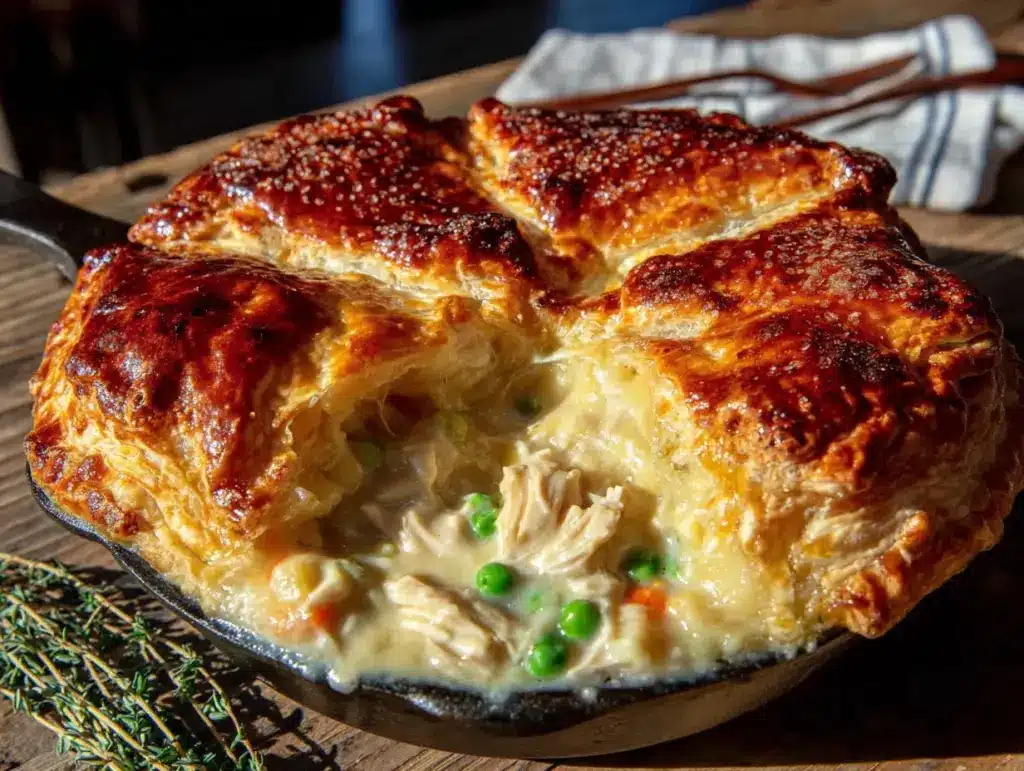
My husband took his first bite of this leftover turkey pot pie, stopped chewing, and just looked at me. Not in a dramatic way or anything dramatic—just this quiet pause where I could tell something was happening in his brain. He swallowed and said, “This is better than the actual Thanksgiving dinner.” And honestly? I kind of agreed with him. That was the moment I knew this recipe was going to become a permanent fixture in our post-holiday rotation, not just a way to use up what was left in the fridge.
There’s something about the way the filling comes together that feels almost accidental. The gravy gets this deep, savory richness from the leftover turkey juices, and the vegetables soften into these little pockets of sweetness that contrast with the flaky, buttery crust on top. I wasn’t trying to create anything special that day—I was just hungry and tired of looking at containers of leftover turkey taking up space in my refrigerator. But sometimes the best recipes come from those moments of necessity, you know?
This cozy leftover turkey pot pie with flaky crust has become my favorite way to extend the comfort of a holiday meal without feeling like I’m eating the same thing for a week straight. The crust gets golden and shatteringly flaky, and the filling is thick enough to hold its shape but still creamy and luxurious. It’s the kind of meal that makes you forget you’re eating leftovers at all.
Why You’ll Love This Recipe
I’ve made this pot pie more times than I can count, tweaking the filling ratio, testing different crust techniques, and even accidentally burning a few edges along the way. Here is why this version stands out from every other turkey pot pie recipe out there.
- Uses Up Leftovers Without Feeling Like Leftovers : This transforms your leftover turkey into something completely new and exciting. The creamy filling and flaky crust make it feel like a brand new meal, not a reheat.
- Easy Store-Bought Crut : I use store-bought puff pastry or pie crust to keep things simple. No need to make homemade pastry when you’re already dealing with holiday cooking fatigue.
- One-Dish Wonder : Everything comes together in a single skillet or baking dish, which means less cleanup and more time relaxing after the holidays.
- Freezer-Friendly : Make two at once and freeze one for a busy weeknight later. It reheats beautifully and tastes just as good as the day you made it.
- Crowd-Pleaser : Even people who claim they don’t like pot pie end up going back for seconds. The filling is rich and comforting, and the crust is impossible to resist.
What makes this recipe different is the technique I use for the filling. Instead of a thin, watery gravy, I thicken the sauce with a proper roux and let it simmer until it coats the back of a spoon. This gives you that luscious, velvety texture that holds up under the crust without making everything soggy. Plus, I add a splash of white wine and fresh thyme that elevates the flavor without being fussy or complicated.
This is the kind of meal that makes you close your eyes after the first bite. It is comfort food at its finest—hearty, satisfying, and deeply nostalgic without requiring hours of effort. Perfect for those chilly post-holiday evenings when all you want is something warm and cozy.
What Ingredients You Will Need
This recipe uses simple, wholesome ingredients that you likely already have in your kitchen after a holiday meal. The beauty of this pot pie is that it doesn’t require anything fancy—just good-quality leftovers and a few pantry staples to tie everything together.
For the Filling
- 3 tablespoons unsalted butter (adds richness and helps create the roux base)
- 1 medium yellow onion, diced (about 1 cup; provides aromatic depth)
- 2 medium carrots, peeled and diced (about 1 cup; adds sweetness and color)
- 2 celery stalks, diced (about 1/2 cup; classic mirepoix base)
- 1/2 teaspoon salt (adjust to taste)
- 1/4 teaspoon black pepper
- 1/4 teaspoon dried thyme (or 1 teaspoon fresh thyme leaves)
- 1/4 cup all-purpose flour (for thickening the gravy)
- 2 cups low-sodium chicken or turkey broth (I recommend Swanson or Kitchen Basics)
- 1/2 cup whole milk or heavy cream (adds creaminess; use dairy-free milk if needed)
- 1 tablespoon dry white wine (optional but recommended for depth; use additional broth if skipping)
- 3 cups cooked leftover turkey, shredded or diced (dark and white meat both work great)
- 1 cup frozen peas (no need to thaw; they add pops of sweetness)
- 1 tablespoon fresh parsley, chopped (for garnish)
For the Crust

- 1 sheet puff pastry, thawed (I prefer Pepperidge Farm for consistent results)
- 1 large egg, beaten (for egg wash to get that golden, shiny crust)
- Flaky sea salt (optional, for sprinkling on top)
Ingredient Selection Tips: When choosing your puff pastry, look for one that uses real butter rather than shortening—the flavor difference is noticeable. If you have leftover pie dough from your holiday baking, feel free to use that instead. For the turkey, both white and dark meat work wonderfully, though dark meat adds a bit more moisture and flavor. If your leftover turkey is on the drier side, shred it finely rather than dicing it so it absorbs more of the gravy.
Substitution Guidance: For a gluten-free version, use a gluten-free all-purpose flour blend for the roux and a gluten-free pie crust or puff pastry on top. Swap the milk with unsweetened oat milk or canned coconut milk for a dairy-free option. If you don’t have white wine, simply omit it and add an extra tablespoon of broth—the dish will still be delicious.
Equipment Needed
You don’t need any fancy equipment to make this pot pie, which is part of what makes it so approachable. Here is what you will need:
- 10-inch oven-safe skillet or cast-iron skillet (this is ideal because you can cook the filling and bake the pie all in one pan)
- Sharp chef’s knife (for dicing vegetables and shredding turkey)
- Cutting board
- Wooden spoon or silicone spatula (for stirring the roux and filling)
- Measuring cups and spoons
- Small bowl (for the egg wash)
- Pastry brush (for applying the egg wash; a clean basting brush works too)
- Rolling pin (only if you need to roll out the puff pastry to fit your dish)
If you don’t have an oven-safe skillet, you can cook the filling in a regular skillet and transfer it to a 9×13-inch baking dish or a 9-inch pie plate before adding the crust. I’ve used both methods, and they work equally well. A cast-iron skillet gives you the best heat retention and creates a beautiful golden crust on the edges, but any oven-safe dish will do the job.
For budget-friendly options, skip the pastry brush and use a paper towel to dab the egg wash on the crust. And if you don’t have a rolling pin, a clean wine bottle works in a pinch—just make sure it’s dry and dusted with flour.
Preparation Method
Follow these steps carefully, and you will have a pot pie that rivals any restaurant version. I’ve included time estimates and sensory cues so you know exactly what to look for at each stage.
- Preheat your oven to 400°F (200°C). Position a rack in the center of the oven. While the oven heats, remove your puff pastry from the freezer and let it sit at room temperature for about 15-20 minutes—it should be pliable but still cold.
- Melt the butter in your oven-safe skillet over medium heat. Swirl the pan to coat the bottom evenly. You should hear a gentle sizzle as the butter melts—if it starts browning too quickly, reduce the heat slightly.
- Add the diced onion, carrots, and celery to the skillet. This is your mirepoix base, and it is the foundation of flavor for the entire dish. Stir everything together with a wooden spoon, making sure the vegetables are coated in the butter. Cook for 6-8 minutes, stirring occasionally, until the onions turn translucent and the carrots begin to soften. The kitchen should start smelling sweet and savory at this point.
- Season the vegetables with salt, pepper, and dried thyme. Stir to combine and let the spices bloom for about 30 seconds. This step is important—it wakes up the flavors and infuses them into the vegetables.
- Sprinkle the flour over the vegetables and stir constantly for 1-2 minutes. The flour will coat the vegetables and absorb any remaining butter, forming a thick paste. Cook this roux until it turns a light golden color and smells slightly nutty. This eliminates the raw flour taste and ensures your gravy will be smooth.
- Slowly pour in the chicken broth while whisking constantly. If you don’t have a whisk, use your wooden spoon and stir vigorously to prevent lumps from forming. The mixture will thicken almost immediately—keep stirring until it is smooth and bubbling. This should take about 2-3 minutes.
- Add the milk or heavy cream and the white wine (if using). Stir everything together until the gravy is smooth and has a velvety consistency. Let it simmer gently for 2-3 minutes, stirring occasionally. The gravy should coat the back of a spoon—if it looks too thick, add a splash more broth. If it looks too thin, let it simmer a minute longer.
- Fold in the shredded turkey and frozen peas. Stir gently until everything is evenly distributed in the gravy. Let the filling simmer for another 2 minutes so the turkey can warm through and absorb some of the sauce. Taste the filling and adjust the salt and pepper if needed. The filling should be thick, creamy, and deeply savory with pops of sweetness from the peas.
- Remove the skillet from the heat. Let it cool for 5 minutes while you prepare the crust. This brief rest prevents the puff pastry from getting soggy when you place it on top.
- Roll out the puff pastry on a lightly floured surface. If using a standard sheet, roll it just enough to fit over your skillet or baking dish, leaving about 1 inch of overhang on all sides. The pastry should be about 1/8-inch thick. If you’re using a 9-inch pie plate, you may need to cut the pastry to fit.
- Drape the puff pastry over the filling. Gently press the edges of the pastry against the rim of the skillet or dish. If using a skillet, fold the overhang under itself to create a thick edge, then crimp with your fingers or a fork. Cut 3-4 small slits in the top of the pastry with a sharp knife to allow steam to escape—this prevents the crust from getting soggy.
- Brush the top of the pastry with the beaten egg. Use a pastry brush to apply an even, thin layer of egg wash over the entire surface. Be careful not to let the egg wash pool around the edges, as this can make the crust stick to the pan. Sprinkle with flaky sea salt if desired.
- Place the skillet on a baking sheet (to catch any drips) and transfer to the preheated oven. Bake for 25-30 minutes, or until the crust is puffed up and deep golden brown. The filling should be bubbling up through the steam vents—this is how you know it’s hot all the way through.
- Let the pot pie rest for 10-15 minutes before serving. This is the hardest part, I know, but it is crucial. The filling needs time to set so it doesn’t turn into a soupy mess when you cut into it. The crust will also stay crispier if you let it rest.
Cooking Tips & Techniques
After making this pot pie more times than I can count, I’ve learned a few tricks that make a real difference in the final result. Here are the most important ones.
Don’t skip the roux. I know it’s tempting to just dump flour into the broth and hope for the best, but cooking the flour with the butter first is what gives you that silky, lump-free gravy. I learned this the hard way after making a few pot pies with chalky, floury spots. Taking those extra 2 minutes to cook the roux is non-negotiable.
Keep your puff pastry cold. Puff pastry works because of the cold butter layers that create steam during baking. If your pastry gets too warm before it goes in the oven, those layers will melt together and you will end up with a dense, flat crust instead of a flaky, puffy one. If your kitchen is warm, pop the assembled pot pie in the fridge for 10 minutes before baking.
Watch your filling consistency. The filling should be thick enough that you can see the bottom of the pan when you stir it, but still loose enough to be spoonable. If it looks too thick before baking, add a splash of broth. If it looks too thin, let it simmer a few more minutes. Remember that the filling will thicken slightly as it cools, but it won’t thicken much more during baking.
Use a baking sheet under your skillet. Even if you think your skillet won’t overflow, it might. I’ve cleaned burnt filling off my oven floor more times than I’d like to admit. A simple baking sheet saves you from that headache.
Let it rest. I cannot emphasize this enough. Cutting into a hot pot pie immediately will result in a runny filling that pools on your plate. The 10-15 minute rest allows the gravy to set up and the crust to stay crisp. Use this time to set the table or make a simple side salad.
Variations & Adaptations
One of the best things about this pot pie is how adaptable it is. Here are some variations I’ve tried and loved.
Chicken Pot Pie Version: This works perfectly with leftover roasted chicken or rotisserie chicken. Simply substitute the turkey with an equal amount of cooked chicken. The flavor profile is slightly different but equally delicious. I actually make this version more often than the turkey version because rotisserie chicken is available year-round.
Vegetarian Mushroom Pot Pie: Skip the turkey entirely and add 8 ounces of cremini mushrooms, sliced, along with an extra cup of mixed vegetables like corn, green beans, or diced potatoes. Sauté the mushrooms with the mirepoix until they release their liquid and start to brown. The mushrooms provide that same savory, umami richness that makes pot pie so satisfying.
Herb and Cheese Crust Variation: Before draping the puff pastry over the filling, sprinkle 1/4 cup of grated Parmesan cheese and 1 tablespoon of fresh chopped rosemary or thyme over the top. The cheese melts into the crust and creates a savory, crispy topping that is absolutely irresistible.
Slow Cooker Adaptation: Cook the filling (without the peas) in a slow cooker on low for 4-6 hours. Stir in the frozen peas during the last 30 minutes. Transfer the filling to a baking dish, top with puff pastry, and bake at 400°F for 20-25 minutes. This is perfect for busy days when you want dinner ready with minimal effort.
Dairy-Free Version: Use olive oil or vegan butter instead of regular butter, and substitute the milk with unsweetened oat milk or canned coconut milk. The coconut milk adds a subtle richness that works surprisingly well with the savory filling. I’ve made this for dairy-free guests and they couldn’t tell the difference.
Serving & Storage Suggestions
This pot pie is best served warm, straight from the oven, with the crust still golden and flaky. I like to serve it in shallow bowls so you can scoop up every bit of the creamy filling and buttery crust.
What to Serve With It: A simple green salad with a tangy vinaigrette is the perfect counterpoint to the rich, creamy pot pie. I also love serving it with creamy colcannon mashed potatoes for an extra-indulgent meal, or with easy crusty artisan bread to soak up every last drop of gravy. For a complete comfort food feast, pair it with a comforting shepherd’s pie on the side—though that might be overkill for one meal!
Storage Instructions: Leftover pot pie keeps well in the refrigerator for up to 4 days. Cover the dish tightly with foil or plastic wrap once it has cooled completely. The crust will lose some of its crispness, but the flavor will actually deepen overnight as the flavors meld together.
Reheating: To reheat, place individual portions in a 350°F oven for 10-15 minutes, or until the filling is hot and bubbly. You can also reheat in the microwave, but the crust will be soft rather than crispy. For best results, reheat in a toaster oven or air fryer at 350°F for 5-7 minutes.
Freezing: This pot pie freezes beautifully. Assemble the pot pie completely but do not bake it. Wrap the dish tightly in plastic wrap, then a layer of foil, and freeze for up to 3 months. When ready to bake, remove from the freezer, unwrap, and bake directly from frozen at 375°F for 45-55 minutes, or until the crust is golden and the filling is bubbling. You may need to cover the edges with foil if they brown too quickly.
Flavor Development: If anything, this pot pie tastes even better the next day. The flavors have time to meld together, and the filling becomes even more cohesive. I often make it a day ahead and reheat it for dinner the following evening.
Nutritional Information & Benefits
While this pot pie is definitely a comfort food indulgence, it does offer some nutritional benefits worth noting.
Estimated Nutritional Values (per serving, based on 6 servings):
- Calories: 485
- Protein: 28g
- Carbohydrates: 32g
- Fat: 26g
- Saturated Fat: 12g
- Fiber: 4g
- Sugar: 6g
- Sodium: 680mg
Health Benefits: Turkey is an excellent source of lean protein, which helps keep you full and supports muscle health. The carrots and peas provide vitamin A, vitamin C, and fiber, while the onions and celery add antioxidants and anti-inflammatory compounds. The butter and cream do add saturated fat, but they also help your body absorb the fat-soluble vitamins from the vegetables.
Dietary Considerations: This recipe is not gluten-free as written, but can be adapted with gluten-free flour and pastry. It contains dairy but can be made dairy-free with the substitutions mentioned earlier. The recipe is nut-free and egg-free (except for the egg wash, which can be skipped or replaced with a milk wash).
Personal Perspective: I believe in balance—this pot pie is not something I eat every day, but it is a wonderful way to use up holiday leftovers and enjoy a satisfying, homemade meal. The protein and vegetables make it more balanced than many comfort food dishes, and the portion size is reasonable for a main course.
Conclusion
This cozy leftover turkey pot pie with flaky crust has become my go-to post-holiday tradition, and I honestly look forward to it almost as much as the actual holiday meal. There is something deeply satisfying about transforming leftover turkey into something that feels entirely new and special—a dish that makes you forget you’re eating leftovers at all.
I love how forgiving this recipe is. You can swap in whatever vegetables you have on hand, use chicken instead of turkey, or change up the herbs based on what’s in your pantry. It is the kind of recipe that rewards experimentation while still delivering consistent, reliable results every single time. The flaky, buttery crust paired with the creamy, savory filling is comfort food perfection.
If you make this pot pie, I would love to hear how it turns out. Leave a comment below and let me know what variations you tried, or tag me in your photos on social media. And if you’re looking for more cozy comfort food recipes, be sure to check out our cozy crockpot beef stew or creamy loaded baked potato soup for more hearty, satisfying meals. Happy cooking, friends!
Frequently Asked Questions
Can I use leftover turkey that is already seasoned or flavored?
Absolutely! If your turkey was brined, smoked, or seasoned with herbs, that will only add more depth to the pot pie filling. Just be mindful of the salt level—taste the filling before adding extra salt, as brined or smoked turkey can be quite salty on its own.
Can I make this pot pie without puff pastry?
Yes, you can use a traditional pie crust (store-bought or homemade), biscuit dough, or even crescent roll dough on top. Each option gives a slightly different texture—biscuit dough creates a softer, bread-like topping, while pie crust is more traditional and sturdy. Puff pastry gives the flakiest, most impressive result, but any of these options will work.
How do I prevent the bottom crust from getting soggy?
Since this recipe uses a top crust only (not a bottom crust), sogginess is less of an issue. However, if you want to add a bottom crust, blind bake it first for 10-12 minutes at 400°F before adding the filling. This creates a barrier that prevents the filling from soaking into the crust.
Can I add more vegetables to the filling?
Definitely! This recipe is very adaptable. Try adding diced potatoes (parboil them first for 5 minutes), corn kernels, green beans, or even chopped mushrooms. Just keep the total vegetable volume to about 3-4 cups so the filling doesn’t become too dry or crowded.
How do I know when the pot pie is fully baked?
The crust should be puffed up and deep golden brown, and you should see the filling bubbling up through the steam vents. If the crust is browning too quickly but the filling isn’t bubbling yet, tent the top loosely with foil and continue baking. An instant-read thermometer inserted into the filling should read at least 165°F.
Pin This Recipe!
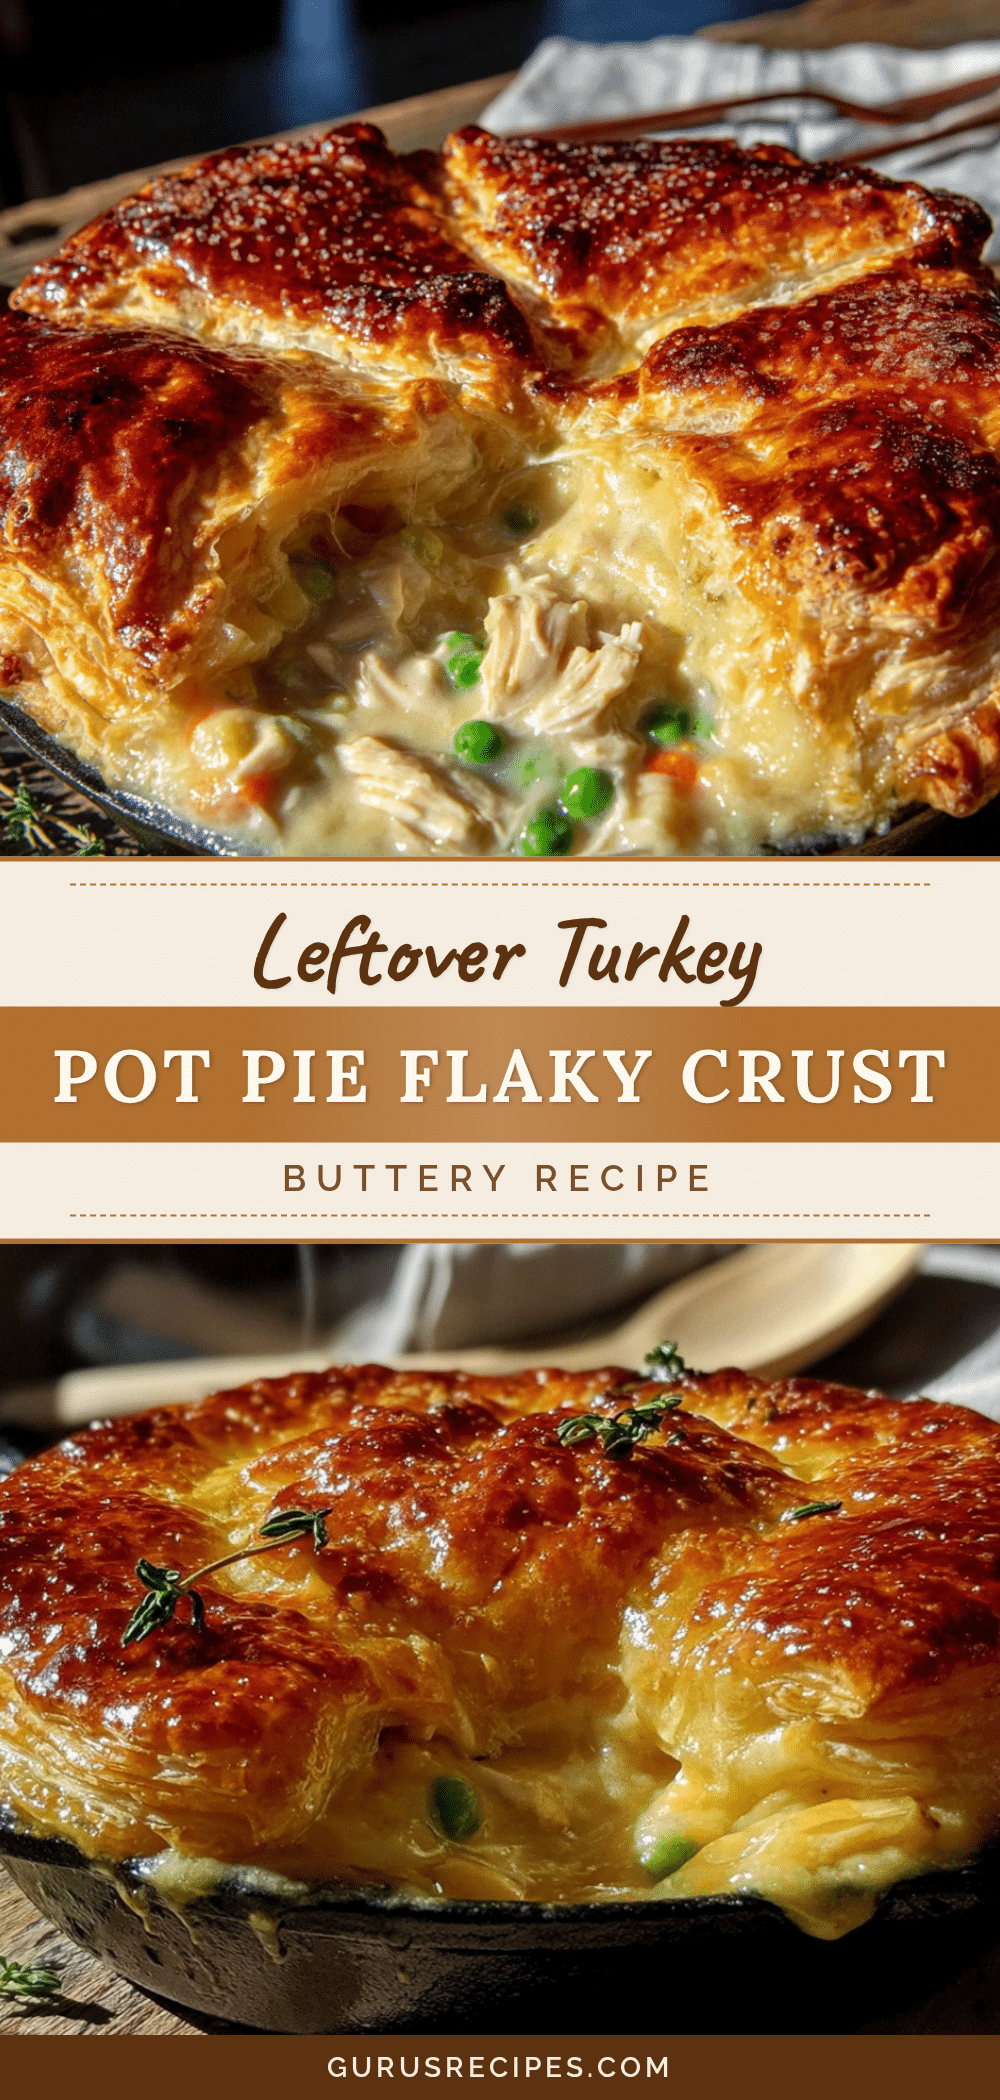

Cozy Leftover Turkey Pot Pie with Flaky Crust
This cozy leftover turkey pot pie transforms holiday leftovers into a brand new, comforting meal with a creamy, savory filling and a flaky, buttery puff pastry crust. It’s the perfect post-Thanksgiving dish that tastes even better than the original dinner.
- Total Time: 50 minutes
- Yield: 6 servings 1x
Ingredients
- 3 tablespoons unsalted butter
- 1 medium yellow onion, diced (about 1 cup)
- 2 medium carrots, peeled and diced (about 1 cup)
- 2 celery stalks, diced (about 1/2 cup)
- 1/2 teaspoon salt
- 1/4 teaspoon black pepper
- 1/4 teaspoon dried thyme (or 1 teaspoon fresh thyme leaves)
- 1/4 cup all-purpose flour
- 2 cups low-sodium chicken or turkey broth
- 1/2 cup whole milk or heavy cream
- 1 tablespoon dry white wine (optional)
- 3 cups cooked leftover turkey, shredded or diced
- 1 cup frozen peas
- 1 tablespoon fresh parsley, chopped (for garnish)
- 1 sheet puff pastry, thawed
- 1 large egg, beaten (for egg wash)
- Flaky sea salt (optional, for sprinkling)
Instructions
- Preheat your oven to 400°F (200°C). Position a rack in the center of the oven. Remove puff pastry from the freezer and let it sit at room temperature for 15-20 minutes until pliable but still cold.
- Melt the butter in a 10-inch oven-safe skillet over medium heat. Swirl to coat the bottom evenly.
- Add the diced onion, carrots, and celery to the skillet. Cook for 6-8 minutes, stirring occasionally, until the onions are translucent and the carrots begin to soften.
- Season the vegetables with salt, pepper, and dried thyme. Stir and let the spices bloom for about 30 seconds.
- Sprinkle the flour over the vegetables and stir constantly for 1-2 minutes until the flour forms a thick paste and turns light golden with a nutty aroma.
- Slowly pour in the chicken broth while whisking constantly. Stir until the mixture is smooth and bubbling, about 2-3 minutes.
- Add the milk or heavy cream and the white wine (if using). Stir until smooth and velvety. Let simmer gently for 2-3 minutes, stirring occasionally. The gravy should coat the back of a spoon.
- Fold in the shredded turkey and frozen peas. Stir gently until evenly distributed. Let simmer for another 2 minutes. Taste and adjust salt and pepper if needed.
- Remove the skillet from the heat and let it cool for 5 minutes.
- Roll out the puff pastry on a lightly floured surface to about 1/8-inch thick, leaving about 1 inch of overhang on all sides.
- Drape the puff pastry over the filling. Press the edges against the rim of the skillet, folding the overhang under itself to create a thick edge. Crimp with fingers or a fork. Cut 3-4 small slits in the top to allow steam to escape.
- Brush the top of the pastry with the beaten egg. Sprinkle with flaky sea salt if desired.
- Place the skillet on a baking sheet and bake for 25-30 minutes, until the crust is puffed and deep golden brown and the filling is bubbling through the vents.
- Let the pot pie rest for 10-15 minutes before serving.
Notes
Don’t skip the roux—cooking the flour with butter first gives a silky, lump-free gravy. Keep puff pastry cold for best flakiness. Let the pot pie rest 10-15 minutes before serving to allow the filling to set. For a gluten-free version, use gluten-free flour and pastry. For dairy-free, use olive oil or vegan butter and unsweetened oat milk or coconut milk.
- Prep Time: 20 minutes
- Cook Time: 30 minutes
- Category: Main Course
- Cuisine: American
Nutrition
- Serving Size: 1 serving
- Calories: 485
- Sugar: 6
- Sodium: 680
- Fat: 26
- Saturated Fat: 12
- Carbohydrates: 32
- Fiber: 4
- Protein: 28
Keywords: leftover turkey pot pie, turkey pot pie, pot pie, leftover turkey recipe, Thanksgiving leftovers, comfort food, puff pastry pot pie


