
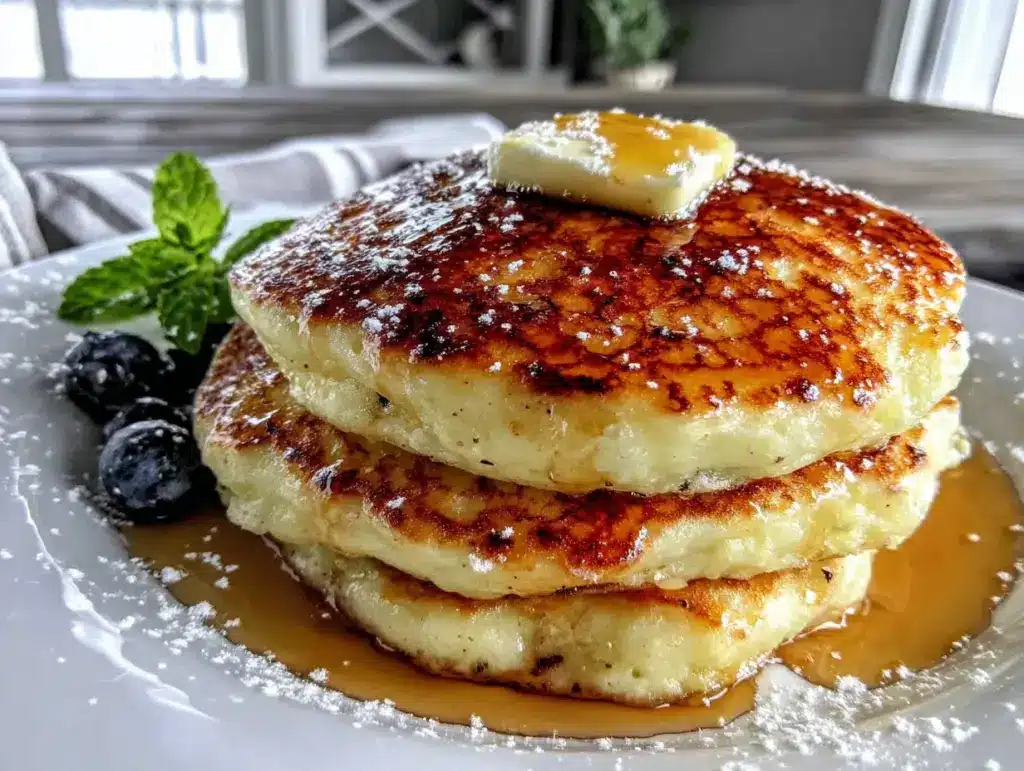
Marta wasn’t trying to impress anyone. I’d stopped by her place on a drizzly Saturday morning to borrow a cake pan—mine had mysteriously vanished during a moving debacle—and the smell hit me before I even got through the door. It was warm, a little tangy, and unmistakably buttery. She was standing at the stove in her bathrobe, flipping pancakes like it was the most boring thing in the world. “Oh, those are just buttermilk pancakes,” she said when I asked. “I make them every weekend.” Just buttermilk pancakes. As if the scent of golden, fluffy discs didn’t just stop me mid-sentence.
I stood there, cake pan completely forgotten, watching her work. She didn’t whisk the batter to death or fuss over the temperature. She just poured, waited for bubbles, and flipped. No drama. No performance. Just the quiet rhythm of someone who had made these pancakes so many times they’d become muscle memory. I left with a stack wrapped in foil and a new mission: figure out how to make pancakes that taste like that Saturday morning felt. You know that feeling when something so simple stops you in your tracks? That’s what these are.
It took me a few tries to get them right. My first batch was tough, my second was flat, and my third—well, let’s just say I learned that over-mixing is the enemy of fluff. But eventually, I cracked the code. These cozy buttermilk pancakes are the result of watching someone who didn’t know they were teaching me. They’re tender, slightly tangy, and tall enough to hold a pat of melting butter. Honestly, they’re the kind of breakfast that makes you want to cancel your plans and stay in your pajamas a little longer.
Why You’ll Love This Recipe
Let me tell you why these cozy buttermilk pancakes are about to become your weekend staple. I’ve tested this recipe about a dozen times—yes, my family has been very patient—and I can confidently say this is the version that works every single time. Here’s what makes them special:
- Quick & Easy: From bowl to plate in under 20 minutes. No complicated techniques, no resting the batter for an hour. Just mix, cook, and eat.
- Simple Ingredients: You probably have everything in your fridge and pantry right now. No fancy flours or obscure extracts—just basic staples that come together beautifully.
- Perfect for Lazy Weekends: These are made for those mornings when you don’t want to rush. They’re the kind of pancakes you make while sipping coffee and listening to the rain.
- Crowd-Pleaser: My picky nephew, who claims he doesn’t like pancakes, ate three of these. Three. I’m still not over it.
- Unbelievably Fluffy: The secret is in the buttermilk and the way you handle the batter. These pancakes rise tall and stay tender all the way through.
What makes this recipe different from the rest is the technique—specifically, how you combine the wet and dry ingredients. Most recipes tell you to mix until just combined, but I’ve found that a few gentle folds with a rubber spatula (and letting the batter rest for just five minutes) makes all the difference. It’s not just another pancake recipe; it’s the one that will make you stop looking.
These cozy buttermilk pancakes are the kind that make you close your eyes after the first bite. They’re comfort food reimagined—faster than from-scratch waffles, but with the same soul-soothing satisfaction. Perfect for impressing weekend guests without stress, or turning a simple morning into something memorable.
What Ingredients You Will Need
This recipe uses simple, wholesome ingredients to deliver that classic tangy flavor and pillowy texture. Most of these are pantry staples, which is exactly what you want for a lazy weekend morning. Here’s what you’ll need:
- All-purpose flour – 2 cups (240g). I use Gold Medal or King Arthur for consistent results. Spoon and level your flour for the best texture—don’t scoop straight from the bag.
- Granulated sugar – 3 tablespoons (36g). Just enough for a hint of sweetness without making them dessert-like.
- Baking powder – 2 teaspoons. Make sure it’s fresh! Old baking powder is the number one reason pancakes fall flat.
- Baking soda – 1 teaspoon. This reacts with the buttermilk for extra lift and tenderness.
- Salt – ½ teaspoon. Don’t skip it—salt balances the tang and brings out the flavor.
- Buttermilk – 2 cups (480ml), shaken well. Full-fat buttermilk gives the richest flavor, but low-fat works too. If you don’t have buttermilk, you can make a quick substitute: add 2 tablespoons of lemon juice or white vinegar to 2 cups of milk and let it sit for 5 minutes.
- Large eggs – 2, at room temperature. Cold eggs can seize the melted butter. If you forgot to take them out, place them in a bowl of warm water for 5 minutes.
- Unsalted butter – 4 tablespoons (56g), melted and slightly cooled. I prefer unsalted so I can control the salt level. For extra flavor, brown the butter first—it adds a nutty depth that’s incredible.
- Vanilla extract – 1 teaspoon. Pure vanilla is best, but imitation works in a pinch.
For serving: butter, pure maple syrup, and maybe some fresh berries or a dusting of powdered sugar. But honestly, these pancakes are so good they don’t need much.
If you’re out of buttermilk, here’s my go-to substitute: mix 2 cups of whole milk with 2 tablespoons of lemon juice and let it sit for 5-10 minutes. It won’t be quite as thick, but it works beautifully. For a dairy-free version, use almond milk with a tablespoon of apple cider vinegar and replace the butter with coconut oil.
Equipment Needed
You don’t need much for these cozy buttermilk pancakes, and that’s part of the beauty. Here’s what I use:
- Large mixing bowl – For the dry ingredients. Any bowl works, but a wide one makes whisking easier.
- Medium bowl or large liquid measuring cup – For mixing the wet ingredients. A spouted cup makes pouring the batter onto the griddle much cleaner.
- Whisk – For combining the dry ingredients and blending the wet ones. A fork works in a pinch, but a whisk gives you better control.
- Rubber spatula – This is key for folding the batter. A wooden spoon can overwork the gluten, so stick with a spatula.
- Non-stick griddle or large skillet – I prefer a 12-inch non-stick skillet for even heat distribution. A cast iron skillet works too, but you’ll need to adjust the heat and use more butter.
- 1/4 cup measuring cup or ladle – For portioning the batter evenly. A cookie scoop also works if you want smaller pancakes.
- Spatula for flipping – A thin, flexible metal spatula is best for getting under the pancakes without tearing them.
I’ve made these with a cheap non-stick pan from the grocery store and they turned out great. You don’t need expensive equipment—just patience and a little practice. If you’re using a griddle, heat it to 350°F (175°C). No griddle? No problem. A skillet over medium-low heat works perfectly.
Preparation Method
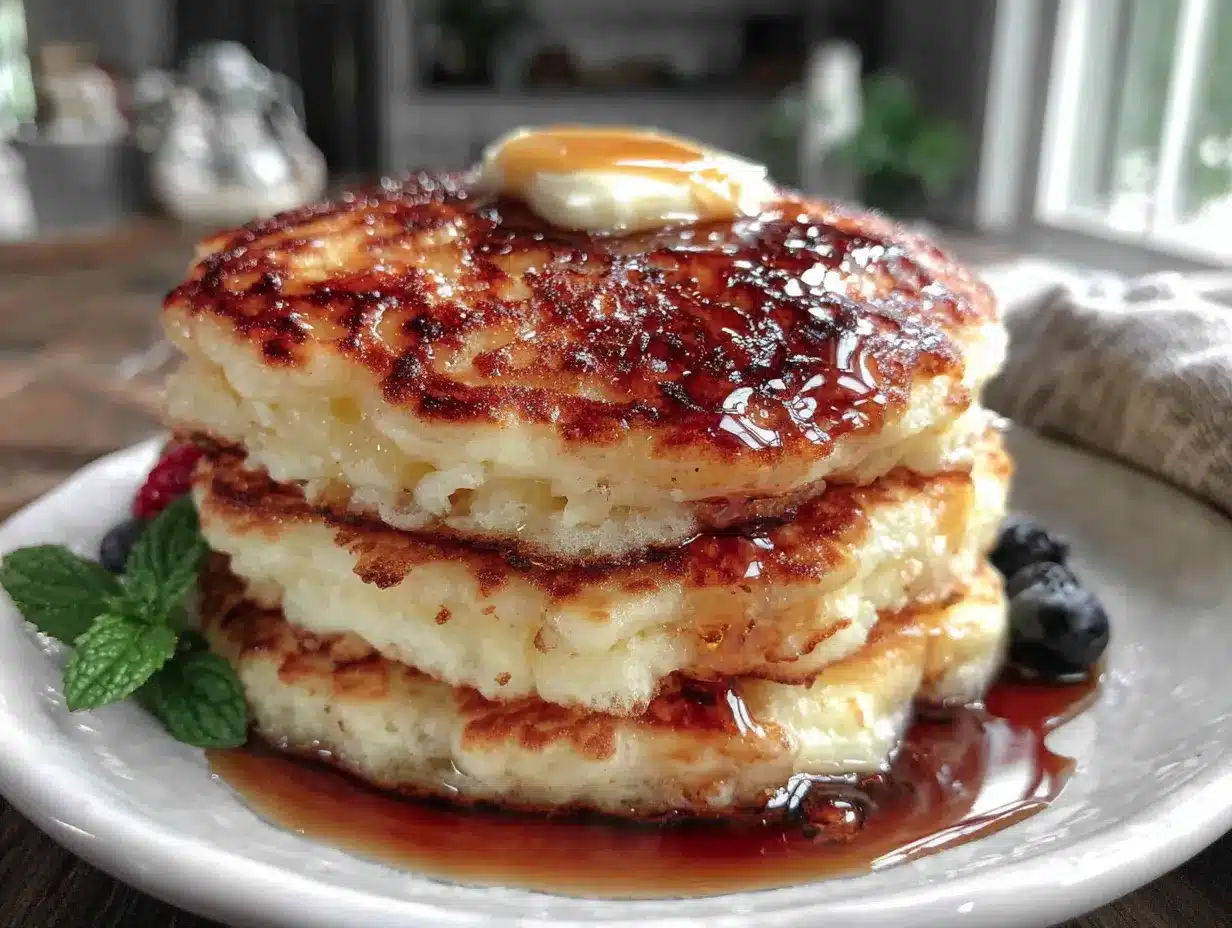
Alright, let’s make these cozy buttermilk pancakes. Trust me, the process is simple, but a few small details make all the difference. Here’s how I do it:
- Combine the dry ingredients. In a large bowl, whisk together 2 cups all-purpose flour, 3 tablespoons sugar, 2 teaspoons baking powder, 1 teaspoon baking soda, and ½ teaspoon salt. Whisk until everything is evenly distributed—about 15 seconds. This aerates the flour and ensures the leaveners are well mixed.
- Mix the wet ingredients. In a separate bowl or large liquid measuring cup, whisk together 2 cups buttermilk, 2 large eggs, 4 tablespoons melted butter, and 1 teaspoon vanilla extract. Whisk until the eggs are fully incorporated and the mixture is smooth. Don’t worry if the butter solidifies slightly in the cold buttermilk—it’ll melt again on the griddle.
- Combine wet and dry. Pour the wet ingredients into the dry ingredients. Here’s the crucial part: use a rubber spatula to fold everything together with gentle strokes. You want to see a few streaks of flour still—lumps are your friend! Stop mixing as soon as the flour disappears. Over-mixing develops gluten, which makes pancakes tough and rubbery.
- Let the batter rest. This is a game-changer. Let the batter sit for 5 minutes. Seriously, set a timer. During this time, the gluten relaxes and the baking soda and buttermilk start reacting, creating tiny bubbles that make the pancakes fluffier. The batter will thicken slightly—that’s perfect.
- Heat your griddle. Place your non-stick skillet or griddle over medium-low heat. Add a pat of butter and let it melt, swirling to coat the surface. The butter should sizzle gently but not brown immediately. If it smokes, your heat is too high.
- Cook the pancakes. Using a ¼ cup measure, pour batter onto the hot griddle. Leave about 2 inches between each pancake for spreading. Cook until you see bubbles forming on the surface and the edges look set—about 2-3 minutes. The bubbles should pop and leave small holes. Flip the pancake with a thin spatula and cook for another 1-2 minutes, until golden brown on the bottom.
- Keep them warm. Transfer cooked pancakes to a baking sheet in a 200°F (95°C) oven while you finish the batch. This keeps them warm without drying them out. Never stack them on a plate—the steam makes them soggy.
A few notes from my kitchen to yours: If the first pancake looks too dark, turn the heat down slightly. The griddle temperature tends to increase as you go. Also, don’t press down on the pancakes with your spatula after flipping—you’ll deflate all that lovely air you created. And if the batter seems too thick, add a tablespoon of buttermilk at a time until it reaches a pourable consistency.
Cooking Tips & Techniques
I’ve made a lot of mistakes with pancakes over the years. Let me save you the trouble. These tips come from trial and error—mostly error.
Don’t overmix the batter. This is the number one mistake. Mix until the flour is just incorporated. Lumps are okay. Actually, lumps are great. Over-mixed batter develops too much gluten, and your pancakes will be chewy instead of fluffy. I learned this the hard way when I made a batch that could’ve doubled as frisbees.
Get the heat right. Medium-low is your sweet spot. If the butter burns immediately, turn it down. If the pancakes take longer than 4 minutes to bubble, turn it up slightly. The first pancake is always a test—embrace that. I usually sacrifice the first one to check the temperature.
Wait for the bubbles. This is your visual cue. When bubbles appear all over the surface and the edges look matte instead of shiny, it’s time to flip. If you flip too early, the pancake won’t hold its shape. Too late, and it’ll be dark on the bottom.
Use a light hand when flipping. Slide your spatula under the pancake in one smooth motion. Lift and flip in one go—don’t hesitate. Hesitation leads to torn pancakes. I still mess this up sometimes, especially when I’m talking while cooking.
Rest the batter. I mentioned this in the method, but it’s worth repeating. Those 5 minutes of rest are non-negotiable. The pancakes will be noticeably fluffier. I once skipped this step because I was in a rush, and the pancakes were noticeably flatter. Never again.
Keep the butter fresh. Add a small pat of butter to the griddle between batches. This keeps the pancakes from sticking and adds flavor. But don’t add too much—you want a light coating, not a pool of oil.
Variations & Adaptations
One of the best things about these cozy buttermilk pancakes is how adaptable they are. Here are some variations I’ve tried and loved:
- Blueberry Buttermilk Pancakes: Fold 1 cup of fresh or frozen blueberries into the batter after resting. If using frozen blueberries, don’t thaw them first—they’ll bleed into the batter and turn it purple. Not that there’s anything wrong with purple pancakes.
- Lemon Ricotta Pancakes: Replace ½ cup of buttermilk with ½ cup of ricotta cheese and add the zest of one lemon. These are lighter, almost soufflé-like, and perfect for spring mornings. Top with a drizzle of honey and fresh raspberries.
- Whole Wheat Version: Substitute half the all-purpose flour with whole wheat flour. Add an extra tablespoon of buttermilk since whole wheat flour absorbs more liquid. The pancakes will be denser but still delicious, with a nutty flavor that pairs beautifully with maple syrup.
- Gluten-Free Option: Use a 1:1 gluten-free flour blend (I like Bob’s Red Mill). Add 1 teaspoon of xanthan gum if your blend doesn’t already include it. The texture will be slightly different, but still tender and satisfying.
- Vegan Adaptation: Replace the eggs with flax eggs (2 tablespoons ground flaxseed mixed with 6 tablespoons water) and use plant-based buttermilk (almond milk + lemon juice). Use coconut oil instead of butter. These are a bit more delicate, so flip carefully.
I’ve also tried adding chocolate chips (always a hit with kids), chopped pecans (for crunch), and even pumpkin puree with pumpkin pie spice for fall. The base recipe is so forgiving that you can really make it your own. My personal favorite? The lemon ricotta version with a side of crispy bacon. Sweet and salty is my weakness.
Serving & Storage Suggestions
These cozy buttermilk pancakes are best served warm, right off the griddle. But let’s be real—sometimes you make a big batch and want to enjoy them throughout the week. Here’s how to handle both situations.
Serving: Stack 3-4 pancakes on a plate, add a pat of butter on top, and drizzle with warm maple syrup. For a prettier presentation, add fresh berries, a sprinkle of powdered sugar, and a sprig of mint. These pancakes also pair beautifully with scrambled eggs, bacon, or breakfast sausage. If you’re feeling fancy, serve them with a dollop of whipped cream and a side of fruit compote.
Storage: Let leftover pancakes cool completely on a wire rack. Place them in an airtight container with parchment paper between layers to prevent sticking. They’ll keep in the refrigerator for up to 3 days. For longer storage, freeze them in a single layer on a baking sheet, then transfer to a freezer bag. They’ll keep for up to 2 months.
Reheating: The best way to reheat pancakes is in a toaster or toaster oven. It crisps up the edges while keeping the inside tender. You can also reheat them in a 350°F (175°C) oven for 5-7 minutes, or in a skillet with a little butter. Avoid the microwave—it makes them rubbery. Trust me, I’ve tried.
One thing I love about these pancakes is that the flavors actually develop a bit overnight. The buttermilk tang mellows and blends with the vanilla, making day-old pancakes almost as good as fresh. Almost.
Nutritional Information & Benefits
Here’s the approximate nutritional breakdown for one serving (3 pancakes, without toppings):
- Calories: ~380
- Protein: 12g
- Carbohydrates: 52g
- Fat: 14g
- Fiber: 1g
- Sugar: 12g
These numbers will vary based on your specific ingredients and toppings. Maple syrup adds about 100 calories per 2 tablespoons, and butter adds about 100 calories per tablespoon.
From a health perspective, buttermilk is a great source of calcium, vitamin B12, and probiotics (if you use cultured buttermilk). It’s also lower in fat than heavy cream but still adds richness. The eggs provide high-quality protein, and the whole wheat variation adds fiber and B vitamins.
If you’re watching your sugar intake, you can reduce the sugar in the batter to 1 tablespoon and skip the syrup—the pancakes are still flavorful on their own. For a lower-carb option, try using almond flour and adjusting the liquid accordingly. I’ve made a keto version with coconut flour and it worked surprisingly well, though the texture is denser.
As with any indulgent breakfast, moderation is key. These pancakes are meant to be enjoyed, not stressed over. One stack on a lazy weekend morning is a beautiful thing.
Conclusion
These cozy buttermilk pancakes are more than just a recipe—they’re a ritual. They’re the smell that pulls your family out of bed on a Saturday morning, the stack that makes everyone sit down at the table together, the first bite that makes you exhale and relax. I’ve made them on rainy Sundays, snowy mornings, and sunny spring days, and they never disappoint.
What I love most about this recipe is how forgiving it is. You can mess up the first pancake (I always do), forget to rest the batter, or use the wrong measuring cup, and they’ll still turn out delicious. They’re not finicky or precious. They’re just really, really good pancakes made with love and a little patience.
I’d love to hear how yours turn out. Did you add blueberries? Try the lemon ricotta version? Forget the buttermilk and make the quick substitute? Drop a comment below and let me know—I read every single one. And if you make these for someone special, tag me in your photos. Nothing makes my day like seeing these pancakes on your table.
Now go make some pancakes. Your weekend deserves them.
Frequently Asked Questions
Can I make the batter the night before?
I don’t recommend it. The baking soda and buttermilk react immediately, so the batter loses its lift over time. If you want to prep ahead, mix the dry ingredients and wet ingredients separately, then combine them just before cooking. The pancakes will be much fluffier.
Why are my pancakes flat?
Flat pancakes usually mean one of three things: your baking powder is old, you overmixed the batter, or your griddle isn’t hot enough. Check the expiration date on your baking powder, mix gently until just combined, and make sure your griddle is at the right temperature before you start cooking.
Can I use regular milk instead of buttermilk?
You can, but the pancakes won’t be as tender or tangy. Buttermilk’s acidity reacts with the baking soda to create lift and tenderizes the gluten. If you don’t have buttermilk, make the quick substitute I mentioned earlier: add 2 tablespoons of lemon juice or white vinegar to 2 cups of milk and let it sit for 5 minutes.
How do I know when to flip the pancakes?
Look for bubbles forming all over the surface and the edges looking set and slightly matte. The bottom should be golden brown. This usually takes 2-3 minutes on medium-low heat. The first pancake is always a test, so don’t stress if it’s not perfect.
Can I freeze these pancakes?
Absolutely! Let them cool completely on a wire rack, then freeze in a single layer on a baking sheet. Once frozen, transfer to a freezer bag. They’ll keep for up to 2 months. Reheat in a toaster or oven for best results—the microwave makes them rubbery.
Pin This Recipe!
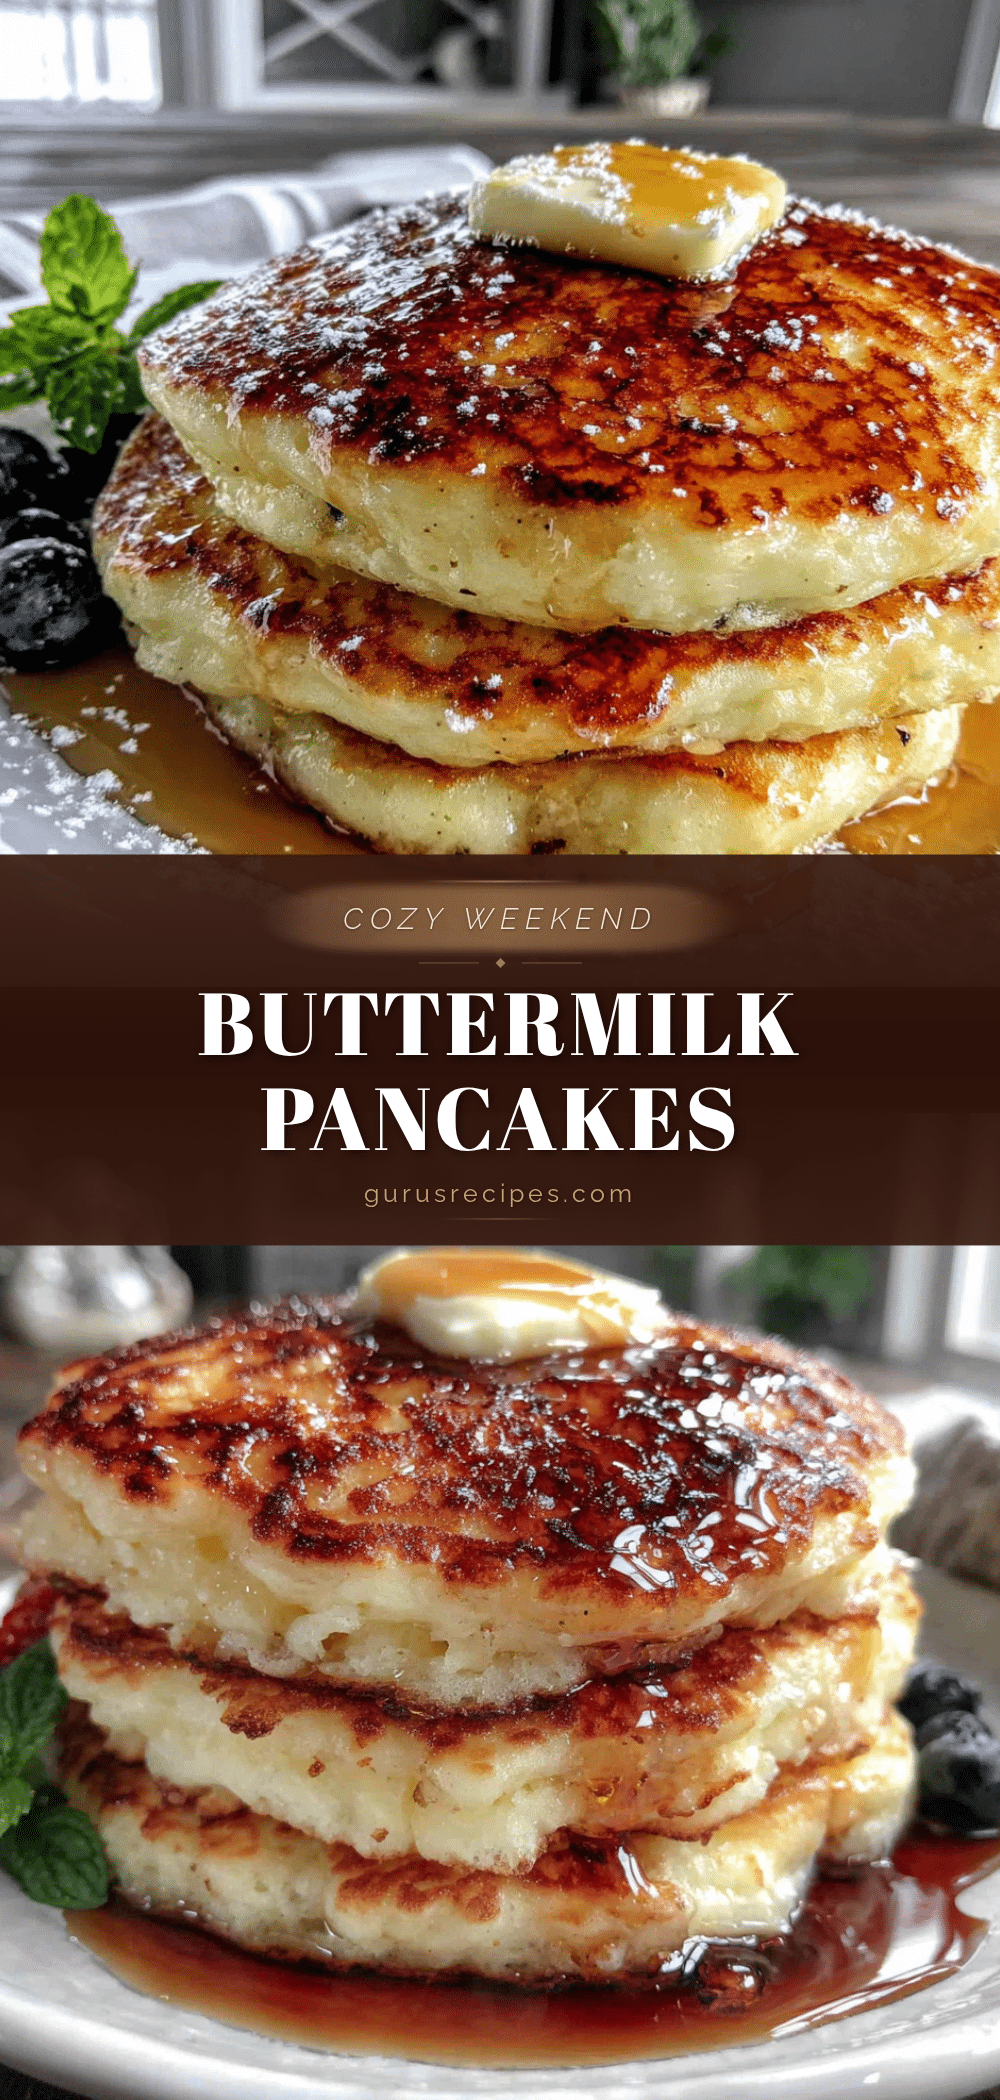

Cozy Buttermilk Pancakes: The Best Weekend Morning Recipe
These cozy buttermilk pancakes are tender, slightly tangy, and tall enough to hold a pat of melting butter. They’re the kind of breakfast that makes you want to cancel your plans and stay in your pajamas a little longer.
- Total Time: 20 minutes
- Yield: 4 servings 1x
Ingredients
- 2 cups (240g) all-purpose flour
- 3 tablespoons (36g) granulated sugar
- 2 teaspoons baking powder
- 1 teaspoon baking soda
- ½ teaspoon salt
- 2 cups (480ml) buttermilk, shaken well
- 2 large eggs, at room temperature
- 4 tablespoons (56g) unsalted butter, melted and slightly cooled
- 1 teaspoon vanilla extract
Instructions
- Combine the dry ingredients. In a large bowl, whisk together 2 cups all-purpose flour, 3 tablespoons sugar, 2 teaspoons baking powder, 1 teaspoon baking soda, and ½ teaspoon salt. Whisk until everything is evenly distributed—about 15 seconds.
- Mix the wet ingredients. In a separate bowl or large liquid measuring cup, whisk together 2 cups buttermilk, 2 large eggs, 4 tablespoons melted butter, and 1 teaspoon vanilla extract. Whisk until the eggs are fully incorporated and the mixture is smooth.
- Combine wet and dry. Pour the wet ingredients into the dry ingredients. Use a rubber spatula to fold everything together with gentle strokes. You want to see a few streaks of flour still—lumps are your friend! Stop mixing as soon as the flour disappears.
- Let the batter rest. Let the batter sit for 5 minutes. During this time, the gluten relaxes and the baking soda and buttermilk start reacting, creating tiny bubbles that make the pancakes fluffier.
- Heat your griddle. Place your non-stick skillet or griddle over medium-low heat. Add a pat of butter and let it melt, swirling to coat the surface. The butter should sizzle gently but not brown immediately.
- Cook the pancakes. Using a ¼ cup measure, pour batter onto the hot griddle. Leave about 2 inches between each pancake for spreading. Cook until you see bubbles forming on the surface and the edges look set—about 2-3 minutes. Flip the pancake with a thin spatula and cook for another 1-2 minutes, until golden brown on the bottom.
- Keep them warm. Transfer cooked pancakes to a baking sheet in a 200°F (95°C) oven while you finish the batch. This keeps them warm without drying them out.
Notes
Don’t overmix the batter—lumps are okay. Let the batter rest for 5 minutes for fluffier pancakes. The first pancake is always a test to check the temperature. For best results, use fresh baking powder and full-fat buttermilk. If you don’t have buttermilk, mix 2 cups of milk with 2 tablespoons of lemon juice or white vinegar and let it sit for 5 minutes.
- Prep Time: 10 minutes
- Cook Time: 10 minutes
- Category: Breakfast
- Cuisine: American
Nutrition
- Serving Size: 3 pancakes
- Calories: 380
- Sugar: 12
- Sodium: 680
- Fat: 14
- Saturated Fat: 8
- Carbohydrates: 52
- Fiber: 1
- Protein: 12
Keywords: buttermilk pancakes, fluffy pancakes, weekend breakfast, easy pancake recipe, homemade pancakes


