
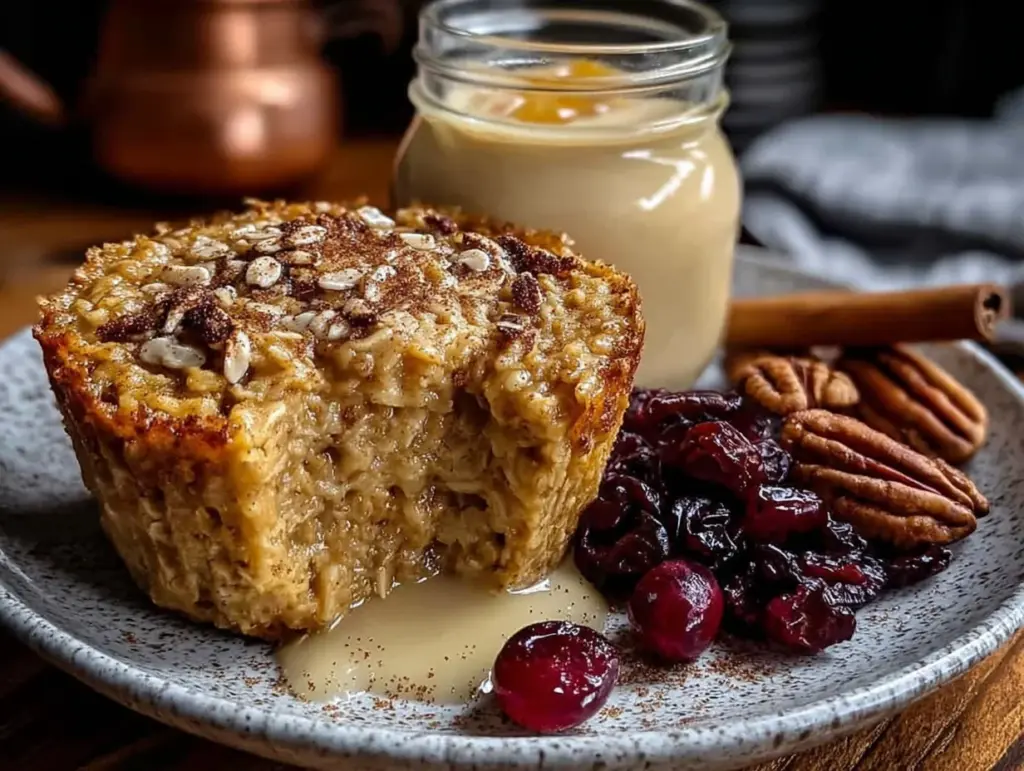
It was 10:47 PM on a rainy Tuesday, and I had a very specific craving for something warm, spiced, and not cake. I didn’t have the energy for a full batch of pumpkin muffins, but I had a half-empty can of pumpkin puree in the fridge and a bag of rolled oats staring at me from the pantry. The idea that arrived was simple: what if I baked the oatmeal into little cups, like muffin-shaped breakfast cookies my kids could actually grab on the way out the door?
Now, I’m not gonna pretend I wasn’t skeptical. Baked oatmeal can go one of two ways—either it’s a glorious, custardy triumph or a sad, dry sponge that crumbles at the first bite. I’ve had my fair share of the latter, honestly. But that night, with the rain tapping against the window and nobody watching, I felt a little reckless. I threw in some pumpkin spice, a splash of maple syrup, and crossed my fingers.
The result? These kid-approved pumpkin spice baked oatmeal cups. They came out golden, tender, and just sweet enough to pass for a treat while being packed with enough fiber and protein to actually fuel a morning. My youngest, who normally treats breakfast like a negotiation, grabbed one and said, “Mom, these are like muffin cookies.” That’s a win in my book. Maybe you’ve been there—staring at a half-used can of pumpkin, wondering what to do that isn’t another loaf of bread. Let me tell you, these little cups are the answer.
Why You’ll Love This Recipe
Let me be real with you—I’ve tested this recipe about six times to get it just right. The first batch was too dry. The second was too sweet. The third fell apart like a sandcastle. But the version I’m sharing today? It’s the one that finally made my kids ask for seconds. And that’s the kind of feedback that matters when you’re feeding a family on a budget.
- Quick & Easy: From bowl to oven in under 10 minutes. Perfect for those mornings when you’re already running late.
- Simple Ingredients: You probably have everything in your pantry right now—oats, pumpkin puree, eggs, maple syrup, and pumpkin spice. No weird specialty flours or expensive add-ins.
- Perfect for Meal Prep: Make a batch on Sunday, and you’ve got breakfast sorted for the whole week. They reheat beautifully in the microwave or toaster oven.
- Crowd-Pleaser: My kids call them “muffin cookies” and my husband eats them cold out of the fridge. That’s a universal win.
- Unbelievably Delicious: The texture is this perfect middle ground—soft and tender in the middle with slightly crispy edges. The pumpkin spice hits just right without being overwhelming.
What makes this different from every other baked oatmeal recipe out there? It’s the ratio. I spent a lot of late nights tweaking the oat-to-liquid balance so these cups hold their shape without being dry. Plus, I use a trick—mashing half the oats into a coarse flour—that gives them a more muffin-like texture. It’s not just another oatmeal bake; it’s the one that finally works for busy mornings.
What Ingredients You Will Need
This recipe uses simple, wholesome ingredients to deliver big flavor without breaking the bank. Most of these are pantry staples, which makes it easy to whip up a batch anytime the pumpkin spice craving hits.
- Rolled Oats, 2 cups (180g) – Use old-fashioned rolled oats, not instant. They hold their texture better. I prefer Bob’s Red Mill for consistent results.
- Pumpkin Puree, 1 cup (240g) – Make sure it’s 100% pure pumpkin, not pumpkin pie filling. Libby’s is my go-to brand.
- Large Eggs, 2 – Room temperature works best for even mixing.
- Maple Syrup, 1/3 cup (80ml) – Pure maple syrup adds a deeper flavor, but honey works in a pinch.
- Milk, 1/2 cup (120ml) – Any milk works. I use whole milk for richness, but oat or almond milk is fine too.
- Pumpkin Spice, 2 teaspoons – Store-bought is fine, but I mix my own with cinnamon, nutmeg, ginger, and cloves for a fresher taste.
- Cinnamon, 1 teaspoon – Adds extra warmth. Trust me, don’t skip it.
- Baking Powder, 1 teaspoon – Helps them rise just a little for a lighter texture.
- Salt, 1/4 teaspoon – Balances the sweetness and brings out the spice.
- Vanilla Extract, 1 teaspoon – Adds depth and rounds out the flavors.
- Coconut Oil or Butter, 2 tablespoons, melted – For moisture and a slight richness. Coconut oil keeps them dairy-free.
- Optional Mix-Ins: 1/4 cup chocolate chips, chopped pecans, or raisins – My kids love the chocolate chip version, but I keep some plain for myself.
For substitutions, you can swap the maple syrup with honey or agave, use gluten-free rolled oats if needed, and replace the eggs with flax eggs for a vegan option. Just note that the texture will be slightly denser with flax eggs.
Equipment Needed
You don’t need a fancy kitchen to make these oatmeal cups. Here’s what you’ll need:
- Muffin Tin – A standard 12-cup muffin tin works perfectly. I’ve used both metal and silicone, and both work fine. Silicone is easier for releasing the cups, but metal gives slightly crispier edges.
- Mixing Bowls – One large bowl for wet ingredients and one medium bowl for dry. Nothing fancy.
- Whisk – For combining the wet ingredients smoothly.
- Spatula – For folding everything together without overmixing.
- Measuring Cups and Spoons – Accurate measurements matter here, especially for the oats and liquid.
- Food Processor or Blender – Optional, but I use it to grind half the oats into a coarse flour. If you don’t have one, just use all rolled oats—the texture will be a bit more rustic.
- Ice Cream Scoop or Large Spoon – For portioning the batter evenly into the muffin cups.
If you don’t have a muffin tin, you can bake the oatmeal in a greased 8×8 dish and cut it into squares. Just increase the bake time by about 5-7 minutes.
Preparation Method
- Preheat your oven to 350°F (175°C) and grease a 12-cup muffin tin well with butter or non-stick spray. I learned the hard way that these cups like to stick if you’re not generous with the grease.
- Grind half the oats (1 cup/90g) in a food processor or blender until they resemble a coarse flour. This is my secret for a better texture—it makes the cups more muffin-like and less like a bowl of oatmeal in a cup.
- In a large bowl, whisk together the wet ingredients: pumpkin puree, eggs, maple syrup, milk, melted coconut oil or butter, and vanilla extract. Whisk until smooth and well combined. The mixture should look like a thick, creamy orange batter.
- In a separate medium bowl, mix the dry ingredients: the ground oat flour, remaining whole rolled oats, pumpkin spice, cinnamon, baking powder, and salt. Stir with a fork to break up any clumps.
- Pour the dry ingredients into the wet ingredients and fold together with a spatula until just combined. Don’t overmix—a few streaks of flour are fine. If you’re adding chocolate chips or nuts, fold them in now.
- Let the batter rest for 5 minutes. This is a small step that makes a big difference—it gives the oats time to absorb some liquid, which helps the cups hold their shape better during baking.
- Scoop the batter evenly into the prepared muffin cups, filling each about 3/4 full. I use an ice cream scoop for even portions. The batter will be thick and scoopable, not runny.
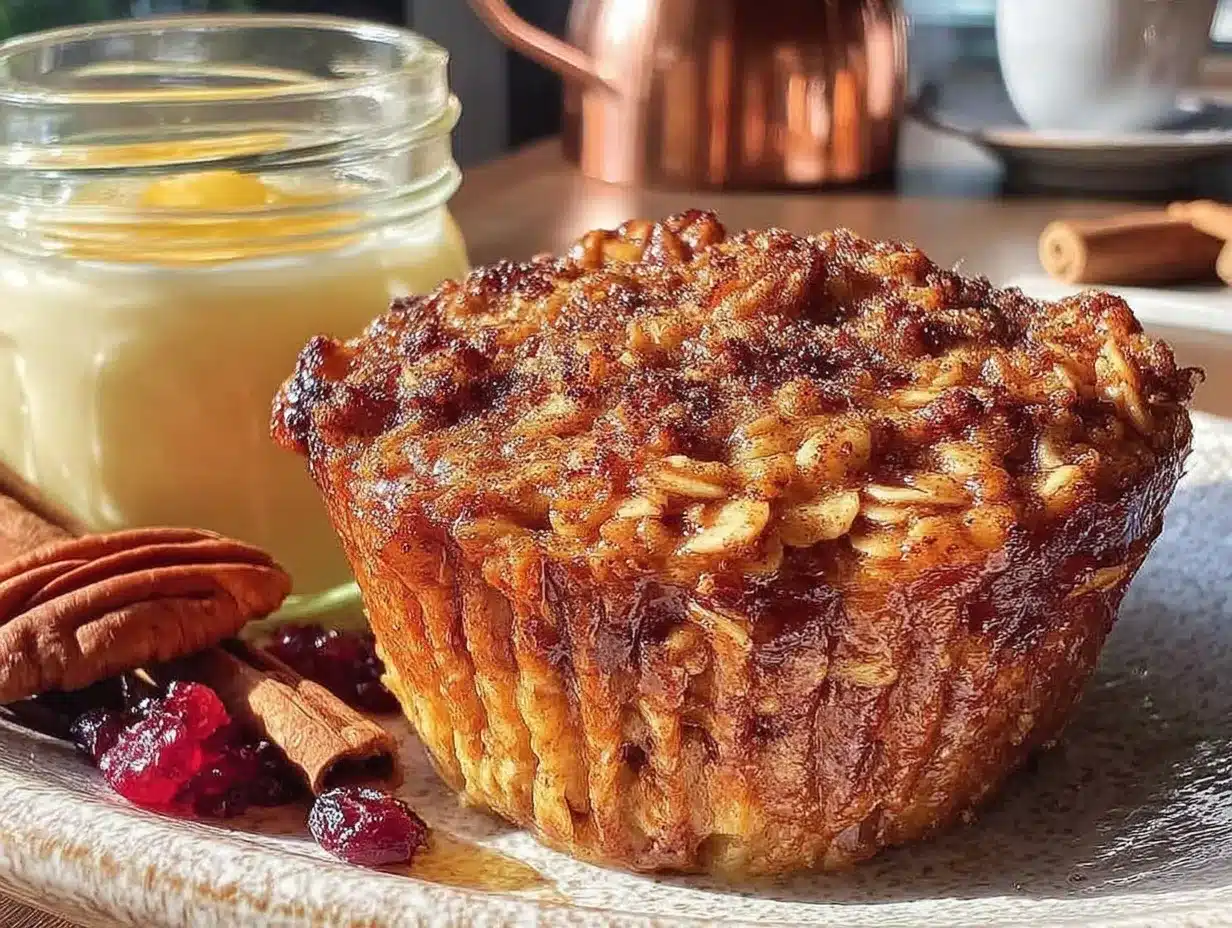
- Bake for 20-25 minutes, or until the tops are set and golden brown, and a toothpick inserted in the center comes out clean. My oven runs hot, so I check at 18 minutes. The edges should be slightly crispy and pulling away from the sides of the pan.
- Cool in the pan for 5 minutes, then transfer to a wire rack to cool completely. This resting time is crucial—if you try to remove them too early, they might fall apart. Trust me, I’ve made that mistake.
Your kitchen will smell like a fall candle shop at this point. The tops should be a warm golden-brown, and the texture will be soft but sturdy enough to hold their shape.
Cooking Tips & Techniques
After testing this recipe more times than I care to admit, here’s what I’ve learned the hard way so you don’t have to.
Don’t skip the resting step. I know it feels like an unnecessary pause, but those 5 minutes allow the oats to absorb the liquid. If you bake immediately, the cups can turn out watery and loose. Let them sit, and you’ll get a better structure.
Watch your bake time. Every oven is different. My first batch came out dry because I left them in for 28 minutes, convinced they needed more time. Start checking at 18 minutes. They’re done when the edges are golden and the center springs back when lightly touched.
Use room temperature eggs. Cold eggs can seize up the coconut oil if you’re using it, creating little lumps in the batter. If you forgot to take them out ahead of time, place the eggs in a bowl of warm water for 5 minutes.
Grease the pan well. These cups have a tendency to stick, especially around the edges. I use butter for flavor, but a good non-stick spray works too. For silicone pans, you don’t need to grease them, but place them on a baking sheet for stability.
Double the batch. Seriously, these disappear fast. I always make 24 at a time now and freeze half. It’s the same amount of work for double the payoff.
Variations & Adaptations
One of the best things about this recipe is how flexible it is. Here are some variations I’ve tried and loved:
- Chocolate Chip Pumpkin Spice: Fold in 1/3 cup mini chocolate chips. My kids’ absolute favorite version. The chocolate melts into little pockets of sweetness that balance the spice perfectly.
- Vegan Version: Replace the eggs with two flax eggs (2 tablespoons ground flaxseed mixed with 5 tablespoons water, left to sit for 5 minutes). Use maple syrup instead of honey, and coconut oil instead of butter. The texture is slightly denser but still delicious.
- Gluten-Free Option: Use certified gluten-free rolled oats. That’s the only swap needed—oats are naturally gluten-free, but cross-contamination can be an issue with some brands.
- Protein-Packed Version: Add 2 scoops of unflavored or vanilla protein powder and reduce the oats by 1/4 cup. You may need to add an extra tablespoon of milk to adjust the consistency.
- Nutty Crunch: Add 1/4 cup chopped pecans or walnuts to the batter. Toast them first for extra flavor. I did this for a Thanksgiving brunch, and they were a hit.
Personally, I love making a batch with chocolate chips for the kids and a plain batch with extra pumpkin spice for myself. It’s an easy way to please everyone without making two completely different recipes.
Serving & Storage Suggestions
These oatmeal cups are incredibly versatile when it comes to serving. Here’s how I handle them:
Serving: I serve them warm or at room temperature. A quick 15-second zap in the microwave brings back that fresh-from-the-oven softness. For a more indulgent breakfast, split one open and add a pat of butter or a drizzle of maple syrup. They’re also great crumbled over yogurt for a quick parfait.
Storage: Store in an airtight container in the refrigerator for up to 5 days. I stack them with a piece of parchment paper between layers to prevent sticking. They also freeze beautifully—just place them in a single layer on a baking sheet, freeze for an hour, then transfer to a freezer bag. They’ll keep for up to 3 months.
Reheating: For a single cup, microwave for 20-30 seconds. For a whole batch, reheat in a 300°F oven for 5-7 minutes. If frozen, thaw in the fridge overnight or microwave directly from frozen for 45-60 seconds.
One thing I love about these cups is that the flavors actually get better after a day or two in the fridge. The spices meld together, and the texture becomes even more cohesive. So don’t be afraid to make them ahead—they’re designed for it.
Nutritional Information & Benefits
Here’s the approximate nutritional breakdown for one oatmeal cup (based on 12 servings, without mix-ins):
- Calories: 145
- Protein: 5g
- Carbohydrates: 22g
- Fiber: 3g
- Sugar: 8g (naturally occurring from maple syrup and pumpkin)
- Fat: 5g
- Iron: 8% DV
- Vitamin A: 70% DV (from the pumpkin)
The pumpkin puree is the real star here—it’s packed with vitamin A for eye health and immune support, plus fiber to keep everyone full until lunch. The oats provide steady-release energy, making these cups a solid choice for busy mornings. They’re naturally dairy-free if you use coconut oil and a plant-based milk, and they’re easy to make gluten-free. Just be aware that the chocolate chip version adds about 30 extra calories per cup.
Conclusion
These kid-approved pumpkin spice baked oatmeal cups have become a staple in my house, and I honestly think they’ll become one in yours too. They’re the kind of recipe that solves a real problem—how to get a healthy, filling breakfast on the table when mornings are chaotic—without sacrificing flavor or fun. My kids think they’re getting a treat, and I know they’re getting fiber, protein, and a serving of vegetables before 8 AM. That’s a win-win in my book.
I’d love to hear how these turn out for you. Did your kids call them muffin cookies too? Did you add chocolate chips or go the nutty route? Leave a comment below and let me know your favorite variation. And if you snap a photo, tag me on Pinterest—I love seeing your creations. Happy baking, and remember: breakfast doesn’t have to be complicated to be amazing.
Frequently Asked Questions
Can I use steel-cut oats instead of rolled oats?
I wouldn’t recommend it. Steel-cut oats are much harder and won’t soften enough during the short baking time. Stick with rolled oats for the best texture. If you only have quick oats, they’ll work but the cups will be softer and less structured.
How do I keep the oatmeal cups from sticking to the pan?
Grease the muffin tin generously with butter or non-stick spray, making sure to get into the corners. Let the cups cool in the pan for exactly 5 minutes before transferring to a wire rack. If they still stick, run a thin knife around the edges before lifting them out.
Can I make these ahead for the whole week?
Absolutely! That’s the whole point of meal prep. Store them in an airtight container in the fridge for up to 5 days. They reheat beautifully in the microwave for 20-30 seconds. I usually make a double batch on Sunday and we’re set for the week.
Are these oatmeal cups healthy for kids?
Yes, they’re a great option for kids. They have fiber from the oats and pumpkin, protein from the eggs, and natural sweetness from maple syrup. Plus, they’re portable and easy for little hands to hold. My picky eater loves them, and that’s the highest praise I can give.
Can I freeze these oatmeal cups?
Yes, they freeze wonderfully. Place them in a single layer on a baking sheet and freeze for an hour, then transfer to a freezer-safe bag. They’ll keep for up to 3 months. To reheat, microwave directly from frozen for 45-60 seconds, or thaw in the fridge overnight.
Pin This Recipe!
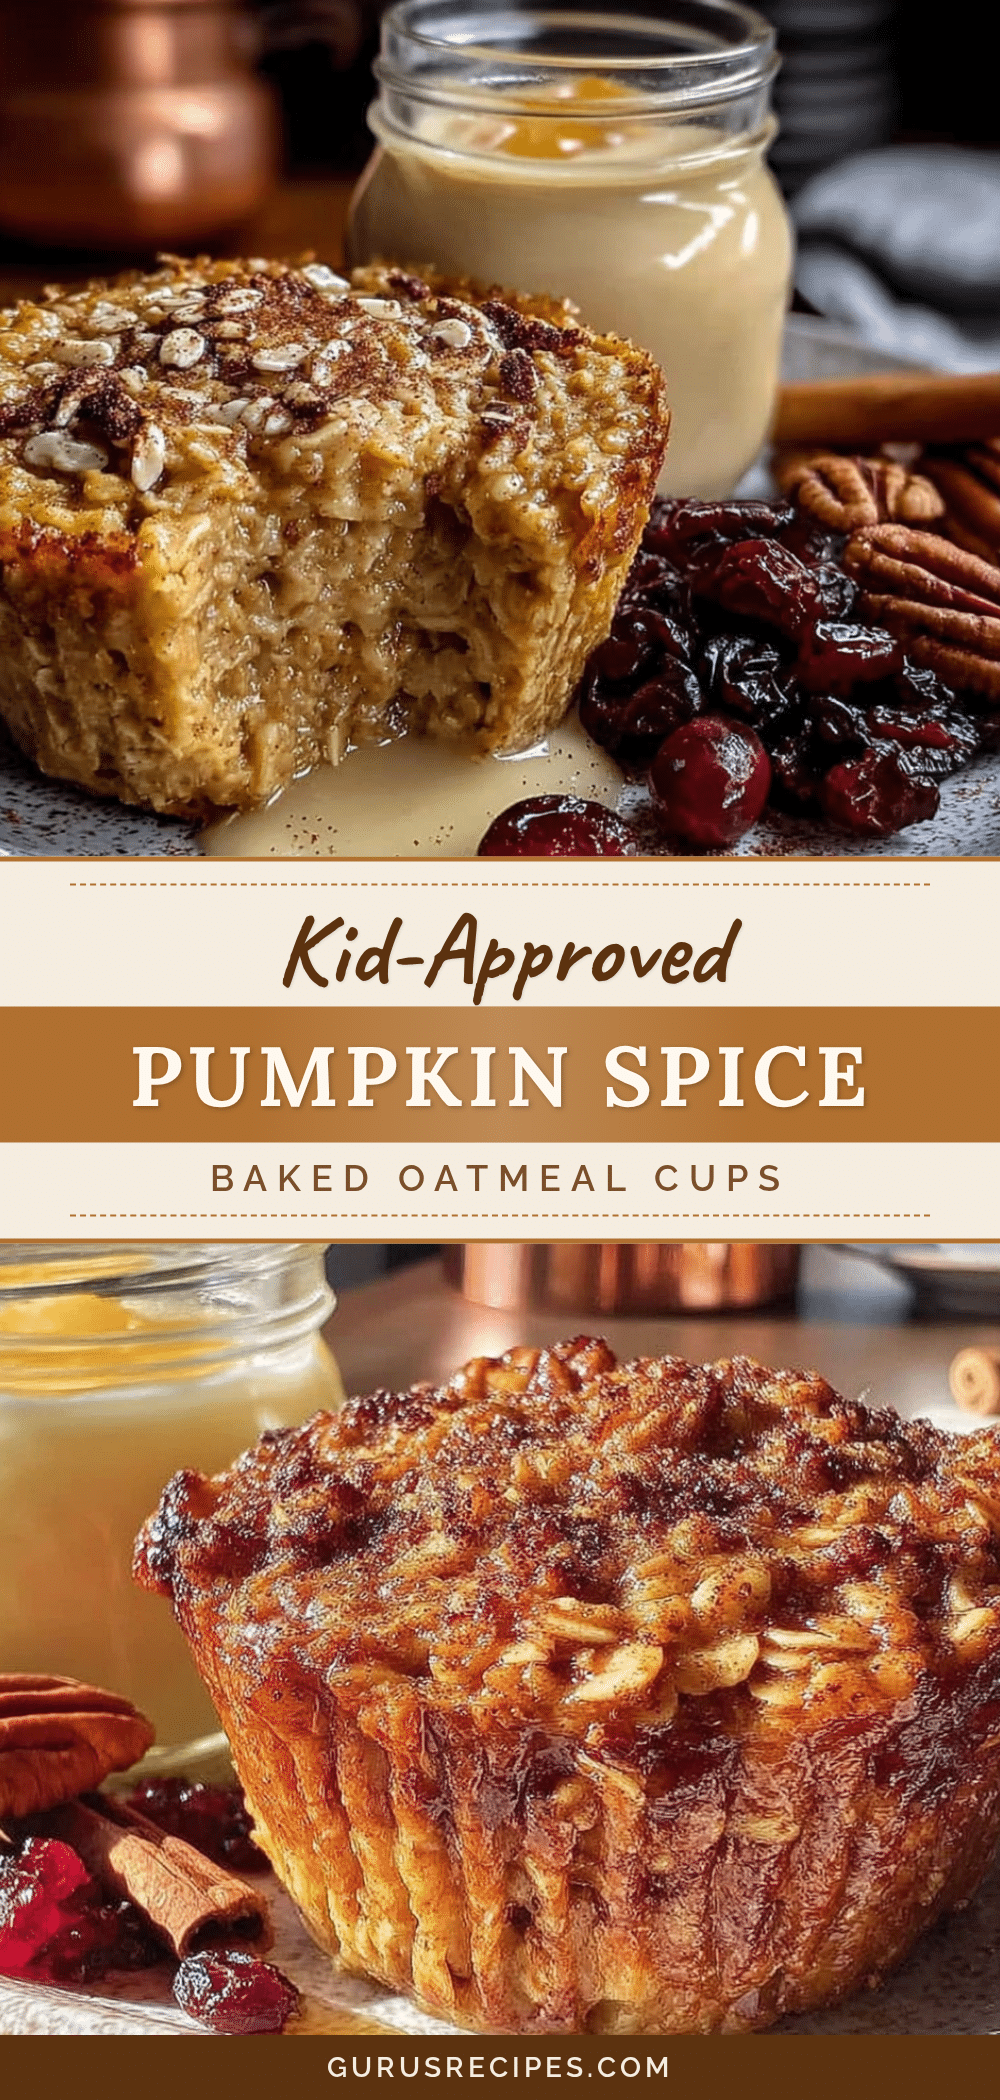

Best Kid-Approved Pumpkin Spice Baked Oatmeal Cups for Meal Prep
These kid-approved pumpkin spice baked oatmeal cups are golden, tender, and just sweet enough to pass for a treat while being packed with fiber and protein. Perfect for meal prep, they reheat beautifully and are a hit with both kids and adults.
- Total Time: 35 minutes
- Yield: 12 servings 1x
Ingredients
- 2 cups (180g) rolled oats
- 1 cup (240g) pumpkin puree (100% pure pumpkin)
- 2 large eggs, room temperature
- 1/3 cup (80ml) pure maple syrup
- 1/2 cup (120ml) milk (any kind)
- 2 teaspoons pumpkin spice
- 1 teaspoon cinnamon
- 1 teaspoon baking powder
- 1/4 teaspoon salt
- 1 teaspoon vanilla extract
- 2 tablespoons coconut oil or butter, melted
- Optional: 1/4 cup chocolate chips, chopped pecans, or raisins
Instructions
- Preheat your oven to 350°F (175°C) and grease a 12-cup muffin tin well with butter or non-stick spray.
- Grind half the oats (1 cup/90g) in a food processor or blender until they resemble a coarse flour.
- In a large bowl, whisk together the wet ingredients: pumpkin puree, eggs, maple syrup, milk, melted coconut oil or butter, and vanilla extract until smooth.
- In a separate medium bowl, mix the dry ingredients: ground oat flour, remaining whole rolled oats, pumpkin spice, cinnamon, baking powder, and salt.
- Pour the dry ingredients into the wet ingredients and fold together with a spatula until just combined. Fold in optional mix-ins if using.
- Let the batter rest for 5 minutes.
- Scoop the batter evenly into the prepared muffin cups, filling each about 3/4 full.
- Bake for 20-25 minutes, or until the tops are set and golden brown, and a toothpick inserted in the center comes out clean.
- Cool in the pan for 5 minutes, then transfer to a wire rack to cool completely.
Notes
Don’t skip the resting step—it allows oats to absorb liquid for better structure. Grease the pan well to prevent sticking. For best results, use room temperature eggs. These cups freeze well for up to 3 months.
- Prep Time: 10 minutes
- Cook Time: 25 minutes
- Category: Breakfast
- Cuisine: American
Nutrition
- Serving Size: 1 oatmeal cup
- Calories: 145
- Sugar: 8
- Sodium: 120
- Fat: 5
- Saturated Fat: 2
- Carbohydrates: 22
- Fiber: 3
- Protein: 5
Keywords: pumpkin spice, baked oatmeal cups, meal prep, kid-friendly, healthy breakfast, fall recipe


